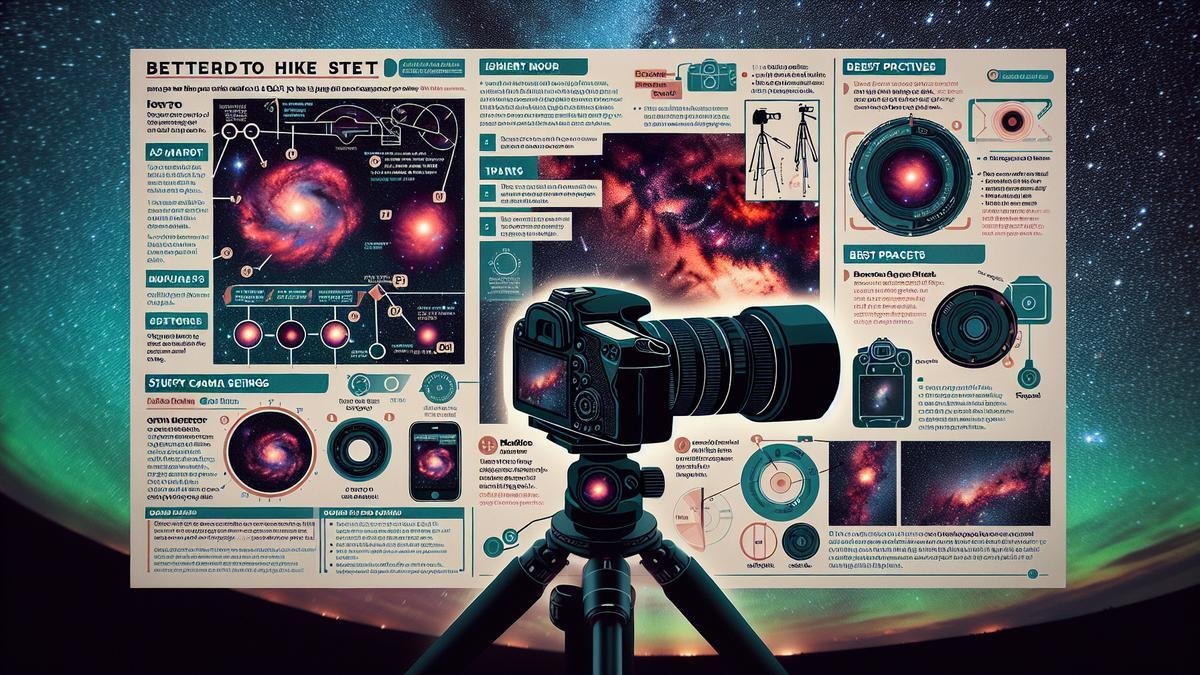
Astrophotography with Modified DSLRs: Techniques and Benefits can take your stargazing to the next level. If you’ve ever gazed up at the night sky and wished you could capture the stunning beauty of the stars, planets, and nebulae, this guide is your ticket. We’ll dive into what a modified DSLR is, why you might want to tweak your camera, and the incredible benefits you’ll reap. From setting up your gear to post-processing your dazzling images, youll learn everything you need to know. Get ready to explore the cosmos like never before!
Key Takeaways
- Capture more light for better images.
- See more details in faint stars.
- Get amazing colors in deep-sky shots.
- Enjoy extended exposure times.
- Take clearer pictures with less noise.
Understanding Modified DSLRs for Astrophotography
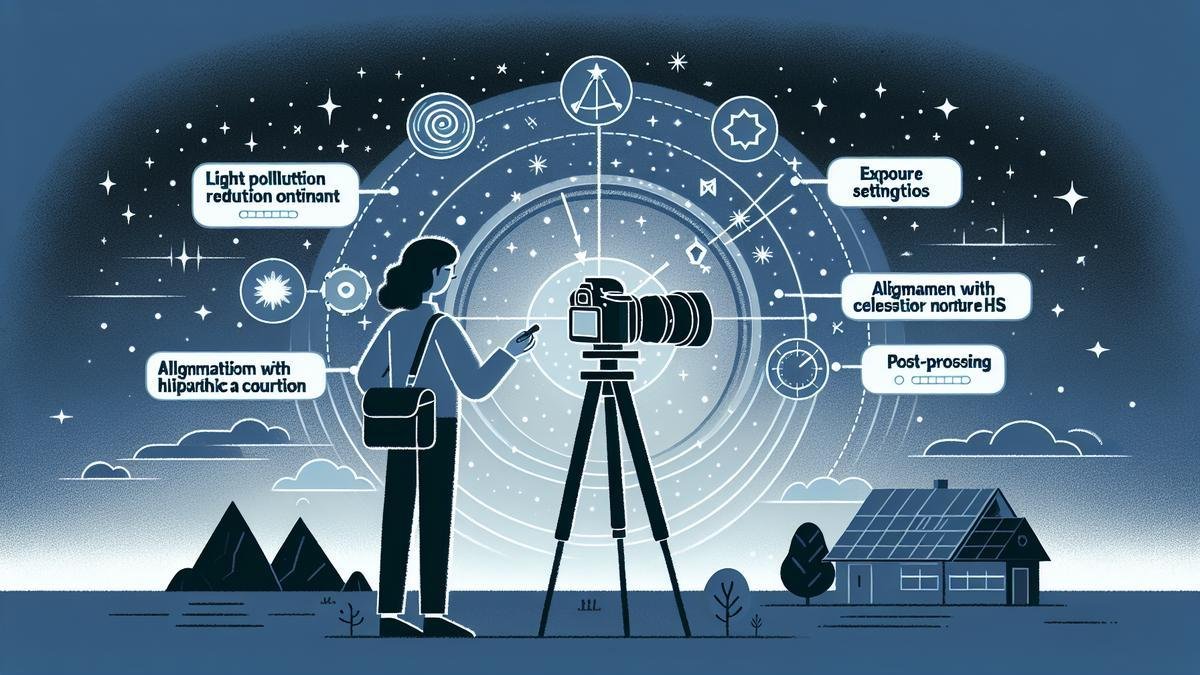
Astrophotography is a captivating hobby that lets you capture the wonders of the night sky. If you’re passionate about this, you might have heard about modified DSLRs. These cameras can significantly enhance your astrophotography experience. Let’s dive into the details.
What is a Modified DSLR?
A modified DSLR is a camera that has been altered to improve its performance in low-light conditions, specifically for capturing celestial objects. The modification typically involves removing or replacing the stock infrared (IR) filter that comes with the camera.
Why Modify Your DSLR?
You might wonder why you should go through the hassle of modifying your DSLR. The answer lies in the spectacular results you can achieve. Here are the main reasons:
- Enhanced Sensitivity to Hydrogen-Alpha (Hα) Light: The stock IR filter in most DSLRs blocks a significant portion of the Hα light, which is crucial for capturing nebulae and other celestial objects. By modifying your DSLR, you allow more of this light to reach the camera sensor.
- Improved Color Balance: Modified DSLRs can capture more accurate colors of celestial objects, making your images more vibrant and true to life.
- Increased Detail: With more light reaching the sensor, you can capture finer details in your astrophotography, resulting in sharper and more detailed images.
Benefits of Modified DSLRs for Astrophotography
The benefits of using a modified DSLR for astrophotography are numerous. Heres a detailed look:
Enhanced Sensitivity to Hydrogen-Alpha (Hα) Light
One of the most significant advantages of a modified DSLR is its enhanced sensitivity to Hα light. This light is emitted by ionized hydrogen atoms, which are abundant in many celestial objects, especially nebulae. By capturing more Hα light, your images will reveal more intricate details and vibrant colors.
Heres a simple comparison to illustrate the difference:
| Feature | Stock DSLR | Modified DSLR |
|---|---|---|
| Hα Light Sensitivity | Low | High |
| Color Accuracy | Moderate | High |
| Detail Capture | Moderate | High |
Improved Color Balance
A modified DSLR can capture a wider range of colors, especially in the red spectrum, which is often muted in stock DSLRs. This improved color balance makes your images more realistic and aesthetically pleasing.
Increased Detail
With more light reaching the sensor, a modified DSLR can capture finer details in your astrophotography. This increased detail is particularly noticeable in images of nebulae and galaxies, where the additional light can reveal subtle structures and textures.
Techniques for Using Modified DSLRs in Astrophotography
Using a modified DSLR for astrophotography requires some specific techniques to get the best results. Here are some tips:
Use the Right Lens
Choosing the right lens is crucial for astrophotography. A lens with a wide aperture (f/2.8 or lower) is ideal as it allows more light to reach the sensor. You can find more information on essential lenses for capturing the night sky here.
Proper Mount and Tracking
A good mount and tracking system are essential for long-exposure astrophotography. These systems help keep your camera steady and track celestial objects as they move across the sky. Learn more about mounts and tracking systems here.
Use Filters
Filters can enhance your astrophotography by blocking unwanted light and enhancing specific wavelengths. For example, a light pollution filter can help reduce the effects of artificial lights. Discover the best filters for enhancing your astrophotography shots here.
Power Solutions
Astrophotography often requires long exposure times, which can drain your camera’s battery quickly. Portable power solutions can keep your camera running all night. Check out some portable power solutions for nighttime astrophotography here.
Practical Steps to Modify Your DSLR
If youre ready to modify your DSLR, here are some practical steps:
Research
Before you start, research the specific modification process for your camera model. There are many online guides and forums where experienced astrophotographers share their knowledge.
Gather Tools
Youll need some basic tools for the modification process, including:
- Small screwdrivers
- Tweezers
- Cleaning cloths
- Replacement IR filter (if needed)
Follow Instructions
Carefully follow the instructions for your camera model. The process typically involves removing the cameras body, locating the IR filter, and either removing or replacing it.
Test Your Camera
After the modification, test your camera to ensure everything is working correctly. Take some test shots of the night sky to see the difference in sensitivity and color balance.
Comparing Stock and Modified DSLRs
To help you decide whether to modify your DSLR, heres a comparison table highlighting the key differences:
| Feature | Stock DSLR | Modified DSLR |
|---|---|---|
| Hα Light Sensitivity | Low | High |
| Color Accuracy | Moderate | High |
| Detail Capture | Moderate | High |
| Ease of Use | High | Moderate |
| Cost | Lower | Higher |
Essential Techniques for Using Modified DSLRs
Astrophotography is an art form that captures the splendor of the night sky. Using modified DSLRs can elevate your celestial captures to new heights. Lets dive into the essential techniques for using these specialized cameras.
Setting Up Your Camera
Setting up your camera is the first step in your astrophotography journey. Its crucial to get this right to capture those stunning night sky images.
1. Choose a Dark Location
Find a spot away from city lights. Light pollution can ruin your shots. Dark skies are your best friend in astrophotography.
2. Use a Sturdy Tripod
A stable base is essential. A good tripod prevents camera shake and keeps your images sharp. Check out this guide to tripods for astrophotography for more details.
3. Set Your Camera to Manual Mode
Manual mode gives you full control over your settings. This is vital for capturing the night sky. Lets break down the key settings:
| Setting | Recommended Value |
|---|---|
| ISO | 800-3200 |
| Aperture | f/2.8 or lower |
| Shutter Speed | 20-30 seconds |
4. Focus on Infinity
Focusing can be tricky at night. Set your lens to manual focus and adjust it to infinity. Use live view and zoom in to fine-tune your focus on a bright star or distant light.
Choosing the Right Lens
The lens you choose can make or break your astrophotography. Different lenses offer various benefits, and selecting the right one is key.
1. Wide-Angle Lenses
Wide-angle lenses are great for capturing vast portions of the sky. They allow more light to hit the sensor, which is perfect for night shots. For more on choosing lenses, visit this essential lenses guide.
| Lens Type | Benefits |
|---|---|
| Wide-Angle | Captures large sky areas, more light |
| Prime Lens | Sharp images, less distortion |
2. Prime Lenses
Prime lenses have a fixed focal length. They often produce sharper images than zoom lenses. A 50mm prime lens with a wide aperture is a solid choice for astrophotography.
3. Zoom Lenses
Zoom lenses offer flexibility. You can capture wide shots and zoom in on specific celestial objects. However, they might not be as sharp as prime lenses.
Post-Processing Your Astrophotography Images
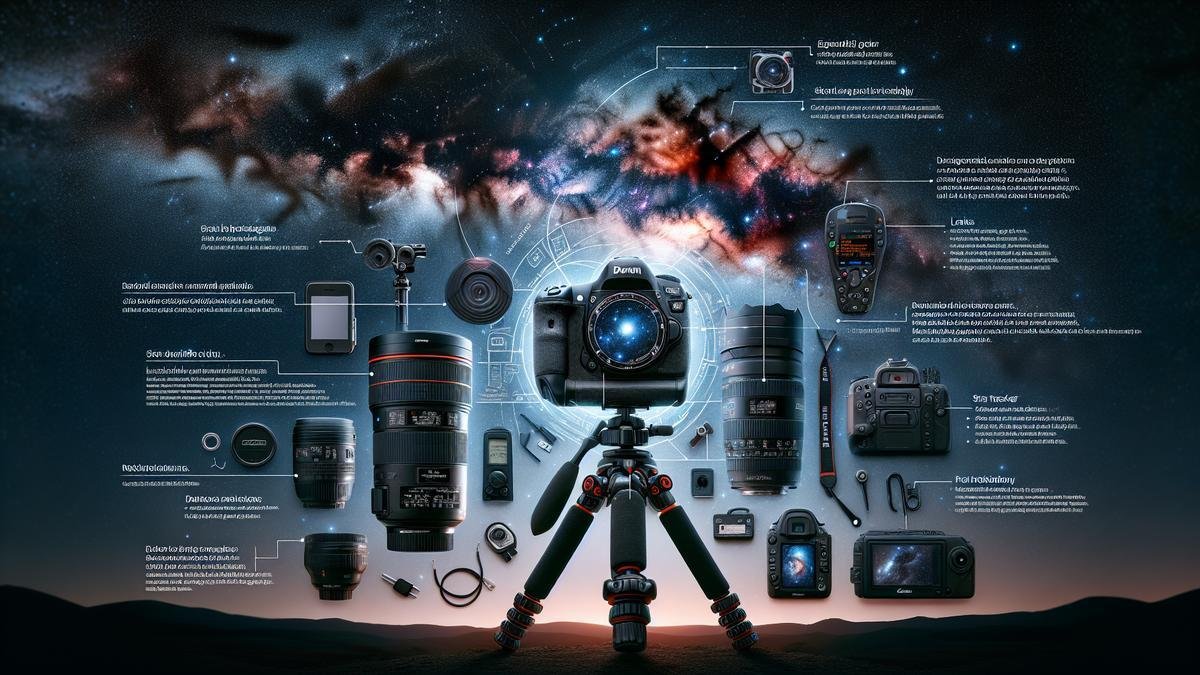
So, you’ve spent hours under the stars, capturing those celestial wonders with your modified DSLR. Now, it’s time to bring those images to life through post-processing. This step is where the magic happens, turning your raw captures into breathtaking masterpieces.
Basic Editing Tips
Post-processing may seem a bit intimidating at first, but with some basic tips, you’ll be enhancing your astrophotography images like a pro. Here are some essential steps to get you started:
- Adjust the White Balance: The color balance in your images might be off, especially if you’re shooting in RAW format. Adjusting the white balance can make a huge difference in how your stars and nebulae appear.
- Noise Reduction: Astrophotography often involves long exposures, which can introduce noise. Use noise reduction tools to clean up your images without losing too much detail.
- Contrast and Brightness: Tweaking the contrast and brightness helps to highlight the stars and bring out the details in the darker areas of your photos.
- Sharpening: Sharpening your images can help to bring out the finer details in your celestial subjects. Be careful not to overdo it, as this can introduce artifacts.
- Color Correction: Adjusting the colors can help to make your images more vibrant and realistic. Pay attention to the hues of the stars and nebulae to ensure they look natural.
- Stacking Images: For more advanced users, stacking multiple images can significantly improve the quality of your final photo by reducing noise and increasing detail.
Software Recommendations
Having the right software can make a world of difference in your post-processing workflow. Here are some top recommendations:
| Software | Description |
|---|---|
| Adobe Photoshop | A powerful tool for detailed editing and manipulation of your images. |
| Adobe Lightroom | Great for batch processing and basic adjustments. |
| DeepSkyStacker | Perfect for stacking multiple images to reduce noise and enhance detail. |
| PixInsight | A specialized tool for astrophotography with advanced features for image processing. |
| GIMP | A free and open-source alternative to Photoshop, suitable for basic to intermediate editing. |
Enhancing Details in Your Photos
Enhancing the details in your astrophotography images can make them truly stand out. Here are some techniques to help you achieve that:
Using Layer Masks
Layer masks in software like Photoshop allow you to apply adjustments to specific areas of your image. This can be useful for enhancing the details in certain parts of your photo without affecting the entire image.
High Dynamic Range (HDR) Processing
HDR processing involves combining multiple exposures to create a single image with a greater range of luminosity. This technique can help to bring out details in both the bright and dark areas of your photos.
Curves Adjustment
The curves adjustment tool allows you to fine-tune the brightness and contrast of your image. By adjusting the curve, you can enhance the details in the midtones and bring out the subtle features of your celestial subjects.
Selective Sharpening
Instead of sharpening the entire image, focus on the areas where you want to enhance the details. This can help to avoid introducing noise and artifacts in other parts of your photo.
Star Reduction
In some cases, reducing the size of the stars in your image can help to bring out the details in the nebulae and other celestial objects. This can be done using specific star reduction tools available in software like PixInsight.
Choosing the Right Location for Astrophotography
Finding Dark Skies
When you’re diving into the world of astrophotography, the first thing you need to do is find dark skies. The darker, the better. Light pollution can ruin your shots, so you want to get as far away from city lights as possible. Think about heading to national parks or remote rural areas.
Some Tips to Find Dark Skies:
- Use Light Pollution Maps: Websites and apps like Dark Site Finder can help you locate the darkest spots near you.
- Ask Local Astronomy Clubs: They often know the best spots for stargazing and photography.
- Scout Locations During the Day: This helps you get familiar with the area and find good vantage points.
Avoiding Light Pollution
Light pollution is the enemy of astrophotography. Streetlights, car headlights, and even the glow from nearby towns can wash out the stars. Here are some ways to avoid it:
Strategies to Avoid Light Pollution:
- Go Higher: Elevation can help. Mountains and high-altitude areas often have less light pollution.
- Shield Your Camera: Use a lens hood or even your hand to block stray light.
- Plan Your Shots: Know when local lights are less active. Late at night or early in the morning is usually best.
Best Times for Astrophotography
Timing is everything. The best times for astrophotography are during the new moon and when the sky is clear.
Ideal Times to Shoot:
- New Moon: The absence of the moon means less light interference.
- Clear Nights: Check weather forecasts for clear skies.
- Winter Months: The nights are longer, giving you more time to shoot.
Understanding Modified DSLRs for Astrophotography
What is a Modified DSLR?
A modified DSLR is a camera that has been altered to enhance its ability to capture the night sky. Typically, this involves removing the infrared (IR) filter that comes standard in most DSLRs. This allows the camera to capture more light, especially in the red and near-infrared spectrum, which is abundant in many celestial objects.
Benefits of Using Modified DSLRs:
- Enhanced Sensitivity: Captures more light, revealing details invisible to the naked eye.
- Better Color Accuracy: Especially for nebulae and other deep-sky objects.
- Versatility: Can still be used for daytime photography with the right filters.
Techniques for Using Modified DSLRs
Using a modified DSLR requires some specific techniques to get the best results.
Steps to Optimize Your Shots:
- Use the Right Lenses: Wide-angle lenses are great for capturing large portions of the sky. Check out some essential lenses for capturing the night sky.
- Manual Focus: Autofocus can struggle in low light. Switch to manual focus and use live view to zoom in on a bright star for precise focusing.
- Long Exposure Times: Use a tripod and remote shutter release to avoid camera shake. You might also want to look into tripods for astrophotography.
- ISO Settings: Start with a high ISO (1600 or higher) but be mindful of noise. Each camera is different, so experiment to find the sweet spot.
Comparing DSLRs and Mirrorless Cameras
It’s worth considering whether a DSLR or a mirrorless camera is better for your needs. Both have their pros and cons.
Pros and Cons Table:
| Feature | DSLR | Mirrorless |
|---|---|---|
| Battery Life | Generally longer | Shorter, but improving |
| Weight | Heavier | Lighter |
| Lens Availability | More options available | Growing selection |
| Viewfinder | Optical (no lag) | Electronic (can show more information) |
| Astro Modifications | Easier to find services | Fewer options, but growing |
Must-Have Accessories
Astrophotography isn’t just about the camera. You’ll need a variety of accessories to get the best shots.
Essential Accessories:
- Tripod: Stability is crucial. A sturdy tripod is a must.
- Remote Shutter Release: Avoids camera shake during long exposures.
- Portable Power Solutions: Keep your gear running all night. Check out portable power solutions.
- Filters: Light pollution filters can make a huge difference. Learn more about the best filters for enhancing your astrophotography shots.
Budget-Friendly Options
Astrophotography can get expensive, but there are budget-friendly ways to get started.
Budget-Friendly Gear:
- Entry-Level DSLRs: Older models can be modified for astrophotography at a lower cost.
- Used Equipment: Check online marketplaces for used gear.
- DIY Modifications: If you’re handy, you can modify your own camera. Just be careful!
For more tips on affordable gear, take a look at budget-friendly astrophotography gear for beginners.
Choosing the Best Telescope
If you want to get up close and personal with celestial objects, a telescope is a great investment.
Tips for Choosing a Telescope:
- Aperture Size: Bigger apertures gather more light, but they’re also heavier and more expensive.
- Mount: A good mount is just as important as the telescope itself. Learn more about mounts and tracking systems.
- Portability: If you plan to travel to dark sky locations, consider the weight and size of the telescope.
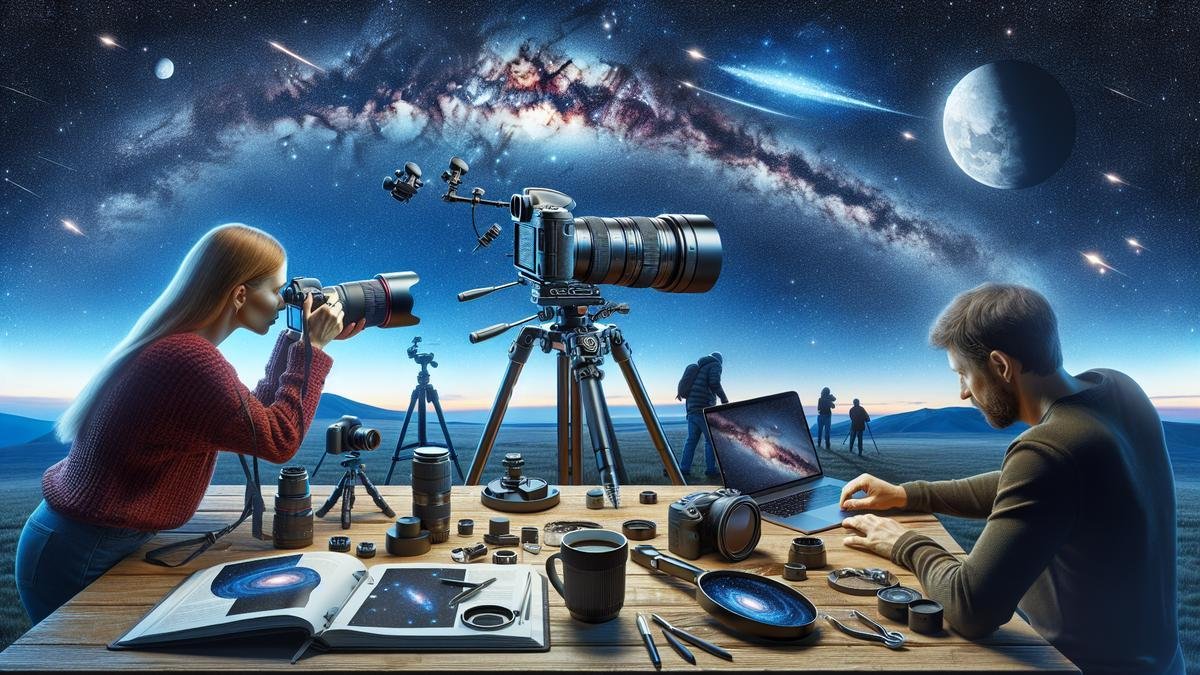
Equipment and Accessories for Modified DSLRs
Diving into astrophotography with a modified DSLR is like unlocking a treasure chest of celestial wonders. To get the most out of your adventures under the stars, having the right gear is crucial. Lets break down the essentials.
Tripods and Mounts
When capturing the night sky, stability is your best friend. A sturdy tripod is the foundation of any successful astrophotography setup. You dont want your camera wobbling when youre trying to capture faint stars or galaxies.
Key Features to Look For in Tripods
| Feature | Importance |
|---|---|
| Stability | Prevents camera shake and ensures sharp images. |
| Portability | Lightweight and easy to carry, especially for remote locations. |
| Adjustability | Allows you to set up on uneven terrain and adjust angles easily. |
| Load Capacity | Must support the weight of your camera and any additional accessories. |
For detailed recommendations on the best tripods, you might want to check out tripods for astrophotography.
Mounts: The Secret to Long Exposures
Mounts, especially equatorial mounts, are game-changers. They track the movement of the stars, letting you take longer exposures without star trails. Heres what to consider:
| Type of Mount | Benefits |
|---|---|
| Alt-Azimuth Mount | Simple and easy to use, but limited for long exposures. |
| Equatorial Mount | Tracks the rotation of the Earth, ideal for long exposures and deep sky. |
| Go-To Mount | Automated tracking and object locating, great for beginners. |
For a deeper dive into mounts, explore the guide to astrophotography mounts.
Remote Shutter Releases
A remote shutter release is like having an extra pair of hands. It allows you to take photos without touching your camera, which can cause vibrations. Heres why you need one:
- Reduces Camera Shake: Even the slightest touch can blur your image.
- Enables Long Exposures: Perfect for capturing faint celestial objects.
- Convenience: You can take multiple shots without constantly going back to your camera.
Types of Remote Shutter Releases
| Type | Features |
|---|---|
| Wired | Simple and reliable, but limited by cable length. |
| Wireless | More flexibility and range, but can be pricier. |
| Intervalometers | Allows you to set intervals, perfect for time-lapse astrophotography. |
Filters and Their Uses
Filters can make a world of difference in your astrophotography. They help you capture more detail and contrast in your images.
Types of Filters
| Filter Type | Use Case |
|---|---|
| UV/IR Cut Filter | Blocks ultraviolet and infrared light, which can cause image distortion. |
| Light Pollution Filter | Reduces the effects of artificial lights, ideal for urban areas. |
| H-alpha Filter | Enhances the visibility of nebulae and other deep-sky objects. |
For a comprehensive look at the best filters, consider visiting the best filters for enhancing your astrophotography shots.
Common Challenges and How to Overcome Them
Astrophotography with modified DSLRs opens up a universe of possibilities. However, it comes with its own set of challenges. Let’s delve into the common hurdles you might face and practical ways to navigate them.
Dealing with Noise
Noise can be the bane of your astrophotography journey. It manifests as unwanted specks and distortions in your images, often due to long exposure times and high ISO settings. Here’s how you can tackle it:
Techniques to Reduce Noise
- Use Lower ISO Settings: While higher ISO settings can make your camera more sensitive to light, they also increase noise. Try balancing ISO with exposure time to minimize noise.
- Dark Frame Subtraction: Take a dark frame (an exposure with the lens cap on) and subtract it from your light frames. This helps in reducing thermal noise.
- Stacking Multiple Exposures: Combine several shorter exposures instead of one long one. Software like DeepSkyStacker can help you with this.
- Post-Processing Software: Tools like Adobe Lightroom and Photoshop offer noise reduction features. Use them to clean up your images post-capture.
Table: Noise Reduction Techniques
| Technique | Description |
|---|---|
| Lower ISO Settings | Balancing ISO with exposure time to minimize noise. |
| Dark Frame Subtraction | Subtracting a dark frame from light frames to reduce thermal noise. |
| Stacking Multiple Frames | Combining several shorter exposures to reduce noise. |
| Post-Processing Software | Using software like Lightroom and Photoshop for noise reduction. |
Focusing in the Dark
Getting a sharp focus in the dark can be tricky. Here are some tips to help you achieve pinpoint accuracy:
Methods for Achieving Sharp Focus
- Live View Mode: Use your camera’s live view mode to zoom in on a bright star and adjust the focus until it’s sharp.
- Bahtinov Mask: This is a focusing aid that creates diffraction spikes around stars. Adjust until the spikes are symmetrical.
- Manual Focus: Switch to manual focus and use the infinity mark on your lens as a starting point. Fine-tune from there.
- Software Assistance: Applications like BackyardEOS can assist in achieving precise focus by analyzing star shapes.
Table: Focusing Techniques
| Method | Description |
|---|---|
| Live View Mode | Zooming in on a bright star to adjust focus. |
| Bahtinov Mask | Using a mask to create diffraction spikes for precise focus. |
| Manual Focus | Using the infinity mark on your lens as a starting point. |
| Software Assistance | Using applications like BackyardEOS to analyze star shapes for focus. |
Weather and Environmental Factors
The weather can be unpredictable, and environmental factors can significantly impact your astrophotography sessions. Here’s how to deal with them:
Strategies for Managing Weather and Environmental Challenges
- Check Weather Forecasts: Use apps like Clear Outside to get accurate weather predictions for your location.
- Plan for Dew: Dew can form on your lens during long exposures. Use dew heaters or chemical hand warmers to keep your lens dry.
- Light Pollution: Find a dark sky location away from city lights. Use light pollution filters to enhance your images.
- Wind and Stability: Wind can shake your setup. Use sturdy tripods and consider adding weights to stabilize your gear.
Frequently Asked Questions
What is a modified DSLR for astrophotography?
A modified DSLR is a camera that’s been altered to capture more light from the night sky. This means better photos of stars and galaxies.
Why should you use a modified DSLR for astrophotography?
Using a modified DSLR lets you see more details in your shots. It helps capture colors and objects that regular cameras miss.
What are the main techniques for using a modified DSLR in astrophotography?
1. Use long exposures
Keep the shutter open longer to gather more light.
2. Shoot in RAW format
Capture more data for editing later.
3. Use a star tracker
Keeps stars sharp by following their movement.
What are the benefits of astrophotography with modified DSLRs?
1. Enhanced sensitivity
Capture more IR light.
2. Better color accuracy
See vivid colors in the night sky.
3. Improved details
Sharper and clearer images.
Do you need special software for editing astrophotography images?
Yes, specialized software can help. Programs like DeepSkyStacker or Adobe Photoshop can enhance your photos.

