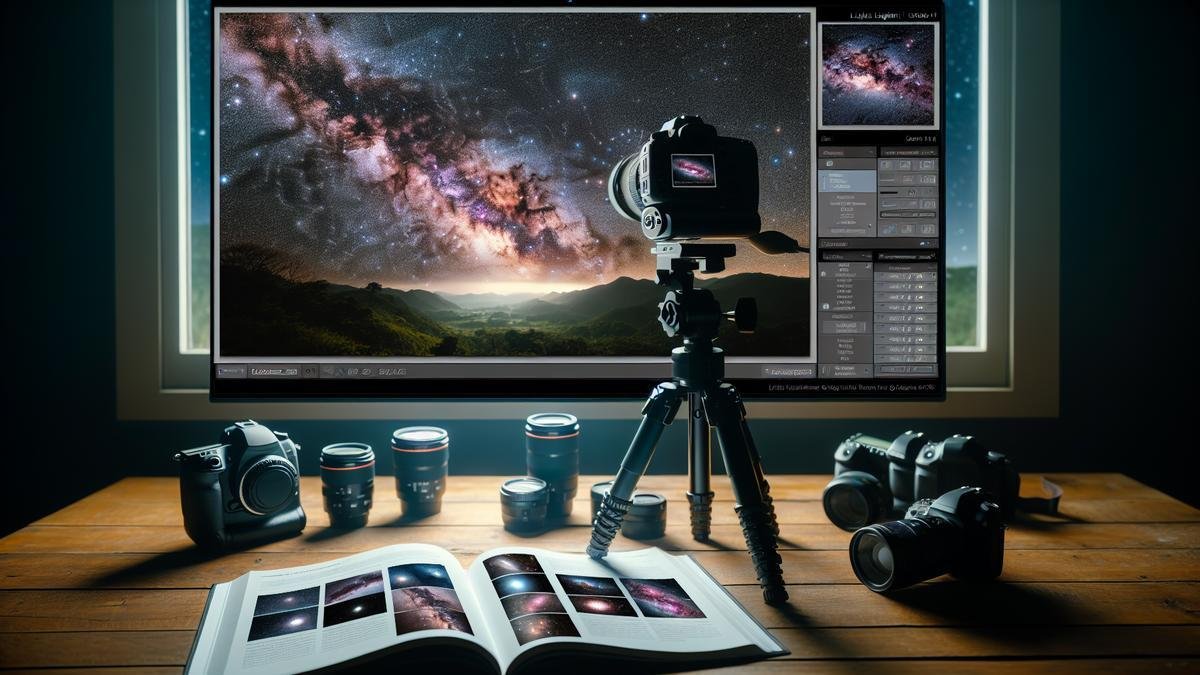
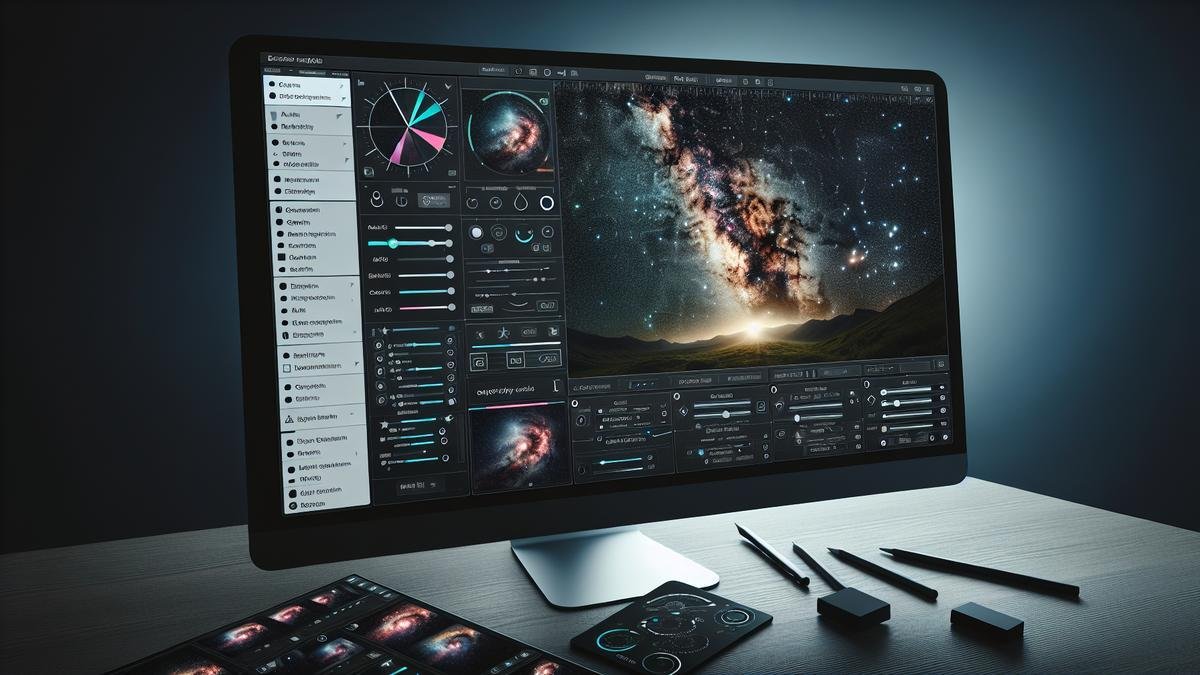
Using Lightroom for Astrophotography: A Beginners Guide is here to make your night sky photos shine! Whether you’re just starting or looking to spice up your skills, we’ll walk you through everything from installing Lightroom to fine-tuning your stars. You’ll dive into essential tools, learn to adjust exposure and contrast, and discover how to boost colors in the Milky Way. Plus, weve got tips on organizing your photos and getting them ready to share or print. Ready to turn your celestial snapshots into stunning masterpieces? Lets get started!
Key Takeaways
- Understanding camera settings is crucial.
- Edit raw images for the best results.
- Use noise reduction tools wisely.
- Adjust lighting and contrast to enhance stars.
- Practice regularly for improved skills.
Getting Started with Lightroom for Astrophotography
So, you’re ready to dive into the magical world of astrophotography, and you’ve got your stunning shots of the night sky. Now, let’s make those stars pop using Lightroom. Lightroom is a powerful tool that can help you bring out the best in your astrophotography. Let’s get started!
Installing and Setting Up Lightroom
First things first, you need to get Lightroom on your computer. Here’s a quick guide to help you install and set up Lightroom:
- Download Lightroom: Head over to the Adobe website and download Lightroom. They offer a free trial if you want to test it out before committing.
- Install the Software: Follow the on-screen instructions to install Lightroom on your computer.
- Create an Adobe Account: If you don’t already have one, you’ll need to create an Adobe account to use Lightroom.
- Launch Lightroom: Once installed, open Lightroom and log in with your Adobe account.
Now that you have Lightroom up and running, it’s time to set it up for your astrophotography needs.
Setting Up Lightroom
When you first open Lightroom, you’ll want to customize a few settings to make your editing process smoother:
- Preferences: Go to ‘Edit’ > ‘Preferences’ (Windows) or ‘Lightroom’ > ‘Preferences’ (Mac). Here, you can adjust settings like performance, interface, and file handling.
- Catalog Settings: Go to ‘Edit’ > ‘Catalog Settings’ (Windows) or ‘Lightroom’ > ‘Catalog Settings’ (Mac). This is where you can set up how Lightroom handles your photo library.
Importing Your Astrophotography Photos
Let’s get those stunning night sky shots into Lightroom. Follow these steps to import your photos:
- Connect Your Camera or Memory Card: Plug in your camera or insert your memory card into your computer.
- Open the Import Dialog: In Lightroom, click on the ‘Import’ button in the bottom left corner of the Library module.
- Select Your Photos: Choose the photos you want to import. You can select all or pick specific ones.
- Choose a Destination: Decide where you want to store your photos on your computer.
- Import: Click on the ‘Import’ button in the bottom right corner.
Your photos are now in Lightroom, ready for editing.
Basic Tools for Beginners
Now, let’s get into the fun part – editing your photos! Here are some basic tools in Lightroom that are perfect for beginners:
- Crop Tool: Helps you frame your shot perfectly.
- Exposure: Adjusts the overall brightness of your photo.
- Contrast: Makes the darks darker and the lights lighter.
- Highlights: Adjusts the brightest parts of your photo.
- Shadows: Adjusts the darkest parts of your photo.
- Whites and Blacks: Fine-tune the brightest and darkest points.
- Clarity: Adds depth by increasing mid-tone contrast.
- Dehaze: Reduces haze and brings back details in your photo.
Here’s a quick table to summarize these tools:
| Tool | Function |
|---|---|
| Crop Tool | Frames your shot perfectly |
| Exposure | Adjusts overall brightness |
| Contrast | Enhances darks and lights |
| Highlights | Tweaks the brightest parts |
| Shadows | Tweaks the darkest parts |
| Whites & Blacks | Fine-tunes the brightest and darkest points |
| Clarity | Adds depth through mid-tone contrast |
| Dehaze | Reduces haze and restores details |
Essential Lightroom Tools for Astrophotography
Using the Develop Module
Alright, youve captured some stunning shots of the night sky. Now, its time to bring out the best in those photos using Lightrooms Develop Module. This is where the magic happens. Youll find all the essential tools to tweak and transform your images.
Adjusting Exposure and Contrast
First things first, let’s talk about Exposure and Contrast. These are your bread and butter.
- Exposure: This slider will help you brighten or darken your image. Night sky photos can often be underexposed, so you might need to increase the exposure.
- Contrast: Adding contrast will make the stars pop against the dark sky. Be careful not to overdo it, though. Too much contrast can make your image look unnatural.
Heres a quick table to summarize:
| Tool | Purpose | Tip |
|---|---|---|
| Exposure | Brightens or darkens the entire image | Increase slightly to reveal more details |
| Contrast | Enhances the difference between lights and darks | Add just enough to make stars stand out |
Fine-Tuning Your Stars
Now, lets get into some finer details. You want those stars to shine, right? Heres how you can fine-tune them:
Clarity and Dehaze
- Clarity: This tool can add a bit of punch to your stars. It increases the midtone contrast, making the stars appear sharper.
- Dehaze: This is a gem. It helps reduce any haze or light pollution in your image, making the sky look clearer.
| Tool | Purpose | Tip |
|---|---|---|
| Clarity | Increases midtone contrast | Use sparingly to avoid noise |
| Dehaze | Reduces haze and light pollution | Adjust until the sky looks clear |
Noise Reduction and Sharpening
Astrophotography often involves long exposures, which can introduce noise. Heres how to handle it:
- Noise Reduction: This tool helps smooth out the graininess in your image. Focus on reducing color noise first.
- Sharpening: After reducing noise, youll want to sharpen the stars. This will bring back some of the lost details.
Heres another handy table:
| Tool | Purpose | Tip |
|---|---|---|
| Noise Reduction | Smooths out graininess | Prioritize reducing color noise |
| Sharpening | Enhances details | Apply after noise reduction |
Color Adjustments
Next up, lets talk about color. The night sky isnt just black and white. You can bring out some stunning colors with these adjustments:
- White Balance: Adjust this to give your sky a natural look. You might find that a cooler temperature works best.
- Saturation and Vibrance: These tools can help you enhance the colors without making them look too artificial.
Heres a quick summary:
| Tool | Purpose | Tip |
|---|---|---|
| White Balance | Adjusts the overall color tone | Cooler temperatures often work well |
| Saturation and Vibrance | Enhances colors | Use Vibrance for a more subtle effect |
Enhancing Your Night Sky Photos
Reducing Noise in Your Images
Astrophotography can be tricky. One of the biggest challenges you’ll face is noise. Noise can make your beautiful night sky photos look grainy and less sharp. But don’t worry, there are some simple steps to reduce noise in your images using Lightroom.
- Adjust the Luminance Slider: Go to the ‘Detail’ panel in Lightroom. Here, you’ll find the ‘Noise Reduction’ section. Move the Luminance slider to the right. This will help smooth out the grainy parts of your photo.
- Fine-Tune Luminance Detail: After adjusting the Luminance, you might notice some details getting blurred. Use the Luminance Detail slider to bring back some of the lost details without reintroducing too much noise.
- Use Color Noise Reduction: Sometimes, noise can appear as tiny colored specks. Adjust the Color slider to remove these specks. This will make your photo look cleaner and more professional.
Here’s a quick reference table to help you remember these steps:
| Step | Action | Result |
|---|---|---|
| Adjust Luminance | Move Luminance slider right | Reduces overall noise |
| Fine-Tune Luminance | Adjust Luminance Detail slider | Restores some lost details |
| Color Noise Reduction | Move Color slider right | Removes colored specks |
Boosting Colors in the Milky Way
The Milky Way is stunning, but sometimes the colors don’t pop as much as you’d like. Here’s how to make those colors stand out:
- Increase Saturation: In the ‘Basic’ panel, find the ‘Saturation’ slider. Move it to the right. This will enhance all the colors in your photo.
- Use the HSL Panel: For more control, go to the ‘HSL/Color’ panel. Here, you can adjust the Hue, Saturation, and Luminance of specific colors. For example, increasing the saturation of blues and purples can make the Milky Way look more vibrant.
- Adjust White Balance: Sometimes, just tweaking the White Balance can make a huge difference. Try moving the Temp slider towards the blue side to enhance the cool tones in the night sky.
Here’s a table to summarize these steps:
| Step | Action | Result |
|---|---|---|
| Increase Saturation | Move Saturation slider right | Enhances all colors |
| Use HSL Panel | Adjust Hue, Saturation, Luminance | Enhances specific colors |
| Adjust White Balance | Move Temp slider towards blue | Enhances cool tones |
Making Stars Pop
Stars are the main attraction in any night sky photo. Here’s how to make them shine:
- Increase Clarity: In the ‘Basic’ panel, find the ‘Clarity’ slider. Move it to the right. This will make the stars stand out more against the dark sky.
- Use the Dehaze Tool: The ‘Dehaze’ tool is also in the ‘Basic’ panel. Moving this slider to the right can make the stars pop by reducing any haze or light pollution in your photo.
- Sharpening: Go to the ‘Detail’ panel and find the ‘Sharpening’ section. Increase the Amount slider to make the stars look sharper. Be careful not to overdo it, as too much sharpening can introduce noise.
Here’s a quick reference table for making stars pop:
| Step | Action | Result |
|---|---|---|
| Increase Clarity | Move Clarity slider right | Makes stars stand out |
| Use Dehaze Tool | Move Dehaze slider right | Reduces haze, enhances stars |
| Sharpening | Increase Amount slider | Makes stars sharper |
Organizing Your Astrophotography Library
So, you’ve got some stunning shots of the night sky. But now what? How do you keep track of all those breathtaking images? Organizing your astrophotography library can feel like herding cats, but with a few simple tricks, you can make it a breeze. Let’s dive into the nitty-gritty of creating collections and folders, tagging, and rating your photos.
Creating Collections and Folders
First things first, you need a system. Think of it like setting up a filing cabinet for your photos. Lightroom makes this super easy.
Steps to Create Collections and Folders:
- Open Lightroom and head to the Library module.
- Right-click on the Collections panel.
- Select Create Collection.
Heres a little cheat sheet to get you started:
| Collection Type | Description |
|---|---|
| Date-Based | Organize by the date you took the photos. Great for tracking progress over time. |
| Location-Based | Perfect for remembering where you captured that amazing Milky Way shot. |
| Event-Based | Ideal for specific celestial events like meteor showers or eclipses. |
Tagging and Rating Your Photos
Once youve got your collections and folders set up, it’s time to add some tags and ratings. This step is like adding labels and sticky notes to your filing cabinet. It helps you find exactly what you’re looking for without digging through piles of photos.
Steps to Tag and Rate:
- Select a photo in Lightroom.
- Add tags in the Keywords panel.
- Rate your photo using the star rating system.
Here’s a quick guide:
| Rating | Meaning |
|---|---|
| 1 Star | Needs improvement |
| 2 Stars | Decent, but not great |
| 3 Stars | Good, but not your best |
| 4 Stars | Excellent, almost perfect |
| 5 Stars | Absolute masterpiece |
Easy Access to Your Best Shots
Now, let’s talk about how to make sure your best shots are always at your fingertips. You dont want to be scrolling endlessly when you want to show off your work.
Pro Tips for Easy Access:
- Create a “Best Of” Collection: Move your top-rated photos into this collection for quick access.
- Use Smart Collections: These automatically update based on criteria you set, like star rating or tags.
Here’s a simple table to make it even clearer:
| Action | Result |
|---|---|
| Add to “Best Of” Collection | Quick access to top photos |
| Use Smart Collections | Automatically updated collections based on criteria |
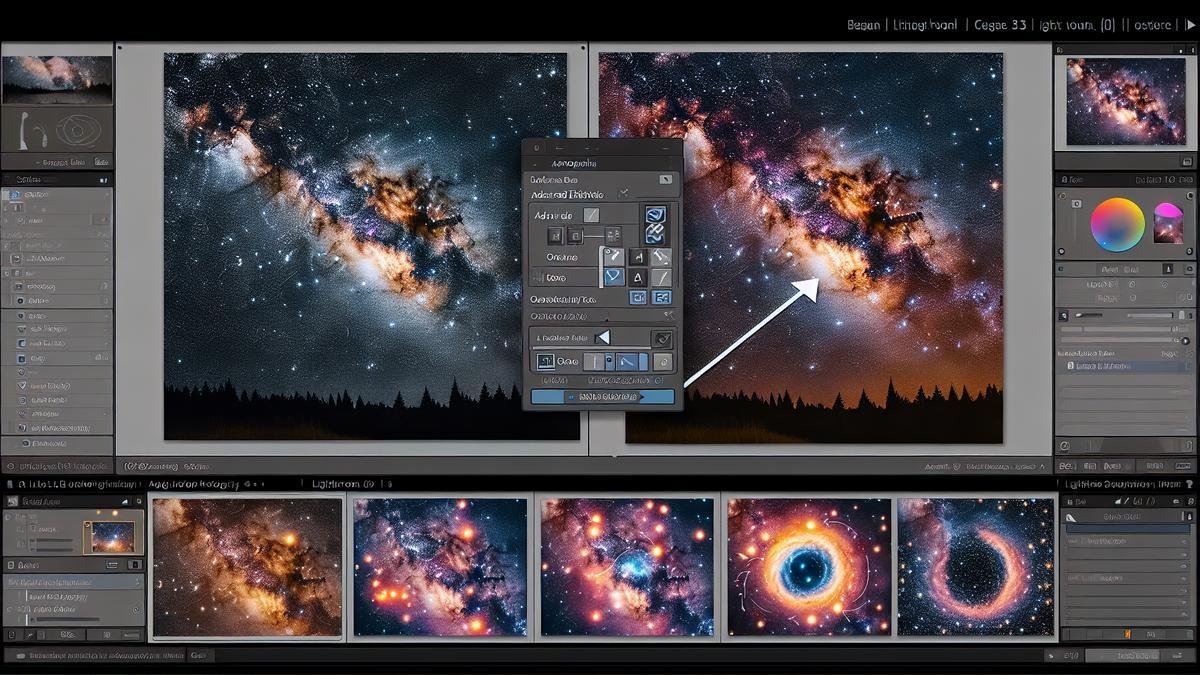
Advanced Editing Techniques in Lightroom
Alright, you’ve captured some stunning shots of the night sky. Now, let’s dive into Lightroom to make those stars pop. Editing might seem like a mountain to climb, but with some nifty tricks, you’ll be over the moon with your results.
Using Graduated Filters
Graduated filters are your best friend when it comes to enhancing the sky. They let you adjust the exposure, contrast, and other settings in specific areas of your photo.
Steps to Use Graduated Filters:
- Open Lightroom: Import your photo.
- Select Graduated Filter: Find it in the tools panel.
- Drag Across the Sky: Click and drag to create the filter.
- Adjust Settings: Tweak exposure, contrast, and clarity.
Here’s a quick table to help you remember the key adjustments:
| Adjustment | Purpose |
|---|---|
| Exposure | Brightens or darkens the area |
| Contrast | Adds depth and dimension |
| Clarity | Enhances details |
Applying Local Adjustments
Local adjustments let you fine-tune specific parts of your photo. This is where you can really make those stars shine.
Steps to Apply Local Adjustments:
- Select Adjustment Brush: Found in the tools panel.
- Paint Over Area: Click and drag over the area you want to adjust.
- Tweak Settings: Adjust exposure, contrast, and sharpness.
Here’s a handy table for local adjustments:
| Adjustment | Purpose |
|---|---|
| Exposure | Brightens or darkens specific parts |
| Contrast | Adds depth to specific areas |
| Sharpness | Makes stars stand out |
Perfecting Your Final Image
Now that you’ve made your adjustments, it’s time to perfect your final image. This step is all about the little details that make a big difference.
Steps to Perfect Your Image:
- Zoom In: Check for noise and unwanted artifacts.
- Use Noise Reduction: Found in the detail panel.
- Adjust Color Balance: Make sure the colors look natural.
Here’s a table to guide you:
| Adjustment | Purpose |
|---|---|
| Noise Reduction | Reduces graininess |
| Color Balance | Ensures natural colors |
| Sharpness | Enhances details |
Exporting and Sharing Your Astrophotography
Choosing the Right File Format
When youre ready to show off your stunning night sky photos, you need to pick the right file format. This can make a big difference in how your images look and how easily they can be shared.
- JPEG: This is the most common format for sharing on social media. Its great because it compresses the file size, making it quicker to upload. But, remember, this can sometimes reduce the image quality.
- TIFF: If you want to keep the highest quality for printing or further editing, go with TIFF. It doesnt compress your image, so you keep all the fine details.
- PNG: This is a good middle-ground. It compresses the file but not as much as JPEG, so you keep more detail. Its also great for sharing online.
Heres a quick comparison table to help you decide:
| File Format | Best For | Pros | Cons |
|---|---|---|---|
| JPEG | Social Media | Small file size, easy to share | Loss of quality due to compression |
| TIFF | Printing, further editing | No loss of quality | Large file size |
| PNG | Online sharing, web use | Better quality than JPEG, supports transparency | Larger file size than JPEG |
Sharing on Social Media
Now that youve got the right file format, its time to share your work with the world. Social media is a fantastic platform for this. But, there are a few things you should keep in mind:
- Resolution: Many social media platforms compress images. To keep your photos looking sharp, upload them in the highest resolution possible.
- Watermarking: If youre worried about people using your images without permission, add a watermark. It can be your name or logo.
- Hashtags: Use relevant hashtags to reach a wider audience. Some popular ones include #astrophotography, #nightphotography, and #milkyway.
And heres a tip: engage with your audience. Respond to comments and join photography groups. This will help you build a community around your work.
Printing Your Night Sky Masterpiece
Seeing your astrophotography in print is a whole other level of satisfaction. Its like holding a piece of the universe in your hands. Heres how you can make sure your prints look as good as your digital images:
Choosing the Print Size
First, decide on the size of your print. Larger prints are great for showing off all the details in your photos. Heres a table to help you choose:
| Print Size | Best Use |
|---|---|
| 4×6 inches | Small frames, photo albums |
| 8×10 inches | Medium frames, wall displays |
| 16×20 inches | Large frames, focal wall pieces |
| 24×36 inches | Posters, gallery displays |
Selecting the Paper
The type of paper you choose can also affect how your prints look. Here are some options:
- Glossy: This paper makes colors pop and gives a shiny finish. Its great for vibrant images but can show fingerprints.
- Matte: This paper has a non-reflective finish. Its good for images with a lot of detail and doesnt show fingerprints.
- Luster: This is a mix between glossy and matte. It has a slight shine but doesnt show fingerprints as much as glossy paper.
Using a Professional Printer
For the best results, use a professional printing service. They have high-quality printers and paper that can make your photos look amazing. Heres what to look for in a printer:
| Printer Type | Best For |
|---|---|
| Inkjet | High-quality prints, vibrant colors |
| Laser | Fast printing, good for text and simple images |
| Dye-Sublimation | Professional photo prints, durable |
Frequently Asked Questions
How do you import photos into Lightroom for astrophotography?
– Open Lightroom.
– Click “Import”.
– Choose your astrophotos.
– Import them.
What settings should you use in Lightroom for astrophotography?
– Boost exposure.
– Reduce noise.
– Adjust contrast.
– Tweak white balance.
How can you reduce noise in your astrophotography photos using Lightroom?
– Go to the Detail tab.
– Increase “Luminance” under Noise Reduction.
– Find the sweet spot.
Can you use presets in Lightroom for astrophotography?
– Yes!
– Many presets available.
– Try different ones.
Is Lightroom good for editing astrophotography?
– Absolutely!
– Powerful tools.
– Easy to use.

