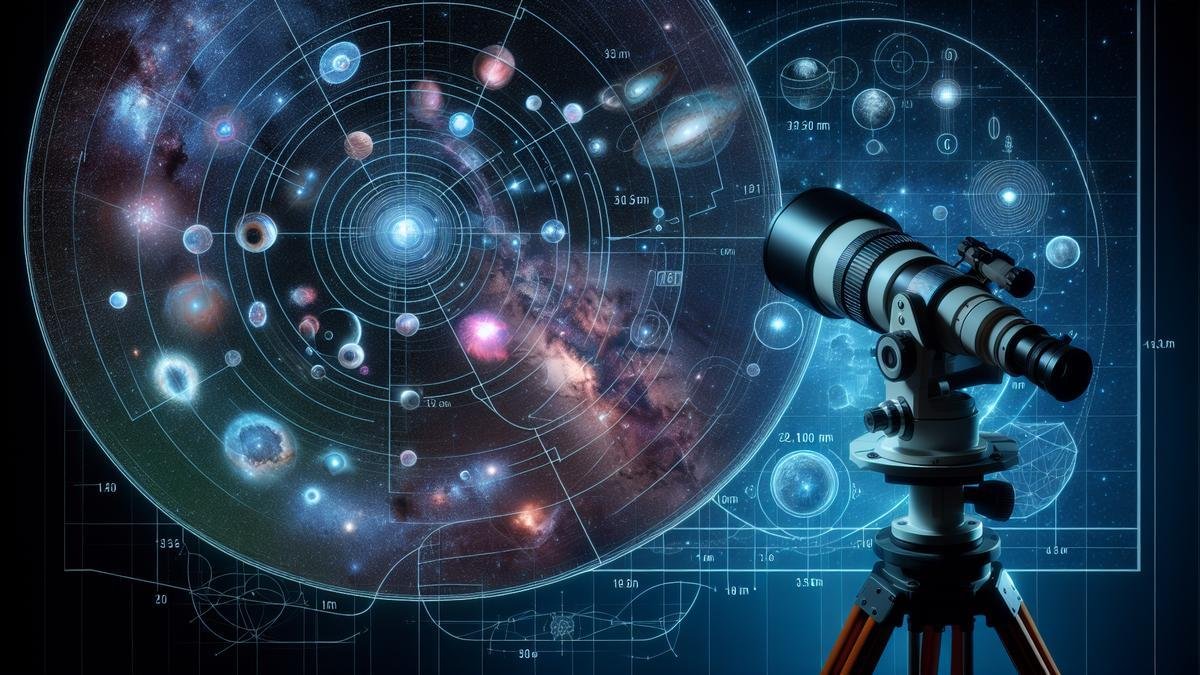
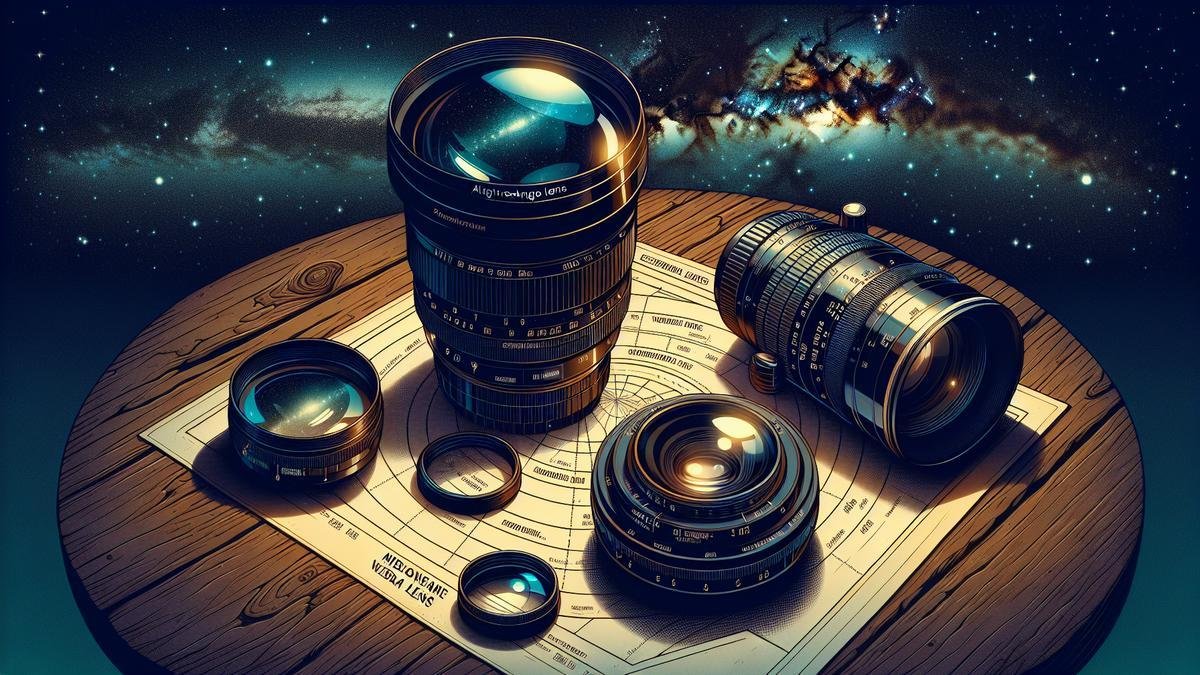
Understanding Focal Length and Its Impact on Astrophotography can make or break your celestial captures. Dive into the basics of focal length, unravel its mysteries, and discover how it transforms your photos of the night sky. From knowing why it’s crucial, to choosing the right lenses for starry landscapes or distant planets, we’ll guide you through it all. Learn about wide and narrow fields of view, how exposure gets affected, and practical tips to enhance your shots. Whether you’re a beginner or looking to push the limits, this guide has got you covered.
Key Takeaways
- Focal length affects field of view
- Long focal lengths show more details
- Short focal lengths capture wider scenes
- Adjust focal length for your subject
- Balance between field of view and detail
The Basics of Focal Length in Astrophotography
What is Focal Length?
Alright, let’s dive right in. Imagine you’re setting up your camera for a night of stargazing. One of the first things you’ll need to get a handle on is focal length. But what exactly is it? In simple terms, focal length is the distance between the lens and the image sensor when the subject is in focus. Its usually measured in millimeters (mm).
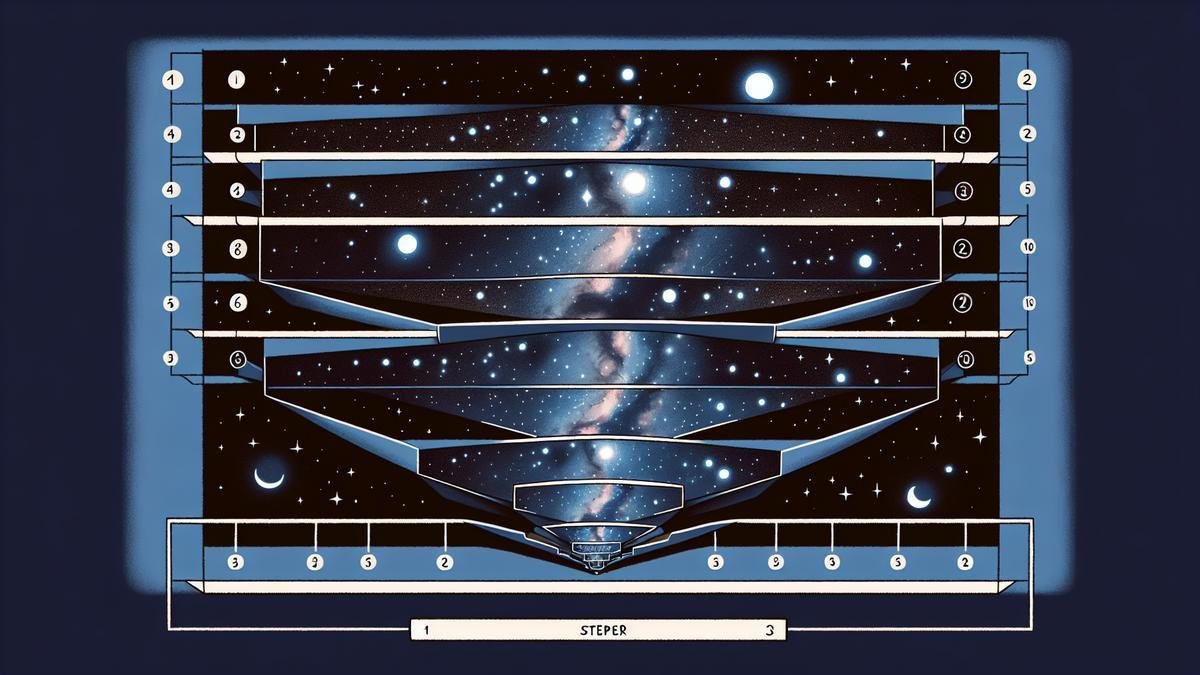
Think of focal length as the zoom on your camera. A shorter focal length, like 18mm, gives you a wide view, capturing a large section of the sky. On the other hand, a longer focal length, say 200mm, zooms in on a smaller area, making distant stars and planets appear closer.
Here’s a quick table to illustrate:
| Focal Length (mm) | Field of View | Ideal For |
|---|---|---|
| 18-35 | Wide | Milky Way, Star fields |
| 50-100 | Medium | Constellations, Nebulae |
| 200+ | Narrow | Planets, Distant galaxies |
How Focal Length Affects Your Photos
Now, let’s talk about how focal length impacts your astrophotography. Its like choosing between a magnifying glass and a telescope. Both have their uses, but they give you very different views of the night sky.
Wide-Angle Lenses (Short Focal Lengths)
Using a wide-angle lens (focal length between 18mm and 35mm) is like having a panoramic window to the universe. You can capture broad sweeps of the Milky Way, sprawling star fields, and even some landscape elements. These lenses are great for creating dramatic nightscapes.
However, theres a trade-off. While you get a broad view, individual stars and celestial objects appear smaller. This can make it challenging to capture fine details like the intricate structures of a nebula.
Telephoto Lenses (Long Focal Lengths)
A telephoto lens (focal length 200mm and above) is your go-to for zooming in on specific targets. Imagine focusing on Jupiter and its moons or the distant Andromeda Galaxy. These lenses bring far-off objects into sharp relief, revealing details that a wide-angle lens would miss.
But here’s the catch: the more you zoom in, the narrower your field of view. You might find it harder to locate and frame your target, especially if its a moving object like a comet.
Why Understanding Focal Length Matters
Grasping the concept of focal length is crucial for anyone serious about astrophotography. Its the foundation that shapes your entire approach to capturing the night sky. Think of it as the difference between painting with a broad brush versus a fine-tipped pen.
Choosing the Right Lens
Selecting the right lens is like picking the right tool for a job. For example, if youre aiming to photograph the Milky Way, a wide-angle lens is your best bet. However, if youre after detailed shots of planets, a telephoto lens will serve you better. Understanding focal length helps you make informed decisions, ensuring youre always equipped with the right gear.
Framing Your Shot
Focal length also affects how you frame your shot. With a wide-angle lens, you can include more of the sky and even some landscape elements, creating a sense of scale and context. Conversely, a telephoto lens requires more precision in framing, as even slight movements can shift your target out of view.
Choosing the Right Focal Length for Different Celestial Objects
When you’re diving into astrophotography, one of the most crucial decisions you’ll face is selecting the appropriate focal length. This choice can dramatically impact your results, whether you’re capturing sprawling star fields or zooming in on distant planets. Let’s delve into how different focal lengths can shape your astrophotography journey.
Wide-Angle Lenses for Starry Skies
Wide-angle lenses are your best friend when you’re aiming to capture the vastness of the night sky. These lenses, typically ranging from 14mm to 35mm, allow you to encompass large portions of the sky in a single frame. This makes them ideal for photographing the Milky Way, star trails, and expansive celestial landscapes.
Key Benefits of Wide-Angle Lenses:
- Broader Field of View: Allows you to capture more stars and celestial phenomena in one shot.
- Less Star Movement: Shorter focal lengths mean stars appear less streaked, even with longer exposures.
- Versatility: Great for landscapes and cityscapes during the day, making them a versatile addition to your gear.
| Focal Length | Ideal For | Pros | Cons |
|---|---|---|---|
| 14mm-24mm | Milky Way, Star Trails | Wide field of view, less star movement | Potential for lens distortion |
| 24mm-35mm | Nightscapes, Aurora Borealis | Versatile, good for both day and night photography | Limited zoom capabilities |
For instance, a 24mm lens can beautifully capture the Milky Way arching over a tranquil lake, while a 14mm lens can encompass an entire starry sky, creating mesmerizing star trails.
Telephoto Lenses for Planets and Moons
When your target shifts from wide expanses to specific celestial objects like planets and moons, telephoto lenses come into play. These lenses, with focal lengths ranging from 200mm to 600mm, allow you to zoom in on distant objects, bringing out intricate details that would otherwise be missed.
Key Benefits of Telephoto Lenses:
- Detailed Shots: High focal lengths bring out the details in planets and moons.
- Isolation of Subjects: Focuses on specific celestial objects, reducing background clutter.
- Enhanced Magnification: Makes distant objects appear closer and more detailed.
| Focal Length | Ideal For | Pros | Cons |
|---|---|---|---|
| 200mm-400mm | Planets, Moon | Detailed shots, good magnification | Requires stable tripod |
| 400mm-600mm | Deep Sky Objects, Distant Planets | Exceptional magnification, detailed imagery | Heavy, expensive |
A 400mm lens can capture the craters on the Moon’s surface with remarkable clarity, while a 600mm lens can bring distant planets like Jupiter and its moons into sharp focus.
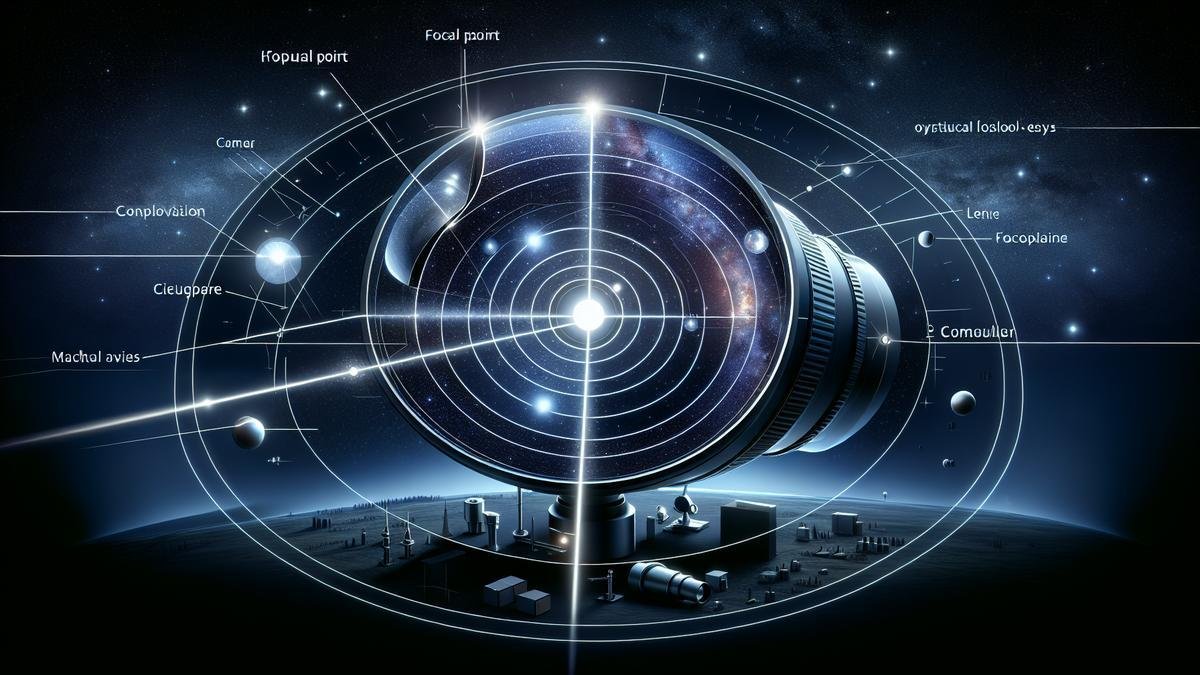
How Focal Length Influences Field of View
When you’re diving into astrophotography, understanding focal length is crucial. Focal length determines how much of the night sky you capture and the level of detail in your images. Let’s break it down:
Wide vs. Narrow Field of View
Wide Field of View: A shorter focal length gives you a wide field of view, allowing you to capture expansive portions of the sky. This is perfect for photographing the Milky Way or large constellations. Wide-angle lenses, typically ranging from 14mm to 35mm, are your best friends here.
Narrow Field of View: On the flip side, a longer focal length provides a narrow field of view. This is ideal for zooming in on distant celestial objects like planets, moon craters, or distant galaxies. Telephoto lenses, often ranging from 200mm to 600mm and beyond, are what you’ll need.
Here’s a quick comparison:
| Focal Length | Field of View | Best For |
|---|---|---|
| 14mm – 35mm | Wide | Milky Way, Constellations |
| 50mm – 200mm | Medium | Star Clusters, Nebulae |
| 200mm+ | Narrow | Planets, Moon Craters, Distant Galaxies |
Capturing More or Less of the Sky
Your choice of focal length directly impacts how much of the sky you can capture. A wide-angle lens, with its broad field of view, allows you to include more of the sky in a single shot. This is fantastic for capturing sweeping vistas of the Milky Way or large sections of the night sky.
However, if you’re looking to focus on a specific celestial object, such as a distant galaxy or a planet, a telephoto lens with a longer focal length will be more appropriate. This narrow field of view helps you zero in on your target, bringing distant objects into sharp focus.
Consider this scenario: You’re out on a clear night, and the Milky Way is beautifully visible. Using a 14mm wide-angle lens, you can capture the entire arc of the Milky Way stretching across the sky. But if you’re aiming to photograph Jupiter and its moons, a 300mm telephoto lens will let you zoom in and capture the intricate details of the planet and its satellites.
Impact of Focal Length on Exposure and Image Quality
You might have heard the term “focal length” thrown around in astrophotography circles. But what does it really mean for your shots? Lets dive into the nitty-gritty of how focal length can make or break your astrophotography.
Focal Length and Light Gathering
Focal length is essentially the distance between the lens and the image sensor when the subject is in focus. This distance has a profound impact on how much light your camera can gather. Think of it like a telescope: the longer the focal length, the more light it can pull in from distant stars and galaxies.
Light Gathering Power by Focal Length
| Focal Length (mm) | Light Gathering Power |
|---|---|
| 50 | Low |
| 100 | Moderate |
| 200 | High |
| 400 | Very High |
When you’re out there under the night sky, you want to gather as much light as possible. A longer focal length can help you achieve this. However, its not all sunshine and rainbows. Longer focal lengths also mean narrower fields of view, which can make it harder to capture wide expanses of the sky.
For example, if you’re interested in photographing the Milky Way, you might want to opt for a shorter focal length lens to capture the entire band of stars stretching across the sky. On the other hand, if you’re aiming to photograph a distant nebula, a longer focal length will serve you better.
Sharpness and Detail in Your Photos
Focal length doesnt just impact light gathering; it also affects the sharpness and detail in your photos. Heres how.
Sharpness and Detail by Focal Length
| Focal Length (mm) | Sharpness | Detail |
|---|---|---|
| 50 | Moderate | Moderate |
| 100 | High | High |
| 200 | Very High | Very High |
| 400 | Extremely High | Extremely High |
Longer focal lengths can provide more detail and sharper images of distant celestial objects. This is particularly useful when you’re photographing planets, moons, or distant galaxies. However, you need to be aware of the potential for increased blurriness due to camera shake or atmospheric conditions.
Using a sturdy tripod can help mitigate some of these issues. You might want to check out tripods for astrophotography for more on this.
Practical Tips for Using Different Focal Lengths
When diving into astrophotography, understanding focal length can make or break your shot. Focal length determines how much of the sky you capture and how detailed those celestial objects appear. It’s like choosing the right brush for a painting; each has its purpose and effect.
Experimenting with Various Lenses
Your lens is your window to the cosmos. Different lenses offer different perspectives. Let’s break down how you can experiment with various lenses to capture the night sky.
Wide-Angle Lenses
Wide-angle lenses (14mm to 24mm) are fantastic for capturing large portions of the sky. They are your go-to for Milky Way shots or vast star fields. Because of their wide field of view, they allow you to include terrestrial foregrounds, giving your photos a sense of place and scale.
Advantages:
- Large Field of View: Capture expansive areas of the sky.
- Foreground Inclusion: Great for landscapes with night skies.
Disadvantages:
- Smaller Objects: Celestial objects appear smaller.
Standard Lenses
Standard lenses (35mm to 50mm) offer a more balanced view. They’re versatile, allowing you to capture both wide fields and some detail in celestial objects. These lenses are excellent for constellations and meteor showers.
Advantages:
- Versatility: Good for various types of shots.
- Balanced Field of View: Neither too wide nor too narrow.
Disadvantages:
- Moderate Detail: Not as detailed as telephoto lenses.
Telephoto Lenses
Telephoto lenses (70mm and above) are your best friend for detailed shots of planets, the moon, and deep-sky objects like nebulae and galaxies. These lenses bring distant objects closer, revealing intricate details.
Advantages:
- High Detail: Excellent for capturing detailed images of celestial objects.
- Magnification: Brings distant objects closer.
Disadvantages:
- Narrow Field of View: Limited sky area captured.
Adjusting Your Camera Settings
Your camera settings are crucial when working with different focal lengths. Each lens requires specific adjustments to get the best shot.
ISO Settings
ISO controls the camera’s sensitivity to light. Higher ISO settings capture more light but can introduce noise.
| Lens Type | ISO Range |
|---|---|
| Wide-Angle | 1600 – 3200 |
| Standard | 800 – 1600 |
| Telephoto | 400 – 800 |
Note: Always balance ISO with exposure time and aperture to minimize noise.
Aperture
Aperture affects the amount of light entering the lens. Wider apertures (lower f-numbers) are better for astrophotography as they let in more light.
| Lens Type | Aperture Range |
|---|---|
| Wide-Angle | f/2.8 – f/4 |
| Standard | f/2.8 – f/5.6 |
| Telephoto | f/4 – f/8 |
Tip: Use the widest aperture your lens allows to maximize light intake.
Exposure Time
Exposure time determines how long your camera’s sensor is exposed to light. Longer exposures capture more light but can cause star trails if too long.
| Lens Type | Exposure Time |
|---|---|
| Wide-Angle | 20 – 30 seconds |
| Standard | 15 – 25 seconds |
| Telephoto | 10 – 20 seconds |
Rule of 500: Divide 500 by your lens’s focal length to get the maximum exposure time before star trails appear.
Making the Most of Your Equipment
Your equipment is an extension of your vision. Knowing how to use it effectively can elevate your astrophotography game.
Tripods
A sturdy tripod is essential. It keeps your camera steady during long exposures. Explore different tripods to find one that suits your needs.
Star Trackers
Star trackers compensate for the Earth’s rotation, allowing longer exposures without star trails. They are particularly useful for telephoto lenses. Learn more about star trackers.
Filters
Filters can enhance certain aspects of your photos, like reducing light pollution or highlighting specific wavelengths. Discover the best filters for astrophotography.
Experimenting with Various Lenses
Trying different lenses can significantly impact your astrophotography results. Each lens offers unique advantages and challenges, so dont hesitate to experiment.
Wide-Angle Lenses
Wide-angle lenses capture vast portions of the sky, making them ideal for Milky Way shots or star trails. The expansive view allows you to include interesting foreground elements, adding depth to your photos.
Benefits:
- Expansive View: Capture more of the sky.
- Foreground Elements: Include terrestrial features for added interest.
Challenges:
- Small Celestial Objects: Stars and planets appear smaller.
Standard Lenses
Standard lenses offer a balanced perspective, making them versatile for various astrophotography types. They can capture constellations, meteor showers, and some deep-sky objects with decent detail.
Benefits:
- Versatile: Suitable for various types of shots.
- Balanced View: Neither too wide nor too narrow.
Challenges:
- Moderate Detail: Less detailed than telephoto lenses.
Telephoto Lenses
Telephoto lenses are perfect for capturing detailed images of celestial objects like planets, the moon, and nebulae. They bring distant objects closer, revealing intricate details.
Benefits:
- High Detail: Excellent for detailed shots.
- Magnification: Brings distant objects closer.
Challenges:
- Narrow View: Limited sky area captured.
Adjusting Your Camera Settings
Your camera settings play a crucial role in astrophotography. Each lens requires specific adjustments to achieve the best results.
ISO Settings
ISO determines the camera’s sensitivity to light. Higher ISO settings capture more light but can introduce noise. Balancing ISO with exposure time and aperture is essential to minimize noise.
| Lens Type | ISO Range |
|---|---|
| Wide-Angle | 1600 – 3200 |
| Standard | 800 – 1600 |
| Telephoto | 400 – 800 |
Aperture
Aperture controls the amount of light entering the lens. Wider apertures (lower f-numbers) are better for astrophotography as they let in more light.
| Lens Type | Aperture Range |
|---|---|
| Wide-Angle | f/2.8 – f/4 |
| Standard | f/2.8 – f/5.6 |
| Telephoto | f/4 – f/8 |
Exposure Time
Exposure time determines how long your camera’s sensor is exposed to light. Longer exposures capture more light but can cause star trails if too long.
| Lens Type | Exposure Time |
|---|---|
| Wide-Angle | 20 – 30 seconds |
| Standard | 15 – 25 seconds |
| Telephoto | 10 – 20 seconds |
Making the Most of Your Equipment
Your equipment is an extension of your vision. Knowing how to use it effectively can elevate your astrophotography game.
Tripods
A sturdy tripod is essential. It keeps your camera steady during long exposures. Explore different tripods to find one that suits your needs.
Star Trackers
Star trackers compensate for the Earth’s rotation, allowing longer exposures without star trails. They are particularly useful for telephoto lenses. Learn more about star trackers.
Advanced Techniques for Mastering Focal Length
When you dive into astrophotography, understanding focal length is a game-changer. The focal length of your lens or telescope determines the field of view and the magnification of your celestial subjects. Whether you’re capturing wide-field shots of the Milky Way or zooming in on distant galaxies, mastering focal length is crucial for stunning astrophotography. Let’s explore some advanced techniques to make the most out of your gear.
Combining Multiple Exposures
Combining multiple exposures is like painting a masterpiece with various brush strokes. By stacking several shots, you can reduce noise and increase the dynamic range of your images. This technique is especially useful when dealing with faint objects that require longer exposure times.
Steps to Combine Multiple Exposures
- Capture Multiple Frames: Take several shots of the same scene with consistent settings.
- Align the Images: Use software like DeepSkyStacker or Photoshop to align the frames accurately.
- Stack the Images: Combine the aligned frames to create a single, high-quality image.
Heres a quick comparison table to understand the benefits:
| Single Exposure | Combined Exposures |
|---|---|
| Higher noise | Reduced noise |
| Limited dynamic range | Enhanced dynamic range |
| Risk of star trails | Sharper stars |
For more detailed guidance on combining exposures, check out this comprehensive guide.
Using Software to Enhance Your Images
Software is your best friend when it comes to refining your astrophotography. With the right tools, you can bring out details that are invisible to the naked eye. From noise reduction to color correction, software can transform your raw images into celestial masterpieces.
Essential Software Tools
- Adobe Photoshop: Ideal for advanced editing and layering.
- Lightroom: Great for initial adjustments and organizing your photos.
- DeepSkyStacker: Perfect for aligning and stacking images.
- PixInsight: A specialized tool for astrophotography processing.
Heres how these tools can help:
| Software | Primary Use |
|---|---|
| Adobe Photoshop | Advanced editing and layering |
| Lightroom | Initial adjustments and organization |
| DeepSkyStacker | Aligning and stacking images |
| PixInsight | Specialized astrophotography processing |
For a deeper dive into post-processing techniques, explore this guide.
Pushing the Limits of Your Gear
Pushing the limits of your gear means squeezing every bit of performance out of your equipment. Whether you have a high-end setup or you’re working on a budget, there are ways to maximize your results.
Frequently Asked Questions
What is focal length in astrophotography?
Focal length is the distance between your camera’s lens and the image sensor. It affects how much of the sky you capture in your photo.
How does focal length impact the field of view in astrophotography?
A longer focal length narrows your field of view. This means you capture a smaller, more detailed section of the sky.
Why is understanding focal length important for astrophotography?
Understanding focal length and its impact on astrophotography helps you choose the right lens. This ensures you get the best shot of stars, planets, and galaxies.
Does changing focal length affect image quality in astrophotography?
Yes. Longer focal lengths can provide more detail but demand steadier setups. Shorter focal lengths capture more sky but might miss finer details.
What focal length is best for beginners in astrophotography?
Start with a shorter focal length, like 18-55mm. It’s versatile, user-friendly, and helps you learn without too much complexity.

