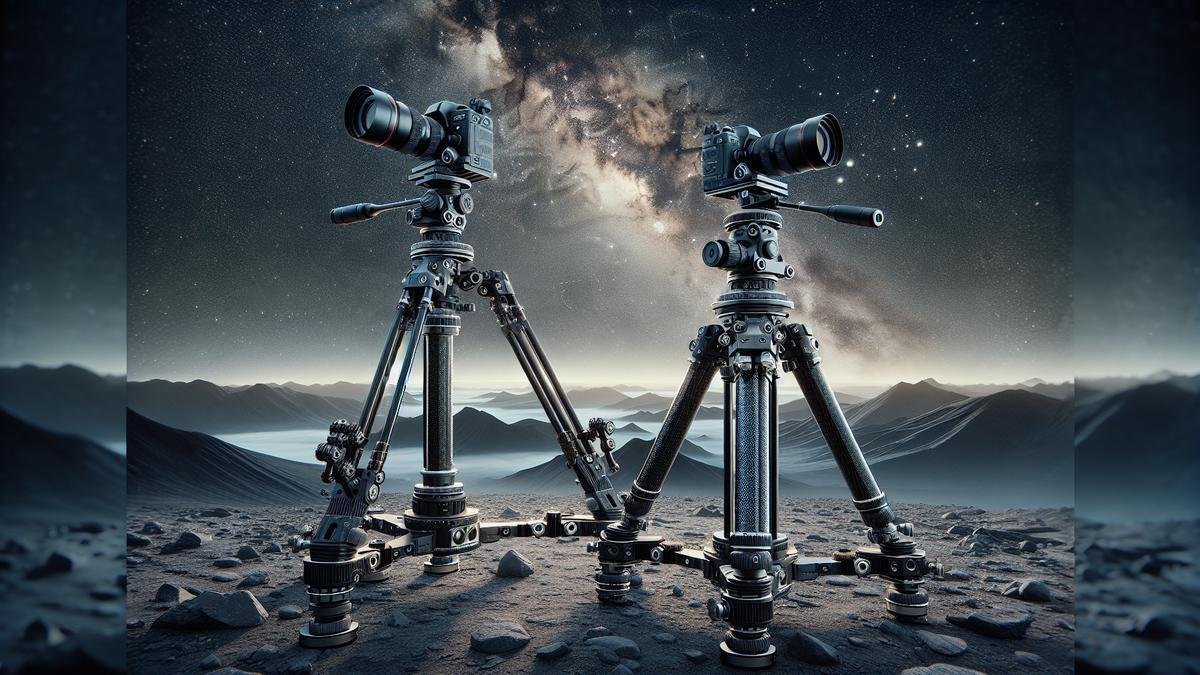
Tripods for Astrophotography: Stability and Precision are your best friends when aiming for those stunning night sky shots. Whether you’re picking between a lightweight or heavy-duty tripod, every choice you make impacts your photography game. Get ready to navigate materials, set up tricks, and must-have accessories. You’ll soon be capturing the cosmos with unwavering stability and spot-on precision.
Important Points
- Steady tripod cuts down blurry star photos.
- Tripods make setting up a telescope easier.
- Better tripod means sharper photos.
- Lightweight tripods are easy to carry.
- Sturdy tripods work best in windy conditions.
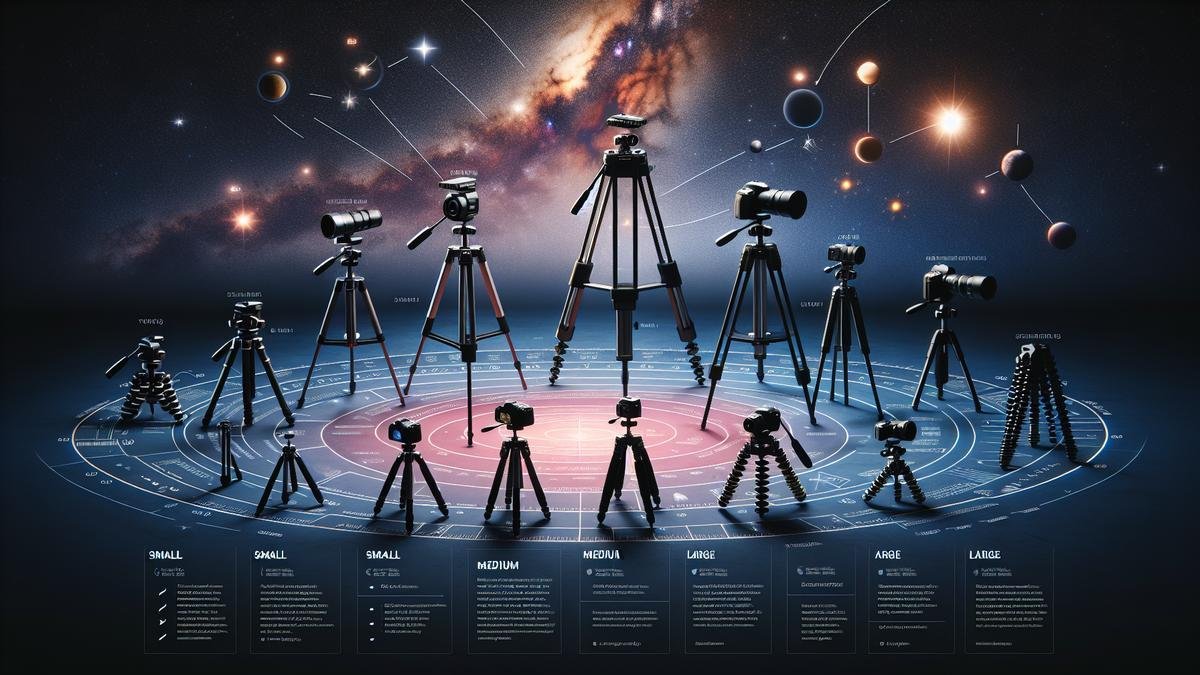
Choosing the Right Tripod for Your Needs
Lightweight vs. Heavy-Duty Tripods
When you’re out under the stars, you need a tripod that suits your astrophotography needs. Let’s dive into the differences between lightweight and heavy-duty tripods.
Lightweight Tripods:
- Pros:
- Portability: Easy to carry around.
- Quick Setup: Ideal for spontaneous shoots.
- Cost-Effective: Generally cheaper.
- Cons:
- Stability Issues: Can be shaky in windy conditions.
- Limited Load Capacity: Not suitable for heavy cameras and lenses.
Heavy-Duty Tripods:
- Pros:
- Stability: Rock-solid, even in windy conditions.
- High Load Capacity: Can hold heavy cameras and telescopes.
- Durability: Built to last.
- Cons:
- Weight: Can be cumbersome to carry.
- Setup Time: Takes longer to set up.
- Cost: Generally more expensive.
Here’s a quick comparison:
| Feature | Lightweight Tripods | Heavy-Duty Tripods |
|---|---|---|
| Portability | High | Low |
| Stability | Moderate | High |
| Load Capacity | Low | High |
| Durability | Moderate | High |
| Cost | Low | High |
Material Considerations for Tripods
The material of your tripod can make a big difference in your astrophotography experience. Let’s explore the most common materials: Aluminum and Carbon Fiber.
Aluminum Tripods:
- Pros:
- Affordable: Generally cheaper.
- Sturdy: Good balance of weight and stability.
- Durable: Can withstand rough handling.
- Cons:
- Weight: Heavier than carbon fiber.
- Temperature Sensitivity: Can get very cold or hot.
Carbon Fiber Tripods:
- Pros:
- Lightweight: Easy to carry.
- Strong: Can handle heavy loads.
- Temperature Resistant: Stays comfortable to touch.
- Cons:
- Cost: More expensive.
- Brittle: Can crack under extreme stress.
Here’s a side-by-side look:
| Feature | Aluminum Tripods | Carbon Fiber Tripods |
|---|---|---|
| Weight | Heavy | Light |
| Strength | Good | Excellent |
| Temperature Handling | Poor | Excellent |
| Cost | Low | High |
| Durability | High | Moderate |
Tripods for Astrophotography: Stability and Precision
For astrophotography, stability and precision are key. You don’t want your camera shaking while capturing those stunning celestial bodies. Here are some tips to get the most stable and precise shots:
- Use a Sturdy Tripod:
- Opt for a heavy-duty tripod if possible.
- Ensure it can handle your camera’s weight.
- Level Your Tripod:
- Use a bubble level to make sure your tripod is perfectly level.
- This helps in getting accurate shots.
- Lock Everything Down:
- Tighten all knobs and locks.
- This prevents any movement during long exposures.
- Add Weight:
- Hang a weight from the center column for extra stability.
- This can be a camera bag or a dedicated tripod weight.
- Use a Remote Shutter Release:
- Prevents camera shake when pressing the shutter.
- You can also use a timer delay.
- Avoid Extending the Center Column:
- Extending the center column can reduce stability.
- Keep it as low as possible.
Here’s a checklist for a stable setup:
| Task | Action |
|---|---|
| Choose a Sturdy Tripod | Heavy-duty if possible |
| Level the Tripod | Use a bubble level |
| Lock Everything Down | Tighten all knobs |
| Add Weight | Hang a weight from the center |
| Use Remote Shutter | Prevents camera shake |
| Avoid Extending Column | Keep it low |
Setting Up Your Tripod for Optimal Stability
Finding the Perfect Spot
Alright, let’s dive right in. First things first, location is key. You need to find a spot that offers a clear, unobstructed view of the night sky. Think of it as finding the perfect seat at a concert. You wouldnt want a pillar blocking your view, right?
- Avoid Light Pollution: Stay away from city lights. Head out to the countryside or a dark sky park.
- Flat Surface: Look for a flat, stable surface. Uneven ground can make your tripod wobbly.
- Avoid Windy Areas: Strong winds can shake your setup, ruining your shot. Find a sheltered spot if possible.
Adjusting the Tripod Legs
Now that you’ve found your spot, it’s time to set up your tripod. This part is like tuning a guitar – you want everything just right.
- Extend the Legs: Start by extending the legs. If your tripod has multiple sections, extend the thicker sections first. They provide more stability.
- Lock the Legs: Make sure each leg is locked securely. You dont want any surprises while shooting.
- Adjust the Height: Set the tripod height so that your camera is at eye level. This makes it easier to frame your shots.
- Check the Bubble Level: Most tripods have a bubble level. Use it to ensure your tripod is perfectly horizontal.
Tripods for Astrophotography: Stability and Precision
When you’re capturing the night sky, your tripod is your best friend. Its like the foundation of a house – everything rests on it. Heres what you need to know about choosing the right one.
Stability
Stability is crucial. You want your tripod to be as steady as a rock. Here are some features to look for:
| Feature | Why It Matters |
|---|---|
| Weight | Heavier tripods are more stable. |
| Material | Carbon fiber is strong and lightweight. |
| Leg Locks | Twist locks are quick; flip locks are secure. |
| Center Column | Avoid using it if possible; it reduces stability. |
Precision
Precision is the name of the game. You need to be able to make tiny adjustments to get the perfect shot.
| Feature | Why It Matters |
|---|---|
| Ball Head | Allows smooth, precise movements. |
| Pan/Tilt Head | Great for fine-tuning your composition. |
| Geared Head | Offers the most precise adjustments. |
Additional Tips for Stability and Precision
- Use a Remote Shutter Release: This prevents camera shake when you press the shutter button.
- Hang a Weight: Some tripods have a hook on the center column. Hanging a weight, like your camera bag, can add extra stability.
- Use Sandbags: If the ground is uneven, placing sandbags on the tripod legs can help stabilize it.
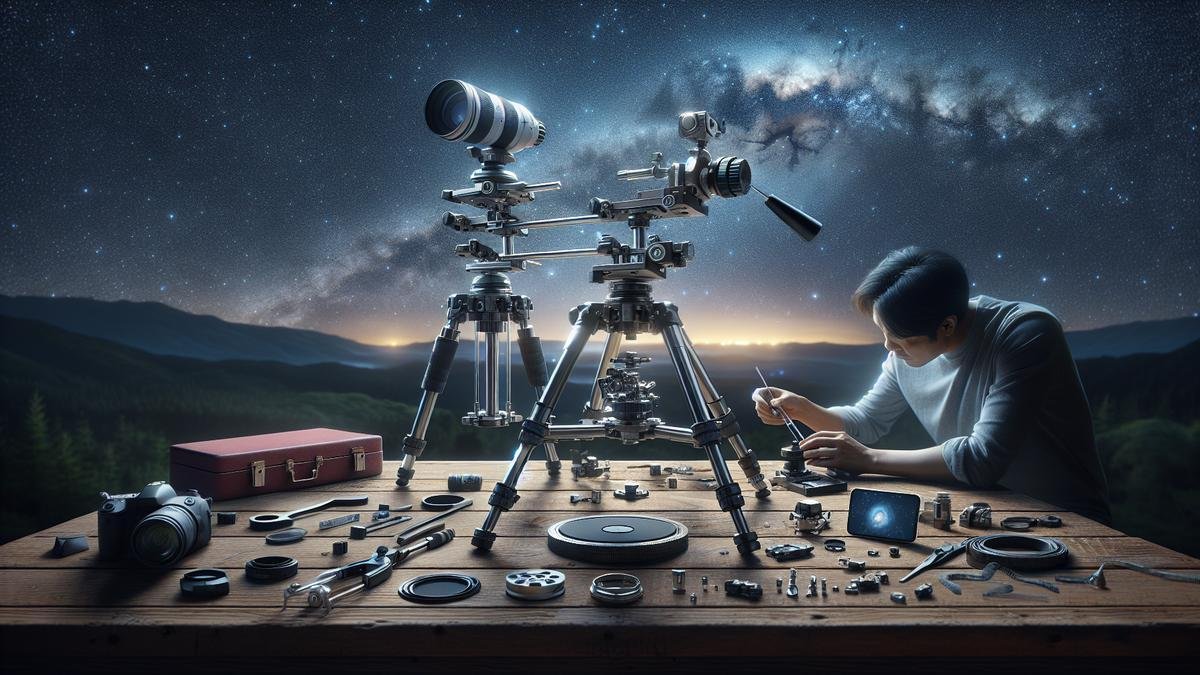
Enhancing Precision with Tripod Heads
So, you’re ready to dive into the fascinating world of astrophotography. Youve got your camera, lenses, and a sturdy tripod. But, have you thought about the tripod head? The right tripod head can make a world of difference, giving you the stability and precision you need for those stunning night sky shots.
Types of Tripod Heads
A tripod head is crucial for controlling your camera’s movements. Heres a quick rundown of the types youll encounter:
| Type | Description |
|---|---|
| Ball Head | Offers flexibility and easy adjustments. Perfect for quick changes. |
| Pan-Tilt Head | Great for precise movements. Ideal for landscape and architectural photography. |
| Gimbal Head | Best for heavy lenses. Provides balance and smooth tracking of moving objects. |
| Geared Head | Allows for meticulous adjustments. Excellent for macro and architectural photography. |
| Fluid Head | Designed for video. Ensures smooth and controlled movements. |
Each type has its own strengths. Your choice will depend on what you value most in your astrophotography setup.
How to Use a Ball Head
Ball heads are popular for their versatility. Heres a simple guide to using one:
- Attach the Camera: Secure your camera to the quick-release plate. Make sure its tight.
- Mount the Plate: Slide the plate into the ball heads clamp. Lock it in place.
- Adjust the Ball: Loosen the knob to move the ball. Position your camera as needed.
- Lock It Down: Once youve got the perfect angle, tighten the knob to lock the ball in place.
Pro Tip: Keep the tension knob slightly tight. This way, you can make minor adjustments without the camera flopping around.
Tripods for Astrophotography: Stability and Precision
When you’re out under the stars, stability is your best friend. Heres why:
- Long Exposure: Capturing the night sky often requires long exposure times. A stable tripod prevents any movement that could blur your shot.
- Heavy Gear: Cameras and lenses can be hefty. A robust tripod supports this weight without wobbling.
- Wind Resistance: Out in the open, wind can be a problem. A sturdy tripod keeps your setup steady.
Key Features to Look For
| Feature | Why It Matters |
|---|---|
| Weight Capacity | Ensures the tripod can support your camera and lens. |
| Height Adjustability | Allows you to frame your shot perfectly, whether you’re standing or sitting. |
| Leg Lock Mechanism | Quick and secure leg locks save time and provide stability. |
| Material | Carbon fiber is lightweight and strong, while aluminum is durable and affordable. |
| Feet Type | Rubber feet are great for indoor use, while spiked feet provide extra grip outdoors. |
Setting Up for Success
- Level Ground: Find a stable surface to set up your tripod. Avoid soft or uneven ground.
- Extend Legs Properly: Extend the thicker sections first. This gives more stability.
- Use a Weight Hook: If your tripod has a hook, hang your camera bag or a weight to add stability.
- Check the Bubble Level: Use the built-in bubble level to make sure your tripod is perfectly horizontal.
Pro Tip: Avoid extending the center column if possible. Its the least stable part of the tripod.
Maintenance Tips for Long-Lasting Tripods
Cleaning Your Tripod
Your tripod is your trusty companion in your astrophotography adventures. Keeping it clean is crucial for its longevity. Heres how to do it:
- Disassemble the Tripod: Take apart the legs and head. This helps you reach all the nooks and crannies.
- Use a Soft Brush: Dust off any dirt or sand. A soft brush works wonders for this.
- Wipe with a Damp Cloth: Use a damp cloth to wipe down each part. Avoid soaking it; just a little moisture will do.
- Dry Thoroughly: Make sure each part is completely dry before reassembling. Moisture can lead to rust or mold.
- Lubricate Moving Parts: A little silicone spray on the moving parts keeps everything smooth.
Pro Tip: Avoid harsh chemicals. They can damage the tripods finish and components.
Storing Your Tripod Properly
Proper storage is as important as cleaning. It keeps your tripod in tip-top shape.
- Keep It Dry: Store your tripod in a dry place. Moisture is your tripods enemy.
- Use a Tripod Bag: If you have a tripod bag, use it. It protects your tripod from dust and scratches.
- Avoid Extreme Temperatures: Dont leave your tripod in a hot car or a freezing garage. Extreme temperatures can warp or crack the materials.
- Store Vertically: If possible, store your tripod vertically. This helps maintain its shape.
Pro Tip: If youre storing it for a long time, loosen the leg locks. This prevents them from getting stuck.
Tripods for Astrophotography: Stability and Precision
When youre out capturing the night sky, stability and precision are key. Heres what to look for in a tripod for astrophotography:
Stability
A stable tripod is like a rock in the ocean. It keeps your camera steady even in windy conditions.
- Weight: Heavier tripods are generally more stable. However, theyre also harder to carry. Find a balance that works for you.
- Leg Locks: Twist locks or flip locks? Twist locks are generally more secure, but flip locks are quicker to adjust.
- Center Column: Some tripods have a center column that can be raised for extra height. Be cautious, though; it can make the tripod less stable.
Precision
Precision is all about those fine adjustments. You want to be able to frame your shot just right.
- Ball Head vs. Pan-Tilt Head: Ball heads offer quick adjustments but can be less precise. Pan-tilt heads allow for more precise movements but can be slower to adjust.
- Geared Heads: These offer the most precision. They allow you to make tiny adjustments to your cameras position.
Pro Tip: Invest in a good tripod head. Its just as important as the legs.
| Feature | Ball Head | Pan-Tilt Head | Geared Head |
|---|---|---|---|
| Adjustment Speed | Fast | Moderate | Slow |
| Precision | Moderate | High | Very High |
| Ease of Use | Easy | Moderate | Complex |
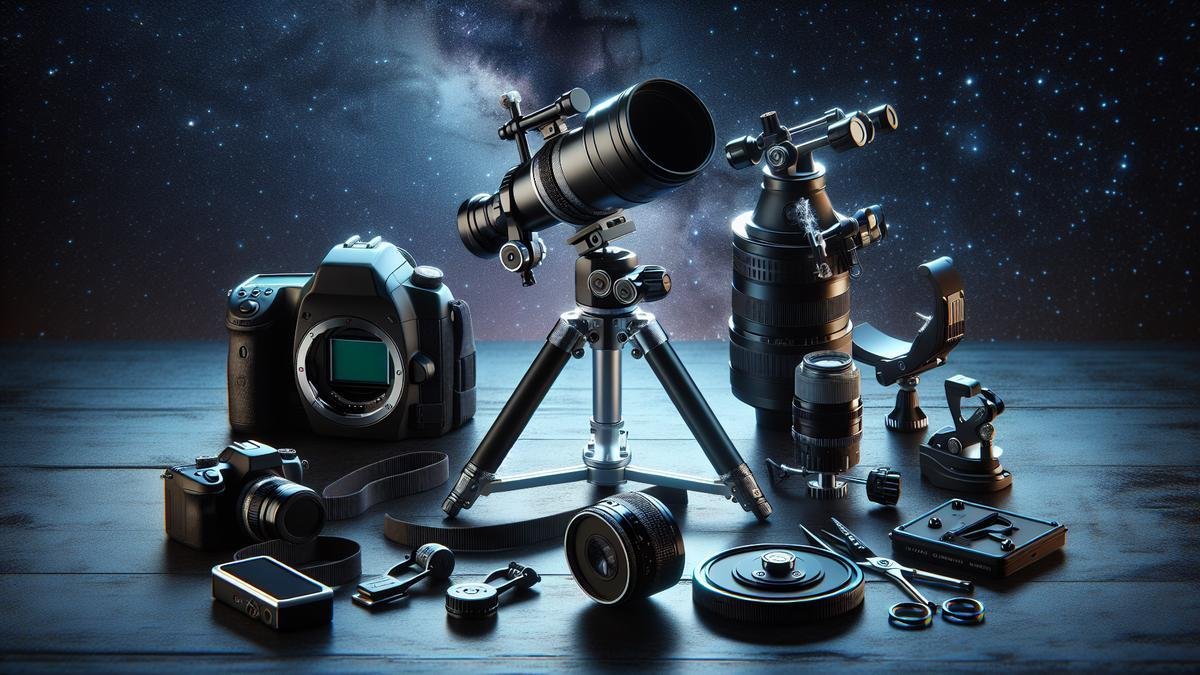
Accessories to Improve Your Astrophotography
Using a Remote Shutter Release
When you’re out in the dark, capturing the mysteries of the cosmos, the last thing you want is a blurry photo. Camera shake is your enemy, and pressing the shutter button can cause it. That’s where a remote shutter release comes in handy. This little gadget lets you take photos without touching your camera. Heres why you should consider it:
- Reduces camera shake: No more blurry stars.
- Long exposure shots: Perfect for capturing those faint celestial objects.
- Convenience: You can take pictures from a distance.
Types of Remote Shutter Releases:
| Type | Description |
|---|---|
| Wired | Simple, no batteries needed. |
| Wireless | More flexibility, but needs batteries. |
| App-based | Uses your smartphone, very convenient. |
Adding Counterweights
Your telescope or camera rig might get a bit heavy and unbalanced. Adding counterweights helps keep everything steady. Its like balancing a seesaw. Heres what you need to know:
- Balance your gear: Keeps your setup from tipping over.
- Smooth tracking: Helps your mount follow stars more accurately.
- Less strain on motors: Prolongs the life of your equipment.
How to Use Counterweights:
- Identify the imbalance: Check where your setup is tipping.
- Add weights: Place them opposite the heavy side.
- Fine-tune: Adjust until your setup is balanced.
Tripods for Astrophotography: Stability and Precision
A tripod is the foundation of your astrophotography setup. Its like the roots of a tree, keeping everything grounded. Heres why you need a good one:
- Stability: Keeps your camera steady for long exposures.
- Precision: Allows for fine adjustments to frame your shot.
- Portability: Easy to carry to remote locations.
What to Look for in a Tripod:
| Feature | Importance |
|---|---|
| Weight Capacity | Must support your camera and lens. |
| Height | Adjustable to your preferred level. |
| Leg Locks | Secure and easy to adjust. |
| Material | Lightweight yet sturdy, like carbon fiber. |
Stability and Precision
When youre capturing the night sky, even the slightest vibration can ruin your shot. Thats why stability is crucial. A tripod with sturdy legs and solid leg locks will keep your camera still. Precision is equally important. You need to make tiny adjustments to frame your shot perfectly. A tripod with a geared head or ball head allows for smooth movements.
Tripod Heads:
| Type | Description |
|---|---|
| Ball Head | Versatile, easy to adjust. |
| Geared Head | Precise, great for fine-tuning. |
| Pan-Tilt Head | Good for video, less common for photos. |
Tripod Materials
You want a tripod thats both lightweight and durable. Carbon fiber is a popular choice. It’s strong but light, making it easy to carry. Aluminum is another option. Its heavier but also sturdy.
Tripod Materials Comparison:
| Material | Pros | Cons |
|---|---|---|
| Carbon Fiber | Lightweight, strong, absorbs vibrations. | Expensive. |
| Aluminum | Affordable, durable. | Heavier, less vibration absorption. |
Troubleshooting Common Tripod Issues
Dealing with Wobbly Legs
So, youre out in the middle of nowhere, ready to capture the night sky, and your tripod starts wobbling. Annoying, right? Dont worry; it happens to the best of us. Heres how you can fix those shaky legs.
First, check the ground. Is it uneven? If so, you might need to adjust the leg lengths. Most tripods have adjustable legs, so make sure each leg is firmly planted.
Next, inspect the leg locks. Sometimes, they get loose over time. Tighten them up. If theyre still wobbly, you might need to clean the locks. Dirt and grime can mess things up. Use a small brush or compressed air to clean them out.
If the legs are still wobbly, you might need to replace the rubber feet. Over time, they wear out. New rubber feet can make a world of difference.
Heres a quick checklist:
- Check for uneven ground.
- Adjust leg lengths.
- Tighten leg locks.
- Clean leg locks.
- Replace rubber feet.
Fixing a Loose Tripod Head
A loose tripod head can ruin your shot. Imagine setting up the perfect angle, only for the head to start drooping. Frustrating, right? Heres how to fix it.
First, tighten the screws. Most tripod heads have screws you can tighten with an Allen wrench. Give them a good twist.
If that doesnt work, the quick-release plate might be the culprit. Make sure its locked in place. Sometimes, it can shift, causing the head to move.
Another thing to check is the ball head tension. If youre using a ball head, theres usually a tension knob. Adjust it until the head stays put.
Heres a quick checklist:
- Tighten screws with an Allen wrench.
- Check the quick-release plate.
- Adjust ball head tension.
Tripods for Astrophotography: Stability and Precision
When youre shooting the stars, stability and precision are key. Your tripod needs to be rock-solid. Lets dive into what makes a good tripod for astrophotography.
Stability
You need a tripod that can stand firm against the wind. Look for tripods made from carbon fiber or aluminum. Theyre lightweight but sturdy.
Heres a comparison:
| Material | Weight | Stability |
|---|---|---|
| Carbon Fiber | Lightweight | Very Stable |
| Aluminum | Moderate | Stable |
Also, consider the leg design. Tripods with twist locks are generally more stable than those with flip locks. Twist locks provide a tighter grip.
Precision
Precision is crucial for capturing those tiny details in the night sky. Youll need a geared head or a ball head with fine-tuning capabilities.
Heres a comparison:
| Head Type | Precision | Ease of Use |
|---|---|---|
| Geared Head | High | Moderate |
| Ball Head | Moderate | Easy |
A geared head allows for precise adjustments, while a ball head offers more flexibility. Choose based on what you find easier to handle.
Additional Tips
- Use a remote shutter. This prevents camera shake.
- Add weight to the center column. Some tripods have a hook for this purpose. Hanging your camera bag can add extra stability.
- Level your tripod. Use a bubble level to make sure your tripod is perfectly horizontal.
Frequently Asked Questions
What makes a good tripod for astrophotography?
A good tripod for astrophotography must be stable and sturdy. It should have a solid build to handle your cameras weight and battle wind. Look for features like aluminum or carbon fiber legs and a strong center column.
Why is tripod stability important in astrophotography?
Stability ensures clear, sharp shots of the night sky. Any wobble or shake blurs the stars. Being stable helps capture the true beauty of the galaxy. Always lock your tripods legs and use weight hooks if needed.
How can you make your tripod more stable for astrophotography?
Use a weight at the tripods center column. Spread the legs fully and on a firm surface. Avoid extending the center column too high. This simple way boosts stability.
Is precision important in tripods for astrophotography?
Yes, precision is key. When your tripod is precise, it helps you frame shots accurately. This leads to better photos of stars and celestial events. Adjustments should be smooth and easy.
Can a cheap tripod offer stability and precision?
Cheap tripods may struggle with stability and precision. They might be more wobbly and lack strong build quality. Investing in a good tripod enhances your astrophotography experience. Its about getting clear, stunning shots of the night sky.

