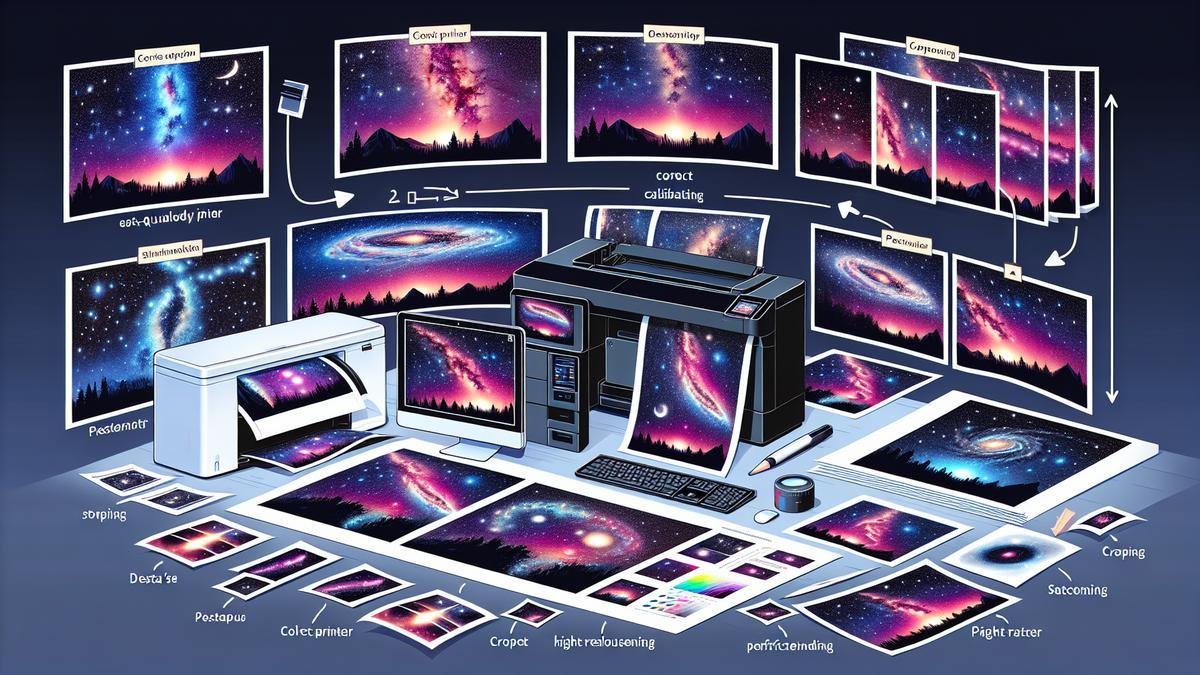
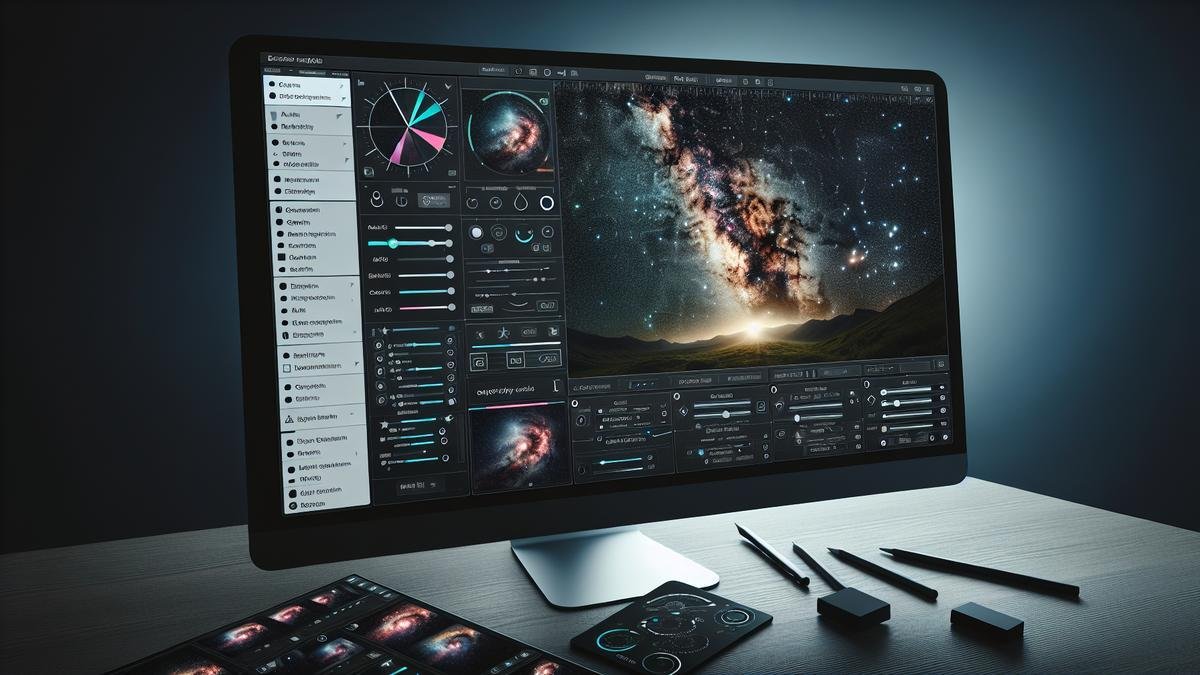
Tips for Printing Your Astrophotography Images can transform your celestial captures into stunning art. Your photo’s journey from digital to print involves choosing the right paper, understanding glossy vs. matte finishes, and why those choices matter. Youll need to calibrate your monitor for perfect colors and pick the best printer—inkjet or laser? Plus, well make sure your images are ready for print, with sharpness and detail intact. Then, discover how to protect and showcase your masterpieces so they truly shine. Lets dive in and make your astrophotography prints stand out!
Key Takeaways
- Make sure your images have high resolution.
- Adjust brightness and contrast before printing.
- Choose the right paper for your photos.
- Calibrate your printer for the best results.
- Print a test image to check colors and details.
Choosing the Right Paper for Your Astrophotography Prints
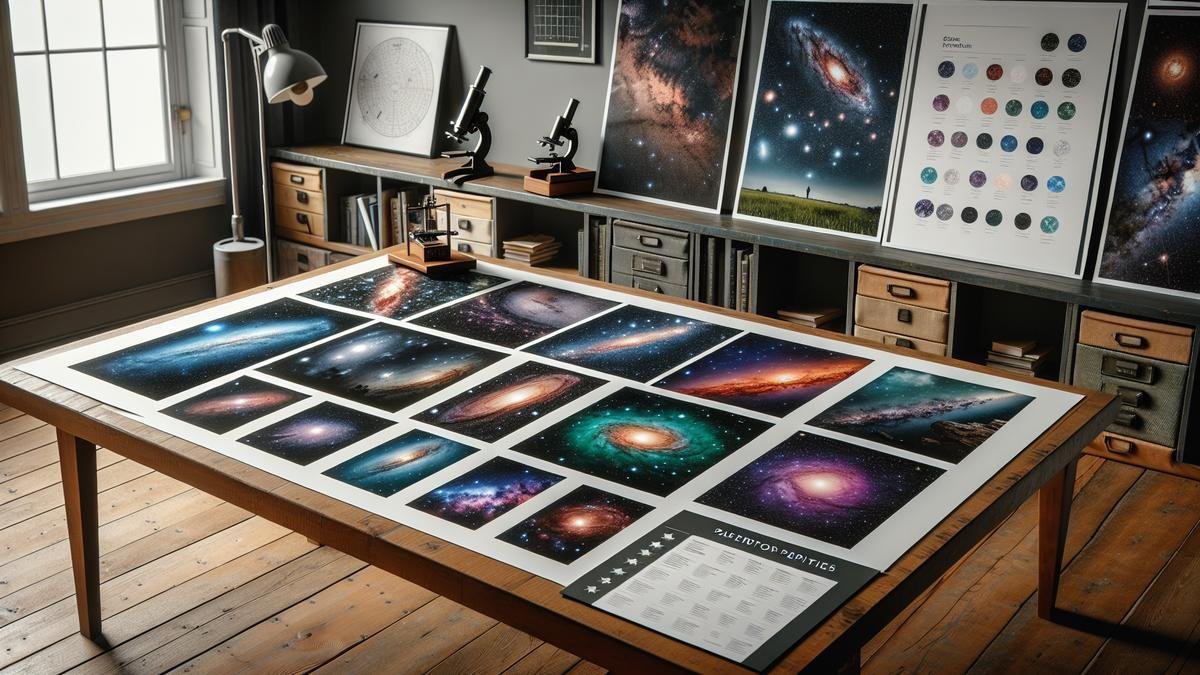
So, youve captured the perfect shot of the Milky Way. Now, you want to print it and hang it on your wall. But wait! You cant just use any paper. Choosing the right paper can make or break your astrophotography prints. Lets dive into the details.
Understanding Paper Types
When it comes to printing your star-studded photos, paper type is crucial. There are many options out there, but they generally fall into two main categories: photo paper and fine art paper.
Photo Paper:
- Glossy: Shiny and vibrant.
- Matte: Smooth and non-reflective.
Fine Art Paper:
- Cotton Rag: Rich texture, museum-quality.
- Canvas: Durable and textured.
Heres a quick comparison table to help you decide:
| Paper Type | Finish | Characteristics | Best For |
|---|---|---|---|
| Glossy | Shiny | High contrast, vibrant colors | Bright, colorful images |
| Matte | Smooth | Subdued colors, no glare | Black and white photos |
| Cotton Rag | Textured | Archival quality, rich texture | Professional prints |
| Canvas | Textured | Durable, artistic feel | Large prints, gallery wraps |
Glossy vs. Matte Finishes
Choosing between glossy and matte can be a bit of a head-scratcher. Both have their pros and cons. Lets break it down.
Glossy Finish:
- Pros:
- Vibrant colors: Makes your stars pop.
- High contrast: Great for deep blacks and bright whites.
- Cons:
- Glare: Can be a problem under certain lighting.
- Fingerprints: Easily shows smudges.
Matte Finish:
- Pros:
- No glare: Perfect for bright rooms.
- Smooth texture: Adds a subtle, professional touch.
- Cons:
- Subdued colors: Might not be as vibrant.
- Less contrast: Blacks and whites arent as stark.
Heres a quick comparison table for finishes:
| Finish Type | Pros | Cons |
|---|---|---|
| Glossy | Vibrant colors, High contrast | Glare, Fingerprints |
| Matte | No glare, Smooth texture | Subdued colors, Less contrast |
Why Paper Choice Matters
You might be thinking, “Why does it matter so much?” Well, the paper choice affects how your image looks and feels. Its like the difference between watching a movie on a small TV versus a big screen. The right paper can enhance details, colors, and overall impact.
- Durability: Good paper lasts longer.
- Color Accuracy: Some papers show colors more accurately.
- Texture: Adds a tactile element to your print.
Tips for Printing Your Astrophotography Images
Now that you know about paper types and finishes, lets get into some tips for printing your astrophotography images.
- Calibrate Your Monitor: Make sure your screen shows colors accurately.
- Use High-Resolution Images: The higher the resolution, the better the print.
- Choose the Right Printer: Not all printers are created equal. Look for one thats good for photos.
- Test Prints: Always do a small test print before printing the full-size image.
- Consider a Professional Print Shop: If youre not confident in your home setup, a professional can make a big difference.
Heres a quick checklist for printing:
- [ ] Calibrate your monitor.
- [ ] Use high-resolution images.
- [ ] Choose the right printer.
- [ ] Do test prints.
- [ ] Consider a professional print shop.
Calibrating Your Monitor for Accurate Colors
Importance of Color Calibration
Alright, let’s dive right into it. Imagine spending hours capturing the perfect shot of the Milky Way, only to print it and find the colors look off. Frustrating, right? That’s why color calibration is so crucial. Your monitor might not show colors accurately straight out of the box. If it doesn’t, what you see on your screen won’t match your prints.
Why is this important?
- Consistency: You want your printed photos to look like what you see on your screen.
- Precision: Accurate colors help you make better editing decisions.
- Professionalism: If you’re sharing or selling your work, accurate colors make a big difference.
Tools for Monitor Calibration
Now, let’s talk about the tools. You don’t need to break the bank, but a few key items can make a world of difference.
Hardware Calibrators
These gadgets are your best friends. They measure your screen’s colors and adjust them to be accurate. Here are some popular options:
| Calibrator | Description |
|---|---|
| X-Rite i1Display Pro | High-end, precise, and user-friendly. |
| Datacolor SpyderX Pro | Fast, reliable, and great for beginners. |
| X-Rite ColorMunki Smile | Budget-friendly but still effective. |
Software Solutions
Some monitors come with built-in calibration tools. If yours doesn’t, you can use software like:
- DisplayCAL: Free and very detailed.
- CalMAN: Professional-grade, but a bit pricey.
- ArgyllCMS: Open-source and powerful, though it has a steep learning curve.
Getting the Best Color Accuracy
Alright, let’s get into the nitty-gritty. Heres a step-by-step guide to get your monitor in tip-top shape.
Step 1: Choose the Right Environment
- Lighting: Calibrate your monitor in a dimly lit room. Avoid direct sunlight or bright lights.
- Background: Use a neutral-colored background. Bright colors can mess with your perception.
Step 2: Warm Up Your Monitor
Turn on your monitor and let it warm up for at least 30 minutes. This ensures the display is at its stable operating temperature.
Step 3: Use Your Calibrator
Follow these steps:
- Attach the Calibrator: Place it on your screen.
- Run the Software: Follow the on-screen instructions.
- Adjust Settings: The software will guide you through adjusting brightness, contrast, and color settings.
Step 4: Verify and Fine-Tune
Once the initial calibration is done, check your results:
- Test Images: Use standard test images to see if colors look right.
- Fine-Tuning: Make minor adjustments if needed.
Step 5: Regular Maintenance
Calibration isn’t a one-and-done deal. Recalibrate every month or so to keep things accurate.
Conclusion
Calibrating your monitor is like tuning a musical instrument. It takes a bit of time and effort, but the payoff is huge. Accurate colors mean your prints will match your screen, your edits will be spot-on, and your work will look professional. So, grab a calibrator, follow these steps, and get ready to see your astrophotography in a whole new light!
Tips for Printing Your Astrophotography Images
Choose the Right Paper
Not all paper is created equal. The type of paper you choose can dramatically affect how your photos look. Here are some options:
- Glossy Paper: Great for vibrant colors and sharp details.
- Matte Paper: Offers a more subdued, but elegant finish.
- Metallic Paper: Adds a unique sheen, making stars and galaxies pop.
Adjust Your Printer Settings
Make sure your printer is set up to handle high-quality prints. Heres what to check:
- Resolution: Set to the highest possible DPI (dots per inch).
- Color Management: Use the ICC profile for your specific paper and printer.
- Ink Levels: Ensure you have enough ink to avoid streaks or color inconsistencies.
Soft Proofing
Soft proofing lets you see how your image will look when printed, right on your screen. Heres how to do it:
- Open Your Image: In your editing software.
- Enable Soft Proofing: This option is usually found under the “View” menu.
- Select ICC Profile: Choose the profile for your printer and paper.
Test Prints
Before you print the final version, do a few test prints. This helps you catch any issues without wasting expensive paper or ink.
Final Touches
Once your test prints look good, its time for the final print. Here are some last-minute tips:
- Clean Your Printer: Make sure there are no dust or ink smudges.
- Check Alignment: Ensure the paper is loaded correctly and the print head is aligned.
- Let It Dry: Allow your print to dry completely before handling or framing it.
Selecting the Best Printer for Astrophotography
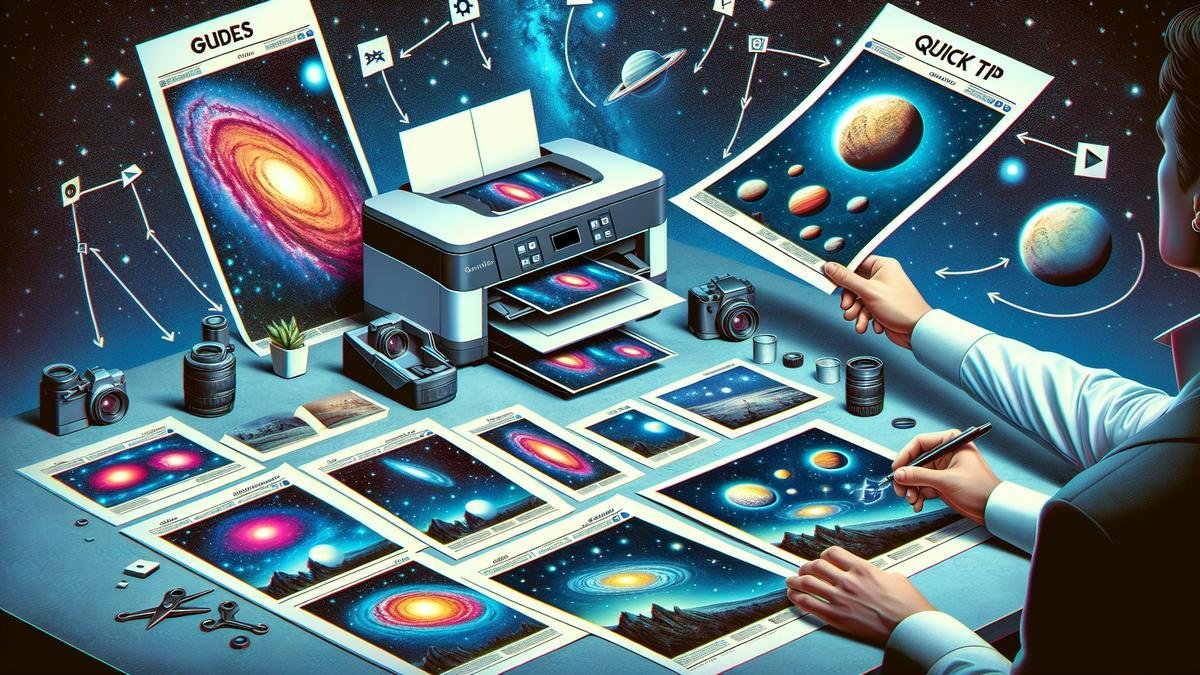
So, you’ve captured some amazing shots of the night sky. Now, you want to print them out and hang them up. But wait, how do you pick the right printer for your astrophotography images? Let’s dive right in.
Inkjet vs. Laser Printers
When you’re printing astrophotography images, you need to think about the type of printer. The two main types are inkjet and laser printers. Each has its own strengths and weaknesses.
| Feature | Inkjet Printers | Laser Printers |
|---|---|---|
| Color Quality | Great for vibrant colors | Good, but not as vibrant |
| Cost | Cheaper upfront, higher ink costs | More expensive upfront, lower toner costs |
| Speed | Slower | Faster |
| Maintenance | More frequent | Less frequent |
| Best For | Photos and images | Text and documents |
Inkjet printers are often the go-to for photo printing. They provide bright, vivid colors, which is crucial for capturing the beauty of the stars. However, they can be more expensive to maintain because ink cartridges run out quickly.
Laser printers are better for text and documents. They are faster and more cost-effective in the long run. But, they don’t produce the same quality of color as inkjet printers. So, for astrophotography, you might want to lean towards an inkjet printer.
Printer Features to Look For
Okay, so you’ve decided on an inkjet printer. What features should you look for?
Why Printer Quality is Key
When printing your night sky photos, quality is everything. You want every star, every galaxy, to pop. Here’s what to look for:
- Resolution: The higher, the better. Look for at least 1200 x 1200 DPI (dots per inch). This will give you sharp, detailed images.
- Color Range: A printer with a wide color gamut can reproduce more colors. This is important for capturing the subtle hues of the night sky.
- Paper Handling: Make sure the printer can handle photo paper. Some printers can even print on canvas or other specialty papers.
- Ink Types: Pigment-based inks are more durable and fade-resistant than dye-based inks. They are ideal for high-quality photo prints.
Here’s a quick comparison table to help you out:
| Feature | Importance | Description |
|---|---|---|
| Resolution | High | At least 1200 x 1200 DPI for sharp images |
| Color Range | High | Wide color gamut for accurate color reproduction |
| Paper Handling | Medium | Ability to handle various types of photo paper |
| Ink Types | High | Pigment-based inks for durability |
Tips for Printing Your Astrophotography Images
You’ve got your printer. Now, how do you get the best prints?
- Use High-Quality Paper: Don’t skimp on paper. Use photo paper designed for your printer. This can make a huge difference in print quality.
- Calibrate Your Monitor: Make sure your monitor is calibrated. This ensures that the colors you see on your screen match the colors in your prints.
- Edit Your Photos: Before printing, use photo editing software to adjust brightness, contrast, and color balance. This can help bring out the details in your images.
- Print at the Highest Quality Setting: Always use the highest quality print setting. This might take longer, but the results are worth it.
- Check Your Ink Levels: Running out of ink mid-print can ruin your photo. Always check your ink levels before you start printing.
Here’s a checklist to follow:
- [ ] Use high-quality photo paper
- [ ] Calibrate your monitor
- [ ] Edit your photos for brightness, contrast, and color balance
- [ ] Print at the highest quality setting
- [ ] Check your ink levels
Preparing Your Images for Printing
Image Resolution and DPI
Alright, so you’ve captured some stunning astrophotography shots. Now, let’s talk about getting them ready for print. One of the first things you need to check is the image resolution and DPI (dots per inch).
Why does this matter? High resolution ensures your photos look crisp and detailed when printed. The higher the DPI, the better the print quality. Aim for at least 300 DPI for the best results.
Here’s a quick guide to help you out:
| Print Size | Resolution Needed | DPI |
|---|---|---|
| 4×6 inches | 1200×1800 pixels | 300 DPI |
| 8×10 inches | 2400×3000 pixels | 300 DPI |
| 16×20 inches | 4800×6000 pixels | 300 DPI |
Pro Tip: Always start with the highest resolution possible. You can always downscale, but upscaling might make your images look pixelated.
Cropping and Sizing Your Photos
Next up, let’s discuss cropping and sizing your photos. You want to make sure your images fit the print size you have in mind without losing any important details.
- Choose the Right Aspect Ratio: Different print sizes have different aspect ratios. Make sure your image’s aspect ratio matches the print size to avoid unwanted cropping.
- Avoid Over-Cropping: Cropping too much can reduce the resolution, making your prints look blurry. Stick to minimal cropping.
- Use Editing Tools: Software like Adobe Photoshop or Lightroom can help you crop and resize images while maintaining quality.
Here’s a simple table to illustrate common aspect ratios:
| Aspect Ratio | Common Print Sizes |
|---|---|
| 3:2 | 4×6 inches, 8×12 inches |
| 4:3 | 8×10 inches, 16×20 inches |
| 1:1 | 12×12 inches, 20×20 inches |
Ensuring Sharp Prints
You’ve got the resolution and size down, but how do you make sure your prints are sharp? Here’s how:
- Use Sharpening Tools: Most photo editing software has sharpening tools. Use them to enhance the details in your images.
- Check for Noise: High ISO settings can introduce noise. Use noise reduction tools to clean up your image.
- Print a Test Copy: Before printing a large batch, print a small test copy. This helps you catch any issues before committing to a full print run.
Pro Tip: Avoid over-sharpening. It can create unwanted artifacts and make your prints look unnatural.
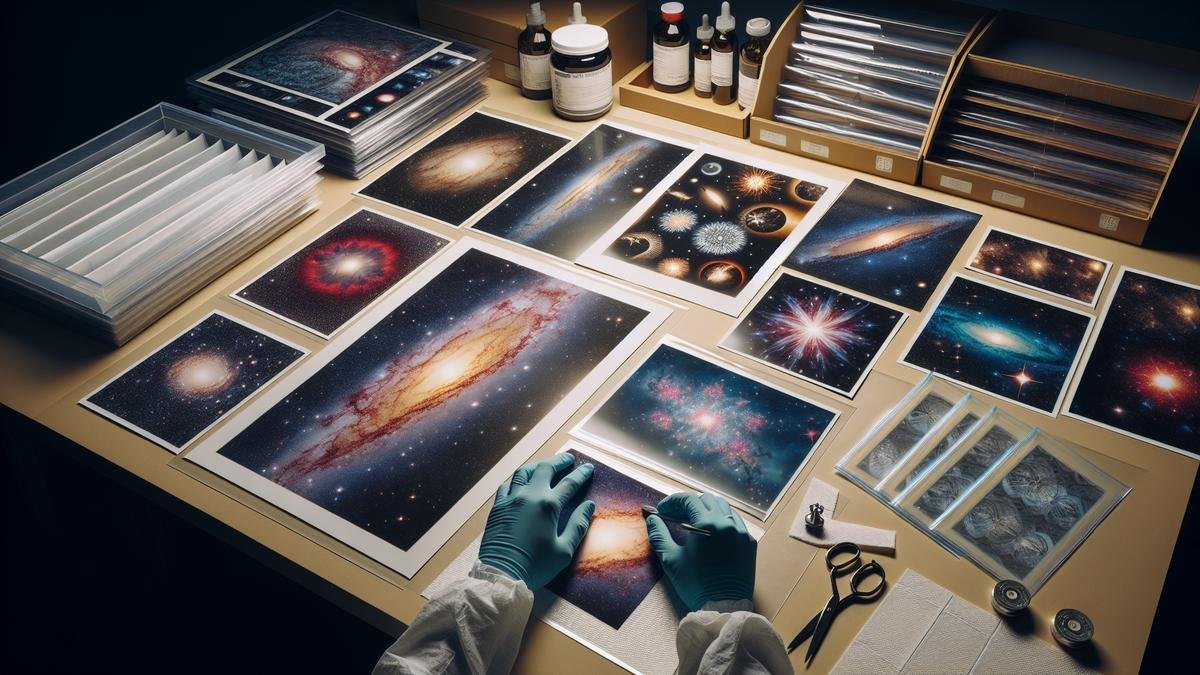
Protecting Your Printed Astrophotography
So, you’ve captured some stunning shots of the night sky and now you’re ready to print them. But wait! Before you rush to frame those beauties, let’s talk about protecting your printed astrophotography. After all, you want your prints to look as good as the night you took them, right? Let’s dive in.
Using Protective Coatings
Protective coatings are like the superhero capes for your prints. They shield your photos from dust, scratches, and even UV rays. Heres why you should consider them:
- UV Protection: Just like sunscreen for your skin, UV coatings keep your prints from fading.
- Scratch Resistance: Keeps those accidental nicks and scratches at bay.
- Dust Repellent: Reduces the amount of dust that settles on your print.
Heres a quick comparison of different types of coatings:
| Type of Coating | Benefits | Drawbacks |
|---|---|---|
| Glossy | Enhances colors, adds shine | Can cause glare |
| Matte | No glare, soft finish | Colors may appear muted |
| Satin | Balanced finish, some shine | Less vibrant than glossy |
| UV Protective | Shields from sunlight, no glare | Can be more expensive |
Proper Storage Techniques
Proper storage is like a cozy blanket for your prints. It keeps them safe and sound when you’re not showing them off. Heres how you can do it:
Keeping Your Prints Safe
- Use Archival Materials: Acid-free paper and storage boxes will prevent yellowing.
- Avoid Direct Sunlight: Sunlight can fade your prints faster than you can say “supernova.”
- Control Humidity: Too much moisture can warp your prints. Keep them in a dry place.
- Flat Storage: Store prints flat to avoid bending or curling.
Heres a handy checklist for storage:
| Storage Tip | Why It Matters |
|---|---|
| Archival Materials | Prevents yellowing and degradation |
| No Direct Sunlight | Reduces fading |
| Controlled Humidity | Prevents warping and mold |
| Flat Storage | Avoids bending and curling |
Displaying Your Astrophotography Prints
Choosing the Right Frame
When it comes to showcasing your astrophotography prints, the frame you choose can make a world of difference. Its not just about holding the picture; it’s about enhancing its beauty. Here are some tips to help you pick the perfect frame:
- Material: Wood or metal frames can add a classic or modern touch, respectively.
- Color: Go for neutral colors like black, white, or natural wood. These colors won’t distract from your stunning night sky images.
- Matting: Adding a mat can give your print some breathing room and make it stand out. Choose a mat color that complements your photo.
Heres a quick table to help you decide:
| Frame Material | Best For | Pros | Cons |
|---|---|---|---|
| Wood | Classic, warm look | Durable, versatile | Can be heavy |
| Metal | Modern, sleek look | Lightweight, stylish | May not suit all decor |
| Acrylic | Contemporary, minimal | Lightweight, clear view | Can scratch easily |
Best Places to Showcase Your Work
You’ve put in countless hours capturing the perfect shot. Now, where do you display it? Here are some ideal spots to showcase your astrophotography:
- Living Room: A large print can be a focal point in your living room, sparking conversations.
- Bedroom: Create a serene atmosphere by hanging your night sky photos above your bed.
- Office: Add a touch of inspiration to your workspace with a framed print.
Making Your Prints Stand Out
Want your prints to be the star of the show? Here are some tips to make them pop:
- Lighting: Proper lighting can highlight your print’s details. Consider using track lighting or picture lights.
- Grouping: Create a gallery wall with multiple prints. This can be more impactful than a single print.
- Size: Dont be afraid to go big. Large prints can be very impressive and command attention.
Frequently asked questions
How do I choose the right paper for printing my astrophotography images?
Selecting archival quality paper is key. Look for options that highlight details and colors. Glossy or metallic paper can make stars pop.
What size should I print my astrophotography images?
Big prints showcase details best. Aim for at least 12×18 inches. But it depends on your image resolution and where you display it.
How can I make sure the colors remain true when I print?
Calibrate your monitor. Use color profiles matching the print lab’s settings. Soft-proof your image before printing.
Should I adjust brightness and contrast before printing?
Yes, tweak them slightly. Prints often appear darker. Brighten and boost contrast for a striking end result.
What resolution works best for printing astrophotography images?
300 DPI is the sweet spot. Ensure your image has enough pixels to maintain detail at your chosen print size.

