The Best Mounts and Tripods for Stable Astrophotography are crucial for capturing those dreamy, celestial snapshots. Ever wondered why some night sky photos are perfect while others are a blurry mess? It’s all about stability. In this guide, you’ll dive into why stability matters so much, how movement messes with your shots, and hear some handy tips for keeping your gear steady. From choosing the right mounts and tripods to balancing your equipment, and even maintaining it, weve got you covered every step of the way. Get ready to snap some stellar images!
Key Takeaways
- Sturdy Tripods Reduce Shakes
- Mounts Keep Your Camera Steady
- Use Adjustable Legs for Uneven Ground
- Look for Lightweight Options for Portability
- Consider Mounts with Smooth Movement
Why Stability is Key in Astrophotography
Understanding the Importance of Stability
Astrophotography can be a thrilling adventure, but it demands more than just a good camera and a clear night. The key to capturing those breathtaking images of the night sky lies in stability. Imagine trying to draw a straight line on a moving bus; its nearly impossible to get it perfect. The same principle applies to capturing the stars. Stability is your best friend here, and its what separates a blurry mess from a crisp, clear shot of the cosmos.
How Movement Affects Your Photos
Any slight movement can turn your celestial masterpiece into a smudge. Even the tiniest vibration can ruin hours of meticulous preparation. Movement affects your photos by creating star trails and blurs, which can be frustrating when youre aiming for sharp, pinpoint stars.
Tips for Reducing Vibration
Here are some practical tips to help you minimize vibration and achieve stable shots:
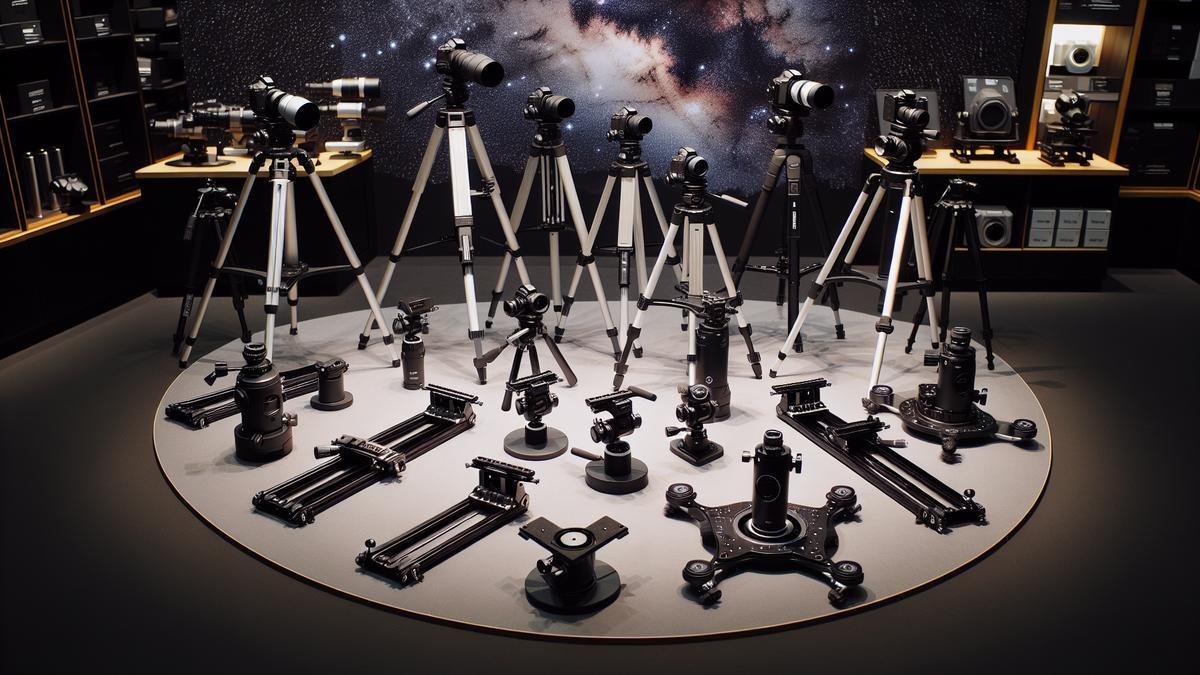
- Choose the Right Mount and Tripod: Not all mounts and tripods are created equal. You need something sturdy and reliable. A good mount will keep your camera steady, while a solid tripod will provide the necessary support.
- Use a Remote Shutter Release: This simple tool can prevent the camera shake that happens when you press the shutter button.
- Weight Your Tripod: Adding some weight to your tripod can help keep it grounded. You can hang your camera bag or other weights from the center column.
- Avoid Windy Conditions: Wind can cause your setup to shake. If possible, shoot on calm nights or find a sheltered spot.
- Use Vibration Reduction Technology: Some cameras and lenses come with built-in vibration reduction features. Make sure to use them if available.
Selecting the Best Mounts and Tripods
Choosing the right mount and tripod is crucial for stable astrophotography. Heres a guide to help you navigate through the options.
Mount Types
There are several types of mounts to consider, each with its own set of features and benefits.
| Mount Type | Description | Best For |
|---|---|---|
| Alt-Azimuth | Simple and easy to use. Moves in two directions: up-down and left-right. | Beginners, casual observers |
| Equatorial | Designed to follow the rotation of the Earth. More complex but highly accurate. | Serious astrophotographers |
| GoTo Mounts | Computerized and can automatically locate objects in the sky. | Those who want convenience and precision |
| German Equatorial | A subtype of equatorial mounts, known for their robustness and precision. | Advanced users, long exposure astrophotography |
Tripod Features
When it comes to tripods, stability is paramount. Heres what to look for:
| Feature | Description | Why It Matters |
|---|---|---|
| Material | Carbon fiber or aluminum are common. Carbon fiber is lighter but pricier. | Affects weight and stability |
| Leg Locks | Twist or flip locks. Twist locks are generally more secure. | Keeps the tripod steady |
| Height | Adjustable height is crucial. Make sure it can extend to a comfortable level. | Ensures flexibility and comfort |
| Weight Capacity | Check the maximum weight it can hold. | Ensures it can support your camera and lens |
| Center Column | Some tripods have a center column that can be raised or lowered. | Adds to the flexibility of positioning your camera |
Recommended Mounts and Tripods
Here are some highly recommended mounts and tripods that can help you achieve stable and clear images of the night sky:
Mount Recommendations
- Sky-Watcher EQ6-R Pro: This is a heavy-duty equatorial mount thats perfect for serious astrophotographers. Its known for its precision tracking and can handle heavy loads.
- Celestron Advanced VX: A great option for those looking for a balance between performance and price. Its versatile and can be used for both visual observation and astrophotography.
- iOptron CEM60: This mount is known for its innovative design and high accuracy. Its a bit on the pricier side but offers excellent performance.
Choosing the Right Mount for Your Needs
When you’re diving into the mesmerizing world of astrophotography, stability is key. A good mount can make the difference between a blurry mess and a crisp, clear image of the cosmos. Let’s navigate through the essential aspects of selecting the best mounts and tripods for your astrophotography adventures.
Types of Mounts Available
There are various types of mounts available for astrophotography, each with its own pros and cons. Here, we’ll break down the most common types to help you make an informed decision.
Alt-Azimuth Mounts
Alt-azimuth mounts are the simplest type of mount. They move up and down (altitude) and left to right (azimuth). These mounts are often more affordable and easier to use, making them a good choice for beginners.
| Pros | Cons |
|---|---|
| Easy to set up and use | Not ideal for long exposure astrophotography |
| Generally more affordable | Limited tracking capabilities |
Equatorial Mounts
Equatorial mounts are designed to follow the rotation of the Earth, making them perfect for long exposure astrophotography. They have a more complex setup but offer superior tracking.
| Pros | Cons |
|---|---|
| Excellent for long exposures | More complex to set up |
| Superior tracking accuracy | Generally more expensive |
German Equatorial Mounts (GEMs)
A subtype of equatorial mounts, GEMs are highly regarded for their precision. They are the go-to choice for many serious astrophotographers.
| Pros | Cons |
|---|---|
| High precision tracking | Heavier and bulkier |
| Great for deep-sky photography | More expensive |
Fork Mounts
Fork mounts are another type of equatorial mount, often used with larger telescopes. They offer good stability and tracking but can be cumbersome.
| Pros | Cons |
|---|---|
| Stable and robust | Heavy and less portable |
| Good for large telescopes | Can be expensive |
Features to Look For
Choosing the right mount involves more than just picking a type. Here are some key features to consider.
Load Capacity
Your mount needs to support the weight of your camera and telescope. Overloading a mount can lead to instability and poor tracking.
| Feature | Importance |
|---|---|
| Load Capacity | High |
Tracking Accuracy
For long exposure shots, tracking accuracy is crucial. Look for mounts with precise motors and gears.
| Feature | Importance |
|---|---|
| Tracking Accuracy | Very High |
Portability
If you plan to travel to different locations for your shoots, a portable mount is essential. Consider the weight and ease of setup.
| Feature | Importance |
|---|---|
| Portability | Moderate to High |
Power Source
Some mounts require external power sources, while others have built-in batteries. Make sure you know what you’ll need to keep your mount running.
| Feature | Importance |
|---|---|
| Power Source | Moderate |
Compatibility
Ensure that the mount is compatible with your telescope and other equipment. Some mounts come with adapters, while others may require additional purchases.
| Feature | Importance |
|---|---|
| Compatibility | High |
Best Mounts for Beginners
Starting your astrophotography journey can be overwhelming, but the right mount can make a world of difference. Here are some of the best mounts for beginners.
Sky-Watcher Star Adventurer
The Sky-Watcher Star Adventurer is a compact, portable mount that’s perfect for beginners. It’s easy to set up and offers good tracking accuracy for its size.
| Feature | Details |
|---|---|
| Type | Equatorial |
| Load Capacity | 5 kg |
| Tracking Accuracy | Good |
| Portability | High |
| Power Source | Battery |
Celestron NexStar SE
The Celestron NexStar SE series offers a range of alt-azimuth mounts that are user-friendly and versatile. They come with computerized tracking, making them a great choice for those new to astrophotography.
| Feature | Details |
|---|---|
| Type | Alt-Azimuth |
| Load Capacity | 5-12 kg (depending on model) |
| Tracking Accuracy | Moderate |
| Portability | Moderate |
| Power Source | External/Battery |
Tripods: Your Foundation for Clear Images
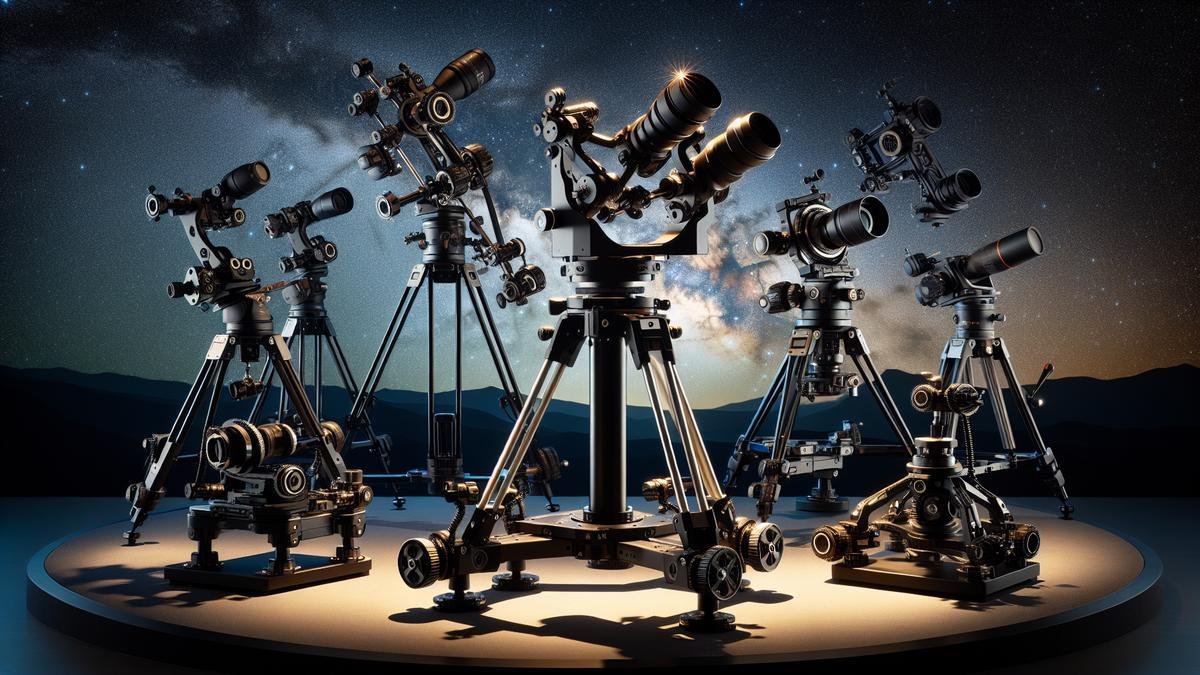
When you’re out in the middle of nowhere, staring up at the vast night sky, a stable tripod is your best friend. It’s the bedrock of your astrophotography setup, holding everything steady for those long exposure shots.
Materials and Build Quality
You might think all tripods are the same, but they’re not. The material and build quality can make or break your shots. Aluminum tripods are durable and affordable, but they can be heavy. Carbon fiber tripods, on the other hand, are lightweight and sturdy, perfect for long hikes to remote locations.
| Material | Pros | Cons |
|---|---|---|
| Aluminum | Durable, Affordable | Heavy |
| Carbon Fiber | Lightweight, Sturdy | Expensive |
| Steel | Extremely Sturdy, Long-lasting | Very Heavy, Expensive |
| Magnesium | Lightweight, Strong | Costly, Less Common |
When choosing a tripod, always check the build quality. Look for sturdy leg locks and a solid center column. These features will keep your camera steady even in windy conditions.
Height and Weight Considerations
The height and weight of your tripod matter more than you might think. A tripod that’s too short will force you to bend down, making long sessions uncomfortable. Conversely, a tripod that’s too tall and heavy can be a pain to carry around.
| Tripod Height | Ideal Use Case | Drawbacks |
|---|---|---|
| Short (<50") | Low-angle shots, Portability | Uncomfortable for standing, Limited use |
| Medium (50-65″) | General use, Comfortable height | Moderate weight, Versatile |
| Tall (>65″) | Tall photographers, Versatile angles | Heavy, Less portable |
For weight, aim for a balance. You don’t want something so heavy that it becomes a burden, but it should be heavy enough to remain stable. A good rule of thumb is to choose a tripod that can support at least twice the weight of your camera and lens.
Top Tripods for Astrophotography
Now, let’s talk about some of the best tripods you can get your hands on. These are tried and tested by astrophotographers and offer the best balance of stability, weight, and ease of use.
Manfrotto MT055CXPRO4
Manfrotto is a name you can trust. The MT055CXPRO4 is a carbon fiber tripod that’s both light and sturdy. It has a maximum height of 66.9 inches and can support up to 19.8 pounds. The Quick Power Lock system ensures that your tripod is set up in no time.
Gitzo GT2545T Series 2 Traveler
If you’re always on the move, the Gitzo GT2545T is your best bet. This carbon fiber tripod is incredibly lightweight at just 2.8 pounds but can support up to 26.4 pounds. Its compact design makes it easy to carry, and the Traveler G-lock ensures stability.
Benro Mach3 TMA37C
The Benro Mach3 TMA37C is another excellent choice. Made from carbon fiber, it offers a good balance of weight and stability. It can reach a maximum height of 63.8 inches and supports up to 35.3 pounds. The twist lock legs are easy to adjust, even in the dark.
Sirui W-2204 Waterproof
For those who venture into wet conditions, the Sirui W-2204 is a waterproof carbon fiber tripod. It supports up to 39.7 pounds and has a maximum height of 70.9 inches. The waterproof leg locks are a standout feature, keeping your tripod functional in any weather.
Balancing Your Equipment for Optimal Performance
How to Properly Balance Your Setup
Balancing your equipment is like tuning a musical instrument. If you don’t get it right, the harmony of your astrophotography will be off. To achieve the best balance, start by mounting your camera and lens on the tripod. Ensure the weight is evenly distributed. If youre using a telescope, the process is similar but requires a bit more finesse.
Let’s dive into the steps:
- Mount the Camera or Telescope: Secure it firmly to your tripod or mount.
- Adjust the Center of Gravity: Slide the camera or telescope forward and backward until it feels balanced.
- Tighten the Screws: Once balanced, lock everything in place.
Balancing isn’t just about stability. It’s about getting the best shots without any unwanted shakes or movements. Think of it like setting a foundation for a house; without a solid base, everything else falls apart.
Tools to Help with Balancing
Balancing your setup can be a bit like juggling. But with the right tools, it becomes a breeze. Here are some essential tools that can help:
| Tool | Purpose |
|---|---|
| Bubble Level | Ensures your tripod is perfectly horizontal. |
| Counterweights | Helps to balance heavier cameras or telescopes. |
| Balancing Plate | Allows for fine-tuning the balance. |
| Digital Angle Finder | Measures the angle of your setup. |
These tools might seem like small additions, but they can make a huge difference. Imagine trying to bake a cake without measuring the ingredients. You might end up with something edible, but it won’t be perfect.
Common Balancing Mistakes to Avoid
Even the best of us make mistakes. Here are some common pitfalls to dodge:
Overlooking the Center of Gravity
Your equipment’s center of gravity is crucial. If it’s off, your tripod might tip over. Always ensure the weight is evenly distributed.
Ignoring External Factors
Wind can be a silent enemy. Even a slight breeze can shake your setup. Use weights or sandbags to anchor your tripod.
Skipping the Fine-Tuning
Once you think youve balanced everything, double-check. Sometimes, even the smallest adjustment can make a big difference.
By avoiding these mistakes, you’re setting yourself up for success. It’s like driving a car; you wouldn’t ignore a flat tire, would you?
Selecting the Best Mounts and Tripods
Choosing the right mount and tripod is like picking the right shoes for a marathon. You need something sturdy, reliable, and perfect for the job.
Types of Mounts
There are several types of mounts to consider:
| Mount Type | Description |
|---|---|
| Alt-Azimuth Mount | Simple and easy to use. Great for beginners. |
| Equatorial Mount | Ideal for long exposures. Tracks the skys motion. |
| Fork Mount | Supports heavier telescopes. |
Each mount has its strengths. For instance, an Equatorial Mount is excellent for long exposures because it follows the rotation of the Earth. This means your stars wont trail, giving you crisp, clear images.
Best Tripods for Astrophotography
A good tripod is the backbone of your setup. Here are some top picks:
| Tripod | Features |
|---|---|
| Manfrotto 055 | Sturdy, with a great load capacity. |
| Gitzo Series 3 | Lightweight yet strong. Perfect for travel. |
| Benro Mach3 | Excellent stability. Great for heavy equipment. |
A tripod like the Manfrotto 055 offers robust support, essential for heavy cameras or telescopes. Its like having a reliable friend who always has your back.
Factors to Consider
When picking a mount or tripod, think about:
- Weight Capacity: Make sure it can support your equipment.
- Portability: If youre traveling, you need something lightweight.
- Stability: The more stable, the better your shots.
Imagine trying to take a photo with a wobbly tripod. Its like trying to write with a shaky hand – frustrating and ineffective.
Enhancing Your Astrophotography Experience
Additional Accessories
Accessories can elevate your astrophotography game. Here are some must-haves:
| Accessory | Purpose |
|---|---|
| Remote Shutter Release | Prevents camera shake during shots. |
| Dew Heater | Keeps your lens clear from condensation. |
| Star Tracker | Helps in long exposure shots. |
A Remote Shutter Release is a game-changer. It allows you to take photos without touching the camera, eliminating any potential shake. Think of it as having a magic wand that clicks the perfect shot for you.
Choosing the Right Location
Location is everything. You wouldnt go fishing in a dry pond, would you? Similarly, you need a spot with minimal light pollution for astrophotography. National parks or remote areas are usually the best.
Best Practices
Here are some tips to get the best results:
- Check the Weather: Clear skies are a must.
- Plan Your Shots: Know what you want to capture.
- Patience: Sometimes, the best shots take time.
Patience is key. Its like waiting for a flower to bloom. The wait might be long, but the result is worth it.
Advanced Techniques
For those looking to take their skills to the next level, consider:
| Technique | Description |
|---|---|
| Stacking Images | Combines multiple shots for a clearer image. |
| Using Filters | Enhances specific details in your shots. |
Stacking Images is like creating a mosaic. Each photo adds a piece to the puzzle, resulting in a stunning final image.
Community and Learning
Joining a community can be incredibly beneficial. You can learn from others, share your experiences, and get valuable feedback. Its like having a support group that understands your passion.
Enhancing Stability with Accessories
When you’re diving into the mesmerizing world of astrophotography, stability is your best friend. Without a stable setup, even the clearest night skies can turn into blurry messes. This is where accessories come in to save the day. Let’s break down how you can enhance stability with some essential tools.
Using Counterweights
Counterweights are like the unsung heroes of your astrophotography gear. Their main job is to balance your equipment, making sure your camera or telescope doesn’t tip over. Think of it as balancing a seesaw. If one side is heavier, it won’t work smoothly.
Why Counterweights Matter:
- Balance: They keep your camera or telescope steady.
- Smooth Tracking: Helps in accurate tracking of celestial objects.
- Preventing Damage: Avoids unnecessary strain on your mount or tripod.
Here’s a quick table to help you understand different types of counterweights:
| Type | Description | Best For |
|---|---|---|
| Fixed | Non-adjustable, fixed weight. | Small setups, basic stability. |
| Adjustable | Can be adjusted to different weights. | Versatile for various setups. |
| Sliding | Slides along a rail for precise balancing. | High precision needs. |
Adding Vibration Dampeners
Imagine you’re all set up, but the tiniest vibration ruins your shot. Annoying, right? That’s where vibration dampeners step in. They absorb those tiny shakes and wobbles, giving you clear, sharp images.
Types of Vibration Dampeners:
- Rubber Pads: Simple and effective. Place them under your tripod legs.
- Anti-Vibration Pads: Specifically designed for heavy-duty use.
- Isolating Mounts: More advanced, often used in professional setups.
Heres a table summarizing vibration dampeners:
| Type | Description | Best For |
|---|---|---|
| Rubber Pads | Basic, affordable, easy to use. | Beginners, casual use. |
| Anti-Vibration Pads | Advanced, designed for heavy setups. | Intermediate to professional. |
| Isolating Mounts | High-end, isolates vibrations completely. | Professional, high precision. |
Maintenance and Care for Your Mounts and Tripods
Cleaning and Storage Tips
When you invest in high-quality mounts and tripods for astrophotography, you want them to last. Proper maintenance and care are essential. Let’s dive into some practical tips to keep your equipment in top shape.
Cleaning is the first step. Dust and grime can accumulate on your gear, affecting its performance. Use a soft brush or compressed air to remove dust from hard-to-reach areas. For stubborn dirt, a damp microfiber cloth will do the trick. Avoid using harsh chemicals, as they can damage the finish.
Storage is equally important. Always store your mounts and tripods in a dry, cool place. Moisture can lead to rust and corrosion, which can be detrimental to your equipment. Consider using silica gel packs in your storage area to absorb excess moisture. When not in use, keep your gear in a padded bag to protect it from bumps and scratches.
Regular Maintenance Routines
Regular maintenance routines can significantly extend the lifespan of your mounts and tripods. Here are some steps to follow:
- Inspect your equipment regularly. Look for any signs of wear and tear, such as loose screws or damaged parts.
- Tighten any loose screws or bolts. Over time, these can loosen due to vibrations and movements.
- Lubricate moving parts. Use a light lubricant to keep the joints and hinges moving smoothly. Be careful not to over-lubricate, as this can attract dust.
- Calibrate your mounts. Ensure that your tracking systems are aligned correctly for accurate star tracking.
Extending the Lifespan of Your Equipment
To get the most out of your mounts and tripods, you need to take steps to extend their lifespan. Here are some tips:
- Avoid Overloading: Each mount and tripod has a maximum weight capacity. Overloading can strain the equipment and lead to premature wear.
- Use Protective Gear: When setting up in the field, use ground mats to protect your gear from dirt and moisture.
- Handle with Care: Always handle your equipment with care. Avoid dropping or knocking it, as this can cause damage.
Choosing the Right Mounts and Tripods
Selecting the right mounts and tripods is crucial for achieving stable and clear images of the night sky. Here are some factors to consider:
| Factor | Description |
|---|---|
| Weight Capacity | Ensure the mount can support the weight of your camera and telescope. |
| Stability | Look for tripods with sturdy legs and a solid base to prevent vibrations. |
| Portability | If you travel frequently, choose lightweight and compact options. |
| Ease of Use | Consider mounts with user-friendly controls for easy adjustments. |
For more detailed guidance on selecting the best mounts and tripods, you can explore this guide to astrophotography mounts and tracking systems.
Essential Features to Look For
When shopping for mounts and tripods, there are several features to look for:
- Motorized Tracking: A motorized tracking system helps keep your camera aligned with the stars, reducing blur.
- Adjustable Legs: Tripods with adjustable legs allow you to set up on uneven terrain.
- Quick Release Plates: These make it easy to attach and detach your camera, saving you time during setup.
Popular Mounts and Tripods for Astrophotography
Here are some popular options to consider:
| Brand | Model | Key Features |
|---|---|---|
| Sky-Watcher | EQ6-R Pro | High weight capacity, motorized tracking, user-friendly. |
| Celestron | Advanced VX | Stable, portable, excellent for long-exposure photography. |
| Manfrotto | 055 Aluminum Tripod | Sturdy, adjustable legs, quick release. |
For more options, check out this guide on tripods for astrophotography.
Frequently Asked Questions
What are the best mounts and tripods for stable astrophotography?
The best mounts and tripods for stable astrophotography are those that are sturdy, portable, and designed for precise adjustments. Look for brands like Manfrotto, SkyWatcher, and Celestron. They often offer excellent stability and control.
How important is the weight capacity of a tripod for astrophotography?
Weight capacity is crucial. A tripod must support your camera and lens without shaking. Always check the tripod’s max load and ensure it exceeds your gear’s weight. This prevents wobbling and blurry photos.
Do I need a motorized mount for astrophotography?
Not always, but it helps. Motorized mounts track the rotation of the Earth, keeping stars in frame for longer. Without one, you’ll need shorter exposures and manual adjustments more often.
Can a cheap tripod be used for astrophotography?
It’s possible, but not ideal. Cheap tripods often lack stability and precision. For The Best Mounts and Tripods for Stable Astrophotography, invest in quality. It makes a big difference in your results.
What features should I look for in a tripod for astrophotography?
Look for stability, adjustability, and portability. Features like a sturdy build, smooth panning head, and quick-release legs can make a huge difference. For The Best Mounts and Tripods for Stable Astrophotography, these factors are key.


