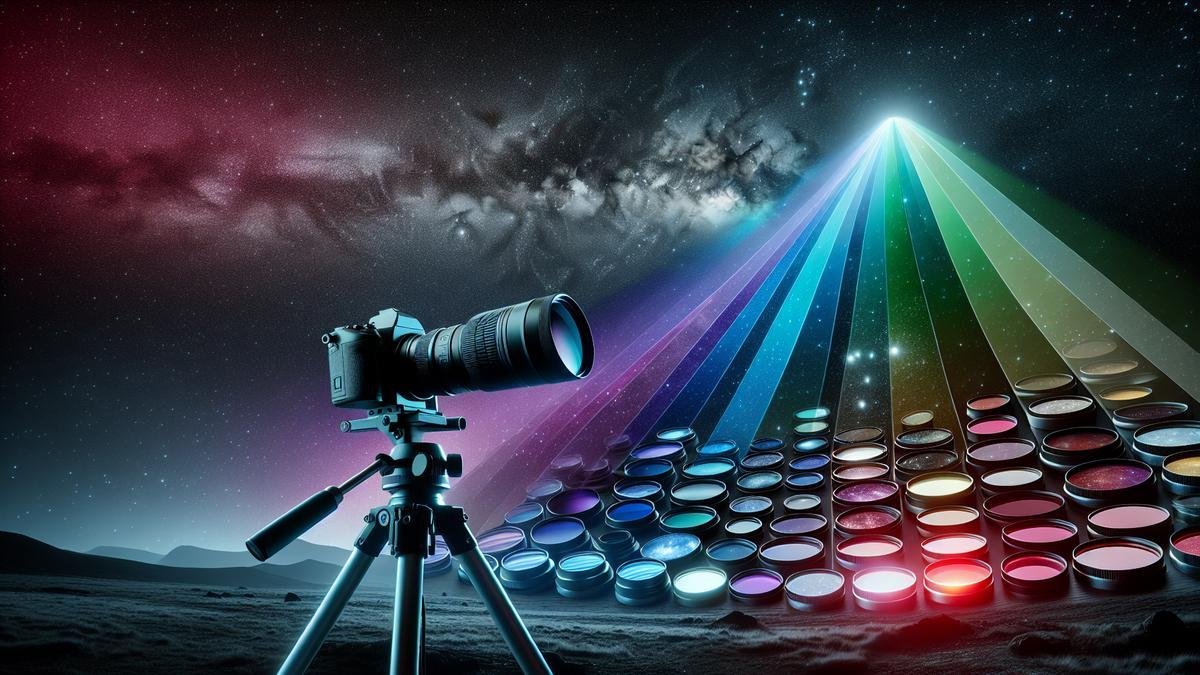
The Best Filters for Enhancing Your Astrophotography Shots can feel like a daunting topic, but dont worry—youre in the right place. In this guide, you’ll dive into the fascinating world of telescope filters. Understand how different filter types work, and learn the art of matching filters to your telescope. Discover how proper filter selection enhances your photos, reducing annoying light pollution and boosting contrast and detail. From popular narrowband and broadband filters to savvy DIY solutions, we’ve got you covered. Plus, you’ll gain tips on maintaining and storing your filters to keep them in top shape. Ready to capture clearer, sharper images? Lets get started!
Important Points to Remember
- Boost image clarity with light pollution filters
- Get vibrant colors using narrowband filters
- Improve star details with UV/IR cut filters
- Capture deep space with H-alpha filters
- Use ND filters for bright night scenes
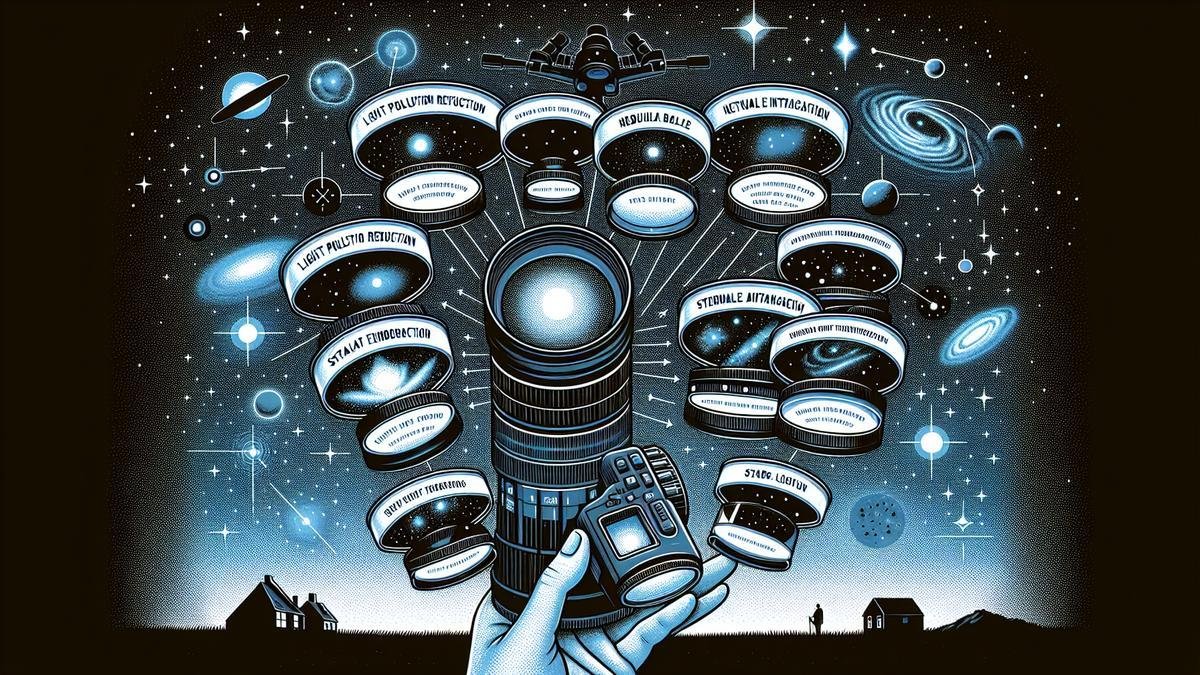
Choosing the Right Filter for Your Telescope
Understanding Filter Types
Choosing the right filter for your telescope can feel like picking the right spice for your favorite dish. Its all about enhancing the flavors of the night sky. Filters come in many types, each with its own special purpose.
Here’s a quick rundown of the main filter types youll encounter:
| Filter Type | Purpose | Best For |
|---|---|---|
| Light Pollution | Cuts through city lights | Urban stargazing |
| Color Filters | Enhances specific wavelengths | Planetary details |
| Nebula Filters | Isolates emission lines | Nebulae and galaxies |
| Solar Filters | Safe solar observation | Viewing the sun |
| Polarizing Filters | Reduces glare and increases contrast | Moon and planets |
Light Pollution Filters are your best friend if you live in a city. They help you see through the haze of streetlights and neon signs, bringing out the stars hiding in the background.
Color Filters are like putting on a pair of glasses that make everything pop. They can help you see details on planets that you might miss otherwise. For example, a red filter can highlight the polar ice caps on Mars.
Nebula Filters are a must if you love deep-sky objects. They isolate specific wavelengths of light, making faint nebulae and galaxies stand out more clearly against the dark sky.
Solar Filters are essential for safe solar observation. Never look directly at the sun without a proper solar filter, as it can cause serious eye damage.
Polarizing Filters help reduce glare and increase contrast, making them perfect for viewing the moon and planets. They can make the difference between a washed-out image and a detailed, crisp view.
Matching Filters to Your Telescope
Now that you know the types of filters available, its time to match them to your telescope. Not all filters are created equal, and some work better with certain types of telescopes.
Here’s a helpful table to guide you:
| Telescope Type | Recommended Filters |
|---|---|
| Refractor | Light Pollution, Color, Polarizing |
| Reflector | Nebula, Light Pollution, Color |
| Dobsonian | Nebula, Light Pollution, Polarizing |
| Catadioptric | Solar, Light Pollution, Nebula |
Refractor Telescopes are great for planetary and lunar viewing, so color and polarizing filters are your go-to choices.
Reflector Telescopes excel at deep-sky objects, making nebula and light pollution filters ideal.
Dobsonian Telescopes are similar to reflectors but often larger, so they benefit from the same filters.
Catadioptric Telescopes are versatile, making solar, light pollution, and nebula filters all good options.
Benefits of Proper Filter Selection
Selecting the right filter is like finding the perfect tool for the job. It can make a world of difference in your astrophotography. Here are some key benefits:
- Enhanced Visibility: Filters can bring out details that are invisible to the naked eye.
- Improved Contrast: They help separate objects from the background, making them stand out more.
- Safety: Solar filters protect your eyes during solar observations.
- Reduced Light Pollution: Light pollution filters can turn a washed-out sky into a canvas of stars.
How Filters Improve Image Quality
Astrophotography can be a bit of a puzzle. Youve got the camera, the tripod, and the perfect spot. But then, theres the issue of light pollution, contrast, and detail. This is where filters come into play. They can be your secret weapon to capture the night sky in all its glory.
Reducing Light Pollution
Light pollution is the bane of any astrophotographer. Streetlights, car headlights, and even the moon can wash out the stars. This is where light pollution filters save the day. These filters block out artificial lights, allowing the stars to shine through.
Benefits of Light Pollution Filters:
- Improved Star Visibility: Stars appear brighter and more distinct.
- Enhanced Colors: The natural colors of celestial objects come through clearly.
- Reduced Glare: Less interference from artificial lights.
Heres a quick comparison of popular light pollution filters:
| Filter Type | Best For | Price Range |
|---|---|---|
| UHC (Ultra High Contrast) | General Use | $50-$150 |
| CLS (City Light Suppression) | Urban Areas | $60-$200 |
| H-alpha | Nebulae Photography | $100-$300 |
Enhancing Contrast and Detail
Capturing the fine details of the Milky Way or a distant nebula can be tricky. Contrast and detail filters help you bring out the subtleties in your shots. These filters enhance the contrast between dark and light areas, making the details pop.
Types of Contrast and Detail Filters:
- H-beta Filters: Great for capturing faint nebulae.
- OIII Filters: Ideal for planetary nebulae and supernova remnants.
- SII Filters: Perfect for emission nebulae.
Advantages:
- Sharper Images: Fine details become more pronounced.
- Better Depth: The depth of field is improved, giving your photos a 3D effect.
- Increased Clarity: Reduces atmospheric distortion.
Clearer and Sharper Images
You want your images to be as clear and sharp as possible. This is where narrowband filters come in. They allow only specific wavelengths of light to pass through, reducing noise and increasing clarity.
Key Narrowband Filters:
- H-alpha: Focuses on the red part of the spectrum, great for nebulae.
- OIII: Targets the green-blue part of the spectrum, perfect for planetary nebulae.
- SII: Highlights the sulfur emissions, adding depth to your images.
Benefits:
- Noise Reduction: Less interference from unwanted light.
- Enhanced Details: Fine structures become more visible.
- Better Colors: More accurate color representation.
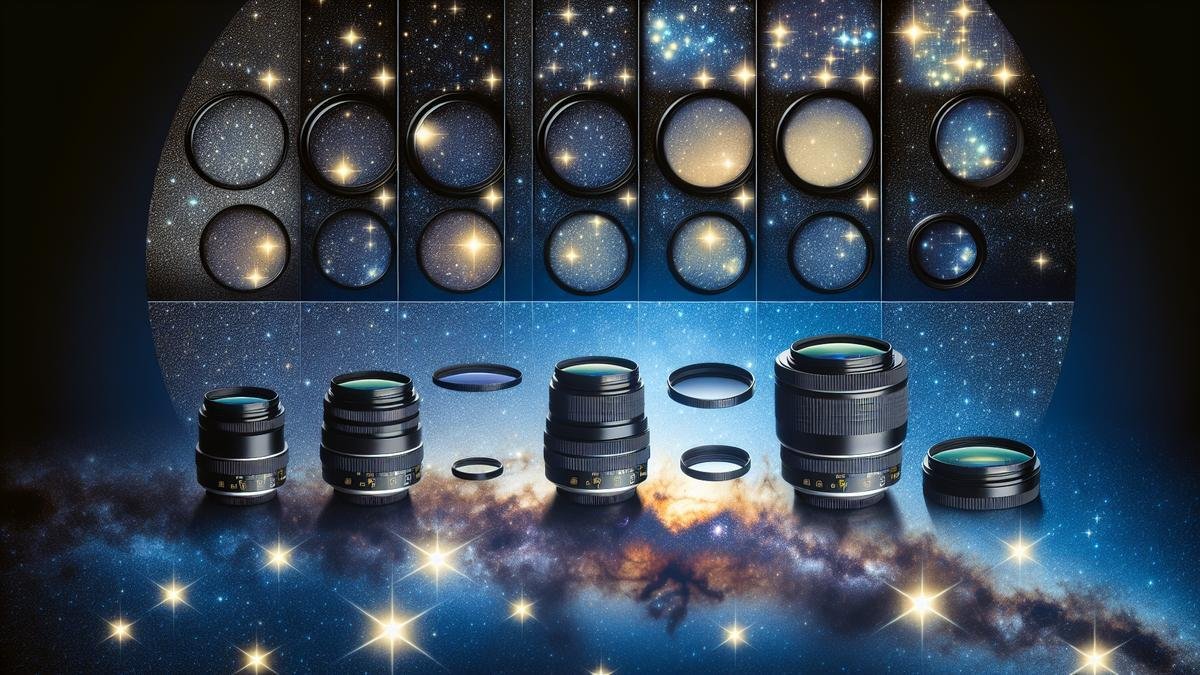
Popular Filters for Astrophotography
Narrowband Filters
Narrowband filters are your best friends when capturing deep-sky objects. These filters isolate specific wavelengths of light, helping you cut through the noise of light pollution. They are perfect for capturing nebulae, which emit light at particular wavelengths.
Why Use Narrowband Filters?
- Reduces Light Pollution: Helps you shoot even in urban areas.
- Boosts Contrast: Makes your images pop with more detail.
- Isolates Specific Wavelengths: Perfect for capturing hydrogen-alpha, oxygen-III, and sulfur-II emissions.
Types of Narrowband Filters
| Filter Type | Wavelength | Best For |
|---|---|---|
| Hydrogen-Alpha (Ha) | 656.3 nm | Emission Nebulae |
| Oxygen-III (OIII) | 500.7 nm | Planetary Nebulae |
| Sulfur-II (SII) | 672.4 nm | Supernova Remnants |
Broadband Filters
Broadband filters are your go-to for capturing star clusters and galaxies. They let in a broader range of wavelengths, making them less effective at cutting through light pollution but great for capturing a wide array of celestial objects.
Why Use Broadband Filters?
- Versatility: Suitable for a wide range of objects.
- Natural Colors: Maintains the natural color balance of your shots.
- Light Pollution Reduction: Not as strong as narrowband but still helpful.
Types of Broadband Filters
| Filter Type | Best For | Light Pollution Reduction |
|---|---|---|
| Light Pollution Reduction (LPR) | Urban Areas | Moderate |
| Ultraviolet (UV) | Daytime Photography | Minimal |
| Infrared (IR) | Nighttime Photography | Minimal |
Top Brands to Consider
Choosing the right brand can be as crucial as picking the right type of filter. Here are some top brands that offer excellent quality and performance.
Top Brands for Narrowband Filters
| Brand | Key Features | Price Range |
|---|---|---|
| Astrodon | High Transmission | $$$$ |
| Baader Planetarium | Affordable | $$ |
| Optolong | Good Quality | $$$ |
Top Brands for Broadband Filters
| Brand | Key Features | Price Range |
|---|---|---|
| Astronomik | Durable and Reliable | $$$ |
| ZWO | Affordable and Effective | $$ |
| Hoya | High-Quality Glass | $$$$ |
DIY Filter Solutions for Beginners
Affordable Options
So, youve got your telescope and camera ready, but youre missing one key piece: filters. Filters can make a world of difference in your astrophotography, enhancing details and colors. But, they can be pricey. Don’t worry, there are affordable options that wont break the bank.
Heres a quick table of some budget-friendly filters:
| Filter Type | Price Range | Best For |
|---|---|---|
| UV/IR Cut | $20-$40 | Reducing star bloat |
| Light Pollution | $30-$50 | Urban areas |
| Colored Filters | $10-$30 | Enhancing specific wavelengths |
UV/IR Cut Filters are great for reducing star bloat, making your stars look sharper. Light Pollution Filters help you get clearer shots even if youre in a city. And Colored Filters can enhance specific wavelengths, making certain celestial objects pop.
Homemade Filter Hacks
If youre a DIY enthusiast, you can make your own filters. Its not as hard as it sounds. Here are some creative ideas to get you started.
Getting Started with DIY Filters
First, youll need some basic materials:
- Gel Filters (often used in stage lighting)
- Cardboard or Foam Board
- Scissors and Tape
- Elastic Bands or Velcro
Heres a simple step-by-step guide to make a basic light pollution filter:
- Cut the Gel Filter: Measure the diameter of your telescope or camera lens and cut the gel filter to size.
- Create a Holder: Cut a piece of cardboard or foam board to form a holder for the gel filter. Make sure its slightly larger than the gel filter.
- Attach the Gel Filter: Tape the gel filter to the cardboard or foam board.
- Secure to Telescope: Use elastic bands or Velcro to secure the filter holder to your telescope or camera lens.
This homemade filter can help reduce light pollution, giving you clearer shots of the night sky.
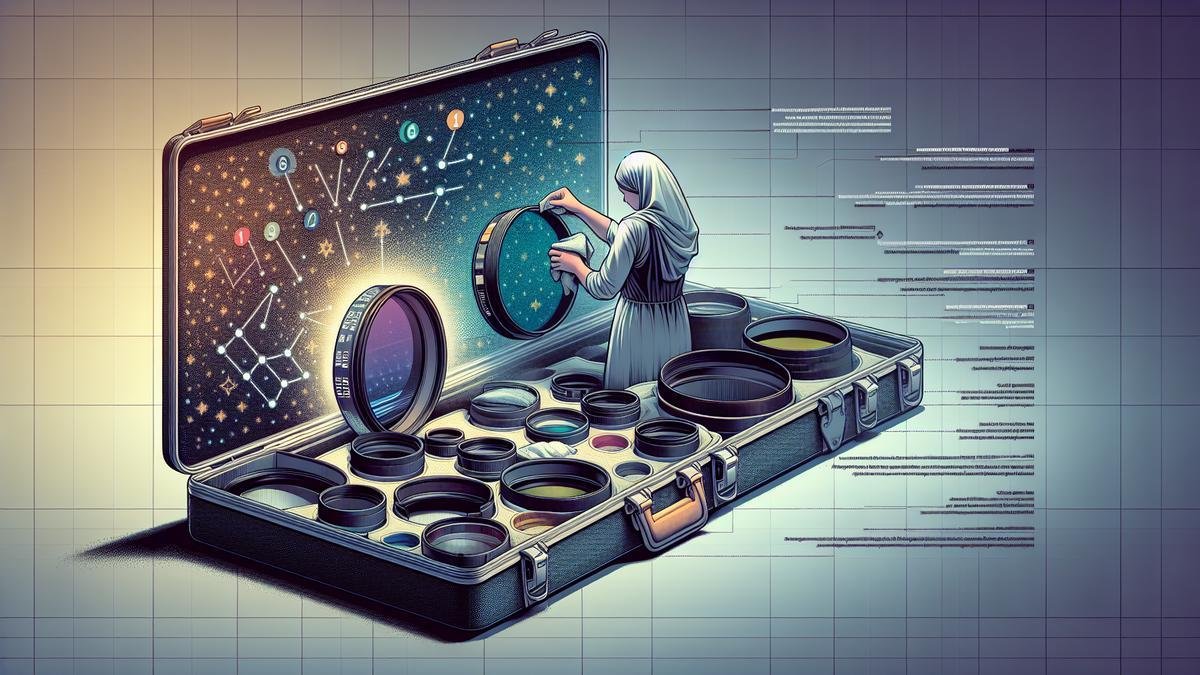
Maintaining and Storing Your Filters
Proper Cleaning Techniques
Alright, let’s talk about keeping those filters clean. You might think it’s a hassle, but trust me, it’s worth it. Clean filters mean sharper images and better colors. Here’s how you can do it:
- Use a Soft Brush: Start with a soft brush to remove any loose dust or particles. You don’t want to scratch the surface.
- Blow Away Dust: Use a blower to get rid of any remaining dust. It’s gentle and effective.
- Lens Cleaning Solution: Apply a small amount of lens cleaning solution to a microfiber cloth. Never spray directly on the filter.
- Circular Motion: Gently wipe the filter in a circular motion. This helps avoid streaks and smudges.
- Dry with a Clean Cloth: Use a dry part of the cloth to remove any remaining moisture.
Safe Storage Tips
Now that your filters are clean, let’s talk about storing them. Proper storage can make a big difference in their lifespan.
- Use Filter Cases: Always keep your filters in their cases when not in use. This protects them from dust and scratches.
- Avoid Humidity: Store your filters in a dry place. Humidity can cause mold and damage the coatings.
- Label Your Filters: Keep track of your filters by labeling them. It makes it easier to find the right one when you need it.
- Keep Them Separate: Don’t stack filters on top of each other. Use a filter pouch with separate compartments.
Extending Filter Lifespan
You want your filters to last, right? Here are some tips to help you get the most out of them.
- Handle with Care: Always hold your filters by the edges. Fingerprints can be tough to clean and might damage the coatings.
- Avoid Extreme Temperatures: Don’t leave your filters in hot or cold environments. Extreme temperatures can warp the glass.
- Regular Cleaning: Make it a habit to clean your filters regularly. Its easier to remove fresh dust and dirt than old grime.
- Check for Damage: Inspect your filters periodically for scratches or other damage. It’s better to catch issues early.
Advanced Techniques with Filters
Stacking Filters for Better Results
Alright, let’s dive into the nitty-gritty of stacking filters for astrophotography. You know, capturing those stunning night sky shots is like baking a perfect cake. You need the right ingredients, and filters are one of those key ingredients.
When you stack filters, you’re essentially combining different types to get the best of both worlds. Think of it as layering flavors in a dish. Heres how you can do it:
- Start with a Light Pollution Filter: This helps you cut through the city lights, making the stars pop.
- Add a Color Correction Filter: This will balance the colors, giving you a more natural look.
- Finish with a Neutral Density Filter: This helps manage the exposure, especially during long exposures.
| Filter Type | Purpose | Example Brands |
|---|---|---|
| Light Pollution Filter | Reduces city lights interference | Hoya, L-Pro |
| Color Correction Filter | Balances colors for a natural look | Tiffen, B+W |
| Neutral Density Filter | Manages exposure during long shots | ND, Lee Filters |
By stacking these filters, you can achieve a more detailed and vibrant image. Its like putting on sunglasses, then a hat, and then sunscreen. Each one protects you in a different way, but together, theyre unbeatable!
Using Software to Enhance Filter Effects
Now, stacking filters is just one part of the equation. The other part? Software. Yep, your computer is your best friend here.
Once you’ve captured your shot, you can use software to enhance those filter effects. Think of it as seasoning your food after its cooked. Here are some tools you can use:
- Adobe Photoshop: Great for detailed edits.
- Lightroom: Perfect for batch processing.
- DeepSkyStacker: Specialized for astrophotography.
| Software | Purpose | Key Features |
|---|---|---|
| Adobe Photoshop | Detailed edits | Layers, masks, advanced adjustments |
| Lightroom | Batch processing | Presets, easy adjustments |
| DeepSkyStacker | Specialized for astrophotography | Stacking, alignment, calibration |
Using these tools, you can tweak the brightness, contrast, and even remove some noise. Its like adding a bit of salt or pepper to your dish – just the right amount can make all the difference.
Combining Filters and Post-Processing
Heres where the magic happens. Combining filters and post-processing is like having your cake and eating it too. You get the best of both worlds.
First, capture your shot with the stacked filters. Then, import it into your software of choice. Heres a step-by-step guide:
- Capture with Stacked Filters: Use the light pollution, color correction, and neutral density filters.
- Import into Software: Use Photoshop, Lightroom, or DeepSkyStacker.
- Adjust Basic Settings: Tweak brightness, contrast, and colors.
- Apply Advanced Edits: Use layers, masks, and other advanced tools.
- Export and Share: Save your masterpiece and share it with the world!
| Step | Action | Tools Needed |
|---|---|---|
| Capture | Use stacked filters | Camera, filters |
| Import | Load into software | Photoshop, Lightroom |
| Adjust Basic Settings | Tweak brightness, contrast, colors | Software tools |
| Apply Advanced Edits | Use layers, masks, advanced tools | Photoshop, Lightroom |
| Export and Share | Save and share your image | Software, internet |
By following these steps, youll turn a good shot into a jaw-dropping masterpiece. Its like turning a simple cake into a five-star dessert.
Frequently asked questions
What are the best filters for enhancing your astrophotography shots?
The best filters for enhancing your astrophotography shots are light pollution filters. They help block unwanted artificial light.
Do I need a special filter for different types of celestial objects?
Yes, narrowband filters work best for nebulae, while broadband filters are excellent for capturing stars and galaxies.
How do light pollution filters improve astrophotography?
Light pollution filters enhance the contrast of your photos by blocking out city lights, making celestial objects stand out more.
Can I use multiple filters at once for better results?
You can stack filters, but it might affect image quality. It’s best to experiment and see what works for your setup.
Are there affordable options among the best filters for astrophotography?
Yes! There are budget-friendly filters like the Neewer and Svbony brands that still offer great performance for beginners.

