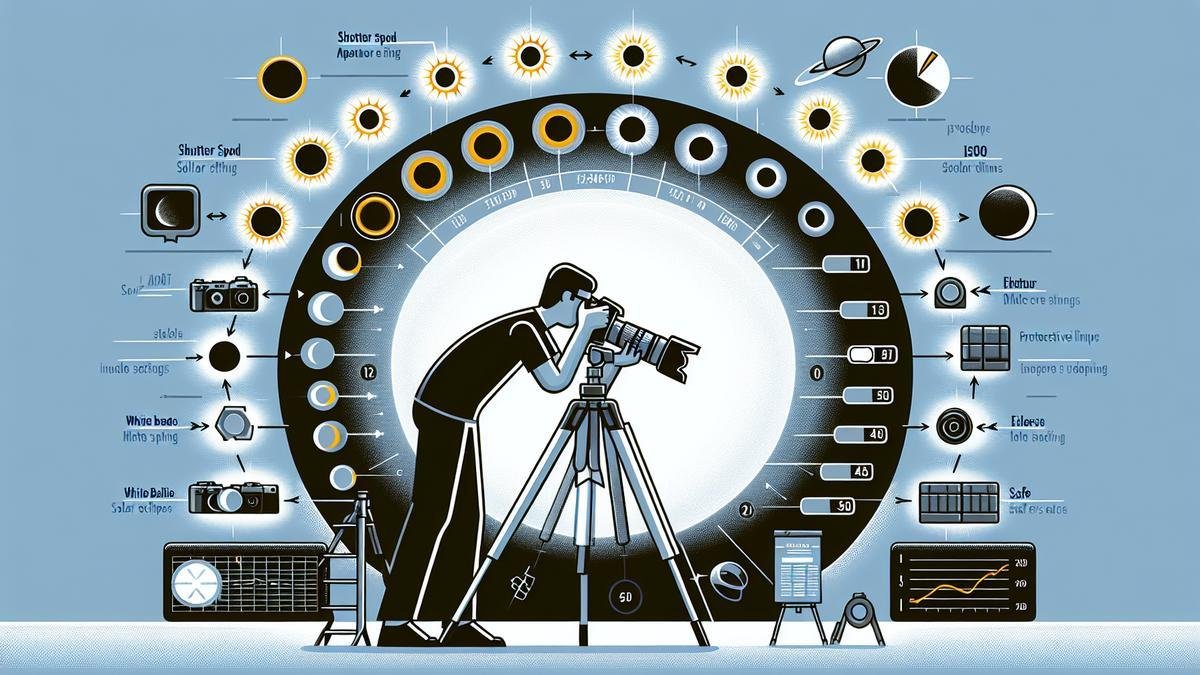
Techniques for Photographing Solar Eclipses are more than just pointing and shooting. It’s an art! This article dives into choosing the right equipment, mastering your camera settings, and planning your shoot to make sure you capture those jaw-dropping moments. We’ll also cover safety tips, compositional tricks, and post-processing magic. Ready to turn that solar eclipse into a photo masterpiece? Let’s get started!
Key Takeaways
- Use a Solar Filter
- Practice Beforehand
- Plan Your Timing
- Bring Extra Batteries
- Stay Safe with Eye Protection
Choosing the Right Equipment for Solar Eclipse Photography
Essential Camera Gear for Eclipses
When youre gearing up to capture the magic of a solar eclipse, your camera gear is the foundation of your success. First off, a DSLR or a mirrorless camera is your best bet. These cameras offer the flexibility and control you need to capture the intricate details of an eclipse. If youre still on the fence about which type to choose, consider exploring the differences between DSLRs and mirrorless cameras.
Memory cards with ample storage are a must. Eclipses happen quickly, and you dont want to run out of space at a crucial moment. Opt for high-speed cards to keep up with the rapid shooting.
Extra batteries are another essential. Solar eclipses can be lengthy events, and you dont want to miss the climax because your battery died. Portable power solutions can be a lifesaver; check out some portable power solutions to keep your gear running smoothly.
Heres a quick look at the essential camera gear:
| Item | Description |
|---|---|
| Camera | DSLR or mirrorless for flexibility and control |
| Memory Cards | High-speed, high-capacity cards to store numerous shots |
| Extra Batteries | Ensure you have enough power for the entire event |
| Solar Filters | Protect your camera sensor and your eyes |
Best Lenses for Solar Eclipse Shots
The lens you choose can make or break your eclipse photography. Telephoto lenses are the go-to choice for capturing the suns intricate details. A lens with a focal length of 400mm or higher will give you a close-up view of the eclipse.
For those who want to capture the entire scene, including the landscape, a wide-angle lens can be a great addition to your kit. This allows you to frame the eclipse within a broader context, creating a dramatic effect.
Consider using lenses with image stabilization to counteract any minor shakes. This feature can be particularly useful if youre shooting without a tripod.
Heres a breakdown of lens options:
| Lens Type | Ideal Use |
|---|---|
| Telephoto (400mm+) | Close-up shots of the eclipse |
| Wide-angle | Capturing the eclipse within a landscape scene |
| Image Stabilization | Reducing camera shake for clearer images |
Mastering Camera Settings for Solar Eclipses
Capturing a solar eclipse is like catching lightning in a bottle. You need to be precise, swift, and ready for anything. Your camera settings can make or break your shot. Lets dive into the nitty-gritty of getting those settings just right.
Adjusting Aperture and Shutter Speed
When photographing a solar eclipse, the aperture and shutter speed are your best friends. The aperture controls how much light hits your camera sensor, while the shutter speed determines how long the sensor is exposed to that light.
Aperture
For solar eclipse photography, you generally want a small aperture (high f-number). This helps you get a greater depth of field, ensuring that the sun and the surrounding corona are in sharp focus.
| Aperture Setting | Description |
|---|---|
| f/8 to f/16 | Ideal range for sharp images and good depth of field. |
| f/22 and above | Might cause diffraction, reducing image sharpness. |
Shutter Speed
The shutter speed can vary depending on the phase of the eclipse. During the partial phases, you might need a faster shutter speed to avoid overexposing the bright sun. However, during the totality, a slower shutter speed can help you capture the faint details of the corona.
| Eclipse Phase | Shutter Speed Range |
|---|---|
| Partial Phases | 1/1000 to 1/4000 sec |
| Totality | 1/125 to 1/500 sec |
ISO Settings for Solar Eclipse Photography
The ISO setting controls your camera’s sensitivity to light. For solar eclipse photography, you’ll want to keep the ISO as low as possible to reduce noise and increase image quality.
| ISO Setting | Description |
|---|---|
| ISO 100 | Ideal for most conditions, providing the best image quality. |
| ISO 200-400 | Can be used if you need a faster shutter speed but still want to maintain quality. |
Using a low ISO setting helps you avoid the graininess that can detract from the fine details of the eclipse. If you need more tips on managing high ISO settings, you might find this guide on high ISO tips and tricks useful.
Using Manual Focus for Sharp Images
Manual focus is crucial when photographing a solar eclipse. Autofocus can struggle with the intense light and can lead to out-of-focus images.
Steps to Achieve Sharp Focus
- Switch to Live View: Use your cameras live view mode to see the image on the screen.
- Zoom In: Use the digital zoom to magnify the image on the screen. This helps you see the details more clearly.
- Adjust Focus: Manually adjust the focus ring until the suns edges are crisp and clear.
| Focus Mode | Description |
|---|---|
| Manual Focus | Provides precise control and ensures sharp images. |
| Autofocus | Not recommended due to the intense light conditions. |
For more insights on manual focusing techniques, you can explore this comprehensive guide on focusing.
Additional Tips for Solar Eclipse Photography
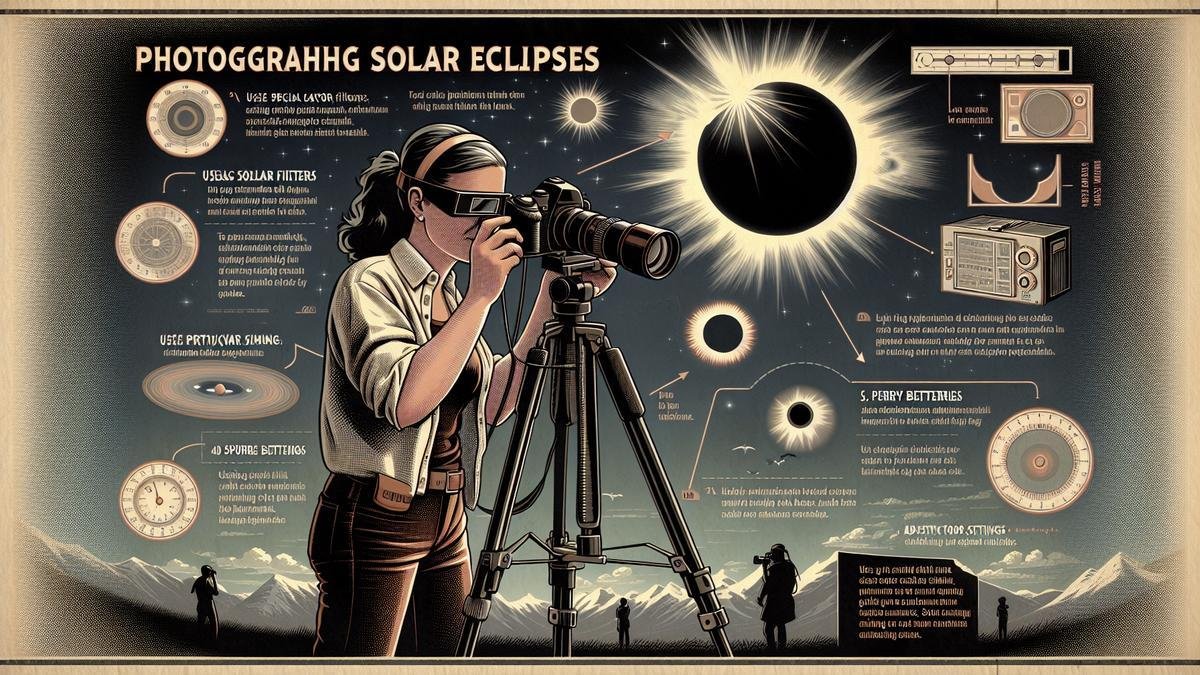
Use a Solar Filter
A solar filter is essential for protecting both your eyes and your camera. It reduces the intense brightness of the sun, allowing you to capture detailed images without damaging your equipment.
Plan Your Shots
Planning is key. Use apps and websites to track the eclipse’s path and timing. Knowing the exact moments of the different phases helps you adjust your settings accordingly.
Experiment with Bracketing
Bracketing involves taking multiple shots at different exposures. This technique can help you capture a range of details, from the bright solar disc to the faint corona. Later, you can combine these shots in post-processing.
| Bracketing Mode | Description |
|---|---|
| 3-5 Shots | Common range for capturing different exposures. |
| HDR Mode | High Dynamic Range mode can automatically blend exposures. |
Use a Sturdy Tripod
A sturdy tripod is a must-have for keeping your camera stable during the long exposure times required for eclipse photography. For more on choosing the right tripod, check out this guide on tripods for astrophotography.
Remote Shutter Release
A remote shutter release helps you avoid camera shake. This is especially important during the long exposures needed to capture the eclipse’s finer details.
Post-Processing Your Images
After capturing your images, post-processing can help you bring out the best in your shots. Software like Adobe Lightroom and Photoshop are popular choices for editing astrophotography images. You can learn more about post-processing techniques in this introduction to post-processing.
Common Post-Processing Steps
- Adjust Exposure: Fine-tune the exposure to bring out the details in the corona.
- Reduce Noise: Use noise reduction tools to clean up the image.
- Enhance Colors: Adjust the color balance to make the eclipse stand out.
| Software | Description |
|---|---|
| Adobe Lightroom | Great for basic adjustments and noise reduction. |
| Adobe Photoshop | Ideal for advanced editing and compositing. |
Planning Your Solar Eclipse Shoot
Researching Eclipse Path and Timing
When you’re gearing up to photograph a solar eclipse, the first thing you need to do is research the eclipse path and timing. This is crucial because solar eclipses are not everyday events—they happen at specific times and places.
Start by checking the websites of reputable astronomical organizations, such as NASA or the International Astronomical Union (IAU). They provide detailed maps and schedules of upcoming solar eclipses. You can also use apps designed for eclipse tracking. These tools will help you pinpoint the exact location and time of the eclipse.
Here’s a basic table to help you organize your research:
| Source | Information Provided | Notes |
|---|---|---|
| NASA | Eclipse maps, timing, safety tips | Highly reliable |
| IAU | Global eclipse schedules, path details | Good for international events |
| Eclipse Apps | Real-time tracking, notifications | Convenient and mobile-friendly |
Scouting the Perfect Location
Once you’ve nailed down the when and where, the next step is scouting the perfect location. This isn’t just about finding a spot with a clear view of the sky; you also want a location that offers minimal light pollution and an unobstructed horizon.
Consider these factors:
- Accessibility: Ensure you can get to the location easily, especially if you need to carry a lot of gear.
- Safety: Check for any potential hazards, such as wildlife or unstable terrain.
- Comfort: Make sure you have a comfortable spot to set up your equipment and wait for the eclipse.
A great way to find the perfect spot is to use light pollution maps. These maps show you areas with the least amount of artificial light, which is ideal for capturing clear, sharp images.
Checking Weather Conditions in Advance
The weather can make or break your eclipse shoot. Checking weather conditions in advance is essential. Use reliable weather forecasting websites or apps to monitor the weather leading up to the eclipse. Pay attention to cloud cover, wind speed, and humidity levels.
Here’s a quick table to help you keep track of weather conditions:
| Weather Element | Ideal Condition | Notes |
|---|---|---|
| Cloud Cover | Clear or minimal clouds | Clouds can obstruct your view |
| Wind Speed | Low | High winds can shake your camera |
| Humidity | Low to moderate | High humidity can cause lens fog |
By meticulously planning your shoot, you set yourself up for success. Now, let’s dive into the advanced techniques that will help you capture stunning images of the solar eclipse.
Advanced Techniques for Capturing Stunning Solar Eclipse Images
Using the Right Equipment
Your choice of equipment can significantly impact the quality of your solar eclipse photos. Here are some essential gear recommendations:
- Camera: A DSLR or mirrorless camera with manual settings is ideal. Check out this comparison of DSLRs and mirrorless cameras to make an informed decision.
- Lens: A telephoto lens with a focal length of at least 300mm is recommended. For more options, see this guide to essential lenses for capturing the night sky.
- Tripod: Stability is crucial. A sturdy tripod will keep your camera steady. Learn more about tripods for astrophotography.
- Solar Filter: Never point your camera at the sun without a proper solar filter. This protects both your camera and your eyes.
Mastering Camera Settings
Your camera settings can make or break your photos. Here are some key settings to focus on:
- ISO: Keep it as low as possible to reduce noise. For tips on high ISO settings, check out this article.
- Aperture: A mid-range aperture (f/8 to f/16) provides a good balance of sharpness and depth of field.
- Shutter Speed: During totality, you’ll need a slower shutter speed to capture the details of the corona. Before and after totality, use a faster shutter speed to avoid overexposure.
Here’s a quick reference table for camera settings:
| Phase of Eclipse | ISO | Aperture | Shutter Speed |
|---|---|---|---|
| Before Totality | 100 | f/8 | 1/1000 to 1/4000 |
| During Totality | 100-400 | f/8 to f/16 | 1/125 to 1/500 |
| After Totality | 100 | f/8 | 1/1000 to 1/4000 |
Focusing Techniques
Achieving sharp focus is essential for capturing detailed images of the solar eclipse. Here are some focusing techniques:
- Manual Focus: Use manual focus to avoid the camera hunting for focus. Set your focus to infinity and fine-tune using live view.
- Live View: Zoom in on the sun using live view to get a precise focus.
- Focus Bracketing: Take multiple shots with slightly different focus settings and choose the sharpest one later.
Bracketing Exposures
Bracketing exposures is a technique where you take multiple shots at different exposure settings. This is particularly useful during a solar eclipse because the light conditions change rapidly.
- Exposure Bracketing: Take a series of shots with varying shutter speeds. For example, you might take one shot at 1/1000, another at 1/500, and another at 1/250.
- HDR Imaging: Combine multiple bracketed exposures to create a high dynamic range (HDR) image. This technique can reveal details in both the bright corona and the darker lunar surface.
Here’s a simple table to illustrate exposure bracketing:
| Exposure Setting | Shutter Speed |
|---|---|
| Underexposed | 1/2000 |
| Correct Exposure | 1/1000 |
| Overexposed | 1/500 |
Using Tracking Systems
A tracking system can help you keep the sun centered in your frame as the earth rotates. This is especially useful for long-duration exposures. Learn more about tracking systems for astrophotography.
Safety Tips for Photographing Solar Eclipses
Using Solar Filters on Your Camera
When you’re gearing up to capture the majesty of a solar eclipse, your first and foremost concern should be safety. Solar filters are not just an accessory; they are a necessity. These filters are specially designed to protect your camera’s sensor from the intense light of the sun, which can cause irreparable damage.
Types of Solar Filters:
| Filter Type | Description | Best For |
|---|---|---|
| Glass Solar Filters | Durable and long-lasting, these filters provide excellent protection and image quality. | Professional photographers |
| Polymer Solar Filters | Made from black polymer, these are more affordable and still offer good protection. | Hobbyists and beginners |
| Mylar Solar Filters | Lightweight and inexpensive, but can sometimes affect image quality. | Casual eclipse viewers |
How to Use Solar Filters:
- Attach Securely: Make sure the filter is securely attached to the front of your lens. A loose filter can fall off and expose your camera sensor to the sun.
- Check for Damage: Inspect the filter for any scratches or damage before use. A damaged filter won’t provide adequate protection.
- Test Shots: Take a few test shots to ensure the filter is working correctly and adjust your settings as needed.
Protecting Your Eyes During the Eclipse
Your eyes are just as important as your camera when photographing a solar eclipse. Direct exposure to the sun can cause severe eye damage, including permanent blindness.
Eye Protection Methods:
| Protection Type | Description | Best For |
|---|---|---|
| Eclipse Glasses | Specially designed to filter out harmful rays. Must meet the ISO 12312-2 international safety standard. | Everyone |
| Welding Glasses | Only use if they are shade 14 or higher. Lower shades do not offer adequate protection. | Those without access to eclipse glasses |
| Solar Viewers | Handheld viewers that allow you to safely watch the eclipse. | Casual observers |
Steps to Protect Your Eyes:
- Wear Eclipse Glasses: Always wear eclipse glasses when looking at the sun. Regular sunglasses are not safe.
- Use Solar Viewers: If you prefer not to wear glasses, use a solar viewer to watch the eclipse.
- Avoid Direct Viewing: Never look directly at the sun without proper protection, even for a brief moment.
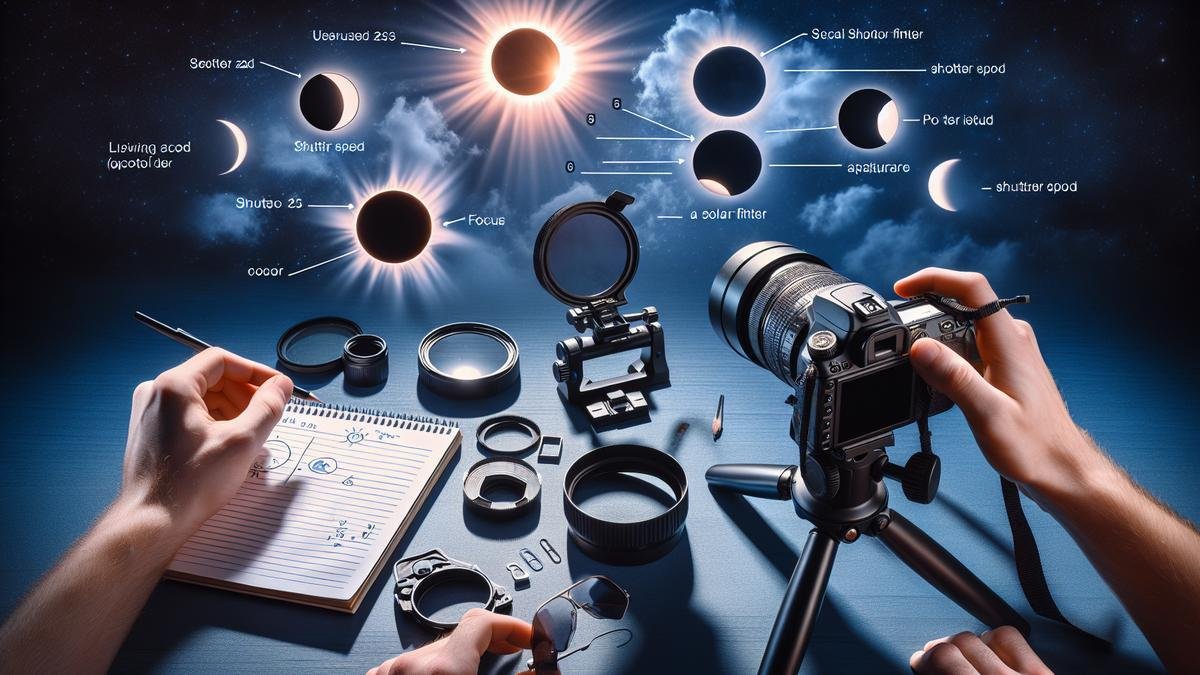
Composing Stunning Solar Eclipse Photos
So, you’ve decided to capture the awe-inspiring beauty of a solar eclipse. It’s not just about pointing your camera at the sky and clicking away. There are layers of complexity and artistry involved in capturing those jaw-dropping images. Let’s dive into some advanced techniques to elevate your solar eclipse photography game.
Framing the Eclipse with Foreground Elements
When you think of solar eclipse photos, your mind might go straight to the celestial event itself. But hold on a second. Adding foreground elements can transform your photos from ordinary to extraordinary. Think of it as adding a frame to a masterpiece painting.
Why Foreground Elements Matter
Foreground elements provide a sense of scale and context. They can turn a simple eclipse shot into a story. Imagine a lone tree silhouetted against the eclipse or a mountain range framing the celestial event. These elements add depth and make your photos more engaging.
Choosing the Right Foreground
Selecting the right foreground is crucial. You want something that complements the eclipse without overshadowing it. Here are a few tips:
- Natural Elements: Trees, mountains, and water bodies can add an organic touch.
- Man-made Structures: Buildings, monuments, and bridges can provide a contrasting yet harmonious backdrop.
- People: Silhouettes of people watching the eclipse can add a human element, making the photo more relatable.
Positioning and Timing
Positioning yourself and timing your shot are key. Use apps like PhotoPills or The Photographers Ephemeris to plan your shoot. These tools help you understand the sun’s path and find the perfect spot for your foreground elements.
Capturing the Different Phases of the Eclipse
A solar eclipse is a dynamic event with multiple phases, each offering unique photographic opportunities. Let’s break down the phases and how to capture them effectively.
Phases of a Solar Eclipse
| Phase | Description |
|---|---|
| First Contact | The moon starts to cover the sun. |
| Partial Eclipse | The sun is partially covered by the moon. |
| Totality | The sun is completely covered, revealing the corona. |
| Second Contact | The moon starts to move away, ending totality. |
| Third Contact | The moon continues to move away, partially covering the sun again. |
| Fourth Contact | The moon completely moves away from the sun. |
Photographing Each Phase
- First Contact: Use a solar filter to protect your camera. Capture the initial bite taken out of the sun.
- Partial Eclipse: Keep the solar filter on. Experiment with different exposures to capture the crescent shapes.
- Totality: Remove the solar filter. This is the moment to capture the sun’s corona. Use bracketing to get multiple exposures.
- Second and Third Contacts: Similar to the first contact, but in reverse. Capture the diamond ring effect.
- Fourth Contact: The eclipse is ending. Capture the final moments of the moon moving away.
Post-Processing Your Solar Eclipse Images
So, you’ve captured some spectacular shots of a solar eclipse. Now, the fun part begins—post-processing! This is where you can really make your images pop and highlight the intricate details of the eclipse that might not be immediately visible in the raw photos.
Editing Tips for Enhancing Eclipse Photos
When it comes to editing your solar eclipse photos, there are several key steps you can follow to elevate your images. Let’s dive into some essential tips:
- Adjust Exposure and Contrast: Start by tweaking the exposure and contrast. This will help bring out the details in both the bright and dark areas of your photo. A balanced exposure ensures that the sun’s corona and any visible solar flares are clearly visible.
- Color Correction: Often, solar eclipse photos can have a color cast due to the atmosphere and the equipment used. Use color correction tools to neutralize any unwanted tints and bring out the natural colors of the eclipse.
- Sharpening: Adding a touch of sharpening can enhance the fine details of the solar eclipse. Be careful not to overdo it, as too much sharpening can introduce noise and artifacts.
- Noise Reduction: Solar eclipse photos, especially those taken at high ISO settings, can have noticeable noise. Use noise reduction techniques to smooth out the image while preserving important details.
- Highlight and Shadow Recovery: Eclipse photos often have extreme contrasts. Use highlight and shadow recovery tools to bring back details in the brightest and darkest parts of your image.
Example of Basic Editing Steps
| Step | Actions |
|---|---|
| Adjust Exposure | Increase or decrease exposure to balance the image |
| Contrast Enhancement | Boost contrast to make the eclipse stand out |
| Color Correction | Neutralize color casts and enhance natural colors |
| Sharpening | Apply moderate sharpening to enhance details |
| Noise Reduction | Reduce noise without losing crucial details |
| Highlight/Shadow Recovery | Recover details in very bright or dark areas |
Using Software for Detailed Adjustments
For more advanced editing, you’ll need robust software. Programs like Adobe Photoshop, Lightroom, and specialized astrophotography software offer powerful tools for detailed adjustments. Here’s how you can leverage these tools:
- Layer Masks in Photoshop: Use layer masks to apply adjustments selectively. For instance, you can sharpen the sun’s corona while keeping the sky smooth.
- Gradient Filters in Lightroom: Apply gradient filters to adjust exposure and contrast in specific parts of the image. This is particularly useful for balancing the brightness of the sun with the darker sky.
- Astrophotography Software: Specialized software like PixInsight or DeepSkyStacker can be invaluable for processing eclipse photos. These programs offer features tailored for astrophotography, such as stacking multiple exposures and advanced noise reduction.
Comparison of Software Features
| Software | Key Features |
|---|---|
| Adobe Photoshop | Layer masks, advanced sharpening, selective adjustments |
| Adobe Lightroom | Gradient filters, color correction, exposure adjustments |
| PixInsight | Stacking, noise reduction, detailed astrophotography tools |
| DeepSkyStacker | Stacking multiple exposures, noise reduction, HDR creation |
Combining Multiple Exposures for HDR
One of the most effective techniques for enhancing solar eclipse photos is combining multiple exposures to create a High Dynamic Range (HDR) image. This method allows you to capture the full range of light from the brightest to the darkest parts of the eclipse.
Steps to Create an HDR Image
- Capture Multiple Exposures: Take several photos at different exposure levels. For example, one underexposed, one correctly exposed, and one overexposed.
- Align the Images: Use software like Photoshop or specialized HDR software to align the images. This step is crucial to ensure that all the details line up perfectly.
- Merge the Exposures: Combine the aligned images to create a single HDR image. This process will blend the different exposures, bringing out details in both the highlights and shadows.
- Fine-Tune the HDR Image: After merging, you might need to make further adjustments to exposure, contrast, and color to perfect the final image.
Frequently Asked Questions
What are some essential gear for photographing solar eclipses?
Use a DSLR or mirrorless camera, a sturdy tripod, and a solar filter. Use a telephoto lens for close-ups.
How should I set my camera for photographing a solar eclipse?
Set your ISO to 100, aperture around f/8-f/11. Adjust shutter speed depending on light. Use manual settings.
What is the best location for photographing solar eclipses?
Find a spot with a clear view of the sky. Avoid clouds. High ground helps.
Can I use my smartphone to capture a solar eclipse?
Yes, but add a solar filter. Use a tripod. Apps with manual settings help a lot.
Why is a solar filter important in solar eclipse photography?
A solar filter protects your eyes and gear. It allows safe viewing and prevents damage.

