Techniques for Enhancing Star Colors in Astrophotography can make your nighttime shots truly mesmerizing. If you’ve ever wondered why stars twinkle in different colors or how to make those vibrant hues pop even in light-polluted skies, you’re in the right place. We’ll be diving into everything from camera settings and the perfect lenses to advanced methods like image stacking and post-processing. Whether you’re a beginner or a seasoned star chaser, you’ll find practical tips to elevate your astrophotography game. So, grab your gear, and let’s explore the universe like never before.
Key Insights
- Use light pollution filters.
- Adjust your white balance settings.
- Take multiple short exposures.
- Use stacking software.
- Edit colors in post-processing.

Understanding Star Colors in Astrophotography
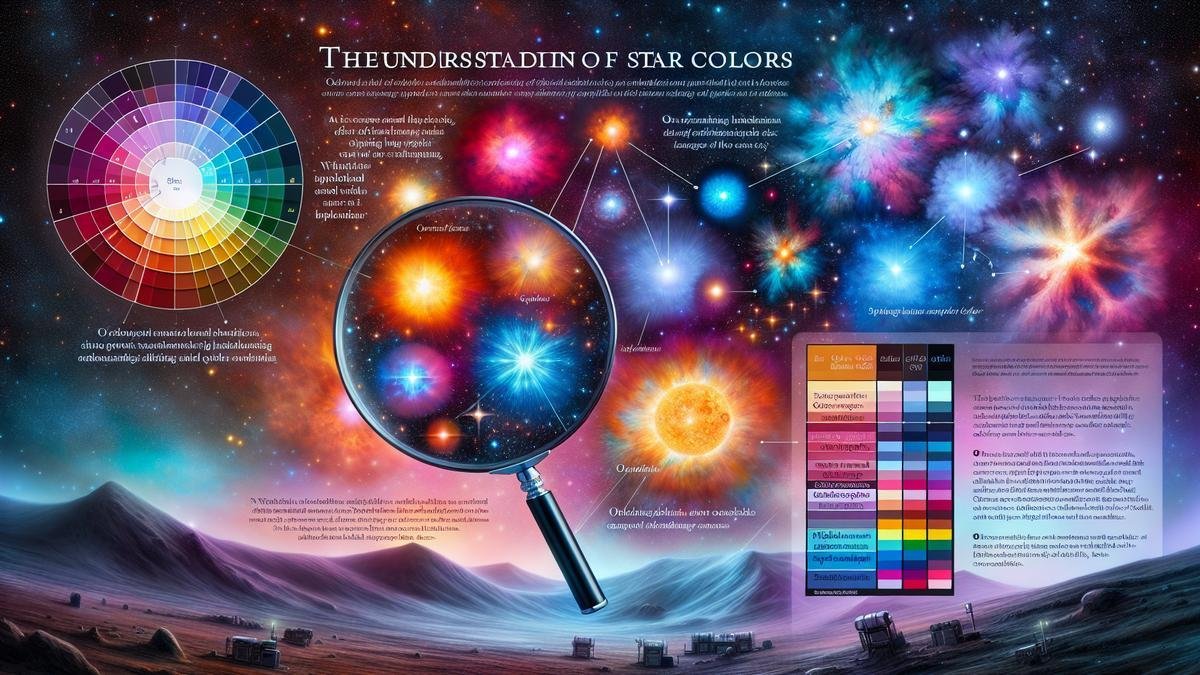
When you’re diving into astrophotography, one of the most mesmerizing aspects is capturing the vibrant colors of the stars. These hues aren’t just for show; they tell a story about the star’s temperature, age, and even its chemical makeup. Let’s explore how you can understand and enhance these star colors in your photos.
What Causes Different Star Colors?
Stars come in a rainbow of colors, and each shade has its own tale. Here’s a quick rundown:
| Star Color | Temperature (Kelvin) | Characteristics |
|---|---|---|
| Blue | 10,000 – 40,000 | Very hot, young stars |
| White | 7,500 – 10,000 | Hot, middle-aged stars |
| Yellow | 5,000 – 7,500 | Moderate temperature, like our Sun |
| Orange | 3,500 – 5,000 | Cooler, older stars |
| Red | 2,000 – 3,500 | Coolest, often giant stars |
Stars emit different colors based on their surface temperature. The hotter the star, the bluer it appears. Cooler stars tend to glow red or orange. Understanding this helps you capture the true essence of the night sky.
How Light Pollution Affects Star Colors
Light pollution is the bane of every astrophotographer’s existence. It washes out the night sky, making it hard to see the true colors of the stars. Here’s how it messes with your shots:
- Color Distortion: Artificial lights can alter the natural hues of stars.
- Reduced Contrast: Makes it harder to distinguish between different stars.
- Fainter Stars: Some stars might not even be visible.
Tools to Minimize Light Pollution
Luckily, there are ways to combat light pollution and bring out those stunning star colors:
- Light Pollution Filters: These filters block out specific wavelengths of artificial light.
- Remote Locations: Shooting in areas far from city lights can make a world of difference.
- Software: Post-processing tools can help reduce the effects of light pollution.
| Tool | Description |
|---|---|
| Light Pollution Filters | Blocks unwanted light wavelengths |
| Dark Sky Locations | Areas with minimal artificial light |
| Post-Processing Software | Tools like Adobe Lightroom to enhance star colors |
Techniques for Enhancing Star Colors in Astrophotography
Now that you know what affects star colors, let’s talk about how to enhance them in your photos. Here are some tried-and-true techniques:
- Use a Tripod: Stability is key for long exposure shots.
- Manual Focus: Autofocus can struggle in low light. Manual focus gives you more control.
- Long Exposure Times: Allows more light to hit the sensor, capturing more detail and color.
- Low ISO Settings: Reduces noise, making colors more vibrant.
- RAW Format: Gives you more flexibility in post-processing.
Post-Processing Tips
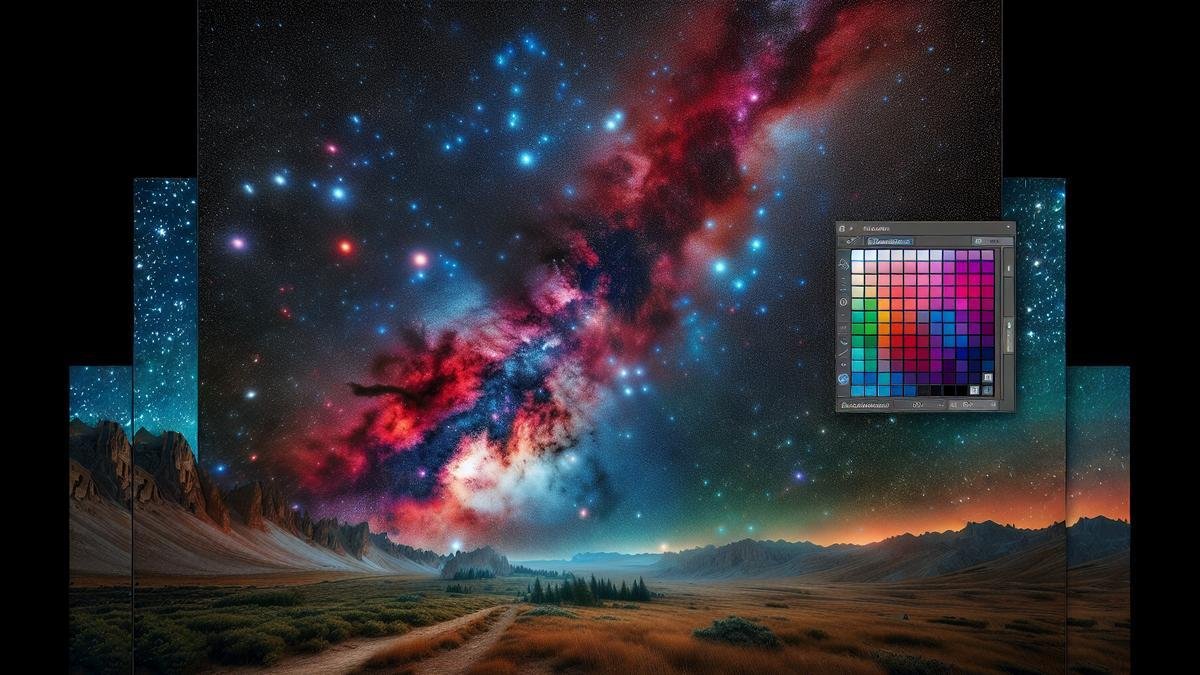
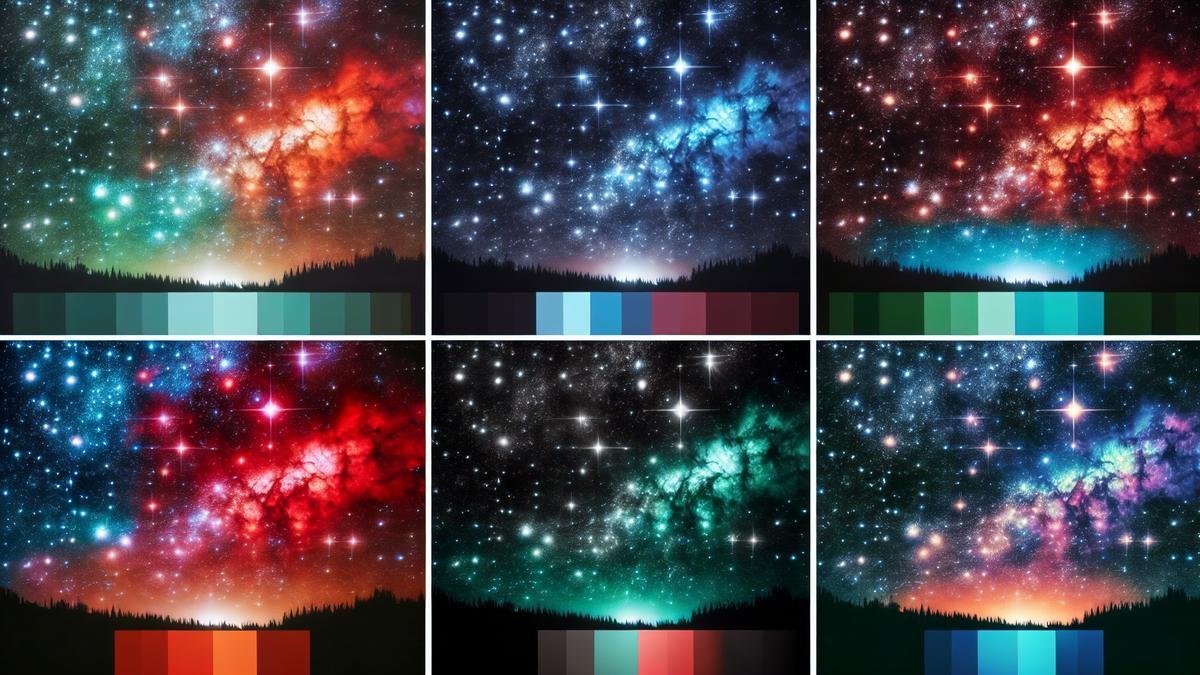
Post-processing can make a significant difference in bringing out star colors. Here’s how:
- Adjust White Balance: Fine-tune to get the most accurate colors.
- Increase Saturation: Makes the colors pop.
- Reduce Noise: Cleaner images show colors more clearly.
- Sharpening: Enhances details, making stars stand out.
| Post-Processing Tool | Function |
|---|---|
| White Balance Adjustment | Corrects color temperature |
| Saturation Increase | Enhances color intensity |
| Noise Reduction | Cleans up the image |
| Sharpening | Brings out fine details |
Advanced Techniques
For those looking to take their star color game to the next level, consider these advanced techniques:
- Stacking Images: Combines multiple shots to reduce noise and enhance detail.
- Narrowband Imaging: Uses filters to capture specific wavelengths of light.
- HDR (High Dynamic Range): Combines different exposure levels to capture a wider range of colors.
| Advanced Technique | Benefit |
|---|---|
| Stacking Images | Reduces noise, enhances detail |
| Narrowband Imaging | Captures specific light wavelengths |
| HDR Imaging | Wider range of colors |
Camera Settings for Better Star Colors
If you want to capture the night sky in all its colorful glory, you need to get your camera settings just right. Let’s dive into the nitty-gritty details to make your star photos pop.
Adjusting ISO for Star Photography
ISO is like the volume knob on your camera. Turn it up, and you get more light. But, crank it too high, and you get noise—those unwanted specks that ruin your shot.
- Start Low: Begin with an ISO of 800. This is a good balance between light and noise.
- Experiment: If it’s too dark, bump it up to 1600 or even 3200.
- Noise Reduction: Use your camera’s noise reduction settings to clean up the image.
Here’s a quick table to guide you:
| ISO Setting | Light Sensitivity | Noise Level |
|---|---|---|
| 800 | Low | Low |
| 1600 | Medium | Medium |
| 3200 | High | High |
Using the Right Shutter Speed
Your shutter speed decides how long your camera’s sensor is exposed to light. This is crucial for capturing stars without turning them into streaks.
- Rule of 500: Divide 500 by your lens’s focal length. This gives you the maximum exposure time before stars start to trail.
- Example: With a 50mm lens, 500 ÷ 50 = 10 seconds.
- Shorter is Better: Start with 10-15 seconds. If you see star trails, shorten the exposure time.
- Use a Tripod: Keep your camera steady to avoid blurry images.
Balancing Aperture and Exposure
Aperture controls how much light enters your camera. It’s like the pupil of your eye. A wide aperture lets in more light but narrows your depth of field.
- Wide Open: Use the lowest f-stop number your lens allows, like f/2.8 or f/1.8. This lets in the most light.
- Check Focus: Manually focus on a bright star or distant light to ensure sharpness.
- Adjust as Needed: If your image is too bright, close the aperture a bit (higher f-stop number).
Here’s a quick reference:
| Aperture (f-stop) | Light Entry | Depth of Field |
|---|---|---|
| f/1.8 | High | Shallow |
| f/2.8 | Medium | Moderate |
| f/4.0 | Low | Deep |

Post-Processing Techniques for Enhancing Star Colors in Astrophotography
Diving into astrophotography can feel like navigating a galaxy of techniques and tools. One of the most rewarding aspects is enhancing the vibrant colors of stars in your images. Lets break down some essential post-processing techniques to make those star colors pop.
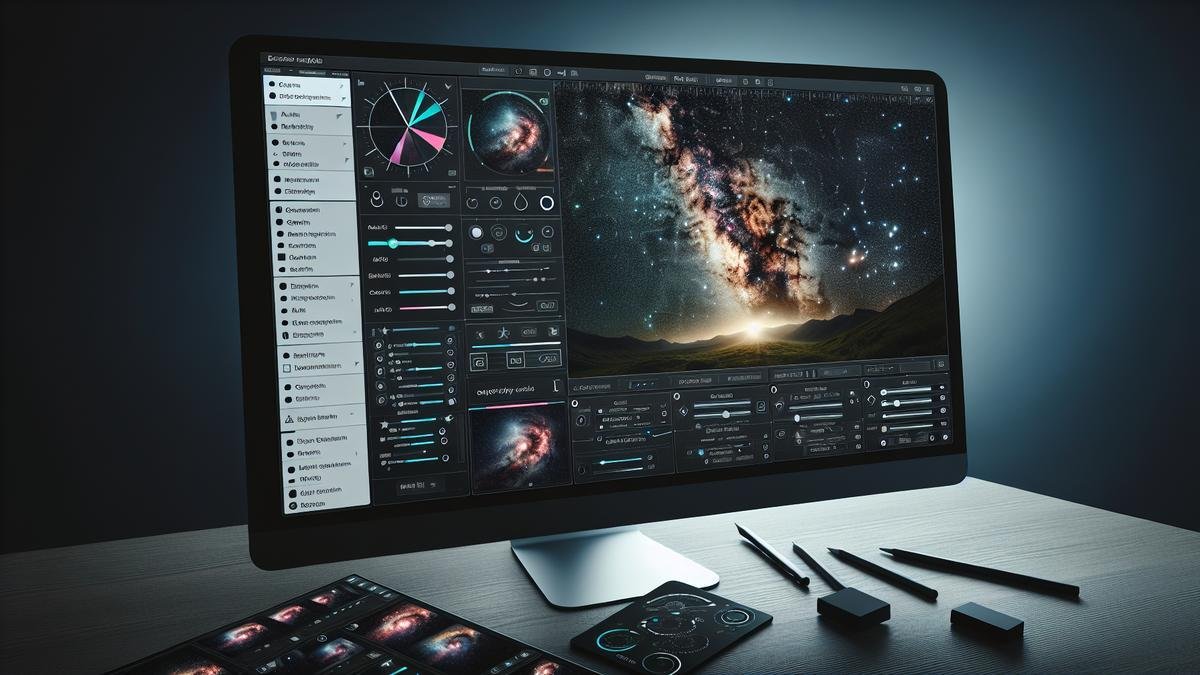
Using Software to Enhance Colors
When youre ready to enhance star colors, the software you choose is your spaceship. Whether its Adobe Photoshop, Lightroom, or a more specialized tool like PixInsight, each offers a suite of features to help you.
Key Software Tools:
| Software | Features | Pros | Cons |
|---|---|---|---|
| Photoshop | Layers, Curves, Color Balance | Versatile, widely used | Steeper learning curve |
| Lightroom | Presets, HSL Adjustments, White Balance | User-friendly, non-destructive editing | Limited advanced features |
| PixInsight | StarMask, Color Calibration, Histogram Transformation | Specialized for astrophotography | Expensive, complex interface |
Steps to Enhance Colors:
- Open Your Image: Load your RAW image into your chosen software.
- Create a Star Mask: Use a star mask to isolate the stars from the background.
- Adjust Curves: Use the Curves tool to enhance the contrast and bring out the colors.
- Apply Color Balance: Tweak the color balance to highlight the natural hues of the stars.
- Fine-Tune with HSL Adjustments: Adjust the Hue, Saturation, and Luminance for precise color control.
Correcting Color Balance
Color balance is crucial in making your stars look natural and vibrant. An incorrect balance can make your stars look off or unnatural.
Steps for Correcting Color Balance:
- Identify the Color Cast: Look at your image and identify if theres a predominant color cast (e.g., too blue or too yellow).
- Use the White Balance Tool: Select a neutral area in your image (like a white star) to set the correct white balance.
- Adjust Temperature and Tint: Fine-tune the temperature (blue/yellow) and tint (green/magenta) sliders to balance the colors.
Example of Color Balance Adjustments:
| Adjustment | Description |
|---|---|
| Temperature | Warms or cools the image |
| Tint | Adjusts the green/magenta balance |
| White Balance Tool | Sets the balance based on a neutral area |
Tips for Avoiding Over-Editing
Its easy to get carried away with editing, but over-editing can ruin the natural beauty of your stars. Here are some tips to keep your edits in check:
- Use Layers: Always work on separate layers so you can easily undo changes.
- Check Histograms: Use histograms to ensure youre not clipping highlights or shadows.
- Zoom Out: Regularly zoom out to see the overall effect of your edits.
- Take Breaks: Step away from your screen periodically to return with fresh eyes.
Common Over-Editing Pitfalls:
| Pitfall | How to Avoid |
|---|---|
| Over-Saturation | Use saturation sparingly; check overall balance |
| Clipping Highlights | Keep an eye on the histogram to avoid losing detail |
| Noise Amplification | Use noise reduction tools carefully to avoid losing star detail |
Choosing the Right Lens for Star Colors
So, you’re diving into astrophotography, huh? One of the first things you’ll need to figure out is your lens. The lens you choose can make a world of difference in capturing the vibrant colors of stars. Let’s break it down.
Wide-Angle vs. Telephoto Lenses
When you’re just starting, you might wonder, “Do I need a wide-angle lens or a telephoto lens?” Here’s a quick rundown:
Wide-Angle Lenses:
- Pros:
- Capture more of the sky.
- Easier to find and frame celestial objects.
- Great for Milky Way shots.
- Cons:
- Stars can appear smaller.
- Less detail in individual stars.
Telephoto Lenses:
- Pros:
- Zoom in on specific stars or planets.
- Capture more detail and color.
- Cons:
- Narrower field of view.
- Harder to find and track objects.
Here’s a quick comparison table:
| Feature | Wide-Angle Lens | Telephoto Lens |
|---|---|---|
| Field of View | Wide | Narrow |
| Star Detail | Less | More |
| Ease of Use | Easier | Harder |
| Best For | Milky Way, Landscapes | Planets, Specific Stars |
Lens Coatings and Their Impact
You might not think much about lens coatings, but they can be a game-changer. Lens coatings help reduce reflections and glare, which can mess up your star photos.
Types of Coatings:
- Anti-Reflective Coating: Reduces glare and reflections.
- UV Coating: Cuts down on ultraviolet light, which can cause haze.
- Fluorine Coating: Repels water and oil, keeping your lens clean.
Why They Matter:
- Better Light Transmission: More light gets through to your camera sensor.
- Improved Contrast: Colors look more vibrant, and stars stand out.
- Cleaner Images: Less chance of smudges or moisture ruining your shot.
Here’s a table to summarize:
| Coating Type | Benefit |
|---|---|
| Anti-Reflective | Reduces glare and reflections |
| UV | Cuts down on ultraviolet light |
| Fluorine | Repels water and oil |
Best Lenses for Beginners
Starting out, you don’t need to break the bank. Here are some solid, budget-friendly lenses that are great for beginners:
Canon EF 50mm f/1.8 STM:
- Pros:
- Affordable.
- Great for low-light conditions.
- Cons:
- Fixed focal length.
Nikon AF-S DX NIKKOR 35mm f/1.8G:
- Pros:
- Sharp images.
- Lightweight.
- Cons:
- Limited zoom.
Rokinon 14mm f/2.8 IF ED UMC:
- Pros:
- Wide-angle.
- Good for Milky Way shots.
- Cons:
- Manual focus only.
Here’s a quick comparison:
| Lens Model | Pros | Cons |
|---|---|---|
| Canon EF 50mm f/1.8 STM | Affordable, Low-light | Fixed focal length |
| Nikon AF-S DX 35mm f/1.8G | Sharp, Lightweight | Limited zoom |
| Rokinon 14mm f/2.8 IF ED | Wide-angle, Milky Way | Manual focus only |

Filters and Their Role in Enhancing Star Colors
Alright, let’s dive into the magical world of filters and how they can make your star photos pop with color. Filters are like sunglasses for your camera. They help you see the stars in ways you never thought possible.
Types of Filters for Astrophotography
There are different kinds of filters you can use. Each one does something special. Here are some of the most popular ones:
| Filter Type | What It Does |
|---|---|
| Light Pollution | Cuts down on city lights, so you see stars better. |
| UV/IR Cut | Blocks ultraviolet and infrared light, giving you clearer images. |
| H-alpha | Focuses on hydrogen-alpha light, making nebulae look amazing. |
| OIII | Highlights oxygen-III light, great for bringing out certain nebula features. |
| SII | Emphasizes sulfur-II light, adding more detail to your star photos. |
| Broadband | General use, good for capturing a wide range of colors. |
| Narrowband | Targets specific wavelengths, perfect for detailed shots of nebulae and galaxies. |
How to Use Filters Effectively
Using filters is a bit like cooking. You need the right ingredients and a good recipe. Heres how to get the best results:
- Choose the Right Filter: Match the filter to the type of photo you want. For city shots, use a light pollution filter. For deep space, try narrowband filters.
- Stack Filters: Sometimes, using more than one filter can give you better results. For example, a UV/IR cut filter with a narrowband filter can make your images sharper.
- Adjust Exposure Times: Filters can block some light, so you might need to increase your exposure time. Experiment to find the sweet spot.
- Use a Filter Wheel: If you have multiple filters, a filter wheel can make switching between them a breeze.
- Check for Vignetting: Some filters can cause dark corners in your photos. If this happens, try a different filter or adjust your setup.
Cleaning and Maintaining Your Filters
Keeping your filters clean is super important. Dirty filters can ruin your photos. Heres how to keep them in tip-top shape:
Cleaning Your Filters
- Use a Soft Brush: Gently brush off any dust.
- Lens Cleaning Solution: Apply a small amount to a microfiber cloth and wipe the filter.
- Avoid Scratches: Be gentle. Scratches can mess up your photos.
Storing Your Filters
- Use Cases: Always store filters in their cases when not in use.
- Avoid Humidity: Keep them in a dry place to prevent mold.
- Label Them: If you have a lot of filters, label the cases to find the right one quickly.
Advanced Techniques for Enhancing Star Colors in Astrophotography
Astrophotography is like capturing the universe’s most dazzling fireworks. But how do you make those stars pop with vibrant colors? Let’s dive into some advanced techniques that will make your star photos look out of this world.
Stacking Images for Better Colors
Stacking images is a game-changer. It’s like layering multiple sheets of colored cellophane to get a more vivid hue. This method reduces noise and enhances colors. Heres how you can do it:
- Take Multiple Shots: Capture several images of the same star field. Aim for at least 10-20 shots.
- Use Software: Programs like DeepSkyStacker or Photoshop can help you stack the images.
- Align and Stack: The software will align and combine the images, reducing noise and improving color detail.
| Steps | Description |
|---|---|
| 1 | Take multiple shots |
| 2 | Use stacking software |
| 3 | Align and stack images |
Using Star Trackers
Star trackers are like the secret sauce for astrophotography. They follow the stars movement, allowing for longer exposures without blurring. Heres why you need one:
- Longer Exposures: Capture more light and detail.
- Sharper Images: Reduce star trails for clearer photos.
- Enhanced Colors: Longer exposures mean more vibrant star colors.
| Benefits of Star Trackers | Explanation |
|---|---|
| Longer Exposures | Capture more light |
| Sharper Images | Reduce star trails |
| Enhanced Colors | More vibrant colors |
Combining Multiple Exposures
Combining multiple exposures is like mixing paints to get the perfect shade. This technique helps in capturing the full range of colors in the night sky. Heres how to do it:
Steps to Combine Multiple Exposures
- Take Shots at Different Exposures: Capture images at various exposure levels.
- Use HDR Software: High Dynamic Range (HDR) software can merge these images.
- Adjust Settings: Fine-tune the settings to balance the colors.
| Steps | Description |
|---|---|
| 1 | Capture different exposures |
| 2 | Use HDR software |
| 3 | Adjust settings |
Frequently asked questions
What are some basic Techniques for Enhancing Star Colors in Astrophotography?
– Use a light pollution filter.
– Adjust the camera settings.
– Use a high ISO.
– Stack multiple images.
– Enhance colors in post-processing.
How can you use a light pollution filter to enhance star colors?
A light pollution filter blocks unwanted artificial light. It helps stars appear more vibrant and colorful.
Why is adjusting the camera settings important for star colors?
Proper settings help capture the true colors of stars. Use a wider aperture and longer exposure for better results.
What role does ISO play in enhancing star colors?
A high ISO makes your camera more sensitive to light. This helps capture brighter and more colorful stars.
How does stacking multiple images improve star colors?
Stacking combines multiple shots to increase signal and reduce noise. This makes star colors much clearer and richer.


