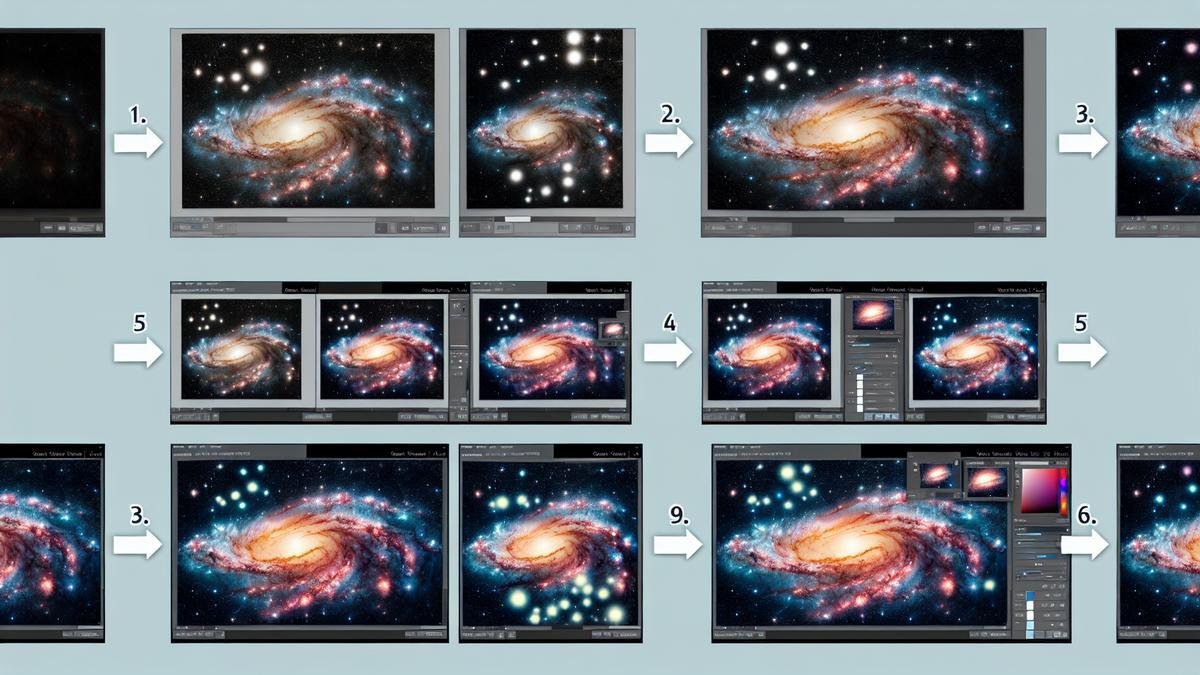
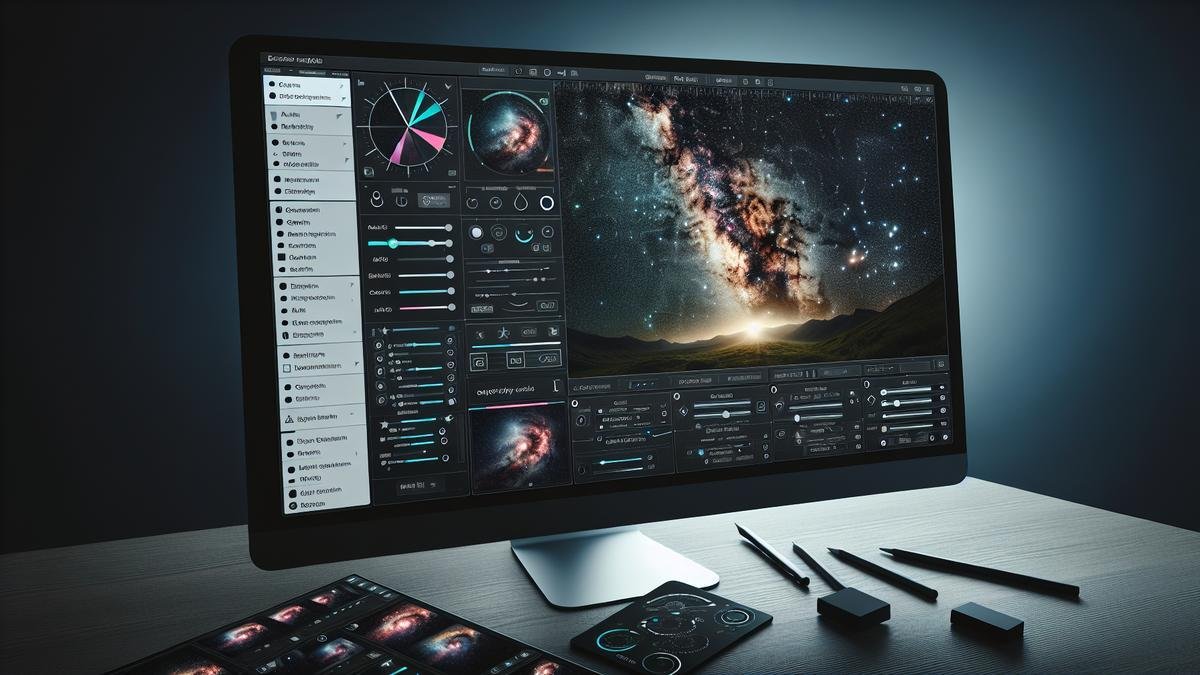
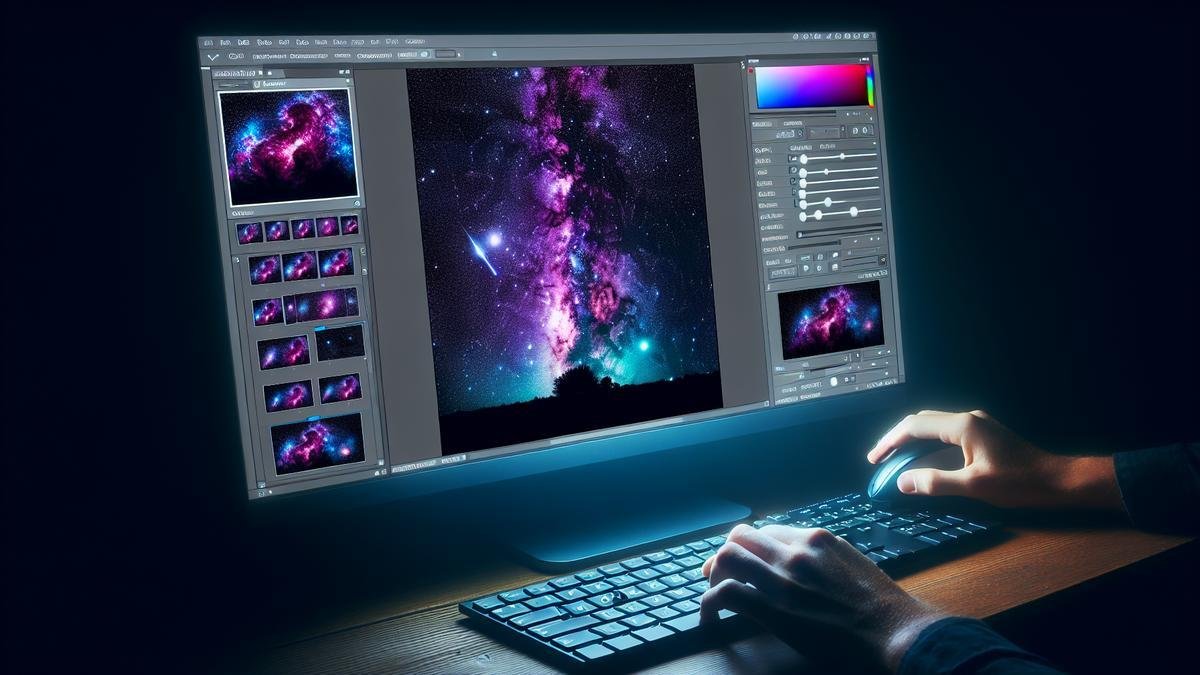
Step-by-Step Guide to Editing Astrophotography Images in Photoshop: Ready to dive into the world of editing breathtaking astrophotography shots? This guide’s got you covered! From setting up your workspace, to importing images, and mastering basic tools, you’ll learn everything you need to make those stars pop. We’ll explore levels adjustments, curves tools, and even some advanced techniques for noise reduction and color enhancement. Finally, discover how to combine multiple exposures and apply those finishing touches to create a stellar masterpiece. Let’s transform your night sky photos from good to spectacular!
Important Points to Remember
- Learn basic Photoshop tools for editing
- Use layers for non-destructive editing
- Adjust exposure, contrast, and color balance
- Remove noise for clearer images
- Apply sharpening for more detail
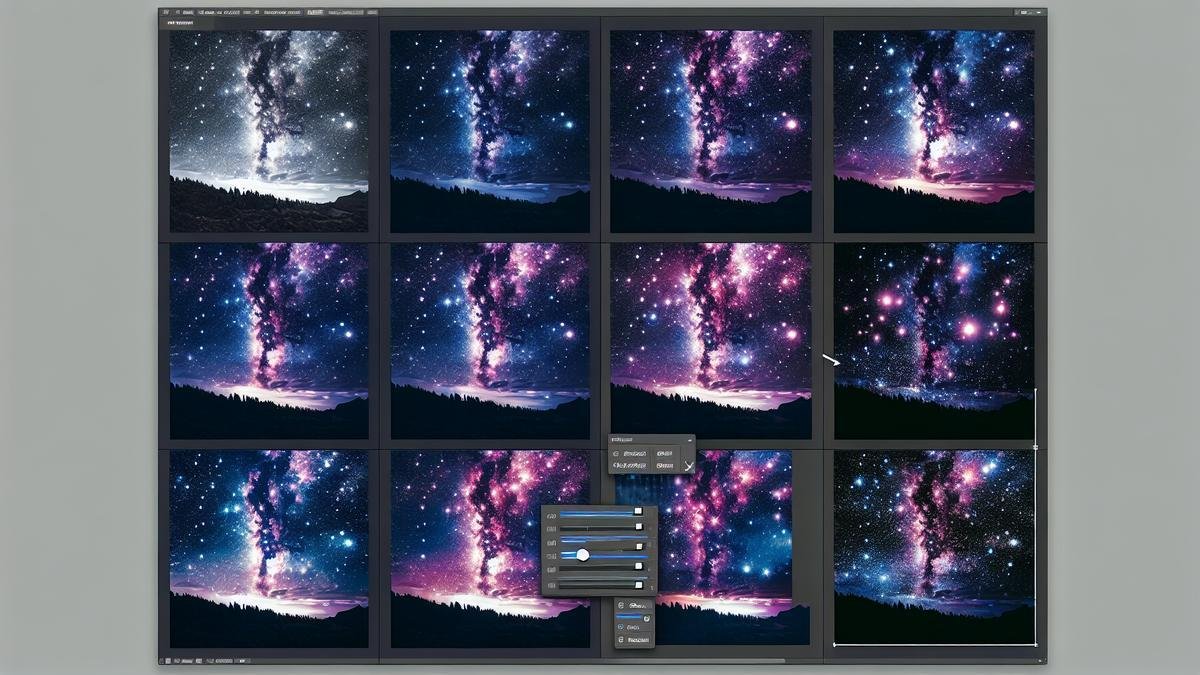
Getting Started with Photoshop for Astrophotography
So, you’ve captured some breathtaking shots of the night sky and now you want to bring out their full potential using Photoshop. Let’s dive into the nitty-gritty of editing your astrophotography images, step-by-step.
Setting Up Your Workspace
First things first, you need to set up your workspace in Photoshop. This might sound trivial, but trust me, it’s crucial for a smooth editing process.
- Open Photoshop: Launch the software and create a new workspace dedicated to astrophotography.
- Panels: Arrange your panels. Essential ones include Layers, Adjustments, and Histogram.
- Color Settings: Go to Edit > Color Settings and choose Adobe RGB (1998). This color profile is ideal for astrophotography.
Here’s a quick table to summarize the essential panels and their functions:
| Panel | Function |
|---|---|
| Layers | Manage different elements of your image |
| Adjustments | Apply color and tonal adjustments |
| Histogram | Monitor the tonal range of your image |
Importing Your Images
Now that your workspace is set up, it’s time to import your images. This step is pretty straightforward but essential for the editing process.
- Open Your Images: Go to File > Open and select your raw files.
- Camera Raw Filter: Photoshop will open the images in Camera Raw. This is where you make your initial adjustments.
Basic Tools Youll Need
Photoshop offers a plethora of tools, but for astrophotography, you’ll primarily use a few key ones.
Levels and Curves
Levels and Curves are your best friends. They help you adjust the brightness and contrast of your image.
- Levels: Go to Image > Adjustments > Levels. Adjust the sliders to enhance the overall brightness and contrast.
- Curves: Navigate to Image > Adjustments > Curves. This tool offers more control over the tonal range.
Noise Reduction
Astrophotography often involves high ISO settings, which can introduce noise. Use the Noise Reduction filter to clean up your image.
- Filter: Go to Filter > Noise > Reduce Noise.
- Adjust Settings: Play around with the settings until you achieve a balance between noise reduction and detail preservation.
Layer Masks
Layer masks are invaluable for making selective adjustments.
- Create a Mask: Click on the Add Layer Mask icon at the bottom of the Layers panel.
- Brush Tool: Use the Brush Tool to paint over areas you want to adjust.
Enhancing Star Details
Astrophotography is a mesmerizing art form that lets you capture the beauty of the night sky. But taking the photo is just the beginning. Editing your images using Adobe Photoshop can make a world of difference. Lets dive into a step-by-step guide on how to enhance star details in your astrophotography images.
Using the Levels Adjustment
The Levels Adjustment tool in Photoshop is your best friend when it comes to enhancing star details. This tool allows you to adjust the brightness and contrast of your image, bringing out the stars in a way that makes them pop.
- Open Your Image in Photoshop: Start by opening your astrophotography image in Photoshop. Make sure your image is in RAW format for the best results.
- Duplicate the Background Layer: Always work on a duplicate layer to keep your original image intact. Right-click on the background layer and select “Duplicate Layer.”
- Access the Levels Adjustment: Go to the top menu and select Image > Adjustments > Levels. A new window will pop up with a histogram and three sliders.
- Adjust the Black Point: Move the left slider (black point) towards the right until it touches the start of the histogram. This will darken the shadows and make the stars stand out.
- Adjust the Midtones: Move the middle slider to the left to brighten the midtones. This helps in making the stars more visible without overexposing the image.
- Adjust the White Point: Finally, move the right slider (white point) slightly to the left to brighten the highlights. Be careful not to overdo it, as this can blow out the stars.
Here’s a quick table to summarize the steps:
| Step | Action | Result |
|---|---|---|
| 1 | Open Image | Start editing |
| 2 | Duplicate Layer | Preserve original |
| 3 | Access Levels | Open adjustment tool |
| 4 | Adjust Black Point | Darken shadows |
| 5 | Adjust Midtones | Brighten stars |
| 6 | Adjust White Point | Enhance highlights |
Applying the Curves Tool
The Curves Tool is another powerful feature in Photoshop that can help you fine-tune the contrast and brightness of your astrophotography images.
- Open the Curves Tool: Go to Image > Adjustments > Curves. A graph with a diagonal line will appear.
- Create Anchor Points: Click on the diagonal line to create anchor points. Typically, youll need three points: one in the shadows, one in the midtones, and one in the highlights.
- Adjust the Shadows: Drag the shadow anchor point downwards to deepen the dark areas. This will make the background sky darker, making the stars more prominent.
- Brighten the Midtones: Move the midtone anchor point upwards. This brightens the stars without affecting the darkest parts of the image.
- Enhance the Highlights: Slightly move the highlight anchor point upwards to make the brightest stars even more radiant.
- Fine-tune the Curve: Adjust the curve to your liking. Remember, subtle changes can have a significant impact.
Here’s a table to help you remember the steps:
| Step | Action | Result |
|---|---|---|
| 1 | Open Curves Tool | Access adjustment graph |
| 2 | Create Anchor Points | Set adjustment points |
| 3 | Adjust Shadows | Darken background |
| 4 | Brighten Midtones | Highlight stars |
| 5 | Enhance Highlights | Make stars radiant |
| 6 | Fine-tune Curve | Achieve desired effect |
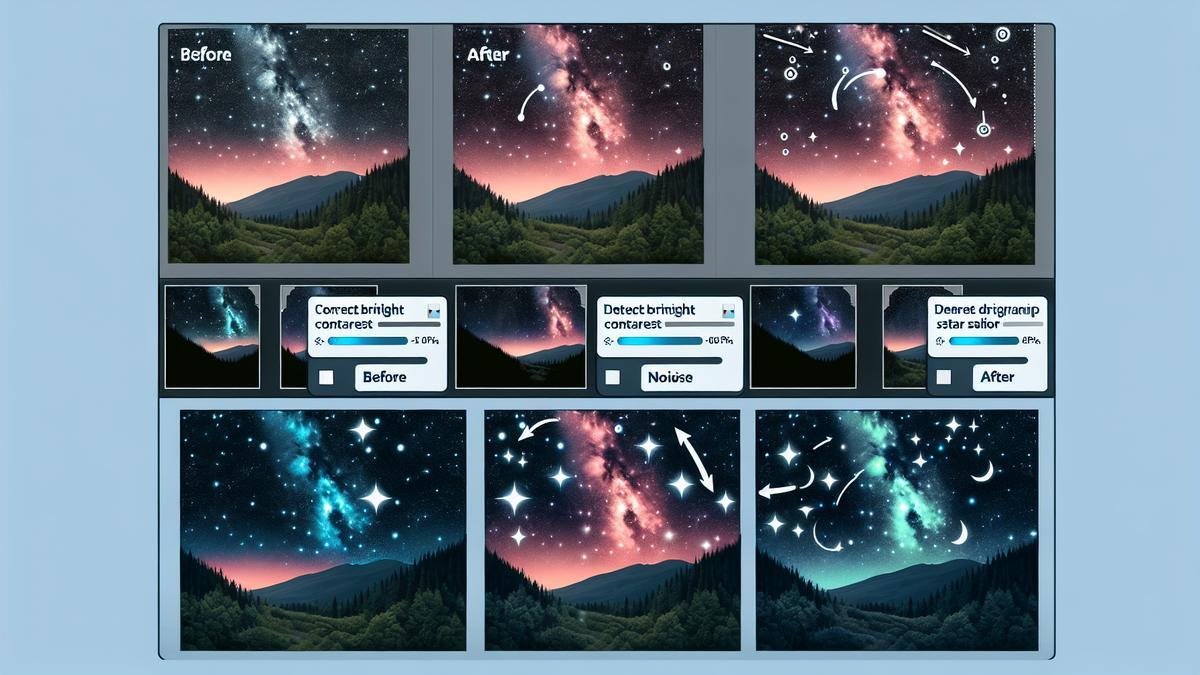
Reducing Noise in Your Images
Astrophotography can be a magical yet challenging pursuit. One of the most common issues youll encounter is noise in your images. Noise in astrophotography often appears as random specks of color or brightness that can mar the beauty of your celestial captures. Heres a step-by-step guide to reducing noise using Adobe Photoshop.
Using Noise Reduction Filters
Noise reduction filters are your first line of defense against unwanted graininess. Heres how you can use them effectively:
- Open Your Image: Launch Photoshop and open the image you want to edit.
- Duplicate the Layer: Always work on a duplicate layer to preserve the original. Right-click on the layer and select “Duplicate Layer.”
- Apply Noise Reduction: Go to Filter > Noise > Reduce Noise. A dialog box will appear with various sliders.
- Adjust the Strength: Increase the “Strength” slider to reduce noise. Be careful not to overdo it, as it can blur details.
- Preserve Details: Use the “Preserve Details” slider to retain the sharpness of your image while reducing noise.
Here’s a handy table to help you remember the steps:
| Step | Action |
|---|---|
| 1 | Open Your Image |
| 2 | Duplicate the Layer |
| 3 | Apply Noise Reduction |
| 4 | Adjust the Strength |
| 5 | Preserve Details |
Applying Layer Masks
Layer masks are invaluable for targeted noise reduction. They allow you to apply noise reduction selectively, preserving critical details.
- Create a Layer Mask: After applying noise reduction, click on the “Add Layer Mask” button at the bottom of the Layers panel.
- Select the Mask: Click on the layer mask thumbnail to select it.
- Use the Brush Tool: Select the Brush Tool (B) and set the foreground color to black.
- Paint Over Details: Carefully paint over the areas where you want to preserve details. Black hides the noise reduction effect, while white reveals it.
Adjusting Colors for a Stunning Effect
Using Color Balance
When editing your astrophotography images in Photoshop, color balance is your best friend. Picture this: you’ve captured a breathtaking shot of the Milky Way, but the colors look a bit off. Let’s dive into how you can fine-tune those colors to make your image pop.
- Open your image in Photoshop.
- Navigate to Layers panel, and create a new Adjustment Layer by clicking the half-filled circle icon at the bottom.
- Select Color Balance from the dropdown menu.
You’ll see three sliders: Cyan/Red, Magenta/Green, and Yellow/Blue. These sliders allow you to adjust the color tones in your image.
Example Table for Color Balance Adjustments
| Color Tone | Slider Adjustment | Result |
|---|---|---|
| Cyan/Red | Shift towards Red | Warmer tones |
| Magenta/Green | Shift towards Green | Cooler tones |
| Yellow/Blue | Shift towards Blue | Enhances night sky |
Experiment with these sliders to find the perfect balance. Remember, subtle adjustments often yield the best results. Too much tweaking can lead to unnatural colors.
Applying Hue/Saturation Adjustments
Hue/Saturation adjustments are another powerful tool in Photoshop. They help you control the intensity of colors in your image.
- Create another Adjustment Layer, this time selecting Hue/Saturation.
- You’ll see three main sliders: Hue, Saturation, and Lightness.
Example Table for Hue/Saturation Adjustments
| Adjustment | Slider Movement | Effect |
|---|---|---|
| Hue | Shift left or right | Changes color tones |
| Saturation | Increase | Makes colors more vibrant |
| Lightness | Decrease | Darkens the image |
For astrophotography, you often want to increase saturation to make the stars and nebulae more vivid. However, be cautious with lightness adjustments, as too much can wash out the details.
Combining Multiple Exposures
Astrophotography is a fascinating art that lets you capture the beauty of the night sky. One of the most effective techniques to enhance your astrophotography images is by combining multiple exposures. This method allows you to bring out more details and reduce noise, resulting in stunning, high-quality photos.
Stacking Images for Better Detail
Stacking images is like building a sandwich. You take multiple photos of the same scene and layer them on top of each other. This process helps to improve the signal-to-noise ratio, making faint details more visible.
Steps to Stack Images in Photoshop:
- Open Photoshop: Start by opening Adobe Photoshop on your computer.
- Load Your Images: Go to File > Scripts > Load Files into Stack. Select all the photos you want to stack.
- Align the Layers: Once the images are loaded, select all the layers in the Layers panel. Go to Edit > Auto-Align Layers. Choose the Auto option and click OK.
- Convert to Smart Object: With all layers still selected, right-click and choose Convert to Smart Object.
- Stack Mode: Go to Layer > Smart Objects > Stack Mode > Median. This will combine the layers and reduce noise.
By following these steps, youll notice a significant improvement in the details of your astrophotography image.
Using Layer Blending Modes
Blending modes in Photoshop can add a whole new dimension to your astrophotography images. They allow you to combine layers in different ways, enhancing certain aspects of your photos.
Popular Blending Modes for Astrophotography:
| Blending Mode | Description |
|---|---|
| Screen | Lightens the image, useful for bringing out stars. |
| Overlay | Increases contrast, making details pop. |
| Soft Light | Adds a subtle contrast boost. |
| Hard Light | Adds a more intense contrast boost. |
Steps to Use Blending Modes:
- Duplicate the Layer: Start by duplicating the layer you want to blend. Right-click on the layer and select Duplicate Layer.
- Select Blending Mode: In the Layers panel, youll see a dropdown menu that says Normal. Click on it and choose your desired blending mode.
- Adjust Opacity: Use the opacity slider to fine-tune the effect.
Experimenting with different blending modes can help you achieve the perfect look for your astrophotography images.
Aligning Your Images Perfectly
Aligning your images is crucial for a successful stacking process. Misaligned images can result in blurry or ghosted areas, ruining the final photo.
Final Touches and Exporting
Sharpening Your Image
You’ve spent hours capturing the night sky, and now you’re ready to make your stars pop. Sharpening your image in Photoshop is an essential step to bring out the details. Let’s dive into the process.
First, duplicate your background layer. This way, you can always revert to the original if needed. To do this, right-click on the Background layer and select Duplicate Layer. Name the new layer “Sharpening.”
Now, navigate to the Filter menu, hover over Sharpen, and select Unsharp Mask. This filter might sound counterintuitive, but it’s a powerful tool. The Unsharp Mask works by increasing the contrast along the edges in your image, making stars and other celestial bodies stand out.
Here’s a handy table to guide you through the Unsharp Mask settings:
| Setting | Recommended Value |
|---|---|
| Amount | 150% |
| Radius | 1.0 pixels |
| Threshold | 10 levels |
Adjust the sliders until you achieve the desired sharpness. Remember, less is more. Over-sharpening can introduce noise and artifacts, which can detract from your image’s overall quality.
Once you’re satisfied with the sharpening, you can further refine the effect using a layer mask. Click on the Add Layer Mask button at the bottom of the Layers panel. Use a soft brush to paint black over areas where you don’t want the sharpening effect. This technique allows for precise control, ensuring only the stars and essential details are sharpened.
Saving for Web and Print
Now that your image is sharp and stunning, it’s time to save it for different purposes. Whether you’re sharing your masterpiece online or printing it, each medium requires specific settings.
Frequently Asked Questions
How do I open my astrophotography images in Photoshop?
Simply go to File > Open. Find your image file and select it. Boom, you’re in!
What are the first steps in editing astrophotography images?
Start by adjusting exposure, contrast, and white balance. Take your time here; it’s the foundation!
How do I remove noise from my photos?
Use the Noise Reduction filter. Go to Filter > Noise > Reduce Noise. Tweak the settings until it looks just right.
Can I enhance the stars in my image?
Absolutely! Use the Highlight and Brightness tools. Increase brightness and highlight levels to make the stars pop.
Is there a way to make the colors more vibrant?
Yes! Use the Saturation tool. Go to Image > Adjustments > Hue/Saturation. Slide the saturation up for vibrant, eye-popping colors.

