Setting up a remote astrophotography rig opens a universe of possibilities. Imagine capturing stunning images of galaxies, nebulae, and distant stars from the comfort of your home. In this guide, we’ll cover everything you need to know—from picking the perfect location and avoiding light pollution to choosing the best telescope, camera, and mount. We’ll dive into the essentials of remote control systems, reliable power supplies, and proper equipment calibration. Plus, we’ll share tips on capturing and processing jaw-dropping images and troubleshooting common issues. Lets embark on this stellar adventure together! 🚀✨
Key Takeaways
- Choose a good location with dark skies.
- Use a reliable power supply.
- Set up a strong internet connection.
- Pick the right telescope and camera.
- Install remote control software.

Choosing the Right Location for Your Remote Astrophotography Rig
Factors to Consider When Selecting a Location
When you’re setting up a remote astrophotography rig, choosing the right location is paramount. The quality of your images depends heavily on where you decide to set up. Here are some crucial factors to ponder:
1. Altitude: Higher altitudes can offer clearer skies and less atmospheric interference. Think of mountain tops or elevated plateaus.
2. Weather Conditions: Consistently clear skies are a must. You don’t want to set up your rig only to have it clouded over most of the time. Websites like Clear Dark Sky can provide forecasts tailored for astronomers.
3. Accessibility: Ensure the location is accessible for setup and maintenance. Even if it’s remote, you should be able to reach it without too much hassle.
4. Safety: Ensure the area is safe from wildlife and other hazards. You don’t want your expensive gear to be at risk.
Benefits of a Dark Sky Site
A dark sky site can be a game-changer for your astrophotography. Here’s why you should consider this:
1. Reduced Light Pollution: The most significant advantage is the reduction of light pollution. Urban areas are often flooded with artificial lights, which can wash out the night sky.
2. Better Star Visibility: With less light pollution, you’ll be able to capture fainter stars and celestial objects. This can make a world of difference in the quality of your photos.
3. Enhanced Image Quality: Darker skies mean better contrast and less noise in your images. This is particularly important for long-exposure shots.
Avoiding Light Pollution
Light pollution is the bane of astrophotography. Here are some tips to avoid it:
1. Choose Remote Locations: As mentioned earlier, remote locations far from city lights are ideal. National parks and designated dark sky reserves are excellent choices.
2. Use Light Pollution Filters: These filters can help reduce the impact of artificial lights. Check out some of the best filters for enhancing your astrophotography shots here.
3. Plan Your Shoots: Use tools like light pollution maps to find the darkest areas near you. Websites like Dark Site Finder can be invaluable.
Setting Up Your Remote Astrophotography Rig
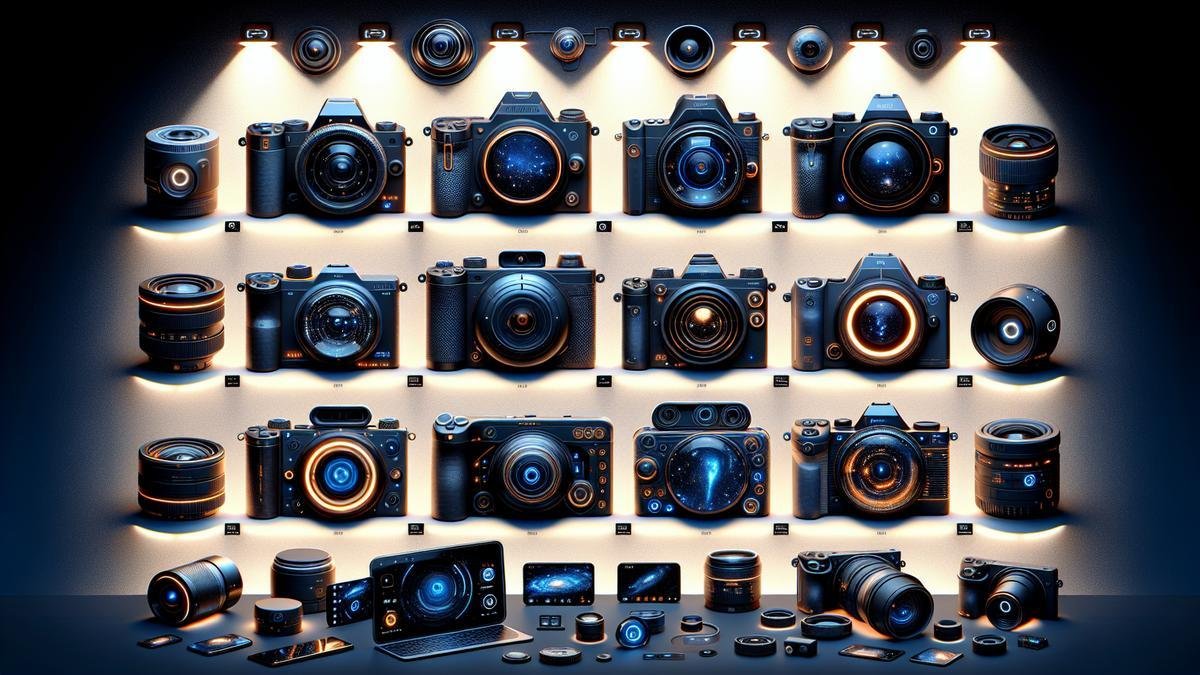
Essential Gear for Remote Astrophotography
Before diving into the setup, let’s talk about the gear you’ll need. Here’s a comprehensive list:
| Gear | Description |
|---|---|
| Camera | A DSLR or mirrorless camera is essential. Check out this comparison of DSLRs and mirrorless cameras for astrophotography here. |
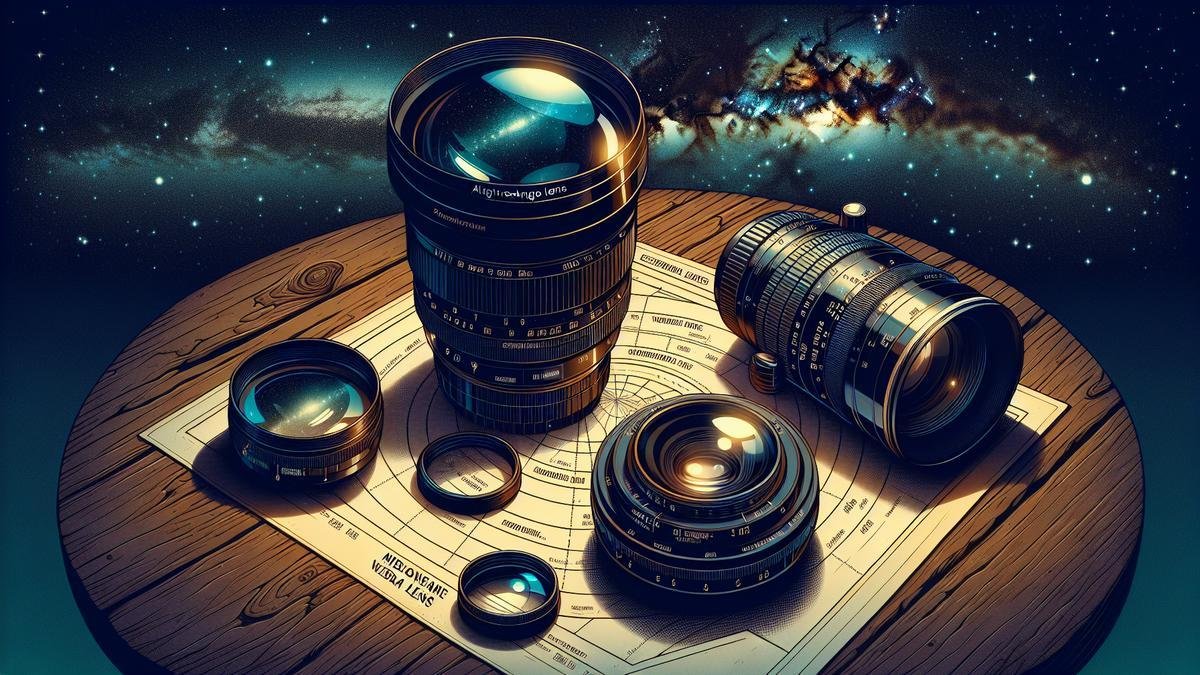
| Lenses | Wide-angle lenses are great for capturing the night sky. Explore essential lenses for astrophotography here. |
| Telescope | If you want to capture detailed images of celestial objects, a telescope is a must. Learn how to choose the best telescope for astrophotography here. |
| Mount and Tripod | Stability is crucial. A sturdy mount and tripod can make a significant difference. Discover the best tripods for astrophotography here and guide to mounts and tracking systems here. |
| Power Supply | Remote locations often lack power sources. Portable power solutions are essential. Find suitable options here. |
| Accessories | Don’t forget other essential accessories like remote shutters, intervalometers, and dew heaters. Explore must-have accessories for astrophotography here. |
Setting Up the Rig
Once you have all your gear, it’s time to set up your rig. Here’s a step-by-step guide:
1. Choose Your Spot: Select a location with a clear view of the sky. Avoid areas with tall trees or buildings.
2. Set Up the Tripod: Ensure your tripod is stable. Use a level to make sure it’s perfectly horizontal.
3. Mount the Camera/Telescope: Attach your camera or telescope to the mount. Ensure it’s securely fastened.
4. Align the Mount: If you’re using a tracking mount, align it with the North Star (Polaris) for accurate tracking.
5. Connect the Power Supply: Set up your portable power supply. Ensure all your devices are charged and ready.
6. Attach Accessories: Attach any additional accessories like filters, remote shutters, or dew heaters.
7. Test the Setup: Before starting your shoot, test the setup. Ensure everything is working correctly.
Capturing the Perfect Shot
Now that your rig is set up, it’s time to capture those stunning images. Here are some tips:
1. Plan Your Shots: Use apps like Stellarium or SkySafari to plan your shots. Knowing when and where celestial objects will be can help you capture the best images.
2. Use Long Exposures: Long exposures can capture more light, revealing more details in the night sky. Learn more about mastering long-exposure astrophotography here.
3. Adjust ISO Settings: Higher ISO settings can capture more light but may introduce noise. Find the right balance for your shots. Get tips on using high ISO for astrophotography here.
4. Stack Images: Combining multiple exposures can reduce noise and enhance details. Learn how to combine and stack images here.
5. Post-Processing: Post-processing can enhance your images significantly. Explore advanced Photoshop techniques for astrophotography here and using Lightroom for astrophotography here.
Advanced Techniques and Tips
Using Star Trackers
Star trackers can help you capture sharp images of the night sky by compensating for the Earth’s rotation. Here’s how to use them effectively:
1. Choose a Star Tracker: There are various star trackers available. Choose one that suits your needs and budget. Explore options here.
2. Set Up the Tracker: Follow the manufacturer’s instructions for setting up the tracker. Ensure it’s aligned correctly.
3. Attach Your Camera: Mount your camera on the tracker. Ensure it’s securely fastened.
4. Test the Tracking: Before starting your shoot, test the tracking to ensure it’s working correctly.
Capturing Nebulae and Galaxies
Nebulae and galaxies are some of the most stunning celestial objects to capture. Here’s how to photograph them:
1. Use a Telescope: A telescope can help you capture detailed images of nebulae and galaxies. Learn more about choosing the right telescope here.
2. Use Long Exposures: Long exposures can capture more light, revealing more details. Experiment with different exposure times.
3. Stack Images: Combining multiple exposures can enhance the details and reduce noise. Learn how to stack images here.
4. Post-Processing: Enhance your images through post-processing. Explore advanced techniques here.
Photographing Meteor Showers
Meteor showers can be a spectacular sight. Here’s how to capture them:
1. Plan Your Shoot: Use apps like Meteor Shower Calendar to know when and where meteor showers will be visible.
2. Use a Wide-Angle Lens: A wide-angle lens can capture more of the sky, increasing your chances of capturing meteors. Explore essential lenses here.
3. Use Long Exposures: Long exposures can capture the streaks of meteors. Experiment with different exposure times.
4. Stack Images: Combining multiple exposures can enhance your images. Learn how to stack images here.
Creating Panoramas
Panoramic astrophotography can capture the vastness of the night sky. Here’s how to create stunning panoramas:
1. Use a Wide-Angle Lens: A wide-angle lens can capture more of the sky. Explore essential lenses here.
2. Take Multiple Shots: Capture multiple shots, overlapping each one slightly.
3. Use a Tripod: A tripod can ensure your shots are level and consistent. Discover the best tripods for astrophotography here.
4. Stitch the Images: Use software to stitch the images together. Explore the best software for editing astrophotography images here.
Reducing Noise
Noise can be a significant issue in astrophotography. Here are some tips to reduce it:
1. Use Lower ISO Settings: Lower ISO settings can reduce noise but may require longer exposures.
2. Stack Images: Combining multiple exposures can reduce noise. Learn how to stack images here.
3. Use Noise Reduction Software: Post-processing software can reduce noise. Explore the best software for editing astrophotography images here.
Enhancing Star Colors
Enhancing star colors can make your images more vibrant. Here’s how to do it:
1. Use a Light Pollution Filter: These filters can enhance star colors by reducing the impact of artificial lights. Check out the best filters for astrophotography here.
2. Adjust White Balance: Experiment with different white balance settings to enhance star colors.
3. Post-Processing: Use software to enhance star colors. Explore advanced Photoshop techniques here.
Creating HDR Images
High Dynamic Range (HDR) images can capture more details in the night sky. Here’s how to create them:
1. Take Multiple Exposures: Capture multiple shots with different exposure settings.
2. Use HDR Software: Use software to combine the images into an HDR image. Explore the best software for editing astrophotography images here.
3. Adjust Settings: Experiment with different settings to achieve the desired effect.
Advanced Post-Processing Techniques
Post-processing can enhance your images significantly. Here are some advanced techniques:
1. Use Photoshop: Photoshop offers a range of tools for enhancing astrophotography images. Explore advanced techniques here.
2. Use Lightroom: Lightroom is another excellent tool for post-processing. Learn how to use Lightroom for astrophotography here.
3. Experiment with Different Techniques: Experiment with different post-processing techniques to achieve the desired effect.
Combining Multiple Exposures
Combining multiple exposures can enhance your images. Here’s how to do it:
1. Take Multiple Shots: Capture multiple shots with different exposure settings.
2. Use Stacking Software: Use software to combine the images. Learn how to stack images here.
3. Adjust Settings: Experiment with different settings to achieve the desired effect.
Using Software for Advanced Planning
Planning your astrophotography sessions can make a significant difference. Here’s how to use software for advanced planning:
1. Use Stellarium: Stellarium is a powerful tool for planning your astrophotography sessions.
2. Use SkySafari: SkySafari is another excellent tool for planning your shoots.
3. Experiment with Different Tools: Experiment with different software tools to find the one that works best for you.
Infrared Astrophotography
Infrared astrophotography can capture the invisible universe. Here’s how to do it:
1. Use an Infrared Camera: An infrared camera can capture images in the infrared spectrum.
2. Use Infrared Filters: Infrared filters can enhance your images.
3. Experiment with Different Settings: Experiment with different settings to achieve the desired effect.
Capturing the Northern Lights
The Northern Lights can be a stunning sight. Here’s how to capture them:
1. Plan Your Shoot: Use apps like Aurora Forecast to know when and where the Northern Lights will be visible.
2. Use a Wide-Angle Lens: A wide-angle lens can capture more of the sky. Explore essential lenses here.
3. Use Long Exposures: Long exposures can capture the movement of the Northern Lights. Experiment with different exposure times.
4. Post-Processing: Enhance your images through post-processing. Explore advanced techniques here.
Photographing Meteor Showers
Meteor showers can be a spectacular sight. Here’s how to capture them:
1. Plan Your Shoot: Use apps like Meteor Shower Calendar to know when and where meteor showers will be visible.
2. Use a Wide-Angle Lens: A wide-angle lens can capture more of the sky, increasing your chances of capturing meteors. Explore essential lenses here.
3. Use Long Exposures: Long exposures can capture the streaks of meteors. Experiment with different exposure times.
4. Stack Images: Combining multiple exposures can enhance your images. Learn how to stack images here.
Creating Panoramas
Panoramic astrophotography can capture the vastness of the night sky. Here’s how to create stunning panoramas:
1. Use a Wide-Angle Lens: A wide-angle lens can capture more of the sky. Explore essential lenses here.
2. Take Multiple Shots: Capture multiple shots, overlapping each one slightly.
3. Use a Tripod: A tripod can ensure your shots are level and consistent. Discover the best tripods for astrophotography here.
4. Stitch the Images: Use software to stitch the images together. Explore the best software for editing astrophotography images here.
Reducing Noise
Noise can be a significant issue in astrophotography. Here are some tips to reduce it:
1. Use Lower ISO Settings: Lower ISO settings can reduce noise but may require longer exposures.
2. Stack Images: Combining multiple exposures can reduce noise. Learn how to stack images here.
3. Use Noise Reduction Software: Post-processing software can reduce noise. Explore the best software for editing astrophotography images here.
Enhancing Star Colors
Enhancing star colors can make your images more vibrant. Here’s how to do it:
1. Use a Light Pollution Filter: These filters can enhance star colors by reducing the impact of artificial lights. Check out the best filters for astrophotography here.
2. Adjust White Balance: Experiment with different white balance settings to enhance star colors.
3. Post-Processing: Use software to enhance star colors. Explore advanced Photoshop techniques here.
Creating HDR Images
High Dynamic Range (HDR) images can capture more details in the night sky. Here’s how to create them:
1. Take Multiple Exposures: Capture multiple shots with different exposure settings.
2. Use HDR Software: Use software to combine the images into an HDR image. Explore the best software for editing astrophotography images here.
3. Adjust Settings: Experiment with different settings to achieve the desired effect.
Essential Equipment for Setting Up a Remote Astrophotography Rig
Must-Have Telescope Features
When setting up a remote astrophotography rig, your telescope is the linchpin of the entire setup. Choosing the right one can make or break your celestial captures. Here are some crucial features to consider:
| Feature | Description |
|---|---|
| Aperture Size | Larger apertures gather more light, revealing fainter objects. Aim for at least 8 inches. |
| Focal Length | A longer focal length provides higher magnification. Look for telescopes with 1000mm or more. |
| Optical Quality | Ensure the lenses and mirrors are free from aberrations. Look for high-quality glass. |
| Mount Compatibility | The telescope should fit securely on your chosen mount. Check for Vixen or Losmandy dovetail compatibility. |
| Portability | If you plan to move your setup, consider the weight and size. Compact designs are easier to transport. |
A telescope with a large aperture and long focal length will help you capture detailed images of distant galaxies and nebulae. For more detailed guidance on selecting the perfect telescope, check out this comprehensive guide to choosing the best telescope for astrophotography.
Camera Options for Astrophotography
Your camera is another critical component of your remote astrophotography rig. There are several types to consider, each with its own strengths and weaknesses.
DSLRs and Mirrorless Cameras
DSLRs and mirrorless cameras are popular choices due to their versatility and image quality. Heres a quick comparison:
| Feature | DSLRs | Mirrorless Cameras |
|---|---|---|
| Weight | Heavier due to the mirror mechanism | Lighter and more compact |
| Battery Life | Typically longer | Shorter, but improving with newer models |
| Optical Viewfinder | Yes, allows you to see exactly what youre photographing | No, but electronic viewfinders are very accurate |
| Lens Availability | Wide range of lenses available | Increasing selection, but not as extensive as DSLRs |
| Autofocus Speed | Generally faster | Improving, but still catching up to DSLRs |
For a deeper dive into the differences, check out this comparison of DSLRs and mirrorless cameras for astrophotography.
Dedicated Astrophotography Cameras
Dedicated astrophotography cameras, such as CCD and CMOS, offer several advantages over traditional cameras:
| Feature | Description |
|---|---|
| Cooling Systems | Integrated cooling reduces noise in long exposures. |
| Sensitivity | Higher sensitivity to light, capturing more detail in faint objects. |
| Software Integration | Seamless integration with astrophotography software for better control. |
While these cameras are often more expensive, their specialized features can significantly improve your astrophotography results.
Choosing the Right Mount
A stable and precise mount is crucial for capturing sharp, long-exposure images. Here are some key considerations:
| Feature | Description |
|---|---|
| Stability | A robust mount will minimize vibrations and movement. Look for mounts with high load capacities. |
| Tracking Accuracy | Accurate tracking is essential for long exposures. Choose mounts with high precision motors. |
| Portability | If you plan to travel with your rig, consider a lightweight, portable mount. |
| Ease of Use | User-friendly mounts with intuitive controls will make your setup process smoother. |
For a detailed look at different mount options, explore this guide to astrophotography mounts and tracking systems.
Equatorial vs. Alt-Azimuth Mounts
Equatorial mounts are preferred for astrophotography due to their ability to track celestial objects accurately. Heres a quick comparison:
| Feature | Equatorial Mounts | Alt-Azimuth Mounts |
|---|---|---|
| Tracking | Tracks stars with a single axis rotation, ideal for long exposures. | Requires dual-axis tracking, which can be less accurate. |
| Setup Complexity | More complex to set up and align. | Easier to set up, but less precise for astrophotography. |
| Portability | Generally heavier and bulkier. | Lighter and more compact. |
For those just starting, an equatorial mount might seem daunting, but its precision is worth the learning curve.

Setting Up Your Remote Control System
So, you’re ready to dive into the world of remote astrophotography? Imagine capturing the mysteries of the cosmos from the comfort of your home, or even while sipping coffee at a café. Sounds like a dream, right? Well, it’s entirely possible with a remote control system for your telescope. Let’s break down the essentials to help you set up your rig and start snapping those celestial wonders.
Software for Remote Telescope Control
First things first, you’ll need the right software to control your telescope remotely. Think of this software as the command center of your astrophotography rig. It allows you to adjust the telescope’s position, focus, and even capture images.
Here’s a table that summarizes some of the most popular software options available:
| Software | Features | Price |
|---|---|---|
| Stellarium | Planetarium software, telescope control, real-time sky simulation | Free |
| NINA (Nighttime Imaging ‘N’ Astronomy) | Automated imaging, focus control, plate solving | Free |
| Astro Photography Tool (APT) | Camera control, focusing aids, live view | $25/year |
| Sequence Generator Pro | Automated imaging, auto-focus, plate solving | $99/year |
| BackyardEOS | Canon DSLR control, live view, focusing aids | $50/year |
When selecting software, consider what features are most important to you. For instance, if you need advanced automation, Sequence Generator Pro might be your best bet. On the other hand, if you’re looking for a cost-effective option, Stellarium and NINA offer robust capabilities without breaking the bank.
Internet Connectivity Requirements
Your remote setup hinges on a stable internet connection. Without it, you might find yourself frustrated by lagging controls or dropped connections. Here’s what you need to know:
- Bandwidth: Aim for at least 10 Mbps upload and download speeds. This ensures smooth data transfer between your remote location and the telescope.
- Latency: Lower latency equals faster response times. A ping under 50ms is ideal.
- Reliability: Use a wired connection if possible. Wi-Fi can be unpredictable, especially in remote locations.
You might want to test your current internet speed using tools like Speedtest.net. If your connection isn’t up to par, consider upgrading your plan or even exploring satellite internet options if you’re in a particularly remote area.
Ensuring Reliable Power Supply
A dependable power supply is the backbone of your remote astrophotography rig. Imagine setting up everything perfectly, only to have your session cut short by a power outage. Let’s avoid that nightmare scenario.
Power Options
Here are some power solutions to keep your setup running smoothly:
| Power Source | Pros | Cons |
|---|---|---|
| AC Power | Stable, continuous power | Requires nearby outlet |
| DC Power | Portable, ideal for remote locations | Limited by battery life |
| Solar Power | Renewable, good for long sessions | Weather-dependent, initial cost |
Aligning and Calibrating Your Equipment
So, you’re diving into the fascinating world of remote astrophotography. Imagine capturing the beauty of the cosmos from anywhere, right from your cozy living room. But first, you need to align and calibrate your equipment properly. Let’s break it down.
Polar Alignment Tips
Polar alignment is crucial. Think of it as the foundation of your remote rig. If your alignment is off, your images will suffer. Here’s how to get it right:
- Find the North Star (Polaris): In the Northern Hemisphere, Polaris is your go-to star for alignment. Use a star map or an app to locate it.
- Adjust Your Mount: Your mount has altitude and azimuth adjustments. Use these to center Polaris in your mount’s polar scope.
- Fine-Tune: Use a software like PHD2 for fine-tuning. It will guide you through the process and help you achieve a more precise alignment.
Calibrating Your Camera and Telescope
Calibration is like tuning a musical instrument. It ensures that your camera and telescope work in harmony to produce clear, sharp images.

Capturing and Processing Astrophotography Images
Techniques for Long Exposure Shots
When you’re diving into the world of astrophotography, long exposure shots are your best ally. These shots allow you to capture the faint light of distant stars, galaxies, and nebulae. Here’s how you can master this technique:
- Choose the Right Camera and Lens: Opt for a camera that excels in low-light conditions. You might want to check out some of the top cameras for astrophotography. Pair it with a fast lens, ideally with an aperture of f/2.8 or lower.
- Use a Stable Tripod: Stability is crucial. A sturdy tripod will prevent any unwanted movements during the long exposure. You can explore some high-quality tripods designed for astrophotography.
- Manual Mode and Settings: Switch your camera to manual mode. Set your ISO between 800 and 3200, aperture to the widest setting, and shutter speed to 20-30 seconds. These settings are a good starting point, but you might need to tweak them based on your location and light pollution.
- Use a Remote Shutter Release: To avoid camera shake, use a remote shutter release or the camera’s built-in timer.
- Activate Noise Reduction: Long exposures can introduce noise. Activate your camera’s noise reduction feature to mitigate this.
Image Stacking and Editing Software
Image stacking is a technique that can significantly enhance the quality of your astrophotography. By stacking multiple images, you can reduce noise and bring out more detail. Here’s how you can get started:
Steps for Image Stacking
- Capture Multiple Shots: Instead of one long exposure, take several shorter exposures. This helps in reducing noise and capturing more detail.
- Use a Star Tracker: A star tracker can help you follow the movement of the stars, allowing for longer exposures without star trails. Learn more about using star trackers.
- Stacking Software: Use software like DeepSkyStacker or Sequator to align and stack your images. These tools can automatically detect stars and align your shots.
Editing Software
Once you’ve stacked your images, it’s time to bring out the details using editing software. Here are some popular options:
| Software | Description |
|---|---|
| Adobe Photoshop | Offers powerful tools for editing and enhancing your astrophotography images. Explore advanced Photoshop techniques. |
| Lightroom | Great for basic adjustments and organizing your photos. Check out Lightroom for beginners. |
| PixInsight | A specialized tool for astrophotography with advanced features for image processing. |
| GIMP | A free alternative to Photoshop with robust editing capabilities. |
Reducing Noise in Your Photos
Noise can be a significant issue in astrophotography, especially when shooting in low light. Here are some tips to reduce noise:
- Lower Your ISO: While a higher ISO can make your camera more sensitive to light, it also introduces noise. Experiment with lower ISO settings and longer exposures.
- Dark Frame Subtraction: Capture a dark frame by taking a shot with the lens cap on. Subtracting this from your image can help reduce noise.
- Use Noise Reduction Software: Tools like Neat Image or Topaz DeNoise can effectively reduce noise while preserving details.
- Stacking Multiple Images: As mentioned earlier, stacking multiple images can significantly reduce noise.
For more detailed techniques, you might want to explore how to reduce noise in astrophotography photos.
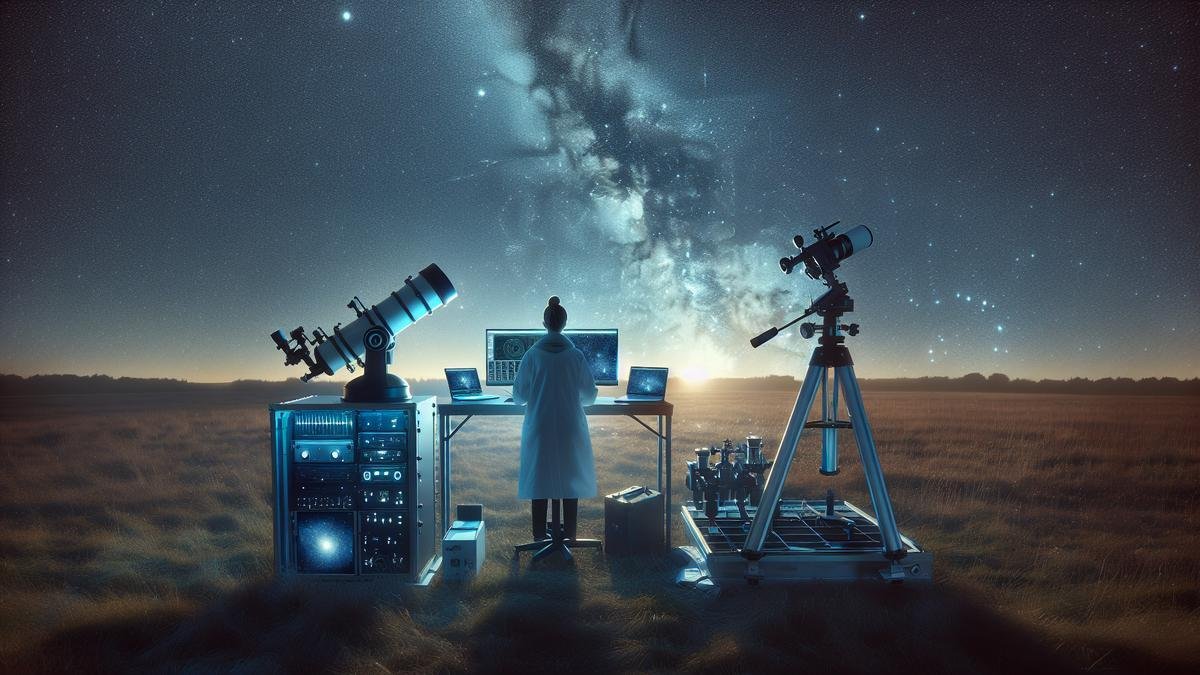
Setting Up a Remote Astrophotography Rig
Setting up a remote astrophotography rig allows you to capture stunning images of the night sky from virtually anywhere. Heres a step-by-step guide to get you started:
Equipment Checklist
Before diving into the setup, ensure you have the following equipment:
| Equipment | Purpose |
|---|---|
| Camera | A DSLR or mirrorless camera with good low-light performance. |
| Lens | A fast lens with a wide aperture. Check out essential lenses. |
| Telescope | Optional but useful for deep-sky objects. Learn how to choose the best telescope. |
| Tripod | A stable tripod to keep your setup steady. |
| Star Tracker | To follow the stars and allow for longer exposures. |
| Remote Shutter Release | To avoid camera shake. |
| Portable Power Supply | For extended shooting sessions. Explore portable power solutions. |
| Computer with Control Software | To control your camera remotely. |
Setting Up Your Rig
- Choose a Location: Find a dark site away from city lights. Use apps like Dark Sky Finder to locate ideal spots.
- Mount Your Camera: Secure your camera on the tripod. If using a telescope, attach your camera to it using the appropriate adapter.
- Align Your Star Tracker: Set up and align your star tracker. This will allow you to track celestial objects accurately.
- Connect Remote Shutter Release: Attach the remote shutter release to your camera. This will help you take photos without touching the camera, reducing vibrations.
- Power Supply: Ensure your equipment has a reliable power source. Portable power supplies are great for remote locations.
Remote Control and Automation
To control your rig remotely, you’ll need a computer with the right software. Here are some options:
| Software | Description |
|---|---|
| BackyardEOS/BackyardNIK | Designed for Canon and Nikon cameras, respectively. |
| Astro Photography Tool (APT) | Supports a wide range of cameras and offers advanced features. |
| Stellarium | A planetarium software that helps you plan your shots. |
| TeamViewer | To remotely control your computer from anywhere. |
Troubleshooting Common Issues in Remote Astrophotography
Setting up a remote rig for astrophotography can feel like navigating a labyrinth. Youre not just dealing with the complexities of capturing the night sky, but also the technical hurdles that come with remote setups. Lets dive into some common issues you might encounter and how to tackle them.
Dealing with Connectivity Problems
The first hurdle you might face is connectivity. Your remote rig relies heavily on stable internet connections for smooth operation.
Common Connectivity Issues and Solutions
| Issue | Solution |
|---|---|
| Weak Signal | Invest in a high-gain antenna or a signal booster. Position your router closer to the rig if possible. |
| Intermittent Connectivity | Use a wired connection wherever feasible. Ethernet cables offer more stability than Wi-Fi. |
| Router Configuration | Ensure your router is configured correctly. Port forwarding may be necessary for remote access. |
| Power Outages | Consider using an uninterruptible power supply (UPS) to keep your rig online during brief outages. |
One tip: Always have a backup plan. A secondary internet connection, like a mobile hotspot, can save the day when your primary connection fails.
Fixing Alignment Errors
Alignment is crucial in astrophotography. Even a slight misalignment can ruin your shot.
Steps to Correct Alignment
- Level the Tripod: Start by ensuring your tripod is perfectly level. Use a bubble level for precision.
- Polar Alignment: Use a polar scope or software tools to align your mount with the celestial pole. This step is non-negotiable for long exposure shots.
- Three-Star Alignment: Follow up with a three-star alignment process. This helps the mount’s computer system to correct any minor errors.
- Recheck Periodically: Alignment can drift over time. Recheck and adjust every few hours to maintain accuracy.
For more on tripods and mounts, check out this guide.
Handling Weather-Related Challenges
Mother Nature can be unpredictable. Weather conditions can make or break your astrophotography session.
Weather-Related Challenges and Tips
| Challenge | Tip |
|---|---|
| Cloud Cover | Use weather forecasting apps to plan your sessions. Websites like Clear Sky Chart provide detailed forecasts for astronomers. |
| Wind | Wind can cause vibrations. Use a sturdy tripod and consider adding weight to stabilize it. |
| Humidity | High humidity can cause lens fogging. Use dew heaters to keep your optics clear. |
| Temperature Fluctuations | Rapid temperature changes can affect your equipment. Allow your gear to acclimate to the outdoor temperature before starting. |
Keeping an eye on the weather is crucial. Sometimes, the best plan is to simply wait for a better night.
Frequently Asked Questions
How do you start with setting up a remote astrophotography rig?
1. Choose your equipment based on needs.
2. Connect all devices using remote software.
3. Test connectivity and control functions.
What type of connection do you need for a remote setup?
A stable internet connection is crucial.
Wi-Fi or wired options both work.
What software is best for remote control?
Look for software like TeamViewer or AnyDesk.
Ensure it’s compatible with all your equipment.
Can you power your astrophotography rig remotely?
Yes, use smart plugs or remote power switches.
Consider battery backups for reliability.
How do you monitor your captures remotely?
Use cloud storage for live uploads.
Remote desktop software lets you see progress.