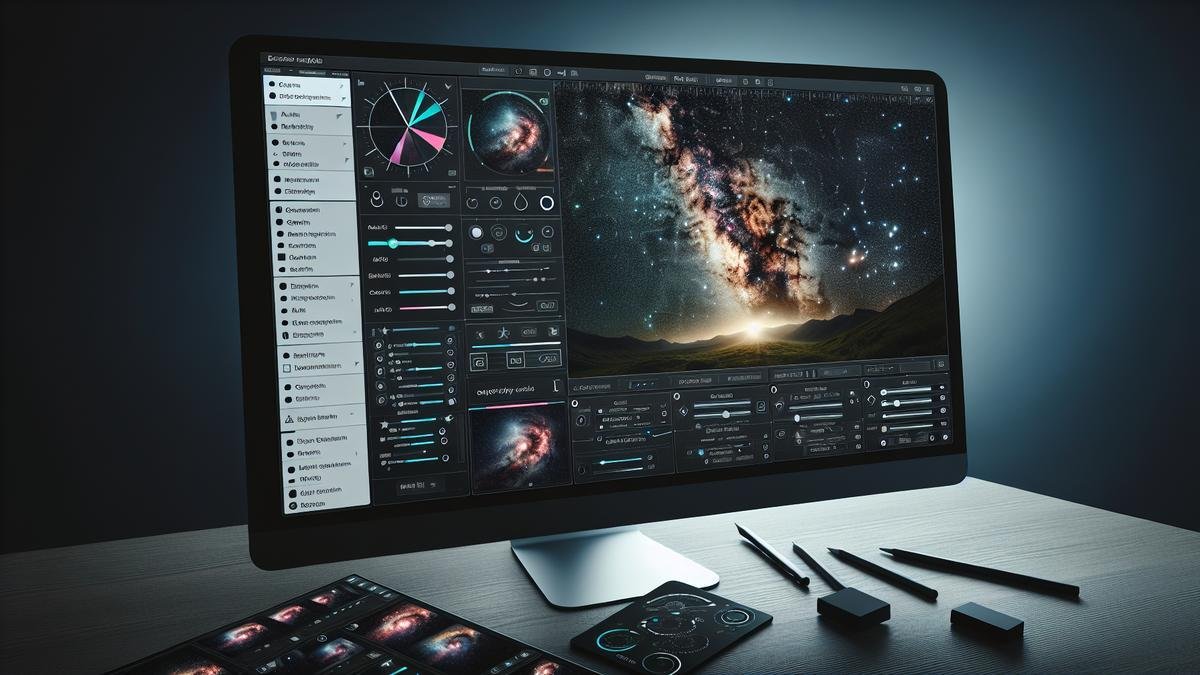
Removing light pollution from your astrophotography images is a game-changer. Imagine capturing the night sky without the pesky glow of city lights. In this guide, well dive deep into the causes of light pollution and how it affects your photos. You’ll discover practical tools and software solutions to help you get rid of the unwanted glow. Learn how to use filters effectively and master post-processing techniques to fine-tune your shots. From choosing the best locations to timing your shots perfectly, youll find easy-to-follow tips for minimizing light pollution. Ready to make your starry photos pop with more stars, nebulae, and galaxies? Lets get started!
—
Key Takeaways
- Edit brightness carefully
- Adjust contrast and curves
- Use noise reduction tools
- Apply selective editing
- Consider special software
Understanding Light Pollution in Astrophotography
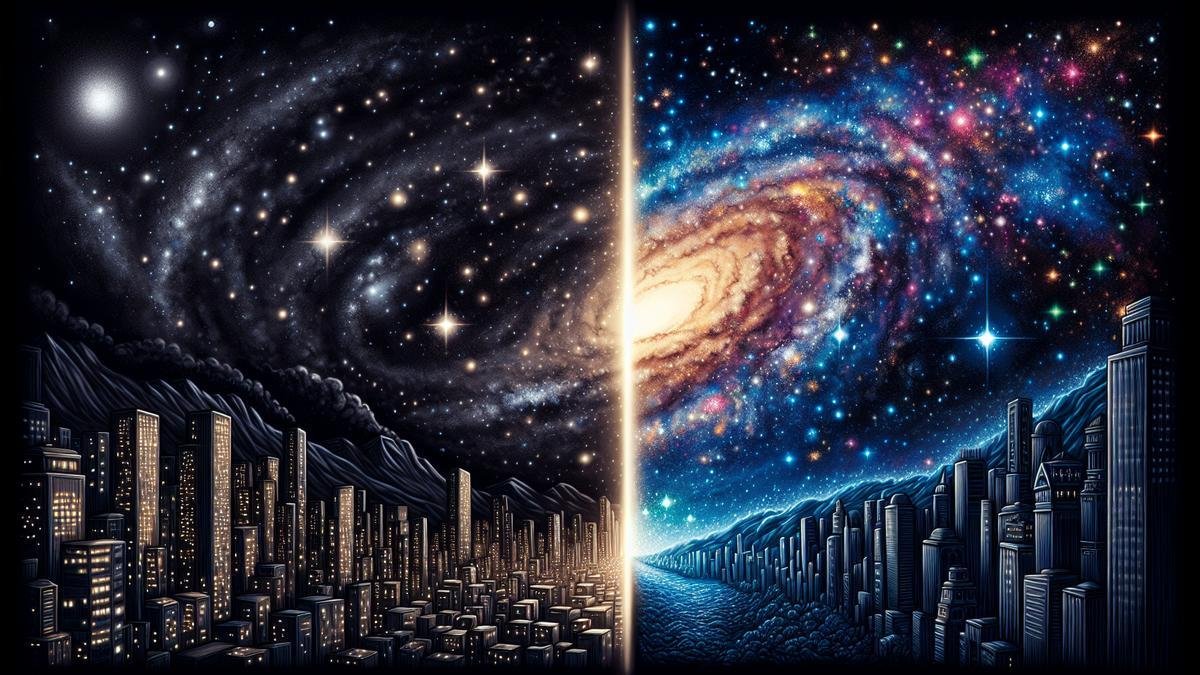
Astrophotography is a captivating hobby that allows you to capture the night sky in all its glory. However, one of the biggest challenges youll face is light pollution. This unwanted light can obscure the stars and celestial bodies, making your photos less impressive. Lets dive into the intricacies of light pollution and how it affects your astrophotography.
What Causes Light Pollution?
Light pollution is primarily caused by artificial lights. These can come from various sources, both near and far. Heres a table to illustrate the common causes:
| Source | Description |
|---|---|
| Streetlights | Bright lights used for public safety and illumination. |
| Commercial Lighting | Lights from businesses, billboards, and advertisements. |
| Residential Lighting | Lights from homes, including porch lights and indoor lighting. |
| Vehicle Lights | Headlights and taillights from cars and other vehicles. |
| Industrial Lighting | Lights from factories and industrial complexes. |
Each of these sources contributes to the overall light pollution in your area, creating a dome of light that can obscure the stars.
How Light Pollution Affects Your Photos
Light pollution can have a significant impact on your astrophotography. It can wash out the stars, reduce contrast, and make it difficult to capture faint celestial objects. Here are some key ways light pollution affects your photos:
- Reduced Contrast: Light pollution brightens the sky, reducing the contrast between the stars and the background sky.
- Color Distortion: Artificial lights can introduce unwanted colors into your photos, distorting the natural hues of celestial objects.
- Loss of Detail: Faint stars and other celestial objects can be completely obscured by the brightness of light pollution.
Common Sources of Light Pollution
Understanding where light pollution comes from can help you mitigate its effects. Here are some common sources:
Streetlights
Streetlights are one of the most significant contributors to light pollution. They are designed to illuminate large areas, and their light can scatter into the sky. Using a light pollution filter can help reduce the impact of streetlights on your photos.
Commercial Lighting
Businesses often use bright lights to attract customers and advertise their products. These lights can create a significant amount of light pollution, especially in urban areas. Planning your shoots away from commercial zones can help.
Residential Lighting
Even the lights from homes can contribute to light pollution. Porch lights, garden lights, and even indoor lights can spill into the sky. Encourage your neighbors to use shielded fixtures to reduce light spill.
Vehicle Lights
Headlights and taillights from vehicles can create temporary spikes in light pollution. If youre shooting near a road, try to position yourself in a way that minimizes the impact of passing cars.
Industrial Lighting
Factories and industrial complexes often use powerful lights for safety and operations. These can create significant light pollution, especially if they are located near your shooting location. Finding a location far from industrial areas can be beneficial.
Tips for Eliminating Light Pollution in Post-Processing
Even with the best planning, youll likely encounter some light pollution in your photos. Fortunately, there are several post-processing techniques you can use to minimize its impact.
Use Gradient Removal Tools
Many photo editing software packages include tools specifically designed for removing gradients caused by light pollution. These tools can help even out the brightness of your sky, making the stars stand out more clearly.
Adjust Levels and Curves
By adjusting the levels and curves in your photo, you can enhance the contrast between the stars and the background sky. This can help reduce the appearance of light pollution and make your stars pop.
Apply Noise Reduction
Light pollution can introduce noise into your photos, making them look grainy. Using noise reduction techniques can help smooth out your images and make them look cleaner. Check out this guide on reducing noise in astrophotography for more tips.
Use Color Correction
Artificial lights can introduce unwanted colors into your photos. Using color correction tools, you can adjust the colors in your photo to make them look more natural. This can help counteract the effects of light pollution.
Stack Multiple Exposures
Stacking multiple exposures can help reduce the impact of light pollution. By combining several images, you can increase the signal-to-noise ratio, making the stars stand out more clearly. This technique is particularly effective for deep-sky astrophotography.
Apply Local Adjustments
Sometimes, light pollution affects only certain parts of your photo. Using local adjustment tools, you can selectively darken or brighten areas of your image to reduce the impact of light pollution.
Use Light Pollution Filters
While not a post-processing technique, using light pollution filters during your shoot can significantly reduce the amount of light pollution in your photos. These filters block certain wavelengths of light, making it easier to capture the stars. Learn more about the best filters for astrophotography here.
Tools to Help Remove Light Pollution
When you’re out there capturing the night sky, light pollution can be a massive headache. But don’t worry, there are tools and techniques to help you tackle this problem. Let’s dive into some of the most effective methods to eliminate light pollution in your astrophotography shots during post-processing.
Software Solutions for Light Pollution
Software can be a lifesaver when dealing with light pollution. Here are some of the top programs you can use:
1. Adobe Photoshop
Photoshop is a powerhouse for photo editing. You can use it to reduce light pollution by adjusting levels, curves, and applying filters. Here’s a quick guide:
| Step | Action |
|---|---|
| 1 | Open your image in Photoshop. |
| 2 | Use the Levels adjustment to balance the light. |
| 3 | Apply the Curves tool to fine-tune the brightness. |
| 4 | Use the Noise Reduction filter to clean up the image. |
2. Lightroom
Lightroom is another excellent tool from Adobe. It’s user-friendly and perfect for beginners. You can use it to adjust the exposure, contrast, and color balance to reduce light pollution.
3. PixInsight
PixInsight is a specialized software for astrophotography. It’s a bit more advanced but offers powerful tools to remove light pollution.
| Feature | Function |
|---|---|
| Dynamic Background Extraction (DBE) | Removes gradients caused by light pollution. |
| Automatic Background Extractor (ABE) | Simplifies the process of background extraction. |
4. DeepSkyStacker
DeepSkyStacker is a free tool that helps you stack multiple images to reduce noise and light pollution. It’s a great starting point for those new to astrophotography.
Filters to Reduce Light Pollution
Filters are another effective way to combat light pollution. They can be used both during the capture process and in post-processing.
1. Light Pollution Filters
These filters are specifically designed to block out the wavelengths of light that cause light pollution. Here are some popular options:
| Filter | Description |
|---|---|
| L-Pro Filter | Blocks out urban light pollution while preserving natural colors. |
| CLS Filter | Cuts out artificial light from streetlights and buildings. |
2. Narrowband Filters
Narrowband filters only allow specific wavelengths of light to pass through, making them ideal for capturing details in nebulae and other deep-sky objects.
| Filter | Description |
|---|---|
| H-alpha Filter | Captures hydrogen-alpha emissions, ideal for nebulae. |
| OIII Filter | Isolates oxygen-III emissions, useful for planetary nebulae. |
Techniques for Post-Processing Light Pollution
So, you’ve captured some stunning shots of the night sky, but there’s one pesky problem: light pollution. It’s that annoying glow from city lights that intrudes on your otherwise perfect astrophotography. But don’t worry, you can fix this in post-processing. Let’s dive into some techniques to help you eliminate light pollution and make your astrophotography shine.
Adjusting Levels and Curves
One of the first things you’ll want to do is adjust the levels and curves in your image. This can help you bring out the details in the stars while reducing the unwanted glow from light pollution.
Steps to Adjust Levels and Curves
- Open Your Image: Load your image into your preferred photo editing software.
- Find the Levels Tool: This is usually found under the ‘Image’ or ‘Adjustments’ menu.
- Adjust the Black Point: Move the black point slider to the right until the background sky is dark but not completely black.
- Adjust the Midtones: Move the midtones slider to the left to brighten the stars.
- Adjust the White Point: Move the white point slider to the left to enhance the brightest stars.
- Fine-Tune with Curves: Use the curves tool to make more precise adjustments. Create an ‘S’ curve to increase contrast.
| Step | Action |
|---|---|
| Open Your Image | Load into photo editing software |
| Find the Levels Tool | Usually under ‘Image’ or ‘Adjustments’ menu |
| Adjust the Black Point | Move slider right until sky is dark |
| Adjust the Midtones | Move slider left to brighten stars |
| Adjust the White Point | Move slider left to enhance brightest stars |
| Fine-Tune with Curves | Create an ‘S’ curve for contrast |
Using Noise Reduction Tools
Light pollution often introduces noise into your images. Noise reduction tools can help you clean up your photos and make the stars pop.
Steps to Use Noise Reduction Tools
- Open Noise Reduction Tool: This is usually found under the ‘Filter’ or ‘Noise’ menu.
- Adjust Strength: Increase the strength of the noise reduction to reduce the graininess in the sky.
- Preserve Details: Ensure that you preserve details to keep the stars sharp.
- Fine-Tune Settings: Adjust the sliders for luminance and color noise to find the perfect balance.
| Step | Action |
|---|---|
| Open Noise Reduction Tool | Usually under ‘Filter’ or ‘Noise’ menu |
| Adjust Strength | Increase to reduce graininess |
| Preserve Details | Ensure stars remain sharp |
| Fine-Tune Settings | Adjust luminance and color noise sliders |
Fine-Tuning Your Image
After you’ve adjusted levels, curves, and reduced noise, it’s time to fine-tune your image. This involves making small adjustments to bring out the best in your astrophotography.
Best Practices for Shooting in Light-Polluted Areas
Choosing the Right Location
Finding the right spot can make or break your astrophotography. While it might seem challenging to escape the bright city lights, you can still find pockets of darkness even in urban settings.
Urban Parks: These green havens often have less light pollution. Look for parks with wide-open spaces and minimal street lighting.
Rooftops: High-rise buildings can offer a vantage point above the street lights. A rooftop garden or terrace can be your go-to spot.
Suburban Areas: Just a short drive can take you to areas with significantly less light pollution. Scout out locations on the outskirts of the city.
Here’s a quick comparison of potential locations:
| Location | Light Pollution Level | Accessibility | Ideal For |
|---|---|---|---|
| Urban Parks | Moderate | High | Quick Night Shots |
| Rooftops | Low to Moderate | Medium | Long Exposure Shots |
| Suburban Areas | Low | Low | Deep Sky Objects |
Camera Settings to Minimize Light Pollution
Getting your camera settings right is crucial to capturing the night sky in all its glory. Here’s how to tweak your settings to reduce the impact of light pollution:
ISO Settings: Keep your ISO as low as possible while still getting a clear shot. High ISO can make light pollution worse.
Aperture: A wider aperture (lower f-stop number) allows more light into the camera, so you can keep your ISO lower.
Exposure Time: Longer exposures can capture more stars but also more light pollution. Experiment with shorter exposures and stacking multiple shots in post-processing.
Here’s a handy table for quick reference:
| Setting | Recommended Value | Impact on Light Pollution |
|---|---|---|
| ISO | 800-1600 | Lower ISO reduces noise |
| Aperture | f/2.8 – f/4.0 | Wider aperture captures more light |
| Exposure | 15-30 seconds | Shorter exposure minimizes light pollution |
Timing Your Shots for Best Results
Timing is everything when it comes to astrophotography. The right time can dramatically reduce the impact of light pollution.
Blue Hour: The period just after sunset and just before sunrise. The sky is still dark enough for stars, but with less light pollution.
Moon Phases: A new moon is ideal for astrophotography. The less moonlight, the better your shots will be.
Weather Conditions: Clear skies are a must. Check the weather forecast for cloud cover and humidity levels.
Here’s a table to help you plan your shots:
| Time of Day | Best Conditions | Light Pollution Level |
|---|---|---|
| Blue Hour | Just after sunset | Moderate |
| New Moon | No moonlight | Low |
| Clear Skies | No clouds, low humidity | Low |
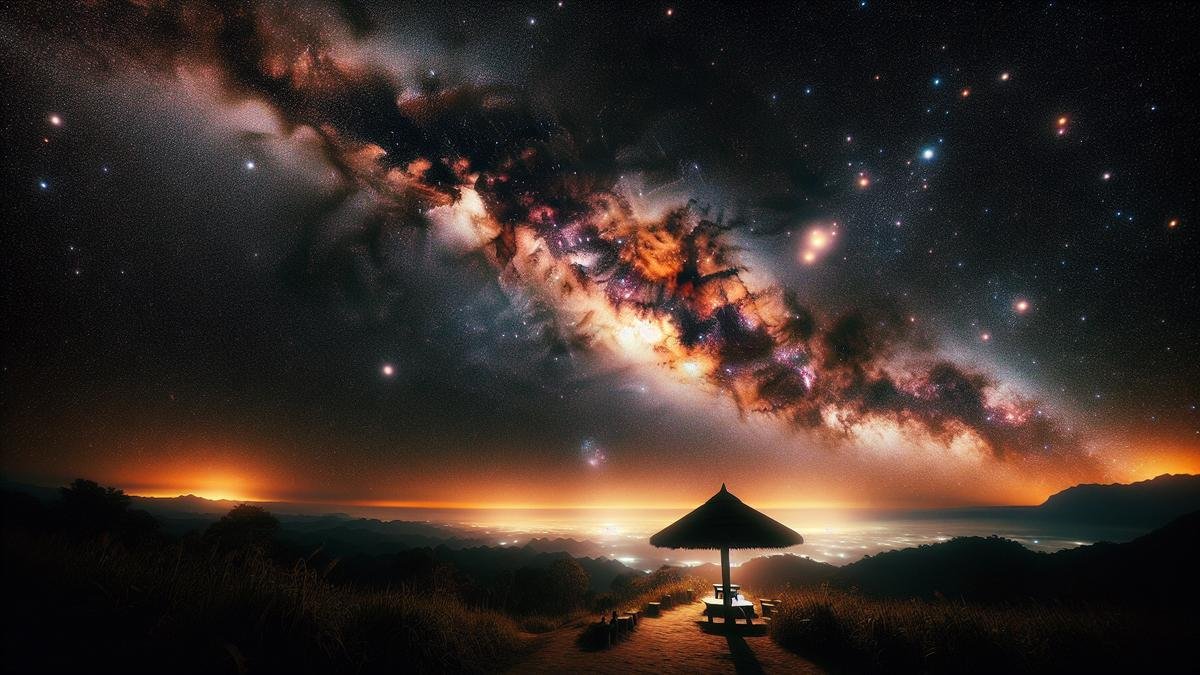
Enhancing Astrophotography with Minimal Light Pollution
Astrophotography is a captivating hobby, allowing you to capture the beauty of the night sky. However, light pollution can be a real thorn in your side. It’s like trying to listen to your favorite song with static in the background. But don’t worry, I’ve got some tips and tricks to help you eliminate that pesky light pollution during post-processing. Let’s dive in!
Capturing More Stars
When youre out there under the stars, you want to capture as many of them as possible. Light pollution, however, can make this challenging. Heres how you can enhance your star captures during post-processing.
Use a Gradient Removal Tool
One of the first things you should do is use a gradient removal tool. This tool helps you to even out the light pollution across your image. Its like painting over a smudge on a masterpiece. Software like Photoshop or GIMP has these tools built-in.
Steps to Use Gradient Removal Tool:
| Step | Action |
|---|---|
| 1 | Open your image in the software. |
| 2 | Select the gradient removal tool. |
| 3 | Apply the gradient removal across the image. |
| 4 | Adjust the intensity until the light pollution is minimized. |
Stacking Multiple Images
Stacking multiple images can significantly enhance the number of stars you capture. Its like putting together a puzzle; each piece adds more detail.
Image Stacking Process:
| Step | Action |
|---|---|
| 1 | Take multiple shots of the same area. |
| 2 | Use software like DeepSkyStacker to combine the images. |
| 3 | Align the stars in each image. |
| 4 | Stack the images to reduce noise and enhance star visibility. |
Bringing Out Nebulae and Galaxies
Nebulae and galaxies are the crown jewels of astrophotography. However, light pollution can make them look faint and washed out. Heres how you can bring them out in your images.
Use Selective Color Adjustment
Selective color adjustment allows you to enhance specific colors in your image. Its like turning up the volume on your favorite instrument in a song.
Steps for Selective Color Adjustment:
| Step | Action |
|---|---|
| 1 | Open your image in your editing software. |
| 2 | Select the selective color adjustment tool. |
| 3 | Focus on enhancing the colors of the nebulae and galaxies. |
| 4 | Adjust the sliders to bring out the details. |
Apply Noise Reduction
Noise can make your images look grainy and less detailed. Applying noise reduction can help you bring out the finer details in nebulae and galaxies.
Noise Reduction Process:
| Step | Action |
|---|---|
| 1 | Open your image in noise reduction software. |
| 2 | Select the noise reduction tool. |
| 3 | Apply the noise reduction to your image. |
| 4 | Adjust the intensity to maintain detail while reducing noise. |
Improving Overall Image Quality
Improving the overall quality of your astrophotography images is crucial. Heres how you can do it by minimizing light pollution.
Use High-Quality Filters
Using high-quality filters can significantly reduce light pollution. Its like wearing sunglasses on a bright day; it makes everything clearer.
Types of Filters:
| Filter Type | Benefit |
|---|---|
| Light Pollution Filters | Reduces city lights and enhances stars. |
| Narrowband Filters | Isolates specific wavelengths of light. |
| UV/IR Cut Filters | Blocks unwanted ultraviolet and infrared light. |
Comparing Before and After Removing Light Pollution
Visual Differences in Your Photos
Imagine this: You’ve spent hours out in the cold, capturing the night sky. You get home, transfer the photos to your computer, and… they look nothing like what you saw. The stars are dim, the sky is washed out, and there’s an orange glow from nearby city lights. Frustrating, right?
Here’s where post-processing comes in. By removing light pollution, you can drastically transform your images. Let’s dive into the visual differences you’ll notice.
Before Light Pollution Removal
When light pollution is present, your photos might look something like this:
| Aspect | Before Light Pollution Removal |
|---|---|
| Sky Color | Orange or yellowish hue |
| Star Visibility | Dim stars, fewer visible stars |
| Contrast | Low contrast, stars blend into the sky |
| Detail | Limited detail in celestial objects |
After Light Pollution Removal
Once you’ve removed the light pollution, the transformation is remarkable:
| Aspect | After Light Pollution Removal |
|---|---|
| Sky Color | Deep black or dark blue |
| Star Visibility | Bright stars, more stars visible |
| Contrast | High contrast, stars pop against the sky |
| Detail | Enhanced detail in celestial objects |
Benefits of a Clearer Sky
A clearer sky isn’t just about aesthetics. It has practical benefits too. Let’s explore these advantages:
Enhanced Star Colors
Removing light pollution can enhance the colors of stars. Youll see reds, blues, and yellows much more vividly. This adds depth and beauty to your photos.
Improved Detail
With less light pollution, you can capture finer details in celestial objects. Galaxies, nebulae, and star clusters will appear sharper and more defined.
Better Contrast
A clearer sky increases the contrast between stars and the background. This makes your photos more striking and visually appealing.
Reduced Noise
Light pollution often introduces noise into your images. By removing it, you can reduce noise and achieve cleaner, crisper photos. For more tips on reducing noise, check out this guide.
Showcasing Your Improved Shots
Now that you’ve removed light pollution and enhanced your photos, it’s time to showcase your work. Here are some tips to make your shots stand out:
Before and After Comparison
Create a before-and-after comparison to highlight the improvements. This can be a powerful way to show the impact of removing light pollution.
| Aspect | Before | After |
|---|---|---|
| Sky Color | Orange hue | Deep black |
| Star Visibility | Dim stars | Bright stars |
| Contrast | Low contrast | High contrast |
| Detail | Limited detail | Enhanced detail |
Share on Social Media
Share your improved shots on social media platforms. Use hashtags like #Astrophotography, #NightSky, and #LightPollution to reach a wider audience.
Join Astrophotography Communities
Join online astrophotography communities to share your work and get feedback. These communities can be a great source of inspiration and learning.
Create a Portfolio
If you’re serious about astrophotography, consider creating a portfolio. This can be a website or a physical album showcasing your best shots.
Frequently asked questions
How can you reduce light pollution in your astrophotography images during post-processing?
Use software like Photoshop or Lightroom. Adjust levels and curves. Apply gradient masks.
Is there a special filter you can use to block light pollution?
Yes, light pollution filters like L-Pro or CLS can help. They block certain wavelengths.
What’s the best way to remove light pollution from astrophotography images?
Using gradient reduction techniques. You can also use noise reduction tools.
Can you fix light pollution in photos taken in urban areas?
Yes, mostly. Software like DeepSkyStacker helps. Combine multiple images for better results.
Should you shoot in RAW to better handle light pollution?
Absolutely! RAW files contain more data. Easier to adjust and correct light pollution.

