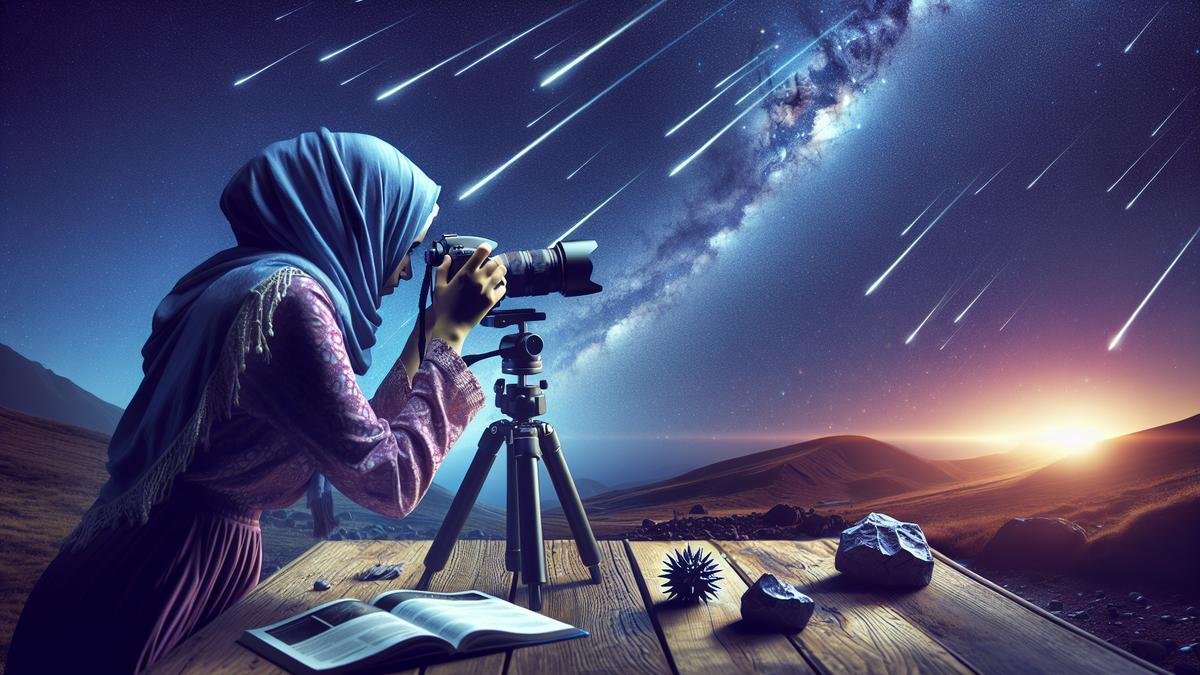
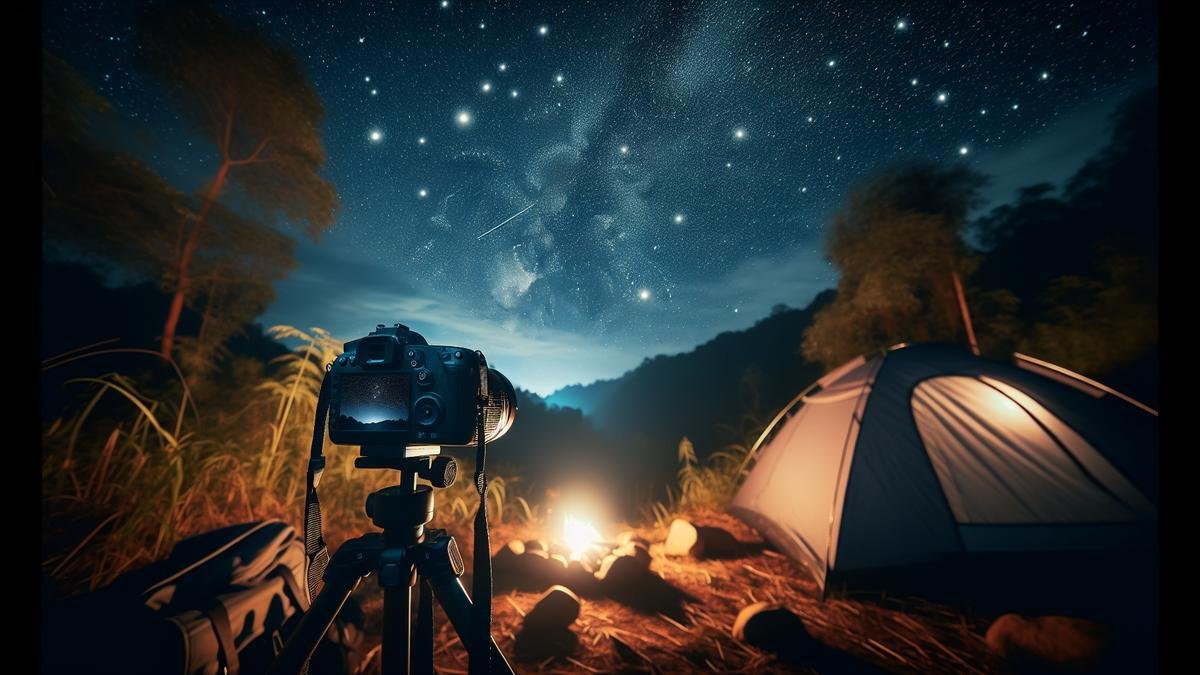
Photographing Meteor Showers: Techniques for Success can be an exciting and rewarding challenge. Whether you’re new to astrophotography or have some experience, there’s always more to learn and explore. Imagine capturing those breathtaking meteors streaking across the night sky! To do that, you’ll need the right equipment, an understanding of meteor patterns, and the best camera settings. Plus, knowing how to enhance your photos and picking the perfect location are key. Let’s dive into the world of meteor showers and discover how you can snap incredible shots that amaze everyone!
Main Points
- Pick a dark spot far from city lights.
- Use a wide-angle lens for a broad view.
- Set your camera to a long exposure.
- Keep ISO low to avoid noise.
- Bring a sturdy tripod for steadiness.
Choosing the Right Equipment for Meteor Showers
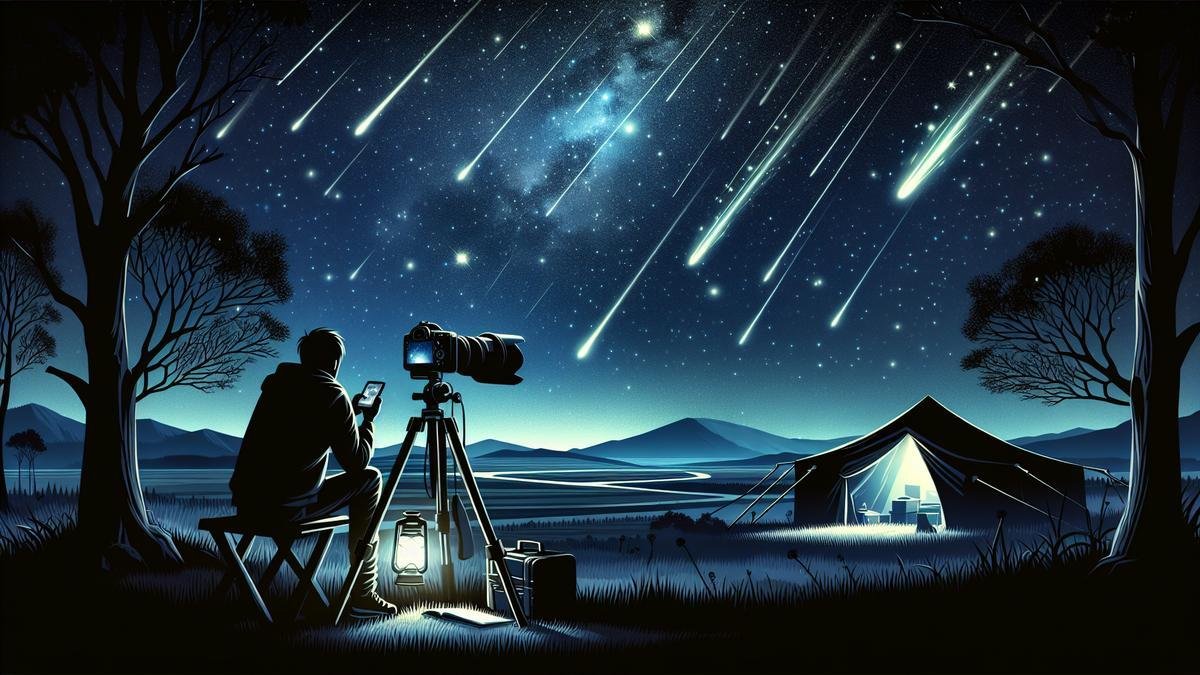
So, you want to capture those stunning meteor showers? Great choice! But first, you need the right gear. Let’s dive in.
Best Cameras for Astrophotography
When it comes to astrophotography, cameras are your best friends. But not just any camera will do. You need one that’s up to the task.
DSLR Cameras are often the go-to for many photographers. They offer great image quality and flexibility. Canon EOS 5D Mark IV and Nikon D850 are two excellent choices. They have full-frame sensors, which means they can capture more light. This is crucial for night photography.
Mirrorless Cameras are another fantastic option. They are lighter and often have more advanced features. Sony A7 III and Fujifilm X-T4 are top picks. They have high ISO performance, which helps in low-light conditions.
Here’s a quick comparison table:
| Camera Model | Type | Sensor Size | ISO Range | Weight (grams) |
|---|---|---|---|---|
| Canon EOS 5D Mark IV | DSLR | Full-Frame | 100-32000 | 890 |
| Nikon D850 | DSLR | Full-Frame | 64-25600 | 915 |
| Sony A7 III | Mirrorless | Full-Frame | 100-51200 | 650 |
| Fujifilm X-T4 | Mirrorless | APS-C | 160-12800 | 526 |
Essential Lenses for Night Sky Photography
Your camera is only as good as the lens you pair it with. For meteor showers, you need lenses that can capture wide views and let in a lot of light.
Wide-Angle Lenses are essential. They allow you to capture more of the sky. Rokinon 14mm f/2.8 and Sigma 14-24mm f/2.8 are excellent choices. They offer a wide field of view and a large aperture.
Prime Lenses are also great. They usually have larger apertures compared to zoom lenses. Canon EF 24mm f/1.4L II USM and Nikon AF-S NIKKOR 20mm f/1.8G ED are top picks.
Here’s a table to help you compare:
| Lens Model | Type | Focal Length | Aperture | Weight (grams) |
|---|---|---|---|---|
| Rokinon 14mm f/2.8 | Wide-Angle | 14mm | f/2.8 | 530 |
| Sigma 14-24mm f/2.8 | Wide-Angle | 14-24mm | f/2.8 | 1150 |
| Canon EF 24mm f/1.4L II USM | Prime | 24mm | f/1.4 | 650 |
| Nikon AF-S NIKKOR 20mm f/1.8G | Prime | 20mm | f/1.8 | 355 |
Tripods and Stabilizers for Clear Shots
Stability is key when shooting meteor showers. You can’t afford any shakes or movements. That’s where tripods and stabilizers come in.
Tripods are a must-have. They keep your camera steady. Manfrotto MT055XPRO3 and Gitzo GT1545T Series 1 are excellent options. They are sturdy and easy to set up.
Stabilizers can also be useful. They help in reducing any vibrations. Zhiyun Crane 2 and DJI Ronin-S are top picks. They are designed for smooth and stable shots.
Here’s a table for quick reference:
| Equipment Model | Type | Max Load Capacity | Weight (grams) |
|---|---|---|---|
| Manfrotto MT055XPRO3 | Tripod | 9 kg | 2500 |
| Gitzo GT1545T Series 1 | Tripod | 10 kg | 1070 |
| Zhiyun Crane 2 | Stabilizer | 3.2 kg | 1250 |
| DJI Ronin-S | Stabilizer | 3.6 kg | 1850 |
By now, you should have a good idea of the equipment you need. Next, let’s talk about some advanced techniques to make your meteor shower photos stand out.
Understanding Meteor Shower Patterns
So, you’re ready to dive into the thrilling world of photographing meteor showers? Fantastic! But first, it’s crucial to understand how these mesmerizing celestial shows work. Meteor showers aren’t random; they follow specific patterns. Knowing these can make the difference between capturing a few streaks of light and a sky full of shooting stars.
Peak Viewing Times for Meteor Showers
Timing is everything. Meteor showers have peak times when they’re most active. These peak times are when Earth passes through the densest part of the comet’s debris stream. Here’s a handy table to help you keep track of some of the most popular meteor showers and their peak viewing times.
| Meteor Shower | Peak Viewing Time | Best Viewing Hours |
|---|---|---|
| Perseids | August 12-13 | Midnight to Dawn |
| Geminids | December 13-14 | 2 AM to 4 AM |
| Quadrantids | January 3-4 | Pre-dawn |
| Lyrids | April 22-23 | After Midnight |
| Orionids | October 21-22 | Early Morning Hours |
Pro Tip: The best time to photograph meteor showers is during the new moon phase. The darker the sky, the better your chances of capturing those elusive streaks.
Identifying Meteor Shower Radiants
Now, let’s talk about the radiant point. This is the part of the sky where the meteors seem to originate. Knowing the radiant can help you position your camera for optimal shots.
| Meteor Shower | Radiant Constellation | Approximate Location |
|---|---|---|
| Perseids | Perseus | Northeast |
| Geminids | Gemini | East |
| Quadrantids | Boötes | North |
| Lyrids | Lyra | East-Northeast |
| Orionids | Orion | Southeast |
Pro Tip: Although meteors appear to radiate from a single point, they can streak across any part of the sky. So, it’s a good idea to have a wide field of view.
Using Meteor Shower Calendars
Meteor shower calendars are invaluable tools for planning your astrophotography sessions. These calendars provide detailed information about upcoming meteor showers, including peak times, radiant points, and moon phases. Here are some reliable sources:
| Source | Details Provided | Website |
|---|---|---|
| American Meteor Society | Comprehensive meteor shower calendar and forecasts | www.amsmeteors.org |
| International Meteor Org. | Detailed predictions and historical data | www.imo.net |
| NASA Meteor Watch | Updates on upcoming meteor showers | meteorwatch.nasa.gov |
Pro Tip: Set reminders for peak viewing times and check the weather forecast to avoid cloudy nights.
Advanced Astrophotography Techniques
Alright, you’ve got the basics down. Now, let’s delve into some advanced techniques that will elevate your meteor shower photography.
Camera Settings for Meteor Showers
Getting your camera settings right is crucial. Here’s a quick guide:
| Setting | Recommended Value |
|---|---|
| ISO | 1600-3200 |
| Aperture | f/2.8 or lower |
| Shutter Speed | 20-30 seconds |
| Focus | Manual, set to infinity |
| White Balance | Daylight or Auto |
Pro Tip: Use a remote shutter release or intervalometer to minimize camera shake and capture multiple shots over a period.
Choosing the Right Equipment
Your equipment can make or break your astrophotography session. Here’s a list of must-haves:
- Camera: A DSLR or mirrorless camera with manual settings.
- Lens: A wide-angle lens (14-24mm) with a large aperture (f/2.8 or lower).
- Tripod: A sturdy tripod to keep your camera steady.
- Remote Shutter Release: To avoid camera shake.
- Extra Batteries: Cold nights can drain batteries quickly.
Pro Tip: Consider using a lens warmer to prevent dew from forming on your lens.
Composing Your Shots
Composition is key to creating stunning meteor shower photos. Here are some tips:
- Foreground Interest: Include elements like trees, mountains, or buildings to add depth.
- Rule of Thirds: Position the radiant point off-center for a more balanced shot.
- Leading Lines: Use natural lines to guide the viewer’s eye through the image.
Pro Tip: Experiment with different compositions to find what works best for you.
Post-Processing Techniques
Post-processing can enhance your meteor shower photos. Here’s a basic workflow:
- Import and Organize: Use software like Adobe Lightroom to import and organize your photos.
- Basic Adjustments: Adjust exposure, contrast, and white balance.
- Noise Reduction: Use noise reduction tools to clean up your images.
- Stacking: Combine multiple exposures to reduce noise and enhance meteor trails.
Pro Tip: Use layer masks in Photoshop to blend multiple exposures seamlessly.
Troubleshooting Common Issues
Even seasoned photographers face challenges. Here are some common issues and solutions:
- Light Pollution: Use a light pollution filter or travel to a dark sky location.
- Cloudy Skies: Check the weather forecast and plan accordingly.
- Out of Focus Shots: Use live view and manual focus to ensure sharp images.
Pro Tip: Practice makes perfect. The more you shoot, the better you’ll get.
Advanced Techniques
For those looking to push the envelope, here are some advanced techniques:
- Time-Lapse: Create a time-lapse video of the meteor shower.
- Star Trails: Capture long exposures to create star trails with meteors streaking through.
- Multi-Exposure: Combine multiple exposures to create a composite image with multiple meteors.
Pro Tip: Experiment with different techniques to find your style.
Setting Up Your Camera for Night Sky Photography
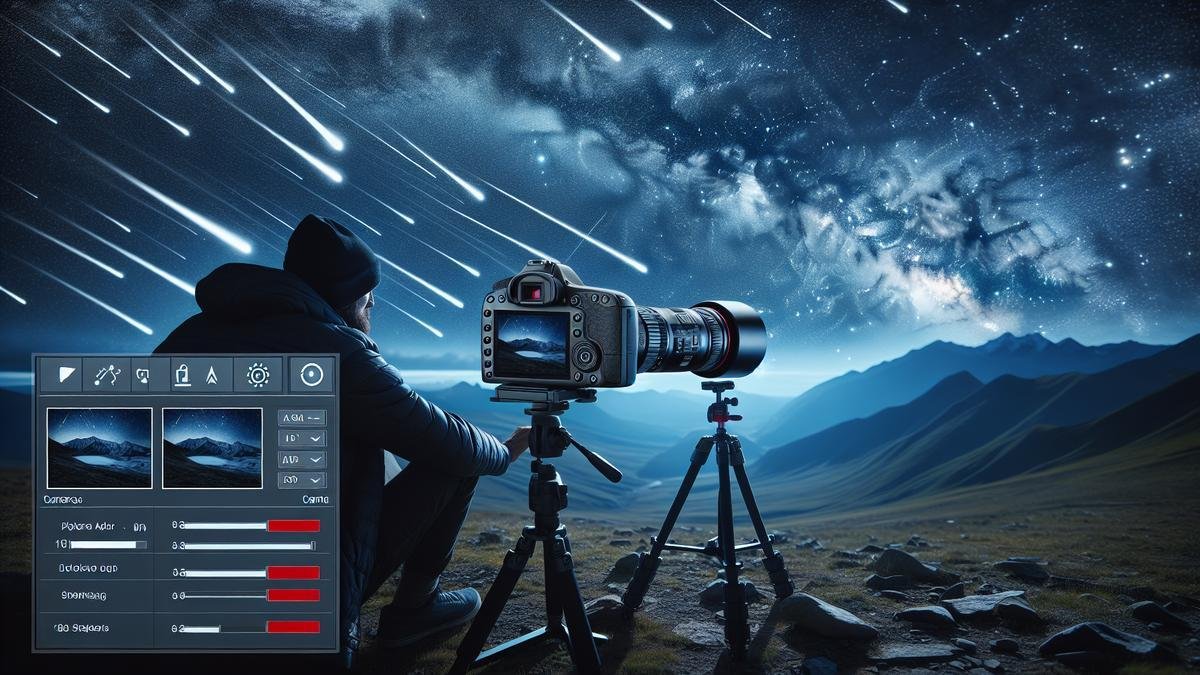
Imagine standing under a vast, starry sky, camera in hand, ready to capture the mesmerizing dance of meteor showers. It’s an exhilarating experience, but it requires some preparation. Let’s dive into the advanced techniques that will help you photograph meteor showers like a pro.
Optimal Camera Settings for Meteor Showers
First things first, you need to set your camera just right. The night sky is a challenging subject, and you have to be meticulous with your settings.
Aperture
Your aperture should be wide open. This means using the smallest f-number available on your lens. A wide aperture, like f/2.8 or f/1.8, allows more light to hit the sensor, which is crucial when shooting in the dark.
Shutter Speed
Shutter speed is a balancing act. Too long, and you’ll get star trails. Too short, and you won’t capture enough light. For meteor showers, a good starting point is 20-30 seconds. This gives you enough time to catch a meteor streaking across the sky.
ISO
ISO settings can be tricky. You want it high enough to capture light but not so high that your photos become grainy. Start with an ISO of 1600 and adjust as needed. Modern cameras handle high ISO settings well, but always review your shots to fine-tune.
White Balance
Set your white balance to daylight. This keeps the colors of the night sky natural. You can always tweak it in post-processing, but starting with a daylight setting gives you a good baseline.
Here’s a quick reference table for these settings:
| Setting | Recommended Value |
|---|---|
| Aperture | f/2.8 or lower |
| Shutter Speed | 20-30 seconds |
| ISO | 1600 |
| White Balance | Daylight |
Adjusting ISO and Shutter Speed
Now, let’s talk about fine-tuning your ISO and shutter speed. These two settings can make or break your meteor shower photos.
Why ISO Matters
ISO controls the camera’s sensitivity to light. Higher ISO means more sensitivity, but also more noise. Noise can ruin an otherwise perfect shot, so it’s a balancing act. Start with ISO 1600 and take a few test shots. If your images are too dark, bump it up to 3200. If they’re too noisy, dial it back to 800.
Shutter Speed Tweaks
Shutter speed affects how long your camera’s sensor is exposed to light. For meteor showers, you want a long exposure but not too long. If you go beyond 30 seconds, you risk capturing star trails, which can distract from the meteors. If you notice star trails, reduce your shutter speed to 15-20 seconds.
Here’s a table to help you balance ISO and shutter speed:
| ISO Setting | Shutter Speed | Result |
|---|---|---|
| 800 | 30 seconds | Low noise, dark image |
| 1600 | 20-30 seconds | Balanced exposure |
| 3200 | 15-20 seconds | Bright image, more noise |
Using Manual Focus for Sharp Images
Autofocus struggles in low light, so manual focus is your best friend here. Switch your lens to manual focus and follow these steps:
- Set Focus to Infinity: Most lenses have a marking for infinity. Start there.
- Live View Mode: Use your camera’s live view mode to zoom in on a bright star or distant light.
- Fine-Tune: Adjust the focus ring until the star or light is as sharp as possible.
Manual focus ensures your stars and meteors are crisp and clear. It might take a few tries, but the results are worth it.
Now, let’s get into some advanced techniques that will elevate your meteor shower photography to the next level.
Advanced Astrophotography Techniques
You’ve got the basics down, but what about those extra touches that make your photos stand out? Here are some advanced techniques to consider.
Stacking Images
Stacking involves taking multiple photos and combining them into one. This reduces noise and enhances detail. Software like DeepSkyStacker or Photoshop can help you with this. Take a series of 10-20 shots with the same settings and stack them in post-processing.
Using a Star Tracker
A star tracker is a device that moves your camera in sync with the Earth’s rotation. This allows for longer exposures without star trails. It’s a bit of an investment, but it can make a huge difference in image quality.
Light Painting
Light painting involves using a flashlight to illuminate foreground objects during a long exposure. This adds depth and interest to your photos. Just be careful not to overdo it; subtlety is key.
Enhancing Your Photos with Post-Processing
Alright, you’ve captured some stunning shots of meteor showers. But the work doesn’t stop there. Post-processing is like adding the final brushstrokes to your masterpiece. It can make your good photos great and your great photos breathtaking.
Basic Editing Techniques for Night Sky Photos
When you first open your raw images, the stars might not pop, and the meteors might look faint. Heres where some basic editing techniques come into play.
1. Adjusting Exposure:
- Software: Adobe Lightroom or Photoshop
- Steps:
- Open your image.
- Find the “Exposure” slider.
- Increase it slightly to make the stars and meteors brighter.
2. Enhancing Contrast:
- Software: GIMP or Lightroom
- Steps:
- Use the “Contrast” slider.
- Increase it carefully to make the dark sky darker and the bright stars brighter.
3. Noise Reduction:
- Software: Lightroom
- Steps:
- Go to the “Detail” panel.
- Use the “Noise Reduction” slider to reduce the grainy look.
4. Sharpening:
- Software: Photoshop or Lightroom
- Steps:
- Use the “Sharpening” tool.
- Apply it carefully to make the stars and meteors stand out without making the image look artificial.
Using Software to Enhance Meteor Trails
Meteor trails can be tricky. They often appear faint and can get lost in the myriad of stars. Heres how you can make them stand out.
1. Selecting the Right Tool:
- Software: StarStaX or Photoshop
- Steps:
- Open your image in the software.
- Use the “Brush” tool to selectively enhance the meteor trails.
2. Layering and Blending:
- Software: Photoshop
- Steps:
- Create a new layer.
- Use the “Blend Mode” to overlay the meteor trail.
- Adjust the opacity to make it look natural.
3. Color Adjustment:
- Software: Lightroom or Photoshop
- Steps:
- Use the “HSL” (Hue, Saturation, Luminance) panel.
- Increase the saturation of the meteor trail to make it more vivid.
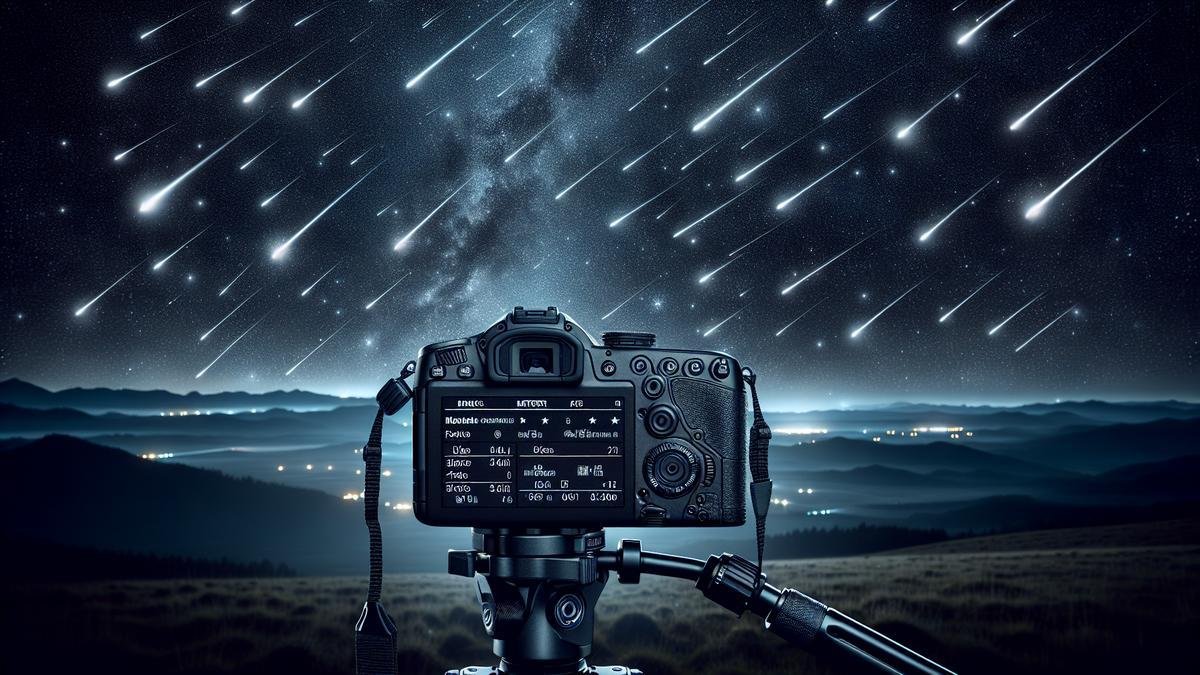
Finding the Perfect Location for Meteor Shower Photography
Best Spots Away from Light Pollution
When you’re gearing up to capture a meteor shower, location is everything. Light pollution can ruin your shots faster than you can say “shooting star.” So, where should you go? Dark sky parks are a great place to start. These parks are specifically designed to be free of artificial light.
If you can’t make it to a dark sky park, don’t worry. Rural areas, away from city lights, can work just as well. Think about places like:
- National Parks
- Countryside
- Mountains
Here’s a quick table to help you decide:
| Location Type | Pros | Cons |
|---|---|---|
| Dark Sky Parks | Minimal light pollution, designated areas | Can be far from home |
| National Parks | Scenic, often dark at night | May have some light |
| Countryside | Easy to find, usually dark | Variable light levels |
| Mountains | High altitude, less atmosphere | Hard to access |
Scouting Locations in Advance
Now, let’s talk about scouting your location. You don’t want to show up on the night of the meteor shower and realize there’s a big tree blocking your view. Get out there a few days before the event. Check for:
- Obstructions: Trees, buildings, and even hills can block your view.
- Accessibility: Make sure you can get to your spot easily, especially in the dark.
- Safety: Always prioritize your safety. Ensure the area is safe for nighttime photography.
You might also want to bring a compass or use a smartphone app to find the best direction to face. Meteor showers often have a radiant point, the part of the sky where the meteors appear to come from. Knowing this can help you aim your camera in the right direction.
Checking Weather Conditions
Weather can make or break your meteor shower photography session. Clear skies are a must. Use weather apps or websites to check the forecast. Look for:
- Cloud cover: Even a few clouds can ruin a shot.
- Humidity: High humidity can cause fog or dew, which can affect your lens.
- Temperature: Cold weather can drain your camera battery faster.
Here’s a quick weather checklist:
| Weather Condition | Ideal Scenario | Why It Matters |
|---|---|---|
| Cloud Cover | Clear skies | Unobstructed views |
| Humidity | Low | Prevents fog/dew |
| Temperature | Moderate | Battery life, comfort |
Pro Tip: Always have a backup plan. If the weather changes, know another spot you can go to or another night you can try.
Advanced Astrophotography Techniques
Now that you’ve got your location sorted, let’s dive into some advanced techniques to make your meteor shower photos stand out.
First, you’ll need the right gear. A DSLR or mirrorless camera is ideal. You’ll also want a sturdy tripod to keep your camera steady. Here’s a basic gear checklist:
| Gear | Purpose |
|---|---|
| DSLR/Mirrorless | High-quality images, manual settings |
| Sturdy Tripod | Keeps camera steady for long exposures |
| Wide-Angle Lens | Captures more of the sky |
| Remote Shutter | Prevents camera shake |
| Extra Batteries | Long sessions can drain battery quickly |
| Memory Cards | High-capacity for lots of photos |
| Red Flashlight | Preserves night vision while adjusting gear |
Camera Settings are crucial. You’ll want to use a wide-angle lens to capture as much of the sky as possible. Set your camera to manual mode. Here are some recommended settings:
- Aperture: f/2.8 or lower to let in as much light as possible.
- Shutter Speed: 20-30 seconds. This allows the camera to capture the movement of the meteors.
- ISO: 1600-3200. This will depend on your camera’s ability to handle noise.
Here’s a quick settings table:
| Setting | Recommended Value | Why It Matters |
|---|---|---|
| Aperture | f/2.8 or lower | More light |
| Shutter Speed | 20-30 seconds | Captures meteor movement |
| ISO | 1600-3200 | Balances light and noise |
Pro Tip: Take test shots and adjust your settings as needed. Every location and meteor shower is different, so be ready to tweak your settings.
Composition and Framing
Composition is key to making your meteor shower photos pop. You don’t just want a bunch of random streaks across the sky. Think about your foreground. Including elements like trees, mountains, or even a tent can add depth and interest to your photos.
Use the rule of thirds to place these elements in your frame. Imagine your viewfinder is divided into a grid with two horizontal lines and two vertical lines. Place your foreground elements along these lines or at their intersections.
Here’s a quick composition guide:
| Element | Placement | Why It Matters |
|---|---|---|
| Foreground | Rule of thirds grid | Adds depth and interest |
| Radiant Point | Off-center | Balanced composition |
| Leading Lines | Diagonal or curved lines | Guides viewer’s eye |
Pro Tip: Experiment with different compositions. Move around and try different angles. You never know what might work until you see it through your lens.
Post-Processing Tips
Even with the best planning and techniques, your photos might need a bit of post-processing to really shine. Software like Adobe Lightroom or Photoshop can help you bring out the best in your images.
Here are some basic post-processing tips:
- Adjust Exposure: Brighten or darken your image to bring out the meteors.
- Reduce Noise: High ISO settings can introduce noise. Use noise reduction tools to clean up your image.
- Enhance Colors: Boost the colors to make the meteors and the night sky pop.
- Sharpen: Use sharpening tools to bring out the details in your image.
Here’s a quick post-processing checklist:
| Adjustment | Purpose | Tool/Software |
|---|---|---|
| Exposure | Brighten/Darken image | Lightroom/Photoshop |
| Noise Reduction | Clean up image | Lightroom/Photoshop |
| Color Boost | Enhance colors | Lightroom/Photoshop |
| Sharpening | Bring out details | Lightroom/Photoshop |
Pro Tip: Don’t overdo it. Subtle adjustments often look more natural and pleasing.
Timing Your Shots
Meteor showers are predictable, but the exact timing can vary. You’ll want to be out there during the peak hours for the best chance of capturing meteors. This is usually after midnight and before dawn.
Here’s a quick timing guide:
| Meteor Shower | Peak Dates | Best Viewing Time |
|---|---|---|
| Perseids | August 11-13 | After midnight |
| Geminids | December 13-14 | After midnight |
| Quadrantids | January 3-4 | Early morning |
Pro Tip: Use a meteor shower calendar to keep track of upcoming events and peak times.
Capturing Unique Meteor Shower Compositions
Including Foreground Elements in Your Shots
When you’re out under the night sky, capturing a meteor shower, don’t forget to frame your shots with interesting foreground elements. These can be anything from majestic trees to ancient ruins or even modern structures. The trick is to add depth and context to your photos.
Imagine a meteor streaking across the sky above a lone tree on a hill. This not only makes the shot more engaging but also gives a sense of scale and place. When you include foreground elements, you’re telling a story. You’re not just showing a meteor; you’re showing a meteor in a specific, meaningful setting.
Tips for Including Foreground Elements
- Scout Locations: Before the meteor shower, find spots with interesting foregrounds. Look for places that are both visually appealing and accessible at night.
- Use a Small Aperture: To keep both the foreground and the meteors in focus, use a small aperture (large f-number). This increases the depth of field.
- Light Painting: If your foreground is too dark, you can use a technique called light painting. Briefly shine a flashlight on the foreground during a long exposure to illuminate it.
| Technique | Description |
|---|---|
| Scout Locations | Find visually appealing spots beforehand |
| Small Aperture | Use a large f-number to keep everything in focus |
| Light Painting | Illuminate dark foregrounds with a flashlight during long exposure |
Experimenting with Different Angles
Don’t be afraid to get creative with your angles. While it’s tempting to always point your camera straight up, sometimes the best shots come from more unconventional angles.
Low Angles
Try shooting from a low angle. Get down on the ground and point your camera upwards. This can make the meteors look more dramatic and larger than life. A low angle can also help you include more of the foreground in your shot, adding to the overall composition.
High Angles
If you have access to a higher vantage point, like a hill or a building, use it to your advantage. Shooting from above can give you a unique perspective and allow you to capture more of the landscape along with the meteors.
Angled Shots
Instead of always shooting straight up, try tilting your camera at an angle. This can create a sense of motion and dynamism in your photos.
| Angle Type | Benefit |
|---|---|
| Low Angle | Makes meteors look dramatic, includes more foreground |
| High Angle | Unique perspective, captures more landscape |
| Angled Shots | Adds motion and dynamism to your photos |
Creating Time-Lapse Sequences
If you want to take your meteor shower photography to the next level, consider creating a time-lapse sequence. This involves taking a series of photos over a period of time and then combining them into a video. The result is a stunning visual representation of the meteor shower.
Setting Up for Time-Lapse
To create a time-lapse sequence, you’ll need a camera with an intervalometer or an external intervalometer. This device will automatically take photos at set intervals.
- Choose Your Interval: Decide how often you want your camera to take a photo. For meteor showers, an interval of 10-30 seconds is usually a good starting point.
- Long Exposure: Set your camera to take long exposures. This will capture more meteors in each shot.
- Stable Tripod: Make sure your camera is on a stable tripod to avoid any movement between shots.
Frequently asked questions
What equipment do I need for photographing meteor showers?
You’ll need a DSLR or mirrorless camera, a sturdy tripod, and a wide-angle lens. Don’t forget a remote shutter release and an extra battery!
When is the best time to photograph meteor showers?
The best time is during the peak of the meteor shower, usually after midnight. Clear, dark skies are essential for success.
How do I set up my camera for meteor showers?
Use manual mode. Set your ISO to 1600-3200, aperture wide open (f/2.8-f/4), and shutter speed between 10-30 seconds. Focus on infinity.
Can I capture meteor showers in a light-polluted area?
Light pollution makes it tough. Get away from city lights for the best chance. Higher elevation locations work great.
Why are my photos blurry when photographing meteor showers?
Blurry photos can result from camera shake, poor focus, or too long exposure times. Use a tripod and remote shutter release. Focus manually on a distant star.

