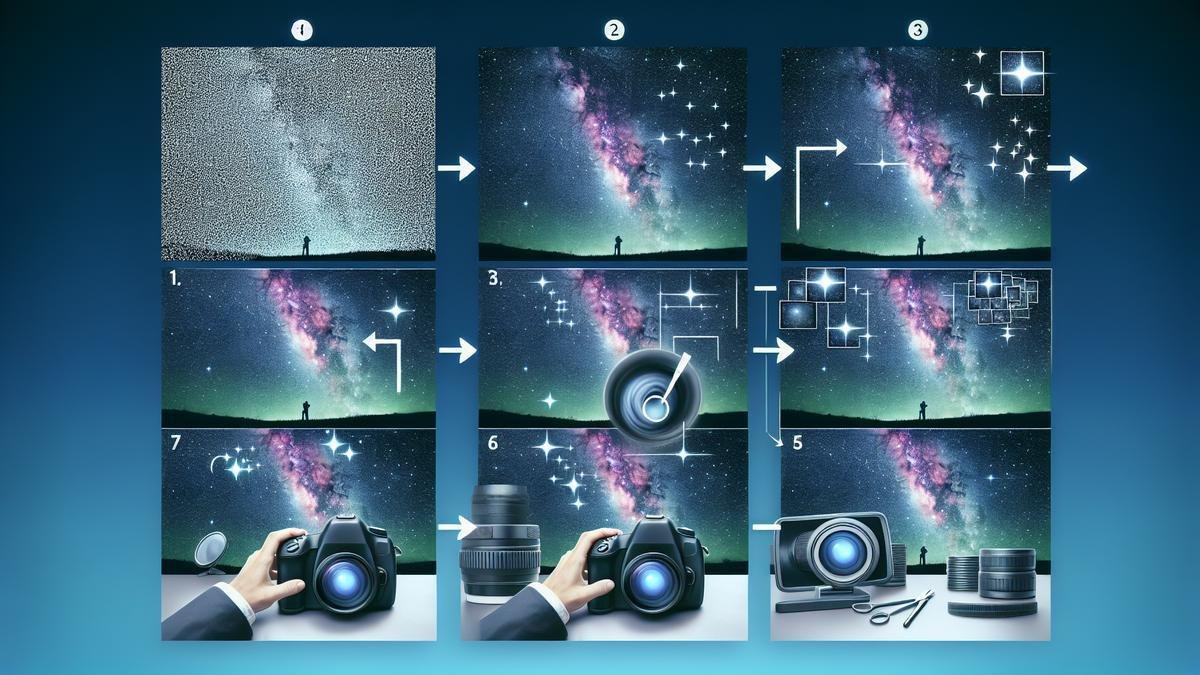
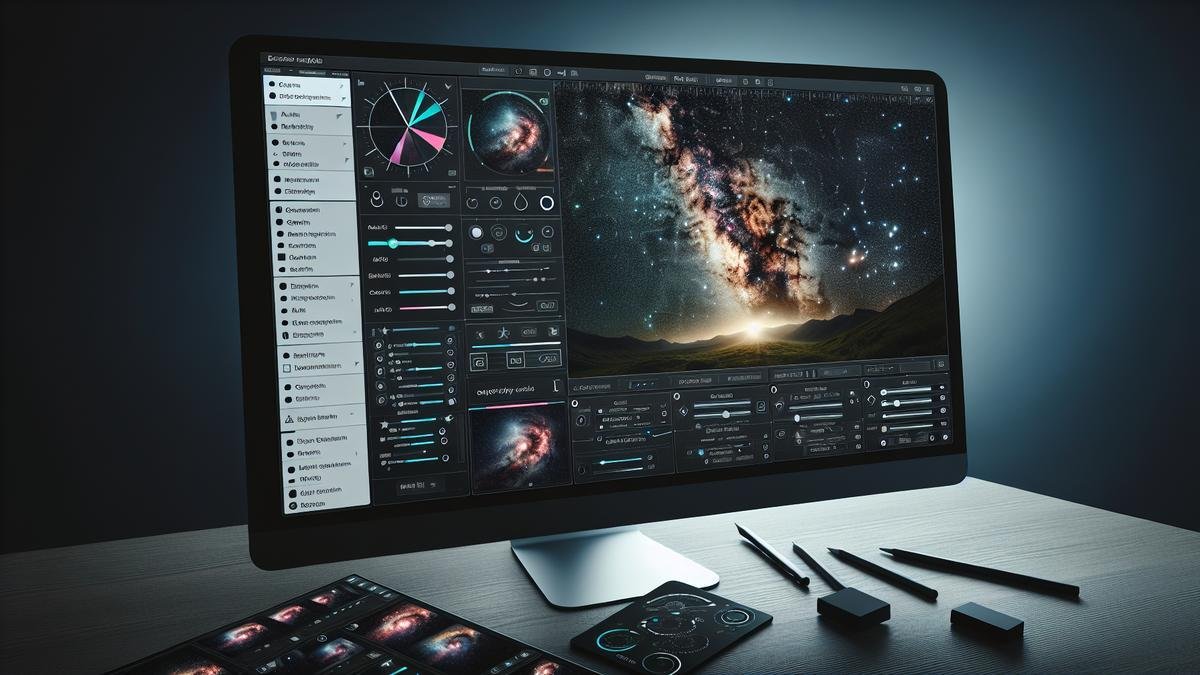
Noise Reduction Techniques for Clearer Night Sky Photos can make a huge difference in the quality of your images. If you’ve ever tried capturing the starry night and ended up with grainy, unclear shots, this guide is your ultimate lifeline. We’ll dive deep into understanding what causes noise, the different types you might encounter, and why noise reduction is essential. From camera settings, optimal ISO adjustments, and post-processing techniques, to the right equipment and advanced methods, get ready to transform your night sky photography into something spectacular.
Important Points
- Use a tripod to keep your camera steady.
- Set a low ISO to reduce noise.
- Use long exposure for better light capture.
- Apply noise reduction in post-processing.
- Focus manually to avoid autofocus issues.

Understanding Noise in Night Sky Photography
Noise in night sky photography can be a real headache. Youve probably noticed those pesky little specks that seem to pop up out of nowhere, ruining your otherwise perfect shot of the Milky Way or a stunning constellation. But dont worry, youre not alone. Many budding astrophotographers encounter this issue. Lets dive into understanding what causes noise and how you can effectively reduce it.
What Causes Noise in Your Photos
Noise is essentially unwanted variations in brightness or color in your images. It can stem from several sources. One major culprit is high ISO settings. When you crank up the ISO to capture faint stars, youre also amplifying the sensors electronic noise. Another source is long exposure times. While they allow more light to hit the sensor, they also increase the likelihood of noise creeping in. Additionally, heat can play a role. As your camera sensor gets warmer, it generates more noise.
Heres a quick table summarizing the causes of noise:
| Cause | Description |
|---|---|
| High ISO Settings | Amplifies sensors electronic noise |
| Long Exposure Times | Increases likelihood of noise |
| Heat | Warmer sensor generates more noise |
Types of Noise You Might Encounter
There are different types of noise that can mess with your night sky photos. Understanding these can help you tackle them more effectively.
Luminance Noise
Luminance noise appears as random variations in brightness. Its often more noticeable in darker areas of your photo. This type of noise can make your night sky look grainy.
Chrominance Noise
Chrominance noise shows up as colored specks, usually in the form of red, green, or blue dots. Its particularly annoying because it can distort the true colors of the stars and other celestial objects.
Thermal Noise
Thermal noise is caused by the heat generated by your camera sensor. The longer your exposure, the more heat is produced, and thus, more thermal noise.
Heres a breakdown of the types of noise:
| Type of Noise | Description |
|---|---|
| Luminance Noise | Random variations in brightness |
| Chrominance Noise | Colored specks (red, green, blue) |
| Thermal Noise | Caused by heat from the camera sensor |
Why Noise Reduction Techniques Are Important
Noise reduction techniques are crucial if you want clear, detailed night sky photos. Without them, your images can look grainy, colorful specks can distort celestial objects, and the overall quality can suffer. By applying effective noise reduction methods, you can enhance the clarity and detail of your photos, making the stars, galaxies, and other celestial wonders stand out beautifully.
Now that you understand the importance of noise reduction, lets explore some techniques to help you achieve stunning night sky photos.
Effective Noise Reduction Techniques
Reducing noise in your night sky photos involves a combination of camera settings, post-processing techniques, and sometimes even hardware adjustments. Here are some tried-and-true methods to help you out.
Use a Lower ISO Setting
While its tempting to crank up the ISO to capture faint stars, its better to use a lower ISO setting. This reduces the sensors electronic noise. You might need to compensate with a longer exposure or a wider aperture.
Take Multiple Exposures and Stack Them
One of the most effective ways to reduce noise is by taking multiple exposures and stacking them. This technique averages out the noise, resulting in a cleaner image. You can learn more about this method here.
Use Dark Frames
Dark frames are images taken with the same settings as your light frames but with the lens cap on. They capture the sensors noise, which can then be subtracted from your light frames during post-processing.
Apply Noise Reduction in Post-Processing
Software like Adobe Lightroom and Photoshop offer powerful noise reduction tools. Be careful not to overdo it, though, as too much noise reduction can make your images look soft and unnatural.
Camera Settings for Reducing Noise
When you’re out there under the night sky, capturing the stars, noise reduction is key to getting those sharp, clear images. Lets dive into the nitty-gritty of camera settings that can help you achieve just that.
Optimal ISO Settings for Night Sky Photos
Choosing the right ISO setting is like finding the sweet spot in a seesaw. Too high, and you invite unwanted noise. Too low, and your stars might not shine as bright. So, where do you start?
ISO Settings Table
| ISO Setting | Noise Level | Image Quality | Best Use Scenario |
|---|---|---|---|
| 100-400 | Very Low | Excellent | Bright stars, minimal light pollution |
| 800-1600 | Moderate | Good | Moderate light pollution, Milky Way shots |
| 3200-6400 | High | Fair | Low light conditions, faint celestial objects |
You see, generally, an ISO between 800 to 1600 strikes a good balance. This range captures the night sky without overwhelming your image with noise. But remember, every camera is different. Testing your cameras limits can be a game-changer.
Adjusting Shutter Speed to Minimize Noise
Shutter speed is another crucial factor. Its like the gatekeeper of light entering your camera. Too long, and you get star trails. Too short, and your image might be underexposed. So, how do you find that perfect shutter speed?
Shutter Speed Table
| Shutter Speed | Noise Level | Image Quality | Best Use Scenario |
|---|---|---|---|
| 10-20 seconds | Low | Excellent | Wide-angle shots, minimal star trails |
| 20-30 seconds | Moderate | Good | Detailed Milky Way shots |
| 30+ seconds | High | Fair | Star trails, deep-sky objects |
A good rule of thumb is the 500 Rule. Divide 500 by the focal length of your lens. For example, if youre using a 20mm lens, 500/20 = 25 seconds. This keeps your stars as points of light rather than streaks.
Balancing Aperture for Clearer Images
Aperture is like your cameras iris. It controls how much light hits the sensor. A wider aperture (lower f-number) lets in more light but can also introduce more noise and reduce depth of field. So, how do you strike the right balance?

Post-Processing Techniques for Noise Reduction
Using Software for Noise Reduction
Noise in your night sky photos can be a real bummer. You spend hours capturing the perfect shot, only to find it riddled with unwanted specks. But don’t worry, you can tackle this with the right software. Heres how you can use some popular tools to reduce noise effectively.
Adobe Lightroom and Photoshop are among the top choices for many astrophotographers. These tools offer robust noise reduction features that can help you clear up your images. Topaz DeNoise AI is another excellent option, known for its advanced AI algorithms that can distinguish between noise and details.
Heres a quick overview of the software options:
| Software | Key Features | Price Range |
|---|---|---|
| Lightroom | User-friendly, great for beginners | $9.99/month |
| Photoshop | Advanced features, professional-grade | $20.99/month |
| Topaz DeNoise AI | AI-driven, excellent noise reduction | $79.99 (one-time) |
Step-by-Step Guide to Noise Reduction in Photoshop
Photoshop is a powerhouse when it comes to post-processing. Heres a step-by-step guide to help you reduce noise in your night sky photos:
- Open Your Image: Start by opening your image in Photoshop.
- Duplicate the Layer: Press Ctrl+J (Windows) or Cmd+J (Mac) to duplicate the layer. This allows you to work non-destructively.
- Convert to Smart Object: Right-click on the duplicated layer and select “Convert to Smart Object.” This will enable you to make non-destructive edits.
- Apply Noise Reduction: Go to Filter > Noise > Reduce Noise. A dialog box will appear with several sliders:
- Strength: Controls the amount of noise reduction. Start with a value around 7.
- Preserve Details: Balances noise reduction and detail preservation. Set it to around 40%.
- Reduce Color Noise: Helps with color artifacts. Set it to around 50%.
- Sharpen Details: Adds sharpness to the image. Keep it low, around 10%.
- Fine-Tune: Adjust the sliders until you get a satisfactory result. Remember, less is more. Overdoing it can make your image look unnatural.
- Apply Mask (Optional): If noise reduction affects some areas more than others, you can apply a mask to selectively reduce noise.
Choosing the Right Equipment
When you’re diving into the enchanting world of astrophotography, having the right gear is crucial. Let’s break down the essentials to help you capture those dazzling night sky photos.
Best Cameras for Night Sky Photography
The camera is your primary tool. Choosing the right one can make a world of difference. Here are some top picks:
| Camera Model | Sensor Type | ISO Range | Key Features |
|---|---|---|---|
| Nikon D850 | Full-Frame | 64-25,600 | High resolution, excellent dynamic range |
| Canon EOS R | Full-Frame | 100-40,000 | Great low-light performance, versatile |
| Sony A7S III | Full-Frame | 80-102,400 | Outstanding low-light capabilities, 4K video |
| Fujifilm X-T4 | APS-C | 160-12,800 | In-body stabilization, compact design |
| Pentax K-1 Mark II | Full-Frame | 100-819,200 | Astrotracer feature, weather-sealed |
These cameras are known for their low-light performance and high ISO capabilities, which are vital for capturing the night sky.
Essential Lenses for Clearer Night Photos
Lenses play a pivotal role in astrophotography. The right lens can bring out the brilliance of the stars and the subtle hues of the Milky Way.
| Lens | Focal Length | Aperture | Key Features |
|---|---|---|---|
| Rokinon 14mm f/2.8 | 14mm | f/2.8 | Wide-angle, affordable, great for landscapes |
| Sigma 35mm f/1.4 Art | 35mm | f/1.4 | Fast aperture, sharp images |
| Canon RF 15-35mm f/2.8L | 15-35mm | f/2.8 | Versatile zoom, excellent build quality |
| Nikon 20mm f/1.8G ED | 20mm | f/1.8 | Lightweight, sharp across the frame |
| Sony FE 24mm f/1.4 GM | 24mm | f/1.4 | Exceptional sharpness, minimal distortion |
Wide-angle lenses with fast apertures (f/2.8 or lower) are ideal. They allow more light to hit the sensor, which is essential for night photography.
Accessories to Help Reduce Noise
Noise is the bane of night photography. However, with the right accessories, you can significantly reduce it.
- Tripod: A sturdy tripod is non-negotiable. It keeps your camera stable during long exposures, reducing motion blur and noise.
- Remote Shutter Release: This prevents camera shake when you press the shutter button.
- Lens Heater: Prevents condensation on your lens, which can cause noise.
- Noise Reduction Software: Tools like Adobe Lightroom and Topaz DeNoise AI can work wonders in post-processing.
For more detailed techniques on reducing noise, you might want to check this comprehensive guide.

Shooting Techniques to Minimize Noise
Capturing the night sky in all its glory can be a rewarding experience. However, noise can be a pesky intruder in your photos. Let’s dive into some effective techniques to reduce noise and make your night sky photos clearer and more detailed.
How to Use Long Exposure for Clearer Photos
Long exposure photography is your best friend when shooting the night sky. The key is to balance exposure time with ISO settings. Here’s a quick guide:
| Exposure Time | ISO Setting | Result |
|---|---|---|
| 10-20 seconds | 800-1600 | Minimal noise, bright stars |
| 20-30 seconds | 1600-3200 | Slight noise, more star details |
| 30+ seconds | 3200+ | Increased noise, but captures faint stars |
When you use long exposures, the camera sensor gathers more light, which means you can keep your ISO settings lower. Lower ISO settings help reduce noise in your images.
Pro Tip: Use a remote shutter release or the camera’s timer function to avoid any camera shake when you press the shutter button. This helps maintain the sharpness of your stars.
Benefits of Stacking Multiple Images
Stacking multiple images is a powerful technique to combat noise. When you stack images, you combine the data from several photos to create one high-quality image. This process averages out the noise, resulting in a cleaner final image.
| Number of Images | Noise Reduction | Detail Improvement |
|---|---|---|
| 5-10 | Moderate | Noticeable |
| 10-20 | Significant | High |
| 20+ | Exceptional | Outstanding |
Stacking is particularly useful for capturing faint celestial objects that might not be visible in a single shot. By stacking, you can reveal details that would otherwise be lost to noise.
Pro Tip: Use software like DeepSkyStacker or Photoshop to align and stack your images. These tools have built-in algorithms that make the process easier and more effective.
Advanced Noise Reduction Techniques
Astrophotography is an art and science that captures the splendor of the night sky. But, as you might know, noise can be a pesky intruder in your celestial portraits. Let’s dive into some advanced noise reduction techniques that will help you achieve clear and detailed photos of the cosmos.
Using Dark Frames for Noise Reduction
Dark frames are like the unsung heroes of your astrophotography toolkit. They help you combat those annoying hot pixels and thermal noise. Here’s how you can use them effectively:
1. Capture Dark Frames:
- Take several dark frames with the same settings as your light frames (the actual photos of the night sky).
- Ensure the lens cap is on and the camera is in a dark environment.
2. Subtract Dark Frames:
- Use software like DeepSkyStacker or PixInsight to subtract the dark frames from your light frames.
- This process will help remove the fixed pattern noise and hot pixels.
| Step | Action | Tool |
|---|---|---|
| 1 | Capture dark frames | Camera |
| 2 | Subtract dark frames | DeepSkyStacker, PixInsight |
Dark frames are a simple yet powerful way to reduce noise and improve the clarity of your night sky photos.
Applying Noise Reduction Algorithms
Noise reduction algorithms can be your best friend when dealing with the grainy mess that sometimes appears in your images. Heres a breakdown of how to apply these algorithms effectively:
1. Choose the Right Software:
- Top choices include Adobe Photoshop, Lightroom, and specialized astrophotography software like Astro Pixel Processor.
2. Apply the Algorithm:
- In Photoshop or Lightroom, use the noise reduction sliders under the ‘Detail’ panel.
- For more advanced users, software like PixInsight offers sophisticated noise reduction algorithms such as Multiscale Linear Transform and ACDNR.
| Software | Algorithm | Usage |
|---|---|---|
| Photoshop, Lightroom | Noise reduction sliders | Basic noise reduction |
| PixInsight | Multiscale Linear Transform, ACDNR | Advanced noise reduction |
3. Fine-Tuning:
- Adjust the settings to balance noise reduction and detail preservation. Overdoing it can make your image look too smooth and unnatural.
Applying these algorithms can significantly enhance the quality of your night sky photos, making the stars and celestial objects stand out more vividly.
Frequently Asked Questions
How can you minimize noise in night sky photos?
Use a tripod and shoot at a low ISO. Longer exposures help too.
What post-processing software is best for noise reduction?
Lightroom and Photoshop are great for controlling noise. Try Noise Ninja or Topaz DeNoise as alternatives.
Does shooting in RAW help reduce noise?
Yes! RAW files hold more detail, which helps in reducing noise during editing.
Should you stack multiple photos for clearer results?
Absolutely! Stacking several shots can reduce noise significantly.
Can you adjust camera settings for less noise?
Yes, Keep the ISO low, and open up the aperture. Experiment with shutter speed.


