Mastering Long-Exposure Astrophotography: Tips and Tricks is within your reach, and we’re here to guide you! Imagine capturing the night sky in all its glory, from dazzling stars to mesmerizing star trails. This article will walk you through choosing the right equipment, understanding essential camera settings, and even fine-tuning your shots for jaw-dropping results. Whether it’s selecting the perfect camera and lens or nailing that elusive long-exposure shot, you’ll have all the tips and tricks you need for stunning astrophotography. Ready to dive in? Let’s make the night sky your new canvas!
Key Takeaways
- Use a sturdy tripod.
- Set your camera to manual mode.
- Choose a low ISO setting.
- Use a wide aperture lens.
- Take test shots first.
Choosing the Right Equipment for Long-Exposure Astrophotography
When you dive into the mesmerizing world of long-exposure astrophotography, the first step is choosing the right equipment. The gear you select can make or break your celestial captures.
Best Cameras for Night Sky Photography
Selecting the ideal camera is crucial. You need a camera that can handle low light and long exposures without introducing too much noise. Here are some top contenders:
| Camera Model | Sensor Type | ISO Range | Special Features |
|---|---|---|---|
| Nikon D850 | Full Frame | 64-25600 | 45.7MP, 4K UHD |
| Canon EOS R5 | Full Frame | 100-51200 | 45MP, 8K Video |
| Sony A7 III | Full Frame | 100-51200 | 24.2MP, 4K HDR |
| Fujifilm X-T4 | APS-C | 160-12800 | 26.1MP, 4K Video |
Nikon D850 is a powerhouse with its high-resolution sensor and excellent ISO range. The Canon EOS R5 offers an impressive 45MP sensor and 8K video capabilities, making it a versatile choice. Sony A7 III is known for its outstanding low-light performance, while the Fujifilm X-T4 provides a more affordable option with a robust APS-C sensor.
Essential Lenses for Capturing Stars
Your lens is just as important as your camera. A good lens can capture the faintest stars and the most vivid details of the Milky Way. Here are some lenses you should consider:
| Lens Model | Focal Length | Aperture | Special Features |
|---|---|---|---|
| Sigma 14mm f/1.8 | 14mm | f/1.8 | Ultra-wide angle |
| Canon EF 24mm f/1.4L | 24mm | f/1.4 | Low-light performance |
| Nikon 20mm f/1.8G | 20mm | f/1.8 | Lightweight |
| Rokinon 14mm f/2.8 | 14mm | f/2.8 | Affordable |
The Sigma 14mm f/1.8 is a stellar choice for wide-angle shots, capturing vast expanses of the night sky. The Canon EF 24mm f/1.4L excels in low-light conditions, while the Nikon 20mm f/1.8G offers a lightweight option without sacrificing quality. For those on a budget, the Rokinon 14mm f/2.8 provides excellent performance at a lower price point.
Understanding Camera Settings for Astrophotography
So, you’re ready to dive into the mesmerizing world of astrophotography. Capturing the night sky in all its glory requires an understanding of your camera settings. Lets break down the essentials.
Optimal ISO Settings for Clear Images
ISO settings can be tricky. They control the sensitivity of your cameras sensor to light. Too high, and youll get a lot of noise. Too low, and your images might be too dark. Finding the sweet spot is key.
ISO Settings Table
| ISO Value | Noise Level | Ideal Use Case |
|---|---|---|
| 100-400 | Low | Bright conditions, minimal noise |
| 800-1600 | Moderate | Moderate light, balanced noise and brightness |
| 3200-6400 | High | Low light, increased noise but brighter images |
For astrophotography, an ISO setting between 1600 and 3200 is often ideal. This range provides a good balance between brightness and noise. Remember, every camera is different, so you might need to experiment a bit.
Adjusting Shutter Speed for Long Exposures
Shutter speed is another crucial setting. It determines how long your cameras sensor is exposed to light. Longer exposures capture more light, but they also increase the risk of star trails.
Shutter Speed Table
| Shutter Speed | Effect on Image | Recommended Use |
|---|---|---|
| 10-20 seconds | Minimal star trails, bright stars | Wide-angle shots |
| 20-30 seconds | Noticeable star trails, brighter | Capturing the Milky Way |
| 1-5 minutes | Long star trails, very bright | Star trail photography |
For sharp, pinpoint stars, a shutter speed of around 20 seconds is a good starting point. If you’re aiming to capture star trails, you might want to go for longer exposures, up to several minutes.
Techniques for Capturing Stunning Star Trails
Youve gazed up at the night sky, enthralled by the mesmerizing swirls of stars. Now, youre ready to capture those celestial wonders through your lens. Lets dive into the nitty-gritty of mastering long-exposure astrophotography, focusing on star trails.
Setting Up for Long Star Trail Shots
First things first, setting up your gear correctly is crucial. Youll need a sturdy tripod, a camera capable of long exposures, and a remote shutter release. Heres a quick checklist:
| Equipment | Purpose |
|---|---|
| Sturdy Tripod | Keeps your camera steady for long exposures |
| Camera | Preferably DSLR or mirrorless with manual mode |
| Remote Shutter | Reduces camera shake during long exposures |
Location, Location, Location: Find a spot with minimal light pollution. Apps like Light Pollution Map can help you scout the perfect location. Once youve found your spot, set up your tripod on stable ground.
Camera Settings: Switch your camera to manual mode. Set your ISO to a low value, around 100-400, to reduce noise. Aperture should be wide open (f/2.8 or lower) to let in as much light as possible. Shutter speed? Well, thats the star of the show. Youll need long exposures, typically ranging from 30 minutes to several hours.
Focus: Achieving sharp focus in the dark can be tricky. Use your cameras live view mode and zoom in on the brightest star. Manually adjust the focus until the star appears sharp.
Avoiding Common Star Trail Mistakes
Even seasoned photographers stumble upon pitfalls. Here are some common mistakes and how to sidestep them:
Battery Life: Long exposures drain battery life. Carry extra batteries or use an external power source. You dont want your camera dying halfway through a perfect shot.
Condensation: On cold nights, condensation can fog up your lens. Use a lens warmer or hand warmers wrapped around the lens to prevent this.
Unstable Tripod: An unstable tripod can ruin your shot. Make sure its firmly planted and consider hanging a weight from the center column for added stability.
Light Pollution: Even in remote areas, stray light from passing cars or nearby towns can intrude. Use a hood or shield to block out unwanted light.
Mastering Long-Exposure Astrophotography: Tips and Tricks for Beginners
Planning Your Shoot with Star Maps
Alright, let’s dive right in. When you’re gearing up for a night under the stars, planning is your best friend. Star maps are essential tools. These aren’t just fancy charts; they’re your roadmap to the cosmos. Imagine trying to navigate a city without a GPS. That’s what stargazing without a star map feels like.
Star maps help you identify constellations, planets, and other celestial bodies. They give you a sense of direction and purpose. You know exactly where to point your camera and when. This is crucial because the night sky is constantly moving. What you see at 10 PM won’t be the same at midnight.
How to Use Star Maps
Using a star map is simpler than you might think. Here’s a quick guide:
- Find a Reliable Star Map: There are plenty of options online. Some are even interactive.
- Identify Your Location: Enter your location to get an accurate map of the night sky from your vantage point.
- Check the Date and Time: The sky changes with the seasons and time of night.
- Plan Your Targets: Decide what you want to shoot. Is it a constellation, a planet, or maybe the Milky Way?
Using Apps to Track Celestial Events
Now, let’s talk tech. There are some fantastic apps out there that can help you track celestial events. These apps are like having a personal astronomer in your pocket. They can alert you to upcoming meteor showers, lunar eclipses, and even the International Space Station’s flyovers.
Apps to Consider:
| App Name | Features | Cost |
|---|---|---|
| Star Walk 2 | Real-time sky map, celestial event notifications, AR mode | Free with in-app purchases |
| SkySafari | Detailed star maps, telescope control, extensive object database | Free with in-app purchases |
| Stellarium | Accurate star maps, customizable views, historical sky maps | Free |
| Night Sky | AR sky view, celestial event alerts, community features | Free with in-app purchases |
Benefits of Using Apps
- Real-Time Updates: Get instant notifications about celestial events.
- Augmented Reality: Some apps offer AR features, letting you superimpose the night sky onto your surroundings.
- Community Features: Share your findings and photos with a community of like-minded enthusiasts.
Timing Your Shots for Best Results
Timing is everything in astrophotography. The difference between a good shot and a breathtaking one often comes down to timing.
Best Times to Shoot
- Golden Hour: Just after sunset or before sunrise. The sky has a beautiful gradient of colors.
- Blue Hour: The period of twilight when the sun is below the horizon, but the sky is still illuminated.
- New Moon: The absence of moonlight makes the stars pop.
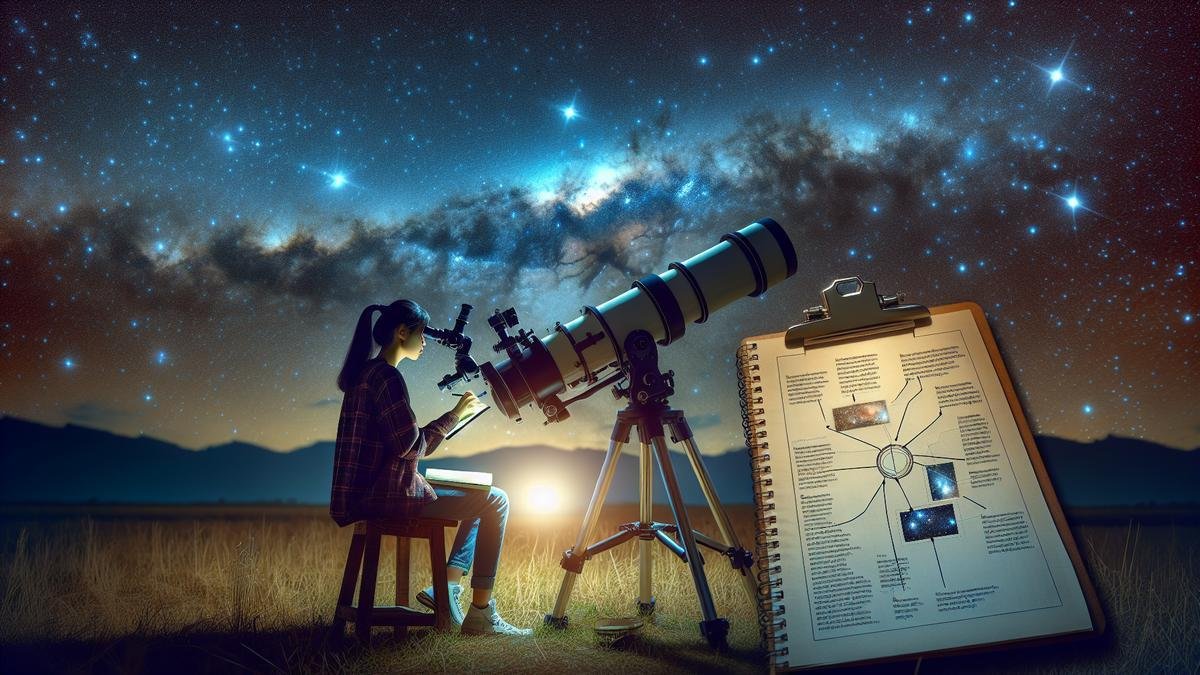
Editing Your Astrophotography Images
So, you’ve spent hours under the night sky, capturing those mesmerizing images of the universe. Now comes the crucial part—editing. Post-processing can make or break your astrophotography. Lets dive into some essential tips and tricks.
Basic Post-Processing Tips
When you first open your images, they might look a bit underwhelming. Dont worry, this is normal. The magic happens in post-processing. Here are some basic tips to get you started:
- Adjust Exposure: Start by tweaking the exposure. Your image might look too dark or too bright. Adjusting the exposure helps to balance the light and bring out hidden details.
- White Balance: Night sky photos often have a color cast. Adjust the white balance to make the colors look more natural.
- Contrast and Brightness: Increase the contrast to make the stars pop. Be careful with brightness; too much can wash out the stars.
- Curves and Levels: Use these tools to fine-tune the tonal range of your image. This can help in bringing out the faint details.
- Crop and Rotate: Sometimes, a simple crop can improve the composition. Rotating the image can also help in aligning the horizon.
Here’s a quick reference table for basic post-processing adjustments:
| Adjustment | Purpose | Tips |
|---|---|---|
| Exposure | Balance light | Avoid overexposure |
| White Balance | Correct color cast | Use a neutral area as a reference |
| Contrast | Enhance star visibility | Increase gradually |
| Brightness | Adjust overall lightness | Be subtle |
| Curves and Levels | Fine-tune tonal range | Experiment with different settings |
| Crop and Rotate | Improve composition | Focus on the main subject |
Enhancing Colors and Details
Once youve got the basics down, its time to enhance the colors and details in your photos. This is where your images can truly shine.
- Saturation and Vibrance: Increase saturation to make the colors more vivid. Use vibrance to enhance the less saturated colors without affecting the already saturated ones.
- Clarity: Boosting clarity can help in making the stars and other details more pronounced. Be cautious, as too much clarity can introduce noise.
- Sharpness: Sharpening can bring out the finer details in your image. Use it sparingly to avoid artifacts.
- Color Balance: Adjust the color balance to make the image look more natural. This can help in reducing any unwanted color casts.
- Selective Color Adjustments: Use selective color adjustments to enhance specific colors in your image. This can be particularly useful for bringing out the colors in nebulae and galaxies.
Heres a table to guide you through enhancing colors and details:
| Adjustment | Purpose | Tips |
|---|---|---|
| Saturation and Vibrance | Enhance overall color | Avoid oversaturation |
| Clarity | Make stars and details more pronounced | Increase gradually |
| Sharpness | Bring out finer details | Use sparingly |
| Color Balance | Correct unwanted color casts | Adjust each color channel separately |
| Selective Color Adjustments | Enhance specific colors | Focus on key elements (nebulae, galaxies) |
Troubleshooting Common Astrophotography Issues
Dealing with Light Pollution
Light pollution, the bane of astrophotographers everywhere, can turn your celestial masterpiece into a dull, washed-out mess. But don’t worry, there are ways to combat this pesky intruder.
1. Choose Your Location Wisely: The first step is to find a dark sky location. Use light pollution maps to pinpoint areas with minimal artificial light. National parks and rural areas are often good choices.
2. Use Light Pollution Filters: These filters can reduce the impact of artificial light on your photos. They work by blocking out specific wavelengths of light, making the stars and other celestial objects pop.
3. Adjust Your Camera Settings: Lower your ISO to reduce the noise in your images. A lower ISO will also help you capture more detail in the stars and other celestial objects.
4. Post-Processing Techniques: Software like Adobe Lightroom and Photoshop can help you remove the effects of light pollution. Use the Dehaze tool and adjust the contrast and brightness to bring out the details in your photos.
| Tip | Description |
|---|---|
| Location | Find a dark sky location using light pollution maps. |
| Filters | Use light pollution filters to block out specific wavelengths. |
| Camera Settings | Lower your ISO to reduce noise and capture more detail. |
| Post-Processing | Use software tools to remove light pollution effects. |
Avoiding Camera Shake and Blurriness
Blurry images can ruin an otherwise perfect shot. Here are some tips to keep your camera steady and your images sharp.
1. Use a Sturdy Tripod: A good tripod is essential for long-exposure astrophotography. Make sure it’s stable and can hold your camera securely.
2. Remote Shutter Release: Using a remote shutter release or the camera’s built-in timer can prevent camera shake caused by pressing the shutter button.
3. Mirror Lock-Up: If you’re using a DSLR, enable mirror lock-up to reduce the vibration caused by the mirror flipping up.
4. Wind and Weather: Wind can cause your camera to shake, so try to shield it from the wind or use a weight to stabilize your tripod.
| Tip | Description |
|---|---|
| Tripod | Use a sturdy tripod to keep your camera steady. |
| Shutter Release | Use a remote shutter release or built-in timer. |
| Mirror Lock-Up | Enable mirror lock-up to reduce vibration. |
| Wind | Shield your camera from the wind or use a weight. |
Frequently Asked Questions
What gear do I need for long-exposure astrophotography?
Youll need a DSLR or mirrorless camera, a sturdy tripod, and a wide-angle lens. Dont forget a remote shutter release or intervalometer, and a headlamp with red light to see in the dark.
How do I focus on stars?
Use manual focus. Zoom in live view on a bright star. Twist the focus ring until stars are sharp pinpoints.
What camera settings should I use?
Start with ISO 1600, aperture wide open (f/2.8 or lower), and a 20-30 second exposure. Adjust based on results.
How can I avoid star trails?
Use the 500 Rule: 500 divided by your lens focal length equals maximum exposure time in seconds. For a 25mm lens, go no longer than 20 seconds.
What post-processing tips can enhance my photos?
Boost the contrast and clarity. Adjust white balance for true colors. Use noise reduction to clean up the sky. Dont forget to experiment!
Learn more in “Mastering Long-Exposure Astrophotography: Tips and Tricks”.

