Mastering the Art of Deep-Sky Photography isn’t just about pointing a telescope at the night sky and clicking away. It’s an exhilarating journey filled with choosing the right gear, avoiding pesky light pollution, and finding the best dark sky spots. You’ll discover how to use various filters, time your shots, and post-process your images to perfection. From capturing stunning nebulae and galaxies to troubleshooting common problems, this guide covers it all. By the end, you’ll be equipped with advanced techniques to make your deep-sky photos truly breathtaking! 🚀✨
Key Takeaways
- Use long exposure to capture faint light.
- Invest in a tracking mount for clearer images.
- Shoot in dark locations away from city lights.
- Stack multiple images to reduce noise.
- Use RAW format for better editing control.
Essential Equipment for Deep-Sky Photography
Choosing the Right Telescope
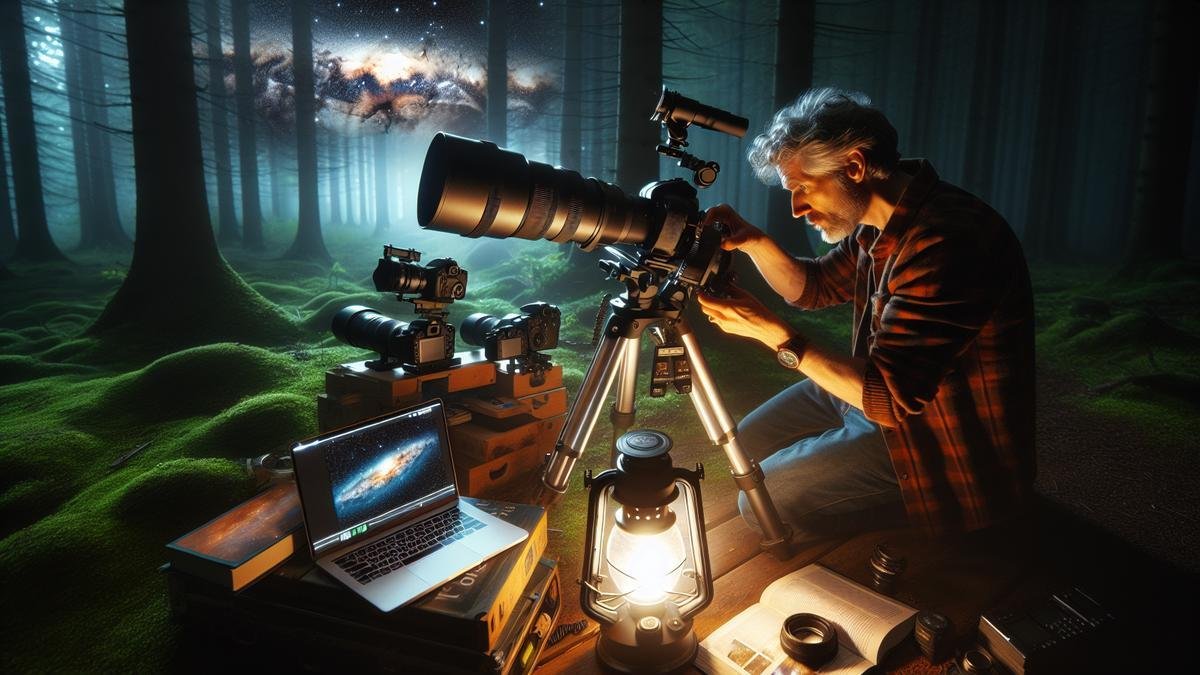
When diving into deep-sky photography, selecting the right telescope is crucial. The telescope is your primary tool for capturing those stunning celestial objects. So, how do you choose the best one?
First, consider the aperture. A larger aperture allows more light to enter, making faint objects like galaxies and nebulae more visible. However, larger apertures also mean heavier and bulkier telescopes. Balancing aperture size with portability is key.
| Aperture Size | Visibility | Portability |
|---|---|---|
| 4-6 inches | Good | Very Portable |
| 8-10 inches | Better | Moderately Portable |
| 12+ inches | Best | Less Portable |
Next, think about the focal length. A longer focal length provides higher magnification, ideal for capturing details of distant objects. But, it also means a narrower field of view, which can be challenging for beginners.
Reflector telescopes are often preferred for deep-sky photography due to their larger apertures and lower cost compared to refractors. However, they require regular maintenance, such as collimation. Refractor telescopes, on the other hand, are low-maintenance but can be more expensive for larger apertures.
Camera and Lens Selection
Your choice of camera and lens can make or break your astrophotography experience. DSLRs and mirrorless cameras are both popular options, each with its own set of advantages.
| Camera Type | Advantages | Disadvantages |
|---|---|---|
| DSLR | Robust, Wide lens selection | Bulkier, Mirror vibration |
| Mirrorless | Compact, Quiet | Shorter battery life, Limited lens selection |
For deep-sky photography, a full-frame sensor is generally preferred due to its larger size, which captures more light and provides better image quality. However, APS-C sensors can still produce excellent results and are often more affordable.
When it comes to lenses, prime lenses are typically favored over zoom lenses for their superior sharpness and wider apertures. A lens with a focal length of 50mm to 200mm is ideal for capturing various celestial objects.
Understanding Light Pollution and How to Avoid It
Finding Dark Sky Locations
Astrophotography is like painting with light, and light pollution is your worst enemy. Imagine trying to capture the Milky Way with streetlights glaring in your lens. Not fun, right? To get those stunning deep-sky photos, you need to find a dark sky location.
Tips for Finding Dark Sky Locations:
- Use Light Pollution Maps: Websites like Dark Site Finder or apps such as Light Pollution Map can be lifesavers. These tools show you the darkest spots near you.
- National Parks: These are often great places for dark skies. Many parks are designated as Dark Sky Parks.
- Local Astronomy Clubs: Reach out to local clubs. They often know the best spots for stargazing and photography.
Heres a quick comparison table to help you decide where to go:
| Location Type | Pros | Cons |
|---|---|---|
| National Parks | Dark skies, scenic landscapes | May be far from home |
| Local Astronomy Clubs | Expert advice, community support | Limited locations |
| Rural Areas | Generally less light pollution | Accessibility can be an issue |
Using Light Pollution Filters
Even in dark locations, some residual light pollution can still sneak into your shots. This is where light pollution filters come into play. Think of them as sunglasses for your camera.
Types of Light Pollution Filters:
- Broadband Filters: These are great for general use. They block out a wide range of light pollution.
- Narrowband Filters: These are more specialized and target specific wavelengths. Perfect for capturing nebulae and other deep-sky objects.
Heres a table to help you choose the right filter:
| Filter Type | Best For | Example Filters |
|---|---|---|
| Broadband | General astrophotography | L-Pro, CLS |
| Narrowband | Nebulae, specific deep-sky objects | H-alpha, OIII, SII |
For a deeper dive into choosing the best filters for your needs, check out this guide on The Best Filters for Enhancing Your Astrophotography Shots.
Pro Tips:
- Stack Your Filters: Sometimes, using more than one filter can give you better results.
- Experiment: Different filters work better in different conditions. Dont be afraid to try out a few.
Timing Your Shots for Best Results
Timing is everything in astrophotography. The night sky is constantly changing, and knowing when to shoot can make or break your photo.
Best Times for Deep-Sky Photography:
- New Moon: This is the best time to shoot. The sky is at its darkest.
- Astronomical Twilight: This is when the sun is between 12 and 18 degrees below the horizon. The sky is dark enough for deep-sky objects to be visible.
Heres a table to help you plan your shoots:
| Time of Night | Best For | Why |
|---|---|---|
| New Moon | Deep-sky objects, Milky Way | Minimal moonlight |
| Astronomical Twilight | General astrophotography | Dark sky, but not pitch black |
| Winter Months | Longer nights, clear skies | More time for shooting |
For those looking to capture specific celestial events like meteor showers or the Northern Lights, timing is even more crucial. Check out this step-by-step guide on capturing the Northern Lights for more detailed advice.
Mastering the Art of Deep-Sky Photography with Post-Processing
Basic Image Editing Techniques
When you step into the world of deep-sky photography, you soon realize that capturing the image is just the beginning. Post-processing is where the magic happens. You can transform your raw images into breathtaking celestial portraits. Let’s dive into the basics of image editing.
First and foremost, calibration frames are your best friend. These include dark frames, flat frames, and bias frames. They help correct various imperfections in your images, such as noise and vignetting. Here’s a quick guide:
| Calibration Frame | Purpose |
|---|---|
| Dark Frames | Reduces thermal noise |
| Flat Frames | Corrects vignetting |
| Bias Frames | Eliminates read noise |
Once you have your calibration frames, you can start with basic adjustments like contrast, brightness, and saturation. These tweaks can bring out the hidden details in your images. Don’t forget to adjust the white balance to ensure the colors are true to life.
Another crucial step is noise reduction. Long exposures can introduce a lot of noise into your images. Software like Adobe Photoshop and Lightroom offer excellent noise reduction tools. Be careful, though—overdoing it can make your image look unnatural.
Advanced Stacking Methods
Stacking is a powerful technique that can dramatically improve the quality of your deep-sky photographs. By combining multiple exposures, you can increase the signal-to-noise ratio, revealing more detail and reducing noise. Here’s a step-by-step guide:
- Align your images: Use software like DeepSkyStacker or PixInsight to align your images. This step ensures that the stars and other celestial objects are perfectly aligned in each frame.
- Combine the images: After alignment, you can stack the images. This process averages out the noise and enhances the signal. The result is a cleaner, more detailed image.
- Apply calibration frames: Don’t forget to apply your dark, flat, and bias frames during the stacking process. This step corrects any imperfections and further improves the quality of your final image.
Capturing Stunning Nebulae and Galaxies
Setting Up for Nebula Photography
When you’re setting up for nebula photography, the first thing you need is the right gear. A telescope with a wide aperture, a sturdy mount, and a camera capable of long exposures are essential. If you’re wondering which cameras are best suited for this, check out top 10 cameras for astrophotography in 2024.
Essential Gear Checklist
| Equipment | Purpose |
|---|---|
| Telescope | Capturing distant nebulae with high detail |
| Camera | Recording long exposures |
| Mount | Stabilizing the telescope and tracking celestial objects |
| Filters | Enhancing specific wavelengths of light |
| Tripod | Providing additional stability |
| Portable Power Solution | Ensuring continuous power supply for long sessions |
Positioning and Alignment
Positioning your telescope is crucial. Start by aligning your mount with the North Star (Polaris) for northern hemisphere observers. This alignment helps in tracking the sky’s movement. If you’re using a star tracker, it can make this process smoother. For more details on tracking systems, consider exploring guide to astrophotography mounts and tracking systems.
Techniques for Galaxy Imaging
Capturing galaxies requires a blend of patience and technique. Unlike nebulae, galaxies often demand higher magnification and longer exposure times. Here’s a breakdown of techniques to help you get those breathtaking galaxy shots.
Long Exposure Photography
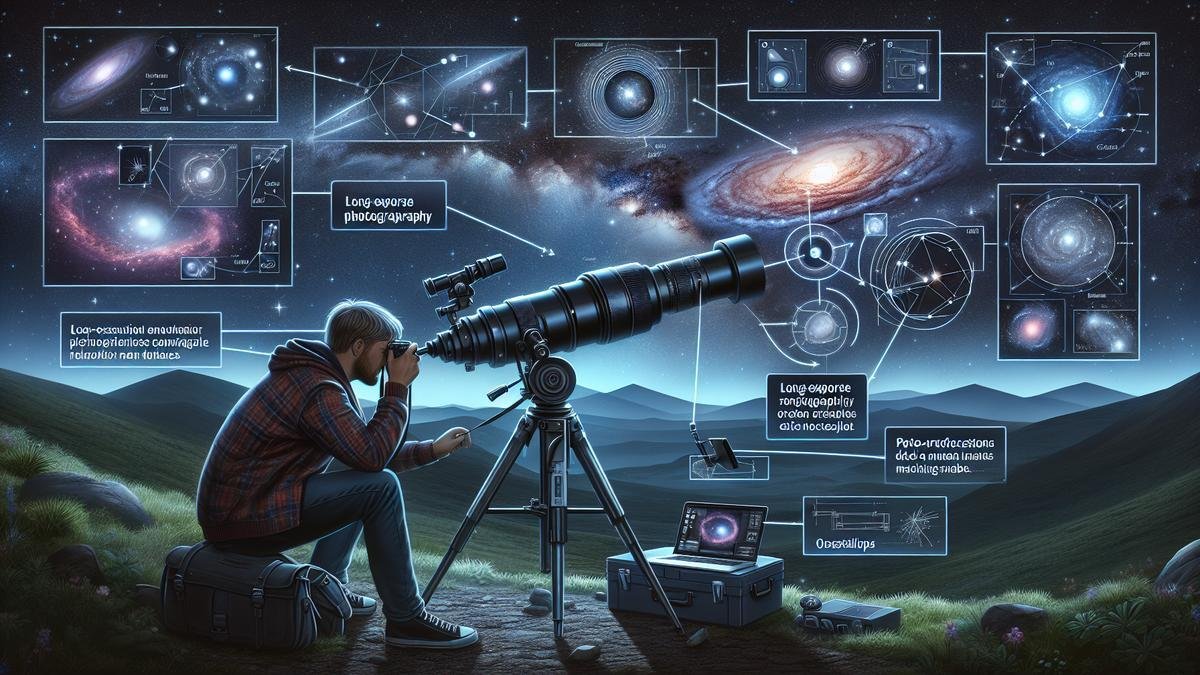
Long exposure is your best friend when photographing galaxies. The longer the exposure, the more light your camera sensor collects, revealing the faint details of distant galaxies. However, this also means you need to deal with the Earth’s rotation. A good tracking mount can help keep your subject in the frame. For more on this, dive into mastering long-exposure astrophotography.
High ISO Settings
Using high ISO settings can significantly enhance your ability to capture faint details. However, high ISO also introduces noise. Balancing ISO and exposure time is key. For tips on managing high ISO settings, take a look at astrophotography with high ISO tips and tricks.
Stacking Multiple Exposures
Stacking multiple exposures is a technique where you take several shorter exposures and combine them into one image. This method reduces noise and increases detail. Software like DeepSkyStacker or PixInsight can be invaluable for this task. Learn more about this technique in combining multiple exposures for detailed astrophotography.
Best Times of Year for Different Objects
Timing is everything in astrophotography. Different celestial objects are best viewed at different times of the year. Here’s a quick guide to help you plan your sessions.
Nebulae
| Nebula | Best Time of Year | Constellation |
|---|---|---|
| Orion Nebula | Winter | Orion |
| Eagle Nebula | Summer | Serpens |
| Lagoon Nebula | Summer | Sagittarius |
| Trifid Nebula | Summer | Sagittarius |
Troubleshooting Common Issues in Deep-Sky Photography
Dealing with Star Trails
Star trails can be the bane of any astrophotographer’s existence. When youre capturing deep-sky objects, even the slightest movement can turn your stars into streaks. Imagine youre setting up your gear on a clear, crisp night, ready to capture the Andromeda Galaxy. Youve got your telescope, your camera, and your star tracker. But wait, after a few long exposures, you notice those dreaded star trails.
Why do star trails happen?
Star trails occur because of Earth’s rotation. When your camera is fixed on a tripod without a tracking system, the stars move across the sky during long exposures. Heres how you can tackle this issue:
| Problem | Solution |
|---|---|
| Poor Polar Alignment | Use a polar scope or software to achieve precise polar alignment. |
| Inadequate Tracking | Invest in a high-quality star tracker or equatorial mount. |
| Long Exposure Times | Shorten your exposure times or use multiple shorter exposures and stack them. |
Advanced Tips:
- Polar Alignment: Polar alignment is crucial. A slight misalignment can cause star trails. Use tools like the PoleMaster or software like SharpCap to get that perfect alignment.
- Star Trackers: Star trackers are lifesavers. They compensate for Earths rotation. Check out this guide for tips on choosing the best star tracker.
- Stacking Images: Instead of one long exposure, take multiple shorter exposures and stack them using software like DeepSkyStacker. This method not only reduces star trails but also helps in managing noise.
Correcting Focus Problems
Getting the perfect focus in deep-sky photography is like threading a needle in the dark. You think youve nailed it, but upon closer inspection, your stars look like blobs. Lets dive into some tricks to sharpen your focus.
Why is focus so tricky?
Focusing on stars is challenging because they are tiny points of light. Any slight misalignment or atmospheric disturbance can throw off your focus.
| Problem | Solution |
|---|---|
| Manual Focus Issues | Use a Bahtinov mask for precise focusing. |
| Temperature Changes | Re-check and adjust focus periodically as temperature changes. |
| Autofocus Limitations | Use a motorized focuser with autofocus software for consistent results. |
Advanced Tips:
- Bahtinov Masks: These masks are a godsend. Place one over your telescope or lens, and adjust the focus until the diffraction spikes form a perfect cross. This ensures pinpoint accuracy.
- Motorized Focusers: These devices allow for precise adjustments and can be controlled remotely. Pair them with autofocus software like FocusMax for best results.
- Periodic Adjustments: Temperature changes can cause your equipment to expand or contract, affecting focus. Periodically check and adjust your focus throughout your session.
Expanding Your Skills with Advanced Techniques
Long Exposure Photography Tips
You’ve mastered the basics of astrophotography, but now you’re hungry for something more. Long exposure photography is your next challenge. It’s like cooking a gourmet meal – patience and precision are key.
Key Elements for Long Exposure Success:
| Element | Importance |
|---|---|
| Stable Tripod | Avoid camera shake for crisp images. Explore Tripods |
| Remote Shutter | Prevents camera movement during exposure. |
| Tracking Mount | Keeps your subject in view as Earth rotates. Learn About Mounts |
| Exposure Time | Balance between star trails and clarity. |
| ISO Settings | Adjust to capture faint stars without too much noise. High ISO Tips |
A stable tripod is your unsung hero. It holds your camera steady, ensuring your stars don’t turn into streaks of light. Pair it with a remote shutter to eliminate any vibrations when you click the button.
Imagine trying to draw a perfect circle while riding a merry-go-round. That’s what your camera faces without a tracking mount. It compensates for Earth’s rotation, keeping your celestial subjects centered. Dive deeper into the world of tracking mounts to understand their magic.
Exposure Time is a balancing act. Too short, and you miss out on the faint stars. Too long, and stars turn into trails. Start with 30 seconds and adjust as needed.
Adjusting ISO settings is like tuning a radio. Too high, and you get static (noise). Too low, and you miss the faint whispers (stars). Experiment to find the sweet spot. Discover more ISO tips and tricks to perfect your shots.
Using Guiding Systems
Guiding systems are your backstage crew, ensuring your main act (the stars) stays in the spotlight. They keep your camera locked on target, even during long exposures.
Components of a Guiding System:
| Component | Function |
|---|---|
| Guide Scope | Tracks a star to guide your main scope. |
| Guide Camera | Captures the guide star’s position. |
| Software | Adjusts your mount based on guide star movements. |
A guide scope is a smaller telescope mounted alongside your main one. It tracks a star and sends its position to the guide camera. This camera then communicates with the software, which makes tiny adjustments to your mount, keeping your main scope on target.
Imagine trying to keep your eyes on a moving target while sketching it. That’s what your guiding system does for you. It ensures that even during long exposures, your stars remain sharp and focused.
Frequently asked questions
How do you choose the right telescope for deep-sky photography?
You should pick a telescope with a large aperture and good focal length. Reflectors are great because they capture faint objects well.
What camera settings work best for deep-sky photos?
Use a low ISO, around 800 to 1600. Set the aperture wide (low f-stop) and use long exposure times. Dont forget to experiment!
How important is tracking when capturing deep-sky objects?
Tracking is crucial. You need to keep the camera steady and aligned with the stars. Consider getting an equatorial mount.
What are some advanced techniques for mastering the art of deep-sky photography?
Stack multiple exposures, use guiding scopes, and apply image processing software. These techniques can enhance the details of your shots.
How do you reduce noise in deep-sky images?
To reduce noise, take multiple shorter exposures instead of one long one. Then, stack them using software. Dark frames help too!

