Introduction to Post-Processing for Astrophotography opens up a new world for your stunning night sky shots. Ever wondered why your stars don’t pop or your Milky Way looks washed out? Post-processing is the key! This article will walk you through the essentials, tools, and techniques to make your astro-images shine. From enhancing brightness and contrast to fine-tuning colors and removing unwanted noise, we’ve got you covered. Ready to elevate your astrophotography game? Let’s dive in and explore the magic of post-processing!
Important Points to Remember
- Calibrate your photos to remove noise.
- Stack your images to enhance detail.
- Use software tools to edit colors and brightness.
- Apply filters to bring out hidden details.
- Learn advanced techniques for better results.

Understanding the Basics of Post-Processing
Why Post-Processing Matters
When you snap a photo of the night sky, it might not look like much at first. But here’s the secret sauce: post-processing. This step is where your image goes from “meh” to “wow.” Post-processing can make the stars pop, the colors shine, and the details crisp. It’s like adding the final touches to a masterpiece painting. Without it, your photos might look flat and dull.
Post-processing helps you:
- Enhance colors: Bring out the vivid hues of nebulae and galaxies.
- Increase contrast: Make the stars stand out against the dark sky.
- Reduce noise: Clean up grainy images to make them look smooth.
- Highlight details: Sharpen the fine points that you might miss otherwise.
Think of it as polishing a diamond. The raw gem is beautiful, but a little polishing makes it sparkle.
Tools You Need for Post-Processing
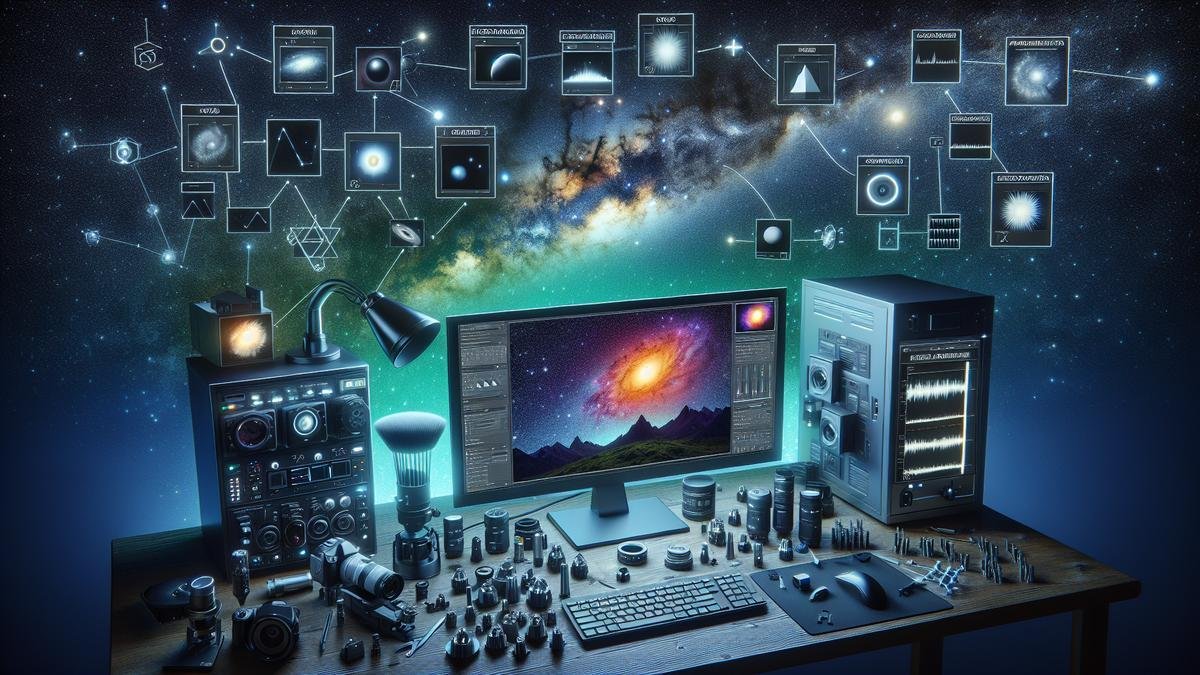
Before you dive into post-processing, you’ll need some tools. Just like a carpenter needs a hammer and nails, you’ll need software and maybe some hardware. Here’s a quick rundown:
| Tool | Purpose |
|---|---|
| Computer | A sturdy machine to handle large image files. |
| Software | Programs like Adobe Photoshop, Lightroom, or free options like GIMP. |
| Calibration Tools | Devices to calibrate your monitor for accurate color representation. |
| Storage | External hard drives or cloud storage to save your edited images. |
These tools will help you get the most out of your astrophotography.
Getting Started with Software
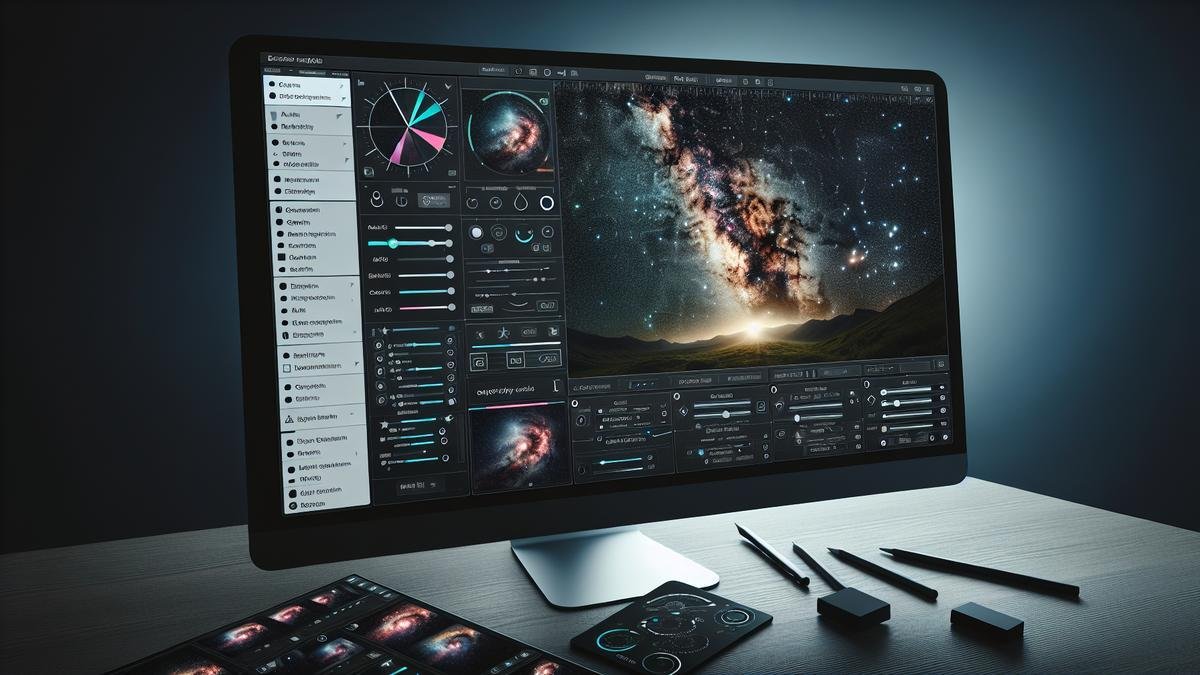
Now, let’s talk about the software. This is where the magic happens. Whether you’re using Photoshop, Lightroom, or GIMP, the basics are pretty similar. Here’s a step-by-step guide to get you started:
Step 1: Open Your Image
First things first, open your image in the software. This might seem obvious, but it’s the first step in any editing process.
Step 2: Adjust the Levels
Next, you’ll want to adjust the levels. This helps to balance the light and dark areas of your image. Look for the histogram tool in your software. It shows you the distribution of light and dark pixels.
- Move the sliders: Adjust the sliders until you see more detail in both the dark and light areas.
- Check the balance: Make sure the image doesn’t look too bright or too dark.
Step 3: Enhance the Colors
Now, let’s make those colors pop! Use the color adjustment tools to bring out the vivid hues in your image.
- Saturation: Increase the saturation to make the colors more vibrant.
- Hue: Adjust the hue to get the right color balance.
- Temperature: Change the temperature to make the image warmer or cooler.
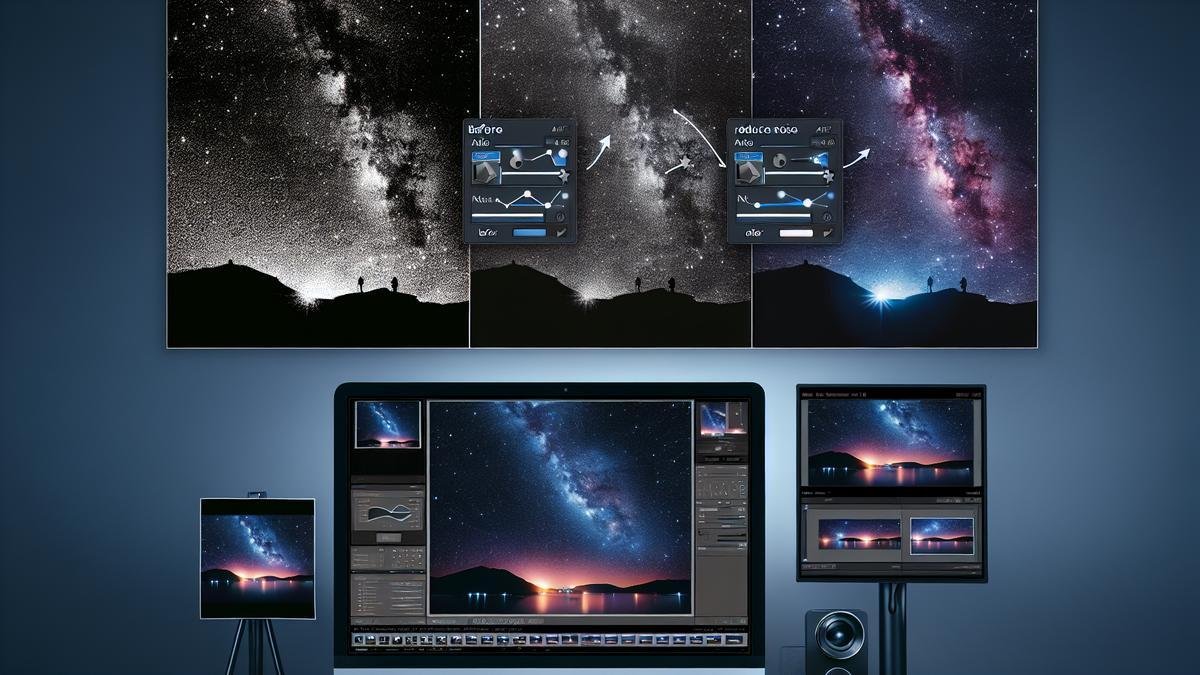
Step 4: Reduce Noise
Noise can make your image look grainy. Use the noise reduction tools to clean it up.
- Luminance Noise: Adjust this to smooth out grainy areas.
- Color Noise: Use this to remove color speckles.
Step 5: Sharpen the Details
Finally, you’ll want to sharpen the details. This makes the stars and other features stand out.
- Sharpening Tool: Use the sharpening tool to enhance the fine details.
- Masking: Apply masking to sharpen only the areas you want.
Enhancing Your Astrophotography Images
So, you’ve captured some stunning shots of the night sky. Now what? It’s time to enhance those images and make them truly shine. Let’s dive into the world of post-processing.
Adjusting Brightness and Contrast
First things first, let’s talk about brightness and contrast. These are the basics, but they can make a world of difference.
- Brightness: This adjusts the overall lightness or darkness of your image. Too bright, and you lose details. Too dark, and you miss out on the stars.
- Contrast: This defines the difference between the light and dark areas. More contrast can make stars pop, but too much can make the image look unnatural.
Steps to Adjust Brightness and Contrast:
- Open your image in your preferred editing software.
- Locate the brightness and contrast settings. These are usually found in the “Adjustments” menu.
- Slide the brightness to find a balance where the stars are visible but not washed out.
- Increase contrast slowly to make the stars stand out against the dark sky.
Here’s a quick table to summarize the effects:
| Adjustment | Effect on Image |
|---|---|
| Brightness | Lightens or darkens the entire image |
| Contrast | Increases or decreases the difference in tones |
Removing Noise from Your Photos
Night sky photos often have a lot of noise. Noise can make your image look grainy and reduce the quality.
Steps for Noise Reduction:
- Open your image in your editing software.
- Find the noise reduction tool. This is often under “Filters” or “Adjustments”.
- Apply noise reduction carefully. Too much can make your image look blurry.
Noise Reduction Tips:
- Use high ISO settings sparingly. High ISO can increase noise.
- Stack multiple images. This can reduce noise and improve clarity.
Here’s a table with common noise reduction tools:
| Software | Noise Reduction Tool |
|---|---|
| Adobe Photoshop | Filter > Noise > Reduce Noise |
| Lightroom | Detail > Noise Reduction |
| GIMP | Filters > Noise Reduction > Reduce |
Fine-Tuning Colors
Next up is color adjustment. The colors of the night sky can be breathtaking, but sometimes they need a little tweak.
Steps to Fine-Tuning Colors:
- Open your image in your editing software.
- Go to the color adjustment settings. This might be labeled as “Color Balance” or “Hue/Saturation”.
- Adjust the sliders to enhance the colors of the stars and the sky.
Color Adjustment Tips:
- Be careful not to over-saturate. Natural colors are usually more pleasing.
- Use the white balance tool to correct any color casts.
Here’s a table to guide you:
| Adjustment | Effect on Image |
|---|---|
| Hue | Changes the overall color tone |
| Saturation | Increases or decreases color intensity |
| White Balance | Corrects color casts, making the image look natural |

Advanced Techniques in Post-Processing
Stacking Multiple Images
Alright, let’s dive right in. Stacking multiple images is a game-changer in astrophotography. Imagine you’re piecing together a puzzle. Each image is a piece. By stacking them, you get a clearer and more detailed picture of the night sky.
Why stack images?
- Reduces Noise: The more images you stack, the less noise you get.
- Enhances Details: Stars and other celestial objects become sharper.
Here’s a simple way to do it:
- Capture Multiple Shots: Take several photos of the same part of the sky.
- Use Software: Programs like DeepSkyStacker or Sequator help you combine these shots.
- Align and Stack: The software aligns the stars and stacks the images.
Pro Tip: Use a tripod to keep your camera steady. This ensures your images align perfectly.
Using Layers for Better Results
Layers are like the secret sauce in post-processing. Think of them as transparent sheets stacked on top of each other. You can adjust each sheet without messing up the others.
Blending Different Exposures
Blending exposures is where the magic happens. Sometimes, one shot can’t capture the full beauty of the night sky. You might need different exposures to get the stars and the foreground just right.
Here’s how you can blend exposures:
- Take Multiple Exposures: Capture one shot for the stars and another for the foreground.
- Open in Photoshop: Use layers to combine these shots.
- Masking: Use masks to blend the exposures seamlessly.
Pro Tip: Use a soft brush for masking. It helps in blending the layers smoothly.
Common Mistakes to Avoid
Alright, so you’re diving into the mesmerizing world of astrophotography. Capturing the night sky is thrilling, but post-processing can make or break your photos. Let’s chat about some common mistakes you should sidestep to make your images truly shine.
Over-Editing Your Photos
It’s easy to get carried away with editing. You want your stars to pop, right? But there’s a fine line between enhancing and overdoing it. Here are some pitfalls to avoid:
- Over-saturation: Boosting colors too much can make your photos look unnatural. The night sky should have a subtle, ethereal quality.
- Excessive sharpening: Too much sharpening can introduce noise and artifacts. A gentle touch is key.
- Heavy noise reduction: While reducing noise is important, overdoing it can make your image look plasticky and lose detail.
| Mistake | What Happens | How to Avoid |
|---|---|---|
| Over-saturation | Unnatural colors | Use subtle adjustments |
| Excessive sharpening | Noise and artifacts | Apply minimal sharpening |
| Heavy noise reduction | Loss of detail, plasticky look | Balance noise reduction |
Ignoring Calibration Frames
Calibration frames are your best friends in astrophotography. They help correct various imperfections in your images. Skipping them can lead to some pretty gnarly results.
- Dark Frames: These help remove thermal noise. Without them, you’ll see random bright spots.
- Flat Frames: These correct for vignetting and dust spots. Ignore them, and you’ll have uneven lighting.
- Bias Frames: These help reduce read noise. Skipping them can add unwanted noise to your photos.
| Calibration Frame | Purpose | Result of Ignoring |
|---|---|---|
| Dark Frames | Removes thermal noise | Random bright spots |
| Flat Frames | Corrects vignetting and dust | Uneven lighting |
| Bias Frames | Reduces read noise | Added unwanted noise |
Skipping the Final Check
Before you call it a day, always do a final check. This step is crucial to catch any last-minute errors.
- Check for artifacts: Look for any weird lines or spots that shouldn’t be there.
- Verify color balance: Make sure your colors are balanced and not too warm or cool.
- Inspect edges: Sometimes, the edges of your photo can have distortions. Make sure everything looks clean.
| Final Check Step | What to Look For |
|---|---|
| Check for artifacts | Weird lines or spots |
| Verify color balance | Balanced, natural colors |
| Inspect edges | Clean edges, no distortions |

Sharing Your Post-Processed Images
So, you’ve spent hours capturing the night sky, and you’ve meticulously edited your shots. Now, it’s time to share your stunning astrophotography with the world. But how do you do it right? Let’s dive into the nitty-gritty of sharing your post-processed images.
Choosing the Right Platform
Picking the correct platform to showcase your work is crucial. Each platform has its strengths and weaknesses. Heres a quick rundown:
| Platform | Strengths | Weaknesses |
|---|---|---|
| High engagement, visual-centric, hashtags for discovery | Image compression, limited text | |
| Flickr | High-quality uploads, active photography community | Less social interaction |
| 500px | Professional audience, quality feedback | Smaller user base |
| Specific subreddits, constructive criticism | Can be harsh, requires karma | |
| Wide audience, groups for niches | Algorithm limits reach, image quality reduction |
Instagram is great for reaching a broad audience. Use hashtags like #astrophotography and #nightphotography to get discovered. But beware of image compression that might reduce your photo quality.
Flickr and 500px are more geared towards serious photographers. You can upload high-resolution images and get feedback from a knowledgeable community. However, they lack the social interaction you might find on other platforms.
Reddit is a double-edged sword. Specific subreddits like r/astrophotography can provide valuable feedback, but the community can be brutally honest. Make sure you have enough karma to post there.
Facebook is another option, especially if you join niche groups dedicated to astrophotography. But remember, Facebooks algorithm can limit your reach, and the platform reduces image quality.
Engaging with the Astrophotography Community
Once youve chosen your platform, its time to engage with the community. Heres how you can do it effectively:
- Comment on others work: Dont just post and ghost. Engage with other photographers by leaving thoughtful comments.
- Join groups and forums: Whether its a Facebook group or a subreddit, being part of a community can provide you with valuable insights.
- Share your process: People love to see behind-the-scenes content. Share your setup, editing process, and challenges.
- Participate in challenges: Many platforms have weekly or monthly challenges. Participating can increase your visibility.
- Ask questions: Dont be afraid to ask for advice or tips. Most community members are happy to help.
Getting Feedback on Your Work
Feedback is essential for growth. Heres how you can get the most out of it:
- Be specific in your requests: Instead of asking for general feedback, ask questions like, “How can I improve the contrast in this image?” or “What do you think about the composition?”
- Use multiple platforms: Different platforms offer different types of feedback. Reddit might give you technical advice, while Instagram might provide aesthetic opinions.
- Take criticism constructively: Not all feedback will be positive. Learn to take criticism in stride and use it to improve your skills.
- Offer feedback to others: The more you give, the more you get. By providing constructive feedback to others, youll build a network of people willing to help you in return.
Continuous Learning and Improvement
Keeping Up with New Techniques
Astrophotography is an ever-changing field. New techniques pop up all the time. Staying updated is critical if you want to capture stunning images of the night sky. So, how do you keep up?
- Read Articles and Blogs: Many astrophotographers share their latest tricks online. Websites, blogs, and forums are treasure troves of information.
- Follow Influencers: Social media is a great place to find experts. Follow them to get tips and tricks straight from the pros.
- Subscribe to Magazines: Print and digital magazines often feature new techniques and gear reviews.
Here’s a quick table to summarize these resources:
| Resource Type | Example Platforms |
|---|---|
| Articles and Blogs | Sky & Telescope, Cloudy Nights |
| Social Media | Instagram, Twitter, YouTube |
| Magazines | Astronomy Magazine, SkyNews |
Joining Workshops and Tutorials
Workshops and tutorials are invaluable. They offer hands-on experience and direct guidance from experts. Here are some ways to get involved:
- Local Astronomy Clubs: Many clubs offer workshops. Its a great way to meet like-minded people and learn together.
- Online Courses: Websites like Udemy and Coursera have many courses on astrophotography.
- Webinars: These are often hosted by experts and cover specific topics in detail.
Practicing Regularly
Practice makes perfect, right? Well, its especially true for astrophotography. The more you shoot, the better you get. Heres how you can practice effectively:
- Plan Your Sessions: Use apps like Stellarium or SkySafari to plan your shoots. Knowing what to expect helps you prepare better.
- Experiment with Settings: Try different ISO, aperture, and shutter speed settings. See what works best for you.
- Review and Reflect: After each session, review your photos. Note what worked and what didnt. This helps you improve faster.
Conclusion
Continuous learning and improvement are the backbone of mastering astrophotography. By keeping up with new techniques, joining workshops, and practicing regularly, you can elevate your skills to new heights. Remember, the sky’s the limit—literally and figuratively. Happy shooting!
Introduction to Post-Processing for Astrophotography
So, youve got a bunch of night sky photos. Now what? Post-processing is where the magic happens. Its like adding the final touches to a masterpiece. Heres how you can get started.
Understanding the Basics
Post-processing involves editing your photos to bring out the best in them. Youll need software like Adobe Photoshop or Lightroom. Here are the basic steps:
- Import Your Photos: Load your images into the software.
- Adjust Exposure: Brighten or darken your images to get the right balance.
- Reduce Noise: Night sky photos often have a lot of noise. Use noise reduction tools to clean them up.
- Enhance Colors: Boost the colors to make the stars and nebulae pop.
Essential Tools and Techniques
Heres a quick rundown of some essential tools and techniques youll use in post-processing:
| Tool | Purpose |
|---|---|
| Histogram | To check exposure levels |
| Curves | To adjust brightness and contrast |
| Layers | To make non-destructive edits |
| Masks | To apply effects selectively |
Advanced Techniques
Once youre comfortable with the basics, you can move on to more advanced techniques:
- Stacking: Combine multiple images to reduce noise and increase detail.
- Blending: Blend different exposures to create a high dynamic range (HDR) image.
- Star Removal: Remove stars to focus on deep-sky objects like nebulae.
Practice Makes Perfect
Just like shooting, post-processing takes practice. Heres how to get better:
- Follow Tutorials: Many experts share step-by-step guides online.
- Join Forums: Websites like AstroBin and Reddit have active communities that offer tips and feedback.
- Experiment: Dont be afraid to try new things. The more you experiment, the more you learn.
Frenquently asked questions
What is post-processing in astrophotography?
Post-processing is editing your astrophotography shots using software. It enhances image quality by adjusting color, contrast, and noise.
Why is post-processing important in astrophotography?
It pulls out hidden details and colors from your photos. Without post-processing, your images might look dull and noisy.
Which software is best for post-processing astrophotography?
Popular choices are Adobe Photoshop, Lightroom, and PixInsight. Each has tools to bring out the best in your shots.
Can you post-process astrophotos on a smartphone?
Yes, you can! Apps like Snapseed and Adobe Lightroom Mobile offer powerful tools. But, using a computer might give you better results.
How long does it take to learn post-processing for astrophotography?
It varies. With continuous practice, you could get the basics in a few weeks. Mastery might take months. But don’t worry, it’s fun and rewarding!


