Innovative Astrophotography Gadgets You Need to Know About are revolutionizing the way you capture the cosmos. Imagine snapping crystal-clear photos of distant galaxies with ease. This article dives deep into the latest smart tracking devices, portable telescopes, and advanced imaging tools that make your astrophotography journey smoother and more exciting. From beginner to pro-level gear, we’ll explore everything you need for breathtaking starry night shots. Plus, you’ll get tips on light pollution filters, camera mounts, and essential software to elevate your astro game. Ready to unlock the secrets of the night sky?
Key Takeaways
- Smart tracking devices are a game-changer
- Advanced imaging tools make crystal-clear photos
- New gadgets help capture stars and planets easily
- Portable gear is perfect for on-the-go shootings
- User-friendly designs for beginner astrophotographers
Smart Tracking Devices for Astrophotography
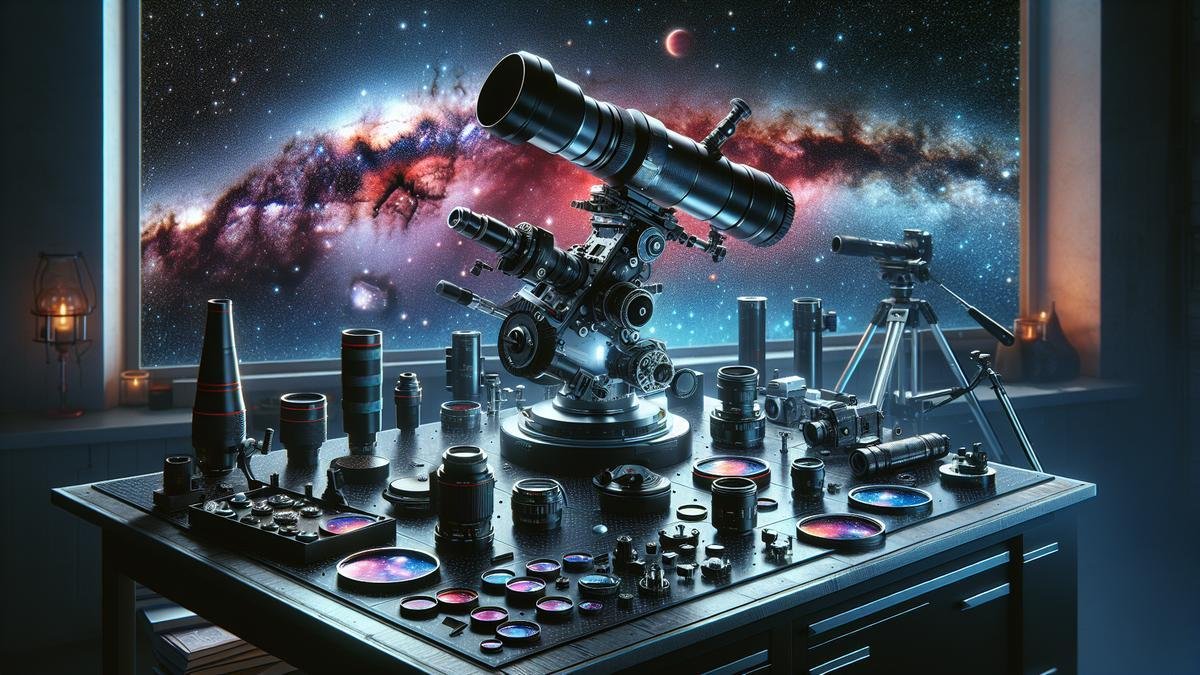
If you’re passionate about capturing the night sky, smart tracking devices are game-changers. These gadgets help you track celestial objects with precision, making your astrophotography experience smoother and more enjoyable.
Benefits of Smart Tracking Devices
Smart tracking devices offer several benefits that can significantly improve your astrophotography results. Here are some key advantages:
- Precision Tracking: These devices ensure your telescope or camera follows the stars accurately, reducing star trails and enhancing image quality.
- Ease of Use: Many smart trackers come with user-friendly interfaces, making them accessible even for beginners.
- Portability: Most modern smart tracking devices are lightweight and portable, allowing you to take them to remote locations for the best night sky views.
- Compatibility: They are often compatible with various cameras and telescopes, offering versatility in your astrophotography setup.
Top Smart Tracking Devices in 2023
In 2023, several smart tracking devices have stood out for their innovation and performance. Heres a look at some of the best:
| Device | Features | Price |
|---|---|---|
| Sky-Watcher Star Adventurer | Compact, versatile, and supports both DSLR and mirrorless cameras. | $299 |
| iOptron SkyGuider Pro | High precision, built-in polar scope, and long battery life. | $428 |
| Vixen Polarie | Simple setup, lightweight, and excellent for wide-field astrophotography. | $399 |
| Move-Shoot-Move Rotator | Ultra-portable, easy alignment, and great for time-lapse photography. | $249 |
| Fornax LighTrack II | Exceptional tracking accuracy and supports heavy camera setups. | $899 |
How to Use Smart Tracking Devices
Using smart tracking devices may seem daunting at first, but with a bit of practice, you’ll get the hang of it. Heres a step-by-step guide:
Step 1: Setup and Alignment
- Mount Your Device: Secure your smart tracker on a stable tripod. For more on choosing the right tripod, check out this guide to tripods for astrophotography.
- Attach Your Camera/Telescope: Ensure your camera or telescope is firmly attached to the tracker.
- Polar Alignment: Use the built-in polar scope or app to align your tracker with the North or South Pole. This step is crucial for accurate tracking.
Step 2: Balancing
- Balance Your Setup: Adjust the counterweights to balance your camera or telescope. Proper balance prevents strain on the tracker and improves accuracy.
Step 3: Calibration
- Calibrate the Tracker: Follow the manufacturers instructions to calibrate your device. This process usually involves pointing at a known star and letting the tracker sync.
Step 4: Start Tracking
- Begin Tracking: Once calibrated, select the object you want to photograph. The tracker will follow its movement across the sky, allowing you to capture stunning images.
Advanced Imaging Tools for Clearer Photos
Best Imaging Tools for Beginners
When you’re just starting out in astrophotography, the sheer number of gadgets can be overwhelming. What you need are tools that are easy to use but still deliver stellar results. Let’s dive into some of the best imaging tools for beginners.
1. Entry-Level Cameras
While you might think you need a high-end camera to capture stunning night sky photos, that’s not necessarily true. Many entry-level cameras are quite capable. Here are a few that stand out:
| Camera Model | Key Features | Price Range |
|---|---|---|
| Canon EOS Rebel T7i | 24.2 MP, Vari-angle Touchscreen | $600 – $800 |
| Nikon D3500 | 24.2 MP, Guide Mode for Beginners | $400 – $600 |
| Sony Alpha a6000 | 24.3 MP, Fast Autofocus | $500 – $700 |
These cameras are not only affordable but also come with user-friendly features that make them perfect for beginners. If you’re curious about more options, you might want to check out the top 10 cameras for astrophotography in 2024.
2. Basic Lenses
The lens you use can make a huge difference in your photos. For beginners, a good starting point is a wide-angle lens. Here are some recommendations:
| Lens Model | Key Features | Price Range |
|---|---|---|
| Rokinon 14mm f/2.8 | Ultra Wide-Angle, Manual Focus | $300 – $400 |
| Canon EF-S 10-18mm f/4.5-5.6 IS STM | Image Stabilization, Affordable | $200 – $300 |
| Nikon AF-P DX NIKKOR 10-20mm f/4.5-5.6G VR | Vibration Reduction, Lightweight | $250 – $350 |
Wide-angle lenses are great for capturing expansive night sky scenes. For more detailed information on lenses, you can explore essential lenses for capturing the night sky.
3. Tripods
A sturdy tripod is a must-have for any astrophotographer. It keeps your camera steady, which is crucial for long-exposure shots. Here are some beginner-friendly options:
| Tripod Model | Key Features | Price Range |
|---|---|---|
| Manfrotto Befree Advanced | Lightweight, Compact | $150 – $200 |
| Joby GorillaPod 5K Kit | Flexible Legs, Portable | $100 – $150 |
| AmazonBasics 60-Inch Tripod | Affordable, Adjustable Height | $50 – $80 |
A good tripod ensures that your camera remains stable, reducing the chances of blurry photos. For more insights, you might find tripods for astrophotography: stability and precision helpful.
Professional Imaging Tools to Consider
As you gain experience, you’ll likely want to upgrade your gear to capture even more breathtaking images. Here are some professional imaging tools that can take your astrophotography to the next level.
1. High-End Cameras
For those looking to invest in top-notch equipment, high-end cameras offer superior image quality and advanced features. Here are some of the best options:
| Camera Model | Key Features | Price Range |
|---|---|---|
| Canon EOS R5 | 45 MP, 8K Video | $3,500 – $4,000 |
| Nikon Z7 II | 45.7 MP, Dual Card Slots | $3,000 – $3,500 |
| Sony A7R IV | 61 MP, Real-time Eye Autofocus | $3,200 – $3,800 |
These cameras are designed to deliver exceptional performance, even in challenging conditions. If you’re torn between DSLRs and mirrorless cameras, you might find comparing DSLRs and mirrorless cameras for astrophotography useful.
2. Advanced Lenses
Upgrading your lenses can significantly improve your photos. Here are some high-end lenses that professionals swear by:
| Lens Model | Key Features | Price Range |
|---|---|---|
| Sigma 14mm f/1.8 DG HSM Art | Ultra Wide-Angle, Fast Aperture | $1,400 – $1,600 |
| Canon RF 15-35mm f/2.8L IS USM | Image Stabilization, Weather-Sealed | $2,200 – $2,500 |
| Nikon Z 14-24mm f/2.8 S | Nano Crystal Coat, Lightweight | $2,400 – $2,700 |
These lenses offer superior optics and build quality, making them ideal for capturing detailed night sky images.
3. Tracking Systems
For long-exposure astrophotography, a tracking system is invaluable. It compensates for the Earth’s rotation, allowing you to capture sharp images of celestial objects. Here are some top-rated tracking systems:
| Tracker Model | Key Features | Price Range |
|---|---|---|
| Sky-Watcher Star Adventurer Pro | Portable, Easy to Use | $300 – $400 |
| iOptron SkyGuider Pro | High Payload Capacity, Accurate Tracking | $400 – $500 |
| Vixen Optics Polarie Star Tracker | Compact, User-Friendly | $400 – $500 |
Using a tracker can dramatically improve your long-exposure shots. For a deeper dive, check out using star trackers for perfect astrophotography.
Portable Telescopes for On-the-Go Photography
Choosing the Right Portable Telescope
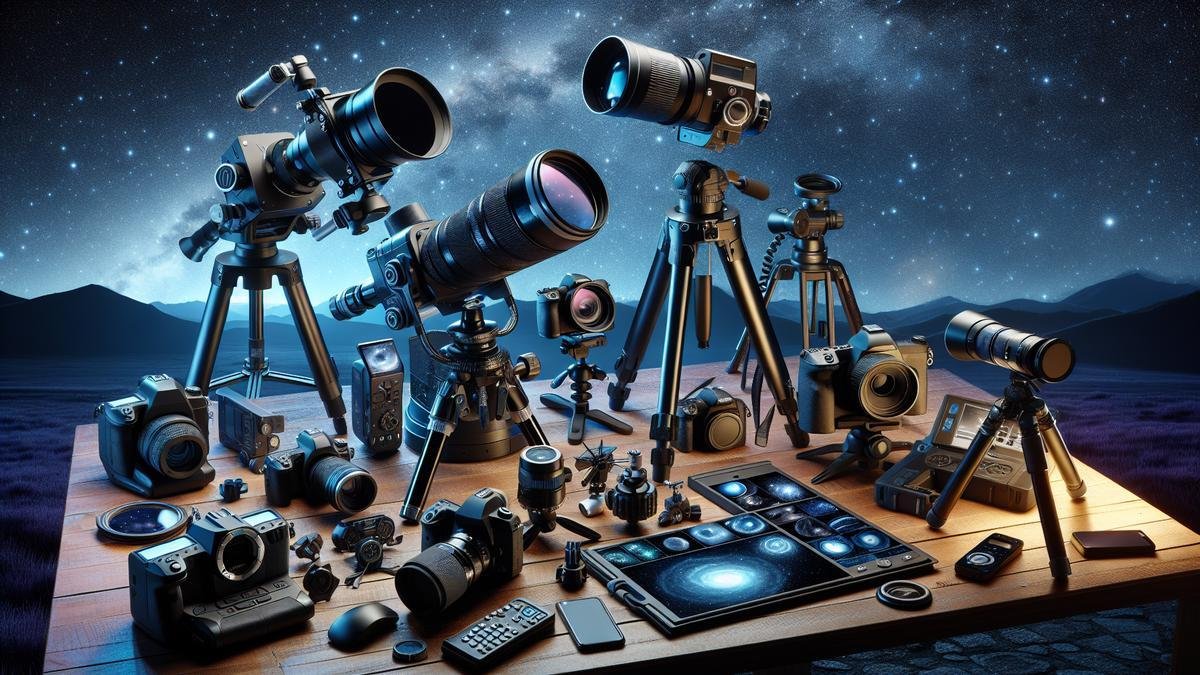
When you’re ready to capture the cosmos, having the right telescope is crucial. Portable telescopes are a game-changer for those who love to travel and snap celestial wonders. But with so many options, how do you pick the perfect one?
First, consider the aperture size. A larger aperture means more light, which is essential for clear and bright images. However, larger apertures can also mean heavier and bulkier equipment. Balance is key.
Next, think about the mount. A sturdy mount is vital for stability, especially during long exposure shots. Equatorial mounts are popular because they align with Earth’s rotation, making it easier to track celestial objects.
Portability is another critical factor. You want a telescope that’s easy to carry but still powerful enough to capture stunning images. Look for models that are lightweight and come with carrying cases.
Lastly, budget plays a significant role. You don’t need to break the bank to get a good portable telescope. There are plenty of affordable options that offer excellent performance.
Best Portable Telescopes of the Year
Let’s dive into the top portable telescopes that have caught the attention of astrophotographers this year. These models combine portability, performance, and affordability.
| Telescope Model | Aperture Size | Mount Type | Weight | Price |
|---|---|---|---|---|
| Celestron NexStar 4SE | 4 inches | Altazimuth | 21 lbs | $499 |
| Orion StarBlast 6i | 6 inches | Dobsonian | 23.5 lbs | $399 |
| Meade ETX 80 | 3.1 inches | Altazimuth | 15 lbs | $299 |
| Sky-Watcher Heritage 130P | 5.1 inches | Dobsonian | 14 lbs | $279 |
| Vixen Space Eye 70 | 2.8 inches | Altazimuth | 4.2 lbs | $129 |
These telescopes offer a range of features tailored to different needs. For instance, the Celestron NexStar 4SE is known for its user-friendly GoTo mount, making it easier to locate and track celestial objects. On the other hand, the Orion StarBlast 6i is praised for its larger aperture, providing brighter and more detailed images.
Maintenance Tips for Portable Telescopes
Keeping your portable telescope in top shape is essential for optimal performance. Here are some tips to help you maintain your equipment:
- Regular Cleaning: Dust and debris can accumulate on the lenses and mirrors. Use a soft brush or blower to remove loose particles. For more stubborn dirt, a microfiber cloth and a bit of lens cleaner can work wonders.
- Proper Storage: Always store your telescope in a dry, cool place. Moisture can damage the optics and electronics. If possible, keep it in a padded carrying case to protect it from bumps and scratches.
- Check for Alignment: Over time, your telescope’s alignment can shift. Regularly check and adjust the collimation to ensure sharp and clear images.
- Battery Care: If your telescope uses batteries, remove them when not in use to prevent leakage. Rechargeable batteries are a great option for frequent use.
- Software Updates: For telescopes with computerized mounts, keep the software updated. Manufacturers often release updates that improve performance and add new features.
By following these tips, you can extend the life of your portable telescope and continue capturing breathtaking images of the night sky.
Innovative Astrophotography Gadgets You Need to Know About
Astrophotography has come a long way with the advent of new technology. From smart tracking devices to advanced imaging tools, there’s no shortage of innovative gadgets designed to enhance your astrophotography experience.
Smart Tracking Devices
One of the biggest challenges in astrophotography is keeping your camera steady as you capture long exposure shots. This is where smart tracking devices come in. These gadgets automatically track celestial objects, compensating for Earth’s rotation and ensuring sharp, clear images.
Star trackers are particularly popular. They attach to your camera and mount, allowing you to take long exposure shots without the stars turning into streaks. Some of the top star trackers this year include:
| Star Tracker Model | Tracking Accuracy | Weight | Price |
|---|---|---|---|
| Sky-Watcher Star Adventurer | High | 2.4 lbs | $329 |
| iOptron SkyGuider Pro | Very High | 3.2 lbs | $448 |
| Vixen Polarie | High | 1.6 lbs | $399 |
| Move Shoot Move Rotator | Moderate | 0.9 lbs | $199 |
These devices are a must-have for any serious astrophotographer. The Sky-Watcher Star Adventurer, for example, is known for its versatility and ease of use, making it a favorite among beginners and pros alike.
Advanced Imaging Tools
To capture the most stunning images of the night sky, you need more than just a good telescope and camera. Advanced imaging tools can take your astrophotography to the next level.
Astro cameras are designed specifically for capturing celestial objects. They offer higher sensitivity and better noise reduction compared to regular cameras. Some of the best astro cameras this year include:
| Astro Camera Model | Sensor Type | Resolution | Price |
|---|---|---|---|
| ZWO ASI1600MM Pro | CMOS | 16 MP | $1,280 |
| QHYCCD QHY163M | CMOS | 16 MP | $1,200 |
| Atik 414EX | CCD | 1.4 MP | $1,299 |
| Starlight Xpress Trius SX-694 | CCD | 6 MP | $2,195 |
These cameras are designed to capture the faintest details of the night sky, from distant galaxies to intricate nebulae. The ZWO ASI1600MM Pro is particularly popular for its high resolution and excellent noise reduction capabilities.
Filters for Astrophotography
Filters are essential tools for enhancing your astrophotography shots. They help reduce light pollution, increase contrast, and bring out details that are otherwise invisible.
Light pollution filters are a must-have for urban astrophotographers. They block out artificial light, allowing you to capture clearer images of the night sky. Some of the best light pollution filters this year include:
| Filter Model | Type | Size | Price |
|---|---|---|---|
| Optolong L-Pro | Broadband | 2 inches | $199 |
| Hoya Red Intensifier | Broadband | 77 mm | $89 |
| IDAS LPS-D1 | Broadband | 2 inches | $189 |
| Baader Moon & Skyglow | Broadband | 1.25 inches | $99 |
These filters are designed to block out specific wavelengths of light, enhancing the contrast and detail in your images. The Optolong L-Pro is particularly popular for its ability to reduce light pollution without affecting the natural colors of celestial objects.
Portable Power Solutions
When you’re out in the field, having a reliable power source is essential. Portable power solutions can keep your equipment running all night long, ensuring you don’t miss a single shot.
Power banks and portable power stations are popular choices for astrophotographers. They offer high capacity and multiple output options, allowing you to power your camera, telescope, and other devices simultaneously. Some of the best portable power solutions this year include:
| Power Solution | Capacity | Weight | Price |
|---|---|---|---|
| Jackery Explorer 240 | 240 Wh | 6.6 lbs | $199 |
| Goal Zero Yeti 400 | 400 Wh | 29 lbs | $449 |
| Anker PowerHouse 200 | 200 Wh | 6 lbs | $299 |
| Rockpals 300W | 280 Wh | 7.3 lbs | $259 |
These power solutions are designed to keep your equipment running smoothly, even in remote locations. The Jackery Explorer 240 is particularly popular for its compact size and high capacity, making it a favorite among traveling astrophotographers.
Must-Have Accessories
In addition to the main equipment, there are several accessories that can enhance your astrophotography experience. From tripods to remote shutter releases, these accessories can make a big difference in the quality of your shots.
Tripods are essential for stability, especially during long exposure shots. Look for tripods that are sturdy and lightweight, with adjustable legs for uneven terrain. Some of the best tripods for astrophotography this year include:
| Tripod Model | Weight Capacity | Weight | Price |
|---|---|---|---|
| Manfrotto 055 | 19.8 lbs | 5.5 lbs | $299 |
| Gitzo GT1545T | 22 lbs | 2.2 lbs | $799 |
| Benro Mach3 TMA37C | 35.3 lbs | 4.1 lbs | $399 |
| Vanguard Alta Pro 263AB | 15.4 lbs | 5.4 lbs | $179 |
These tripods offer a range of features tailored to different needs. The Manfrotto 055 is known for its stability and versatility, making it a favorite among astrophotographers.
Remote shutter releases are another must-have accessory. They allow you to take photos without touching your camera, reducing the risk of camera shake. Some of the best remote shutter releases this year include:
| Shutter Release Model | Compatibility | Price |
|---|---|---|
| Canon RS-60E3 | Canon | $21 |
| Nikon ML-L3 | Nikon | $17 |
| Sony RMT-DSLR2 | Sony | $28 |
| Vello FreeWave Plus | Universal | $49 |
These shutter releases are designed to work with a range of camera models, making them a versatile addition to your astrophotography toolkit.
Innovative Camera Mounts for Stability
Why Stability Matters in Astrophotography
When you’re capturing the night sky, stability is your best friend. Imagine trying to take a photo of a glittering constellation, but every tiny vibration blurs the stars. Frustrating, right? That’s why a stable camera mount is crucial. It keeps your camera rock-solid, allowing for those long exposure shots that reveal the hidden beauty of the cosmos.
A stable mount eliminates the jitters, ensuring your images are sharp and clear. This is especially vital when you’re photographing faint celestial objects like nebulae and galaxies. The slightest movement can turn a potentially stunning image into a blurry mess. So, investing in a high-quality mount is not just a good idea—it’s essential.
Top Camera Mounts for Astrophotographers
Now, let’s dive into some of the latest and most innovative camera mounts that are making waves in astrophotography. These mounts are designed to provide unparalleled stability, allowing you to capture the night sky in all its glory.
1. Sky-Watcher Star Adventurer Pro
The Sky-Watcher Star Adventurer Pro is a favorite among astrophotographers. This mount offers a perfect blend of portability and precision. It comes with a built-in polar scope, making it easier to align with the North Star. Plus, its smart tracking capabilities ensure your camera follows the stars’ movement, reducing blur and improving image quality.
Key Features:
| Feature | Description |
|---|---|
| Weight Capacity | Up to 11 lbs |
| Tracking Modes | Sidereal, Solar, Lunar |
| Power Source | 4 AA batteries or external power source |
| Compatibility | DSLR, mirrorless cameras |
2. iOptron SkyGuider Pro
The iOptron SkyGuider Pro is another top contender. Known for its robust build and high precision, this mount is perfect for those long exposure shots. It also features a built-in polar scope and a quick polar alignment system, making setup a breeze.
Key Features:
| Feature | Description |
|---|---|
| Weight Capacity | Up to 11 lbs |
| Tracking Modes | Sidereal, Solar, Lunar |
| Power Source | Rechargeable lithium-ion battery |
| Compatibility | DSLR, mirrorless cameras |
3. Orion Sirius EQ-G
The Orion Sirius EQ-G is a heavyweight in the world of camera mounts. This equatorial mount is designed for serious astrophotographers who demand the highest level of stability and precision. It comes with a GoTo controller, allowing you to automatically locate and track celestial objects.
Key Features:
| Feature | Description |
|---|---|
| Weight Capacity | Up to 30 lbs |
| Tracking Modes | Sidereal, Solar, Lunar |
| Power Source | 12V DC |
| Compatibility | DSLR, mirrorless cameras, telescopes |
Setting Up Your Camera Mount
Setting up your camera mount might seem daunting at first, but with a bit of practice, it becomes second nature. Heres a step-by-step guide to get you started:
Step 1: Choose a Stable Surface
Find a flat, stable surface to set up your mount. Uneven ground can cause vibrations, ruining your shots.
Step 2: Assemble the Mount
Follow the manufacturer’s instructions to assemble your mount. Make sure all components are securely tightened.
Step 3: Align with Polaris
If youre using an equatorial mount, align it with Polaris, the North Star. This step is crucial for accurate tracking. Most mounts come with a polar scope to help with this alignment.
Step 4: Attach Your Camera
Securely attach your camera to the mount. Double-check that its balanced and wont tip over.
Step 5: Power Up
Connect your mount to its power source. Whether its batteries or an external power supply, make sure you have enough juice for your entire session.
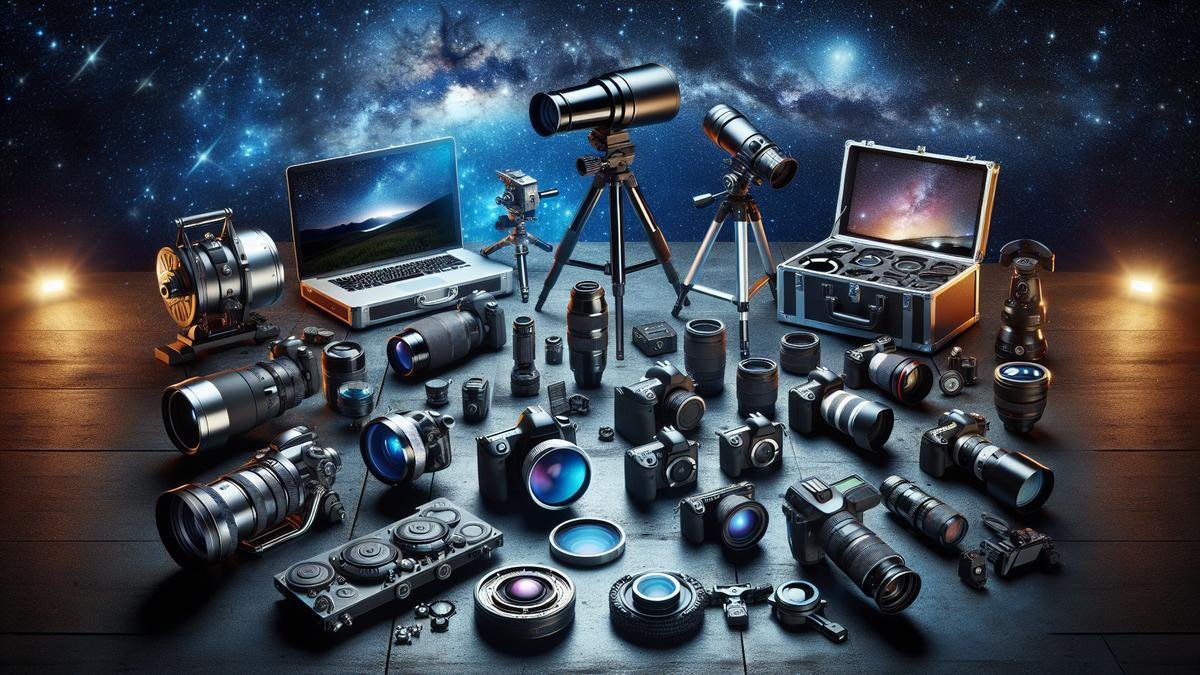
Light Pollution Filters for Better Shots
How Light Pollution Affects Your Photos
When you’re out in the field, camera ready, and the night sky is brimming with stars, nothing is more frustrating than light pollution. Those pesky city lights can wash out the delicate details of celestial bodies. Imagine capturing the Milky Way, only to find your image muddied by an orange haze. Light pollution is the bane of astrophotographers, interfering with your ability to capture the night sky in all its glory.
Light pollution can introduce unwanted brightness, reducing the contrast of your images. This makes it difficult to see faint objects like distant galaxies and nebulae. Your camera’s sensor picks up this extra light, leading to overexposed areas and loss of detail.
To combat this, many astrophotographers turn to light pollution filters. These filters are designed to block out specific wavelengths of artificial light, allowing you to capture clearer, more detailed images of the night sky. It’s like giving your camera a pair of night-vision goggles!
Best Light Pollution Filters Available
When it comes to choosing a light pollution filter, you have a variety of options. Here’s a table of some of the most popular and effective filters on the market:
| Filter Name | Type | Key Features | Price Range |
|---|---|---|---|
| Hoya Red Intensifier | Broadband | Enhances red hues, great for nebulae | $50 – $100 |
| Optolong L-Pro | Broadband | Balanced light suppression, versatile | $150 – $200 |
| Astronomik CLS | Broadband | High contrast, blocks common light sources | $100 – $150 |
| IDAS LPS-D1 | Narrowband | Reduces skyglow, ideal for urban areas | $200 – $250 |
| Orion SkyGlow | Broadband | Affordable, good for general use | $75 – $125 |
| Baader UHC-S | Narrowband | Excellent for deep-sky objects | $125 – $175 |
Each of these filters has its strengths. For instance, the Optolong L-Pro is a versatile option that balances light suppression without overly impacting the natural colors of the stars. If you’re shooting from a heavily light-polluted area, the IDAS LPS-D1 might be your best bet, as it specifically targets skyglow.
Software Tools for Astrophotography Enhancement
Essential Software for Beginners
When you’re just dipping your toes into the mesmerizing world of astrophotography, choosing the right software can make a world of difference. Let’s dive into some essential tools that can help you get started.
1. Stellarium
Stellarium is like having a planetarium on your computer. It’s open-source software that allows you to explore the night sky in real-time. You can identify stars, planets, and constellations with ease. It’s a fantastic tool for planning your astrophotography sessions.
2. DeepSkyStacker
DeepSkyStacker (DSS) is a free software designed for astrophotographers. It helps you stack multiple images to reduce noise and enhance detail. This is especially useful for beginners who are still mastering their camera settings.
3. GIMP
GIMP (GNU Image Manipulation Program) is a free, open-source photo editing software. While it may not have all the bells and whistles of Photoshop, it’s more than capable of handling basic astrophotography edits. You can adjust contrast, brightness, and even remove unwanted artifacts from your images.
4. Lightroom
Adobe Lightroom is another excellent tool for beginners. It’s user-friendly and offers a wide range of editing options. You can fine-tune your images to bring out the best in your astrophotography shots. If you’re just getting started, check out this Lightroom guide for beginners.
5. StarStaX
StarStaX is a fantastic tool for creating star trails. It’s simple to use and can produce stunning results. Just load your images, and StarStaX will do the rest.
Here’s a quick comparison table for these essential software tools:
| Software | Purpose | Cost | Ease of Use |
|---|---|---|---|
| Stellarium | Sky Exploration | Free | Easy |
| DeepSkyStacker | Image Stacking | Free | Moderate |
| GIMP | Photo Editing | Free | Moderate |
| Lightroom | Photo Editing | Paid | Easy |
| StarStaX | Star Trail Creation | Free | Easy |
Advanced Software for Pro Users
For those of you who have moved beyond the basics and are looking to elevate your astrophotography game, advanced software tools can offer a plethora of features and functionalities.
1. PixInsight
PixInsight is a specialized software for astrophotography processing. It’s known for its powerful image processing capabilities. While it has a steep learning curve, the results are well worth the effort. PixInsight excels in image calibration, stacking, and post-processing.
2. AstroPixelProcessor
AstroPixelProcessor (APP) is another advanced tool designed for astrophotographers. It offers a wide range of features, including image calibration, registration, normalization, and integration. APP is particularly known for its ability to handle complex image stacking tasks with ease.
3. Photoshop
Adobe Photoshop is a staple in the world of photo editing, and astrophotography is no exception. With its extensive range of tools and features, Photoshop allows you to fine-tune every aspect of your images. From noise reduction to color correction, the possibilities are endless. For advanced techniques, check out this Photoshop guide.
4. Topaz DeNoise AI
Topaz DeNoise AI is a powerful noise reduction software that uses artificial intelligence to remove noise while preserving detail. It’s particularly useful for astrophotography, where noise can be a significant issue.
5. Sequence Generator Pro
Sequence Generator Pro (SGP) is an advanced imaging software designed for astrophotographers. It offers a range of features, including automated image capture, focusing, and guiding. SGP is particularly useful for those of you using telescopes for your astrophotography sessions.
Here’s a comparison table for these advanced software tools:
| Software | Purpose | Cost | Ease of Use |
|---|---|---|---|
| PixInsight | Image Processing | Paid | Difficult |
| AstroPixelProcessor | Image Stacking and Processing | Paid | Moderate |
| Photoshop | Photo Editing | Paid | Moderate |
| Topaz DeNoise AI | Noise Reduction | Paid | Easy |
| Sequence Generator Pro | Automated Imaging | Paid | Moderate |
Frequently Asked Questions
What are some must-have innovative astrophotography gadgets you need to know about?
– Smart tracking devices. They help you keep your camera focused on the stars.
– Advanced imaging tools. Capture sharp, detailed images of space.
– Automated star trackers. Easy to use and perfect for beginners.
– High-tech focusers. Achieve perfect clarity with minimal effort.
– Portable power stations. Keep your gear running all night.
How do smart tracking devices work for astrophotography?
Smart tracking devices automatically follow the stars. They ensure your shots are free from star trails and blur.
Are advanced imaging tools worth the investment?
Absolutely! Advanced imaging tools offer superior quality. You’ll capture stunning, vibrant pictures of the night sky.
What benefits do automated star trackers offer beginners?
Automated star trackers are user-friendly. They simplify the process and reduce the learning curve for newbies.
Why should you consider high-tech focusers?
High-tech focusers make achieving precise focus easier. This means clearer, sharper images without guesswork.
How important are portable power stations for astrophotography sessions?
Portable power stations are crucial. They provide a reliable power source, ensuring your gadgets stay powered all night long.


