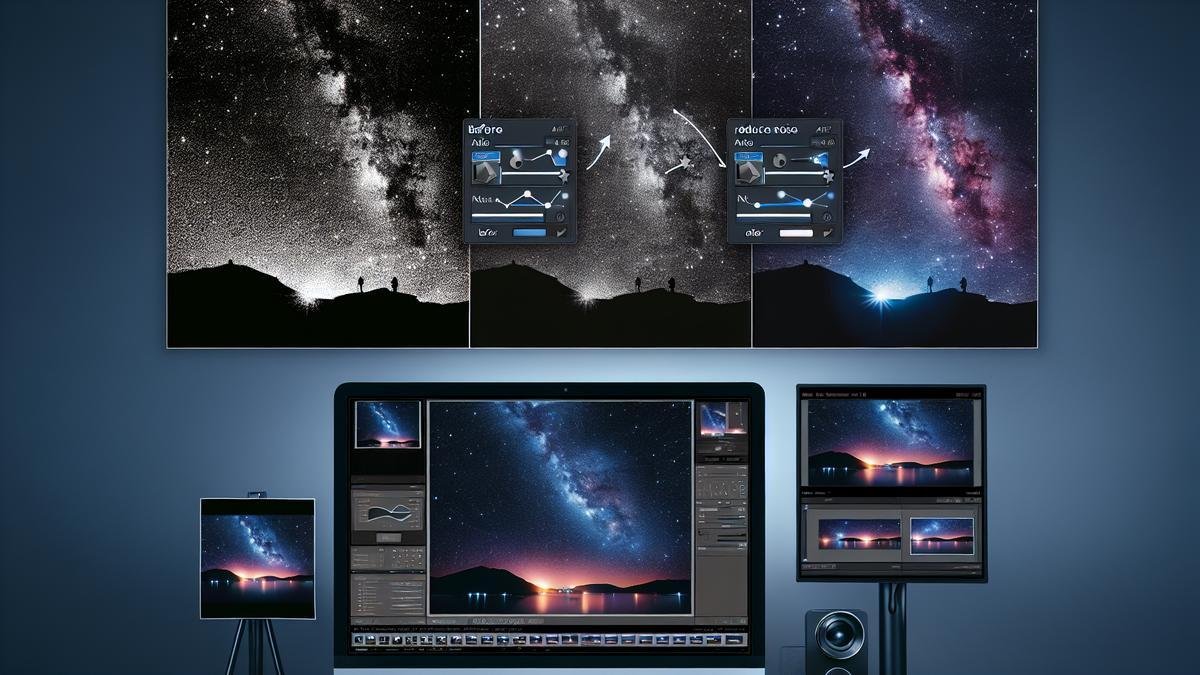
How to Reduce Noise in Astrophotography Photos isn’t as tricky as it might seem. Whether you’re just starting out or already an avid stargazer, this guide will help you tackle noise gremlins in your celestial shots. You’ll learn about the different types of noise, handy camera settings, and post-processing tricks to keep your images clear and vibrant. Plus, we’ll delve into top-notch equipment choices and practical shooting tips, so you can capture the night sky in all its glory. Let’s embark on this galactic journey to make your astrophotography pictures out of this world!
Key Points
- Use a lower ISO setting.
- Take multiple exposures.
- Use long exposure times.
- Stack your images.
- Edit photos to reduce noise.
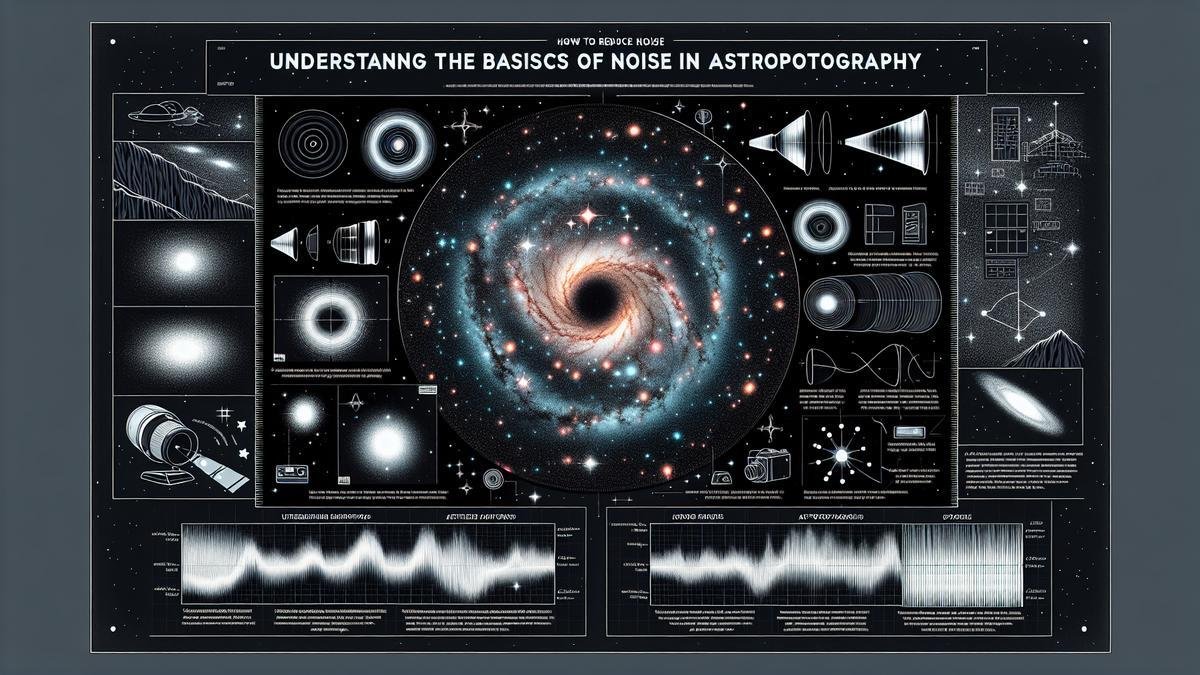
Understanding the Basics of Noise in Astrophotography
What Causes Noise in Your Photos
When you’re out under the stars, capturing the night sky, you might notice some unwanted speckles or graininess in your photos. This is what we call noise. But what exactly causes it? There are a few main culprits:
- High ISO Settings: When you crank up your ISO to make your camera more sensitive to light, you also make it more sensitive to noise.
- Long Exposure Times: The longer your camera’s shutter stays open, the more noise it can accumulate.
- Heat: Yep, your camera’s sensor heats up during long exposures, and this heat can create noise.
- Electronic Interference: Sometimes, the electronics inside your camera can interfere and create noise.
Types of Noise You Might Encounter
Not all noise is created equal. There are different types that you might come across in your astrophotography adventures. Here’s a quick rundown:
| Type of Noise | Description |
|---|---|
| Luminance Noise | Looks like graininess and affects the brightness of pixels. |
| Chrominance Noise | Appears as color speckles, usually red, green, or blue. |
| Hot Pixels | Bright, single pixels that stand out, often red or white. |
| Banding Noise | Horizontal or vertical lines that appear in your image. |
How to Identify Noise in Your Images
So, how do you spot these pesky intruders in your photos? Here are some tips:
- Zoom In: Get up close and personal with your image. Noise often hides in the shadows and darker areas.
- Check Different Parts: Noise might be more noticeable in some areas than others. Look at both the sky and the foreground.
- Compare Shots: Take multiple shots with different settings and compare them to see where noise pops up.
How to Reduce Noise in Astrophotography Photos
Now that you know what noise is and how to spot it, let’s talk about how to reduce it. Here are some practical tips to help you get cleaner, crisper shots of the night sky.
Use a Lower ISO
A lower ISO setting can make a big difference in reducing noise. While it might mean longer exposure times, the trade-off is often worth it. Try to keep your ISO as low as possible without sacrificing too much detail.
Optimize Your Exposure Time
Finding the right balance between exposure time and noise can be tricky. Too long, and you’ll get more noise and star trails. Too short, and you won’t capture enough light. Experiment with different exposure times to find what works best for your setup.
Take Multiple Shots and Stack Them
Stacking multiple images is a great way to reduce noise. By combining several shots, you can average out the noise while keeping the details. There are many software options available that can help you with stacking.
Use Dark Frames
Dark frames are shots taken with the same settings as your astrophotography shots but with the lens cap on. These frames capture the noise from your camera’s sensor, which you can then subtract from your actual photos to reduce noise.
Cool Your Camera
Since heat can cause noise, keeping your camera cool can help. Some astrophotographers use cooling systems, but even simple steps like letting your camera cool down between shots can make a difference.
Post-Processing Techniques
There are several post-processing techniques you can use to reduce noise. Software like Adobe Lightroom, Photoshop, and specialized astrophotography tools can help you clean up your images. Here are some techniques:
- Noise Reduction Filters: Most photo editing software has built-in noise reduction filters.
- Gaussian Blur: Applying a slight blur can help smooth out noise without losing too much detail.
- Selective Noise Reduction: Target specific areas of your photo where noise is most noticeable.
Invest in a Good Camera and Lens
Higher-quality cameras and lenses often handle noise better. While this might be a more expensive solution, it’s worth considering if you’re serious about astrophotography.
Using Proper Camera Settings to Minimize Noise
Got your camera ready? Great! Let’s dive into the world of astrophotography and talk about how you can minimize noise in your photos. Noise can be a real pain, making your starry night shots look grainy and unappealing. But don’t worry, with the right camera settings, you can capture the night sky in all its glory.
Best ISO Settings for Clear Photos
ISO is a big deal when it comes to reducing noise. Think of ISO as your camera’s sensitivity to light. The higher the ISO, the more sensitive your camera is, but this also means more noise. So, what’s the sweet spot?
| ISO Setting | Noise Level | Best Use |
|---|---|---|
| 100-400 | Low | Bright skies |
| 800-1600 | Medium | Moderately dark skies |
| 3200+ | High | Very dark skies |
For astrophotography, you usually want to keep your ISO between 800 and 1600. This range offers a good balance between sensitivity and noise. If you’re in a really dark area, you might need to push it higher, but try to avoid going over 3200.
Adjusting Shutter Speed for Better Results
Shutter speed is another crucial setting. It determines how long your camera’s sensor is exposed to light. Longer exposures can capture more light, but they can also introduce noise.
| Shutter Speed | Effect on Noise | Best Use |
|---|---|---|
| 10-15 seconds | Low | Bright skies |
| 20-30 seconds | Medium | Moderately dark skies |
| 30+ seconds | High | Very dark skies |
For clear astrophotography shots, aim for a shutter speed between 20 and 30 seconds. This will let in enough light to capture the stars without adding too much noise. If you’re using a higher ISO, you might need to shorten the shutter speed to keep the noise down.
Balancing Exposure to Reduce Noise
Exposure is a balancing act between ISO, shutter speed, and aperture. Too much of one can ruin your shot. Here are some tips to get it just right:
- Lower ISO: Start with the lowest ISO that still gives you enough light.
- Shorter Shutter Speed: Use the shortest shutter speed that captures the detail you want.
- Aperture: Keep your aperture as wide as possible (small f-number) to let in more light.
| Setting | Recommended Range |
|---|---|
| ISO | 800-1600 |
| Shutter Speed | 20-30 seconds |
| Aperture | f/2.8 or lower |
Post-Processing Techniques to Reduce Noise
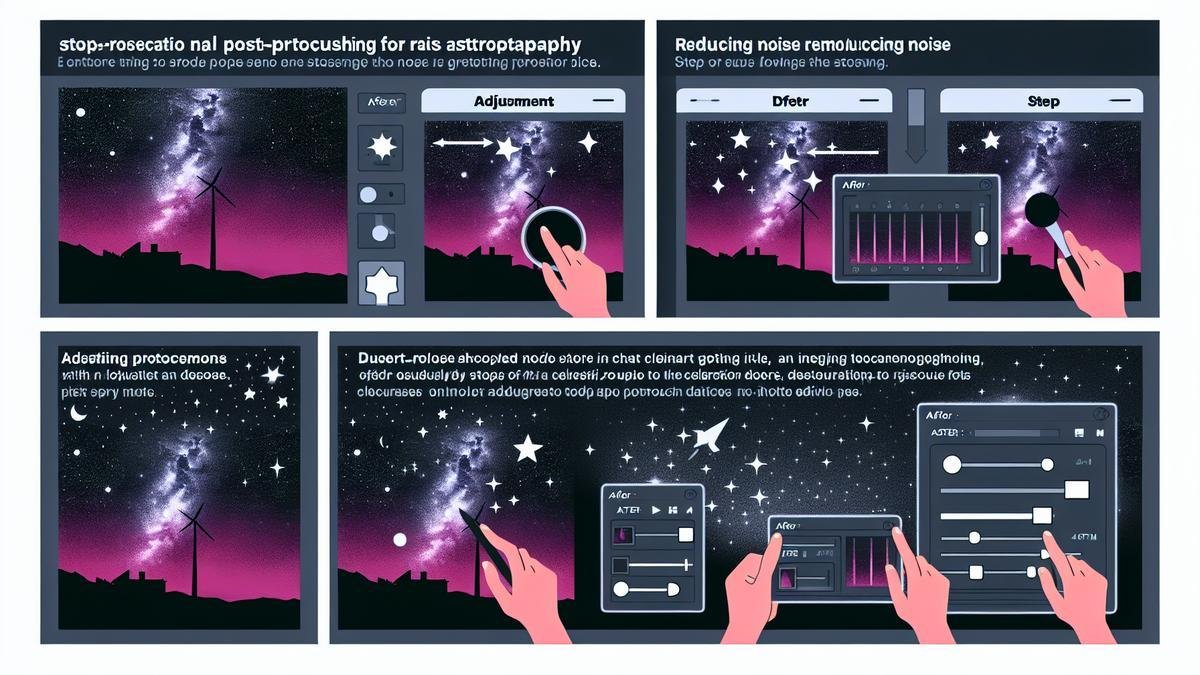
So, you’ve captured a stunning shot of the Milky Way. But, the image is riddled with noise. Fear not! We’ll walk you through how to clean it up. Let’s dive into post-processing techniques to reduce noise in your astrophotography photos.
Using Noise Reduction Software
Noise reduction software can be a lifesaver. It helps to smooth out the grainy appearance in your photos. Here are some popular tools you can use:
| Software | Pros | Cons |
|---|---|---|
| Topaz DeNoise | Excellent AI-based noise reduction | Can be resource-heavy |
| Neat Image | Highly customizable | Steeper learning curve |
| Noise Ninja | Fast and efficient | Limited advanced features |
| Adobe Lightroom | Integrated with other Adobe tools | Subscription-based |
Topaz DeNoise is great for its AI-based noise reduction. It can handle even the most stubborn noise. But, it can slow down your computer. Neat Image offers a lot of customization. However, it might take some time to master. Noise Ninja is quick and efficient but lacks advanced features. If you already use Adobe products, Lightroom might be your best bet. But remember, it requires a subscription.
Fine-Tuning Your Images in Photoshop
Photoshop is a powerhouse for fine-tuning your images. You can reduce noise while preserving the details. Here’s how you can do it:
- Open Your Image: Load your noisy image in Photoshop.
- Duplicate the Layer: Press Ctrl+J (Windows) or Cmd+J (Mac) to duplicate the layer.
- Apply Noise Reduction:
- Go to Filter > Noise > Reduce Noise.
- Adjust the Strength, Preserve Details, Reduce Color Noise, and Sharpen Details sliders.
- Use Smart Filters:
- Convert your layer to a Smart Object (Filter > Convert for Smart Filters).
- Apply the Reduce Noise filter again for non-destructive editing.
- Masking:
- Add a layer mask to the noise-reduced layer.
- Use a soft brush to paint black on the mask to bring back details in areas where noise reduction is too strong.
Effective Filters for Noise Reduction
Filters can be your best friend in reducing noise. They help to smooth out the image without losing too much detail.
Median Filter
The Median Filter is a good start. It works by replacing each pixel with the median value of the neighboring pixels. This helps to remove noise while maintaining edges.
- Apply Median Filter:
- Go to Filter > Noise > Median.
- Set the Radius to a value that reduces noise without blurring details.
Gaussian Blur
Gaussian Blur is another effective filter. It smooths out the image, but you need to use it carefully.
- Apply Gaussian Blur:
- Go to Filter > Blur > Gaussian Blur.
- Set the Radius to a low value to reduce noise without losing too much detail.
High Pass Filter
The High Pass Filter helps to sharpen the image after noise reduction.
- Apply High Pass Filter:
- Duplicate your layer.
- Go to Filter > Other > High Pass.
- Set the Radius to a low value (1-2 pixels).
- Change the layer blending mode to Overlay.
Choosing the Right Equipment for Low-Noise Photos
Alright, let’s dive straight into the nuts and bolts of astrophotography. You want those stunning, star-filled photos with minimal noise, right? Well, it all starts with picking the right gear. Let’s break it down.
Best Cameras for Astrophotography
When you’re aiming for the stars, literally, your camera choice is crucial. Not all cameras are created equal, especially for capturing the night sky. Here are some top picks that will help you get those clear, low-noise shots:
| Camera | Sensor Type | ISO Range | Special Features |
|---|---|---|---|
| Canon EOS Ra | Full-Frame | 100-40,000 | Built-in IR filter, 30x zoom |
| Nikon D850 | Full-Frame | 64-25,600 | High dynamic range, 45.7 MP |
| Sony A7S III | Full-Frame | 80-102,400 | Excellent low-light performance, 12.1 MP |
| Fujifilm X-T4 | APS-C | 160-12,800 | 5-axis stabilization, 26.1 MP |
Key Points to Consider:
- Sensor Size: Full-frame sensors generally perform better in low light.
- ISO Performance: Higher ISO ranges are beneficial, but too high can introduce noise.
- Special Features: Look for features like built-in filters or stabilization.
Selecting the Right Lenses
Your lens choice can make or break your astrophotography experience. Here’s what you need to know to pick the perfect lens:
Prime vs. Zoom Lenses
- Prime Lenses: Fixed focal length, typically offer better sharpness and lower noise.
- Zoom Lenses: Versatile but may introduce more noise and aberrations.
Lens Recommendations
| Lens | Focal Length | Aperture | Special Features |
|---|---|---|---|
| Rokinon 14mm f/2.8 | 14mm | f/2.8 | Wide-angle, great for Milky Way shots |
| Sigma 35mm f/1.4 | 35mm | f/1.4 | Fast aperture, excellent low-light performance |
| Canon EF 24mm f/1.4L II | 24mm | f/1.4 | Ultra-wide, high-quality glass |
| Nikon AF-S NIKKOR 14-24mm f/2.8G ED | 14-24mm | f/2.8 | Versatile zoom, sharp images |
Key Points to Consider:
- Aperture: Wider apertures (lower f-numbers) let in more light, reducing noise.
- Focal Length: Wide-angle lenses are generally preferred for capturing large portions of the sky.
- Build Quality: Durable lenses help in harsh outdoor conditions.
Accessories That Can Help Reduce Noise
Sometimes, it’s the little things that make a big difference. Here are some accessories that can significantly reduce noise in your astrophotography:
Tripods
A sturdy tripod is essential. It keeps your camera steady, reducing blur and noise. Look for tripods with:
- High Load Capacity: To support heavy cameras and lenses.
- Adjustable Legs: For uneven terrain.
- Vibration Reduction: Some tripods have built-in dampeners.
Remote Shutter Release
Using a remote shutter release prevents camera shake when you press the shutter button. This is vital for long exposures. Options include:
- Wired Remotes: Simple and reliable.
- Wireless Remotes: More flexibility, but can be pricier.
Noise-Reduction Software
Post-processing can also help reduce noise. Here are some popular software options:
| Software | Key Features |
|---|---|
| Adobe Lightroom | Comprehensive noise reduction, easy to use |
| Topaz DeNoise AI | AI-powered, excellent for high ISO images |
| DxO PhotoLab | Advanced noise reduction, customizable settings |
Key Points to Consider:
- Ease of Use: Choose software that fits your skill level.
- Effectiveness: Look for software known for its noise-reduction capabilities.
- Compatibility: Ensure it works with your operating system and file formats.
Practical Tips for Shooting in Low Light
Finding the Best Locations
When you’re diving into astrophotography, location is everything. You want to escape the city’s bright lights and find a spot where the stars shine their brightest. Think of it as a treasure hunt. Here are a few tips to help you find that perfect stargazing spot:
- Dark Sky Areas: Use tools like the Dark Sky Finder to locate areas with minimal light pollution.
- National Parks: These often have vast, open spaces away from urban lights.
- High Altitudes: The higher you go, the clearer the sky. Mountains and hills can be your best friends.
- Local Astronomy Clubs: They know the best spots. Join one and tap into their wisdom.
Timing Your Shots for Optimal Light
Timing is crucial in astrophotography. You need to sync with nature’s clock. Heres how you can get it right:
- Golden Hour: Just after sunset or before sunrise. The sky has a soft glow, perfect for starting.
- Blue Hour: The period of twilight when the sun is below the horizon, but the sky is still blue. Its magical!
- New Moon Nights: The absence of the moon means the stars get all the spotlight.
- Meteor Showers: Check meteor shower calendars to capture some shooting stars.
Using Tripods for Steady Shots
A steady hand is great, but a tripod? That’s your secret weapon. Here’s why you need one and how to use it:
Why Use a Tripod?
- Stability: Keeps your camera steady for those long exposures.
- Flexibility: Allows you to frame your shot perfectly without worrying about hand shake.
- Consistency: Ensures all your shots have the same angle and composition.
Choosing the Right Tripod
| Feature | Importance | Description |
|---|---|---|
| Weight | High | Lightweight for easy transport, but heavy enough to stay stable. |
| Height | Medium | Adjustable height for various shooting angles. |
| Material | High | Durable materials like carbon fiber or aluminum. |
| Head Type | High | Ball heads for flexibility and ease of movement. |
| Leg Locks | Medium | Quick-release locks for easy setup and adjustment. |
Setting Up Your Tripod
- Extend the legs: Start with the thicker sections for stability.
- Adjust the height: Make sure it’s comfortable for you to look through the viewfinder.
- Level it: Use a bubble level to ensure your tripod is perfectly horizontal.
- Attach your camera: Secure it tightly to avoid any movement.
Advanced Techniques for Experienced Photographers
Stacking Multiple Exposures
If you’re looking to capture the night sky in all its glory, stacking multiple exposures is a game-changer. This technique involves taking several images of the same scene and combining them into one. By doing so, you can reduce noise and bring out more detail in your photos.
Why Stack Multiple Exposures?
- Reduces Noise: Noise is the grainy texture you often see in low-light photos. Stacking helps to smooth this out.
- Increases Detail: More exposures mean you can capture finer details.
- Enhances Colors: Combining images can help bring out richer colors in the night sky.
How to Stack Exposures
- Take Multiple Shots: Use a tripod to keep your camera steady and take several shots of the same scene.
- Use Stacking Software: Programs like DeepSkyStacker or Adobe Photoshop can help you combine these images.
- Align the Images: Make sure all the stars and celestial objects line up perfectly.
- Blend the Images: Use the software to blend the images together, reducing noise and enhancing details.
Using Dark Frames to Reduce Noise
Dark frames are another essential tool in your astrophotography toolkit. A dark frame is a photo taken with the lens cap on, capturing only the noise from your camera sensor.
Why Use Dark Frames?
- Reduces Sensor Noise: Every camera sensor has some inherent noise. Dark frames help to identify and remove this.
- Improves Image Quality: By subtracting the noise from your photos, you get a cleaner, clearer image.
How to Use Dark Frames
- Take a Dark Frame: With the lens cap on, take a photo using the same settings as your astrophotography shots.
- Use Software to Subtract Noise: Programs like DeepSkyStacker can subtract the noise captured in the dark frame from your actual photos.
- Combine with Light Frames: Light frames are your actual photos of the night sky. Combine these with the dark frames for the best results.
Experimenting with Different Methods
Astrophotography is as much about experimentation as it is about technique. Trying out different methods can help you find what works best for you.
Different Methods to Try
- Vary Exposure Times: Different exposure times can capture different details. Try short and long exposures to see what works best.
- Adjust ISO Settings: Higher ISO settings can capture more light but also introduce more noise. Find a balance that works for you.
- Use Different Lenses: Wide-angle lenses can capture more of the sky, while telephoto lenses can zoom in on specific objects.
Tools and Techniques
| Method | Description |
|---|---|
| Exposure Bracketing | Take multiple shots at different exposures and combine them. |
| Noise Reduction Software | Use software like Lightroom or Photoshop to reduce noise. |
| Custom White Balance | Adjust the white balance to get more accurate colors. |
Frequently asked questions
How can you reduce noise in astrophotography photos?
A lower ISO setting can really help. You should also take longer exposures to capture more light.
What software can you use to reduce noise in your photos?
Programs like Adobe Lightroom, Photoshop, and Topaz DeNoise AI are awesome. They can clean up the noise nicely.
Can stacking images help reduce noise?
Yes, definitely. Stacking multiple images helps average out the noise, producing a smoother result.
Does using a tripod reduce the noise in your photos?
Absolutely. A steady shot means less chance of blurriness, which can contribute to noise.
How does using a dark frame help you reduce noise?
Dark frames capture the sensor noise. Subtracting these from your photo can really cut down the noise.

