How to Process Milky Way Photos for Stunning Results – it’s not just about capturing the night sky; it’s about bringing out the stunning details and dazzling colors hidden within your shots. Get ready to dive into the essential tools and best software that will transform your photos from drab to fab. We’ll walk through must-have plugins, and weigh free vs. paid options. Plus, youll learn basic steps, like importing and organizing, and handy tricks for enhancing details, color correction, and even some advanced techniques. By the end, you’ll master the art of Milky Way photo editing, making every star shine bright in your masterpieces.
Key Insights
- Shoot in RAW for Best Quality
- Use Noise Reduction for Clear Images
- Adjust Contrast for Better Details
- Enhance Colors for More Vividness
- Use Editing Software for Final Touches

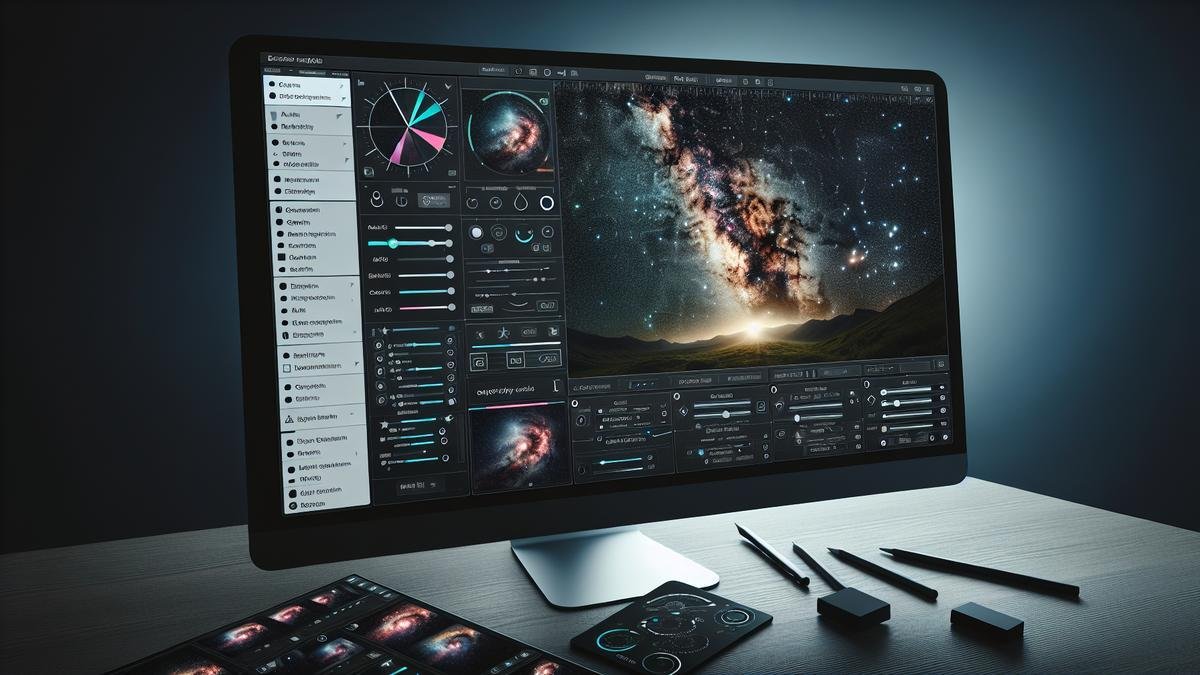
Essential Tools for Milky Way Photo Editing
So, you’ve captured some stunning shots of the Milky Way. Now, it’s time to bring those images to life with some editing magic. Let’s dive into the essential tools you’ll need to make your Milky Way photos truly shine.
Best Software for Processing
When it comes to editing Milky Way photos, software is your best friend. Here are the top choices:
Adobe Lightroom
Lightroom is a powerhouse for photo editing. It’s user-friendly and packed with features. You can adjust exposure, contrast, and colors to make your Milky Way pop. Plus, Lightroom’s noise reduction tools are top-notch.
Adobe Photoshop
For more advanced editing, Photoshop is your go-to. It offers layers, masks, and blending modes, giving you complete control over your image. You can also remove unwanted objects and enhance details.
Capture One
Capture One is a professional-grade software that’s perfect for Milky Way editing. It offers excellent color grading tools and superior noise reduction. It’s a bit pricier, but the results are worth it.
Affinity Photo
Affinity Photo is a budget-friendly alternative to Photoshop. It has many of the same features, including layers and masks. It’s a great option if you’re looking to save some cash.
GIMP
GIMP is a free, open-source alternative to Photoshop. It has a steep learning curve, but it’s powerful once you get the hang of it. You can perform many of the same edits as you would in Photoshop.
Here’s a quick comparison table to help you decide:
| Software | Price | Key Features |
|---|---|---|
| Adobe Lightroom | Subscription | User-friendly, great for beginners |
| Adobe Photoshop | Subscription | Advanced editing, layers, masks |
| Capture One | Purchase | Professional-grade, color grading |
| Affinity Photo | Purchase | Budget-friendly, similar to Photoshop |
| GIMP | Free | Open-source, powerful, steep learning curve |
Must-Have Plugins
Plugins can take your Milky Way editing to the next level. Here are some must-haves:
Nik Collection
This suite of plugins offers powerful tools for color correction, sharpening, and noise reduction. It’s a bit pricey, but the results are stunning.
Aurora HDR
If you want to create HDR images, Aurora HDR is the plugin for you. It merges multiple exposures to create a single, detailed image. Perfect for Milky Way shots.
Topaz DeNoise AI
Noise can be a big problem in Milky Way photos. Topaz DeNoise AI uses artificial intelligence to remove noise while preserving details. It’s a game-changer.
ON1 Effects
ON1 Effects offers a wide range of filters and presets. You can add glow, enhance colors, and more. It’s a great way to add some flair to your Milky Way photos.
Luminar AI
Luminar AI uses artificial intelligence to make editing easier. It offers tools for sky replacement, color enhancement, and more. It’s perfect for quick edits.
Here’s a table to summarize these plugins:
| Plugin | Price | Key Features |
|---|---|---|
| Nik Collection | Purchase | Color correction, sharpening, noise reduction |
| Aurora HDR | Purchase | HDR merging, detailed images |
| Topaz DeNoise AI | Purchase | AI noise reduction, detail preservation |
| ON1 Effects | Purchase | Filters, presets, color enhancement |
| Luminar AI | Purchase | AI editing, sky replacement, quick edits |
Free vs. Paid Options
When deciding between free and paid options, consider your needs and budget. Free options can be powerful but often have limitations. Paid options usually offer more features and better support. Here’s a breakdown:
Free Options
- GIMP: Powerful but has a steep learning curve.
- Darktable: Similar to Lightroom, but free.
- RawTherapee: Great for raw photo editing.
Paid Options
- Adobe Lightroom: User-friendly, subscription-based.
- Adobe Photoshop: Advanced editing, subscription-based.
- Capture One: Professional-grade, one-time purchase.
- Affinity Photo: Budget-friendly, one-time purchase.
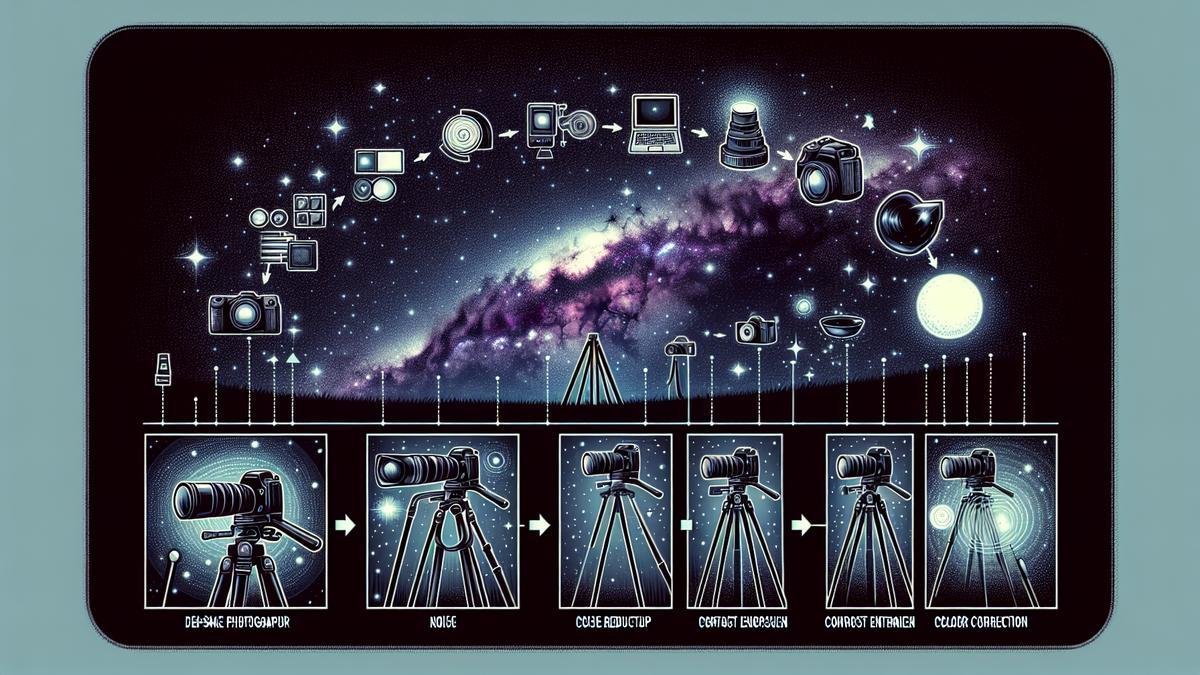
Basic Steps to Process Milky Way Photos
So, you’ve captured some breathtaking shots of the Milky Way, and now it’s time to turn those raw images into stunning masterpieces. Let’s dive into the basic steps you’ll need to process your Milky Way photos.
Importing and Organizing
First things first, you need to import your photos into your editing software. Whether you’re using Lightroom, Photoshop, or another program, this step is crucial for keeping everything organized.
- Create Folders: Make a specific folder for your Milky Way shots. This helps you keep track of your work.
- Name Your Files: Rename your files with something meaningful. This could be the date, location, or a brief description.
- Backup Your Photos: Always have a backup. Use an external hard drive or cloud storage. You don’t want to lose your precious shots.
Here’s a quick table to summarize:
| Step | Action |
|---|---|
| Create Folders | Make a folder specifically for Milky Way photos |
| Name Your Files | Use meaningful names like date or location |
| Backup Your Photos | Save on external hard drive or cloud storage |
Initial Adjustments
Now, let’s get to the fun part—editing. Initial adjustments set the stage for your masterpiece.
- White Balance: Adjust the white balance to remove any color casts. You want the stars to pop against a dark sky.
- Exposure: Tweak the exposure to brighten up the Milky Way without losing detail.
- Contrast: Increase the contrast to make the stars stand out even more.
- Noise Reduction: High ISO settings can introduce noise. Use noise reduction to clean up your image.
Here’s a table to help you remember these steps:
| Adjustment | Purpose |
|---|---|
| White Balance | Remove color casts |
| Exposure | Brighten the Milky Way |
| Contrast | Make stars stand out |
| Noise Reduction | Clean up high ISO noise |
Setting Up Your Workspace
Before diving deeper into editing, it’s important to set up your workspace. A well-organized workspace can make a big difference.
- Calibrate Your Monitor: Make sure your monitor displays colors accurately. This ensures your edits look good on any device.
- Use Layers: If you’re using Photoshop, work with layers. This allows you to make non-destructive edits.
- Shortcuts: Learn keyboard shortcuts for your editing software. It speeds up your workflow.
Here’s another handy table:
| Task | Benefit |
|---|---|
| Calibrate Your Monitor | Accurate color display |
| Use Layers | Non-destructive editing |
| Learn Shortcuts | Faster workflow |

Enhancing Details in Your Milky Way Photos
Sharpening Techniques
Alright, let’s dive right in! Youve captured a stunning shot of the Milky Way, but now it’s time to bring out those intricate details. Sharpening is your best friend here. Its like putting on glasses for your photo – suddenly, everything is clear and crisp.
Key Sharpening Tools:
| Tool | Description |
|---|---|
| Unsharp Mask | Adds contrast to edges, making details pop. |
| High Pass Filter | Enhances edges without increasing noise. |
| Smart Sharpen | Offers advanced settings for precise control. |
Steps for Sharpening:
- Duplicate Your Layer: Always work on a copy to avoid messing up the original.
- Apply Unsharp Mask:
- Amount: 150%
- Radius: 1.0 pixels
- Threshold: 10 levels
- Use High Pass Filter:
- Convert the copied layer to a Smart Object.
- Apply High Pass Filter with a radius of 1-2 pixels.
- Change the blending mode to Overlay or Soft Light.
Noise Reduction Tips
Noise can be a real party crasher in your Milky Way photos. Those pesky grains can ruin an otherwise perfect shot. But don’t worry, you can smooth things out without losing detail.
Effective Noise Reduction Tools:
| Tool | Description |
|---|---|
| Adobe Lightroom | Excellent for reducing noise while retaining detail. |
| Topaz DeNoise AI | Uses AI to intelligently reduce noise. |
| Nik Dfine | Customizable settings for targeted noise reduction. |
Steps for Noise Reduction:
- Start in Lightroom:
- Go to the Detail panel.
- Adjust the Luminance slider under Noise Reduction.
- Fine-tune with the Detail and Contrast sliders.
- Use Topaz DeNoise AI:
- Open your image in the software.
- Choose the Auto settings or manually adjust the Remove Noise and Enhance Sharpness sliders.
- Nik Dfine:
- Apply the Automatic Profile.
- Use Control Points to target specific areas for noise reduction.
Balancing Clarity and Smoothness
Finding the sweet spot between clarity and smoothness is like walking a tightrope. You want your Milky Way to be sharp, but not at the expense of introducing noise. Heres how you can balance the two.
Tips for Balancing:
- Use a Mask: Apply sharpening and noise reduction selectively.
- Blend Modes: Experiment with different blend modes to enhance details without increasing noise.
- Layer Opacity: Adjust the opacity of your sharpening or noise reduction layer to fine-tune the effect.
Example Workflow:
- Apply Global Adjustments: Start with basic sharpening and noise reduction on the entire image.
- Create a Mask: Use a mask to apply these adjustments only to specific areas.
- Adjust Opacity: Lower the opacity of your adjustment layers to blend the effects seamlessly.
Color Correction for Stunning Milky Way Photos
So, you’ve captured a breathtaking shot of the Milky Way. Now, it’s time to make those stars pop! Color correction is your best friend here. Let’s dive into the nitty-gritty of making your Milky Way photos shine.
Adjusting White Balance
First things first, white balance. This is crucial. You want the colors in your photo to look natural. If your image looks too blue or too orange, it’s time to tweak that white balance.
- Cooler Tones: If your photo is too warm, slide the white balance towards cooler tones. This will reduce the orange and bring out the blues.
- Warmer Tones: If your photo is too cool, slide it towards warmer tones. This will add a touch of orange and make the Milky Way stand out.
Heres a quick guide to help you:
| Problem | Solution |
|---|---|
| Too Blue | Increase Warmth |
| Too Orange | Increase Coolness |
| Balanced | Minor Adjustments |
Boosting Colors
Next up, let’s boost those colors. You want the Milky Way to be the star of the show, literally. Here’s how you can do it:
- Saturation: Increase the saturation to make the colors more vivid. But be careful not to overdo it.
- Vibrance: This is like saturation but smarter. It boosts the muted colors more than the already bright ones.
Avoiding Over-Saturation
While boosting colors, you need to avoid over-saturation. Over-saturated photos can look unnatural and tacky. Here are some tips:
- Check Skin Tones: If there are people in your photo, check their skin tones. Over-saturation can make them look like Oompa Loompas.
- Use Layers: Apply saturation in layers. This way, you can control the intensity better.
- Zoom In: Zoom in on your photo to see if the colors look natural up close.
| Issue | Fix |
|---|---|
| Over-Saturated Colors | Reduce Saturation |
| Unnatural Skin Tones | Adjust Selectively |
| Colors Look Fake | Use Layers |

Advanced Techniques for Milky Way Processing
Getting that perfect shot of the Milky Way is just the beginning. The real magic happens in post-processing. Lets dive into some advanced techniques thatll make your Milky Way photos pop!
Layer Masking
Layer masking is a game-changer. It lets you edit specific parts of your image without affecting the whole thing. Think of it like painting over your photo, but you can erase and redo as much as you want.
Steps to Use Layer Masking:
- Open Your Image: Start by opening your Milky Way photo in Photoshop.
- Add a Layer Mask: Click on the layer mask icon at the bottom of the layers panel.
- Select the Brush Tool: Choose a soft brush and set the opacity to around 50%.
- Paint on the Mask: Use black to hide parts of the layer and white to reveal them.
Heres a quick rundown:
| Step | Action | Result |
|---|---|---|
| Open Image | Load your Milky Way photo | Ready to edit |
| Add Layer Mask | Click on the mask icon | Creates a mask for the layer |
| Select Brush | Choose a soft brush | Prepares for precise editing |
| Paint Mask | Use black and white brush | Reveals or hides parts of the layer |
Blending Exposures
Blending exposures is like making a sandwich. You take the best parts of different photos and put them together. This technique is great for balancing the brightness of the Milky Way and the foreground.
Steps to Blend Exposures:
- Take Multiple Shots: Capture several images with different exposures.
- Open in Photoshop: Load all your images as layers in one document.
- Align Layers: Make sure all layers are perfectly aligned.
- Create Layer Masks: Add masks to each layer.
- Blend Using Brushes: Use a soft brush to blend the layers together.
Heres a simple table to guide you:
| Step | Action | Result |
|---|---|---|
| Take Shots | Capture multiple exposures | Different brightness levels |
| Open in PS | Load images as layers | All images in one document |
| Align Layers | Use auto-align feature | Perfectly aligned layers |
| Create Masks | Add layer masks to each layer | Ready for blending |
| Blend Layers | Use soft brush to blend | Balanced final image |
Using Luminosity Masks
Luminosity masks help you target specific brightness levels in your image. Its like having a spotlight that only shines on certain parts of your photo.
Steps to Use Luminosity Masks:
- Create a Luminosity Mask: Go to Channels and create a new channel based on luminance.
- Select the Mask: Load the luminosity mask as a selection.
- Apply Adjustments: Use curves or levels to adjust the selected area.
Heres a quick guide:
| Step | Action | Result |
|---|---|---|
| Create Luminosity Mask | Go to Channels and create new channel | Mask based on brightness |
| Select Mask | Load mask as selection | Specific areas selected |
| Apply Adjustments | Use curves or levels | Adjust brightness and contrast |
Final Touches for Perfect Milky Way Photos
So, you’ve captured some stunning shots of the Milky Way. Now, it’s time to make them shine even brighter. Let’s dive into the final touches that can transform your photos from good to extraordinary.
Cropping and Framing
First things first, cropping. Sometimes, less is more. You want to focus on the most captivating part of your image. Here’s how to do it:
- Identify the focal point: The Milky Way should be the star of your photo. Make sure it’s centered or positioned using the rule of thirds.
- Trim the edges: Remove any distractions like trees or buildings that don’t add to the image.
- Adjust the aspect ratio: Different platforms have different requirements. For Instagram, a 4:5 ratio works well. For prints, stick to standard sizes like 8×10 or 16×20.
A quick table to guide you:
| Platform | Aspect Ratio | Recommended Size |
|---|---|---|
| 4:5 | 1080×1350 pixels | |
| 16:9 | 1200×630 pixels | |
| Prints | 4:5, 3:2 | 8×10 inches, 16×20 inches |
Exporting for Web and Print
Once you’re happy with the framing, it’s time to export your photo. Here’s what you need to know:
- Resolution: For web, 72 DPI is fine. For print, aim for 300 DPI.
- File Format: JPEG is great for web. For prints, consider TIFF for higher quality.
- Color Space: Use sRGB for web and Adobe RGB for print.
Here’s a handy table:
| Use Case | Resolution | File Format | Color Space |
|---|---|---|---|
| Web | 72 DPI | JPEG | sRGB |
| 300 DPI | TIFF | Adobe RGB |
Saving Presets for Future Use
Consistency is key. By saving presets, you can apply the same settings to future photos. Here’s how:
- Create a preset: In Lightroom or Photoshop, adjust your settings (exposure, contrast, etc.) and save them as a preset.
- Name your preset: Use a descriptive name like “Milky Way Magic” so you can easily find it later.
- Apply the preset: Next time you edit, just click on your preset to apply the same settings.
Frequently asked questions
How do you start processing Milky Way photos?
First, open your images in a photo editor. Adjust the exposure, contrast, and brightness.
What tools can you use for processing Milky Way photos?
You can use Adobe Lightroom or Photoshop. These tools are great for detailed adjustments.
How do you reduce noise in Milky Way photos?
Use noise reduction features. Increase sharpness but balance it with noise reduction.
What steps help in enhancing the colors of the Milky Way?
Boost the saturation and vibrance. Use the selective color tool for fine-tuning.
How to make the stars pop in Milky Way photos?
Use the clarity and dehaze tools. This will bring out the stars and details.