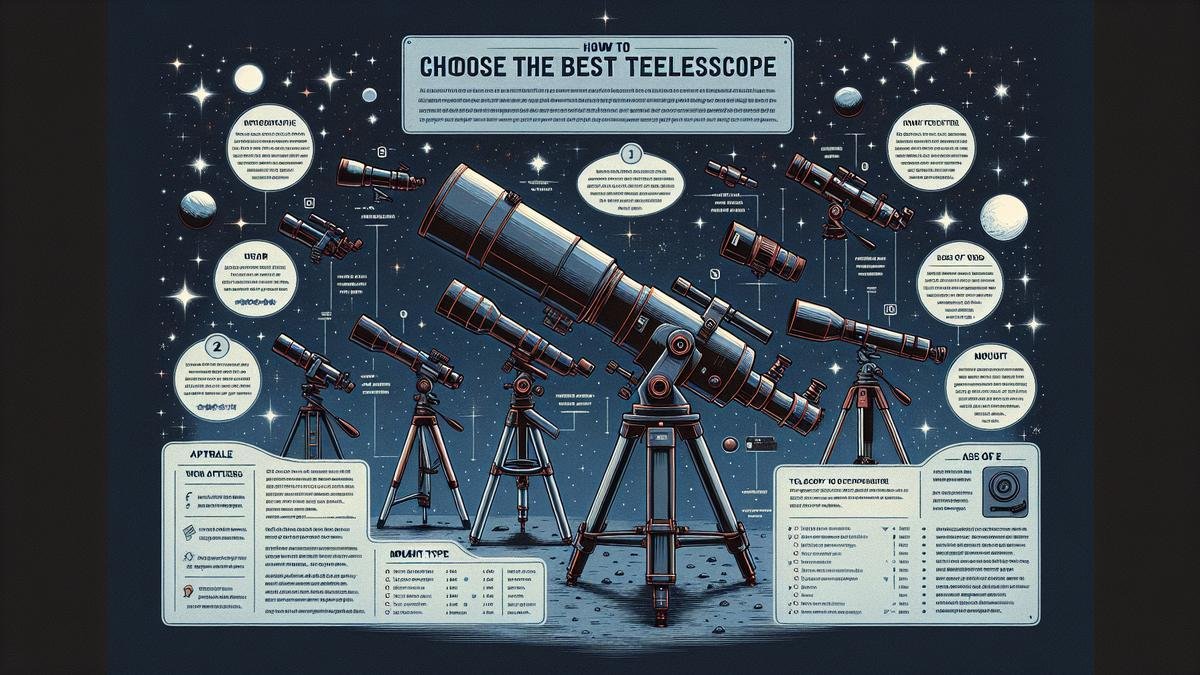
How to Choose the Best Telescope for Astrophotography can seem daunting at first, especially with all the different types, features, and accessories out there. But don’t worry, we’ve got you covered. In this guide, you’ll dive into the world of telescopes, exploring refractor and reflector telescopes, and even compound options. We’ll break down the key features you need to look for, like aperture size and focal length, and help you figure out which mount types suit you best. Plus, we’ll give you tips on budget considerations, from entry-level to high-end choices, so you can make the most informed decision. We’ll also shed some light on the best accessories and share crucial maintenance tips. Ready to turn your stargazing dreams into a reality? Let’s get started!
Key Points
- Understand aperture size
- Consider telescope focal length
- Check compatible camera mounts
- Evaluate light pollution factors
- Research ease of use and portability

Understanding Different Types of Telescopes
So, youre diving into astrophotography, huh? Awesome choice! But hold on, before you start snapping pics of the cosmos, you need the right telescope. Lets break down the different types to help you make an informed decision.
Refractor Telescopes
First up, refractor telescopes. These are the ones most people think of when they picture a telescope. They use lenses to gather and focus light.
Pros:
- Sharp Images: Great for viewing planets and the moon.
- Low Maintenance: The lenses are sealed, so they stay clean.
Cons:
- Cost: They can get pricey, especially for larger lenses.
- Chromatic Aberration: Sometimes, youll see little color fringes around bright objects.
Heres a quick table to sum it up:
| Feature | Refractor Telescopes |
|---|---|
| Image Quality | Sharp, especially for planets |
| Maintenance | Low |
| Cost | High |
| Common Issue | Chromatic Aberration |
Reflector Telescopes
Next, lets talk about reflector telescopes. These use mirrors instead of lenses to gather light.
Pros:
- Cost-Effective: More bang for your buck.
- No Chromatic Aberration: Mirrors dont split light into colors.
Cons:
- Maintenance: The mirrors need regular cleaning.
- Collimation: Youll need to align the mirrors occasionally.
Heres a table to make things clear:
| Feature | Reflector Telescopes |
|---|---|
| Image Quality | Great for deep-sky objects |
| Maintenance | Higher |
| Cost | Lower |
| Common Issue | Collimation |
Compound Telescopes
Last but not least, there are compound telescopes. These are a mix of refractor and reflector designs. They use both lenses and mirrors.
Pros:
- Versatility: Good for both planets and deep-sky objects.
- Compact: Easier to transport.
Cons:
- Cost: Can be expensive.
- Complexity: More parts mean more things that can go wrong.
Heres a quick look:
| Feature | Compound Telescopes |
|---|---|
| Image Quality | Versatile |
| Maintenance | Moderate |
| Cost | High |
| Common Issue | Complexity |
Key Features to Look for in a Telescope
When you’re diving into the world of astrophotography, picking the right telescope can feel like finding a needle in a haystack. But don’t worry, I’ve got your back. Let’s break down the key features you need to look for.
Aperture Size
Aperture Size is one of the most crucial aspects to consider. The aperture is the diameter of the telescope’s main lens or mirror. It determines how much light your telescope can gather. And, trust me, more light means clearer, brighter images.
Heres a quick table to help you understand the impact of aperture size:
| Aperture Size | Ideal For | Pros | Cons |
|---|---|---|---|
| < 4 inches | Moon, planets, bright stars | Portable, affordable | Limited deep-sky viewing |
| 4-8 inches | Moon, planets, some deep-sky | Good balance of portability | Can be pricier |
| > 8 inches | Deep-sky objects, faint galaxies | Excellent light gathering | Heavy, expensive |
Focal Length
The Focal Length of your telescope is another key player. It determines the magnification and field of view. A longer focal length gives you higher magnification, but a narrower field of view. Conversely, a shorter focal length offers a wider field of view but lower magnification.
Here’s a quick look at how focal length impacts your viewing:
| Focal Length | Magnification | Field of View | Best For |
|---|---|---|---|
| < 1000 mm | Lower | Wider | Large star clusters, galaxies |
| 1000-2000 mm | Moderate | Balanced | Planets, nebulae |
| > 2000 mm | Higher | Narrower | Moon, planets, small objects |
Mount Types
Mount Types are the unsung heroes of astrophotography. They hold your telescope steady and allow you to track celestial objects as they move across the sky. There are two main types: Altazimuth and Equatorial.
Altazimuth Mounts
Altazimuth mounts move in two directions: up-down (altitude) and left-right (azimuth). They’re simple and intuitive, perfect for beginners. However, they can be a bit tricky for long-exposure astrophotography.
Pros:
- Easy to use
- Lightweight
- Affordable
Cons:
- Limited tracking ability
- Not ideal for long exposures
Equatorial Mounts
Equatorial mounts are designed to follow the rotation of the Earth. They have an axis aligned with the Earth’s axis, making them perfect for tracking celestial objects over long periods.
Pros:
- Excellent tracking
- Ideal for long exposures
- Versatile
Cons:
- More complex to set up
- Heavier
- More expensive

Budget Considerations for Your Telescope
Navigating the world of astrophotography can be a thrilling journey, but choosing the right telescope can feel like searching for a needle in a haystack. Let’s break it down into bite-sized pieces so you can make an informed decision without breaking the bank.
Entry-Level Options
If you’re just dipping your toes into the vast ocean of astrophotography, you don’t need to splurge right away. Entry-level telescopes can offer a solid start without leaving a gaping hole in your wallet.
Key Features to Look For:
- Aperture: Aim for an aperture of at least 70mm.
- Mount: A sturdy mount is crucial. Equatorial mounts are preferred.
- Portability: Lightweight and easy to set up.
Heres a quick comparison of some popular entry-level telescopes:
| Telescope Model | Aperture | Mount Type | Price Range |
|---|---|---|---|
| Celestron 70mm Travel Scope | 70mm | Alt-Azimuth | $100-$150 |
| Orion StarBlast 4.5 Astro Reflector | 114mm | Alt-Azimuth | $200-$250 |
| Meade Infinity 102mm AZ Refractor | 102mm | Alt-Azimuth | $250-$300 |
These models are perfect for beginners. They offer decent performance and are easy to handle. You’ll be able to capture basic lunar and planetary images without much hassle.
Mid-Range Choices
Stepping up a notch? Mid-range telescopes offer better quality and more features, making them ideal for those who are ready to take their astrophotography to the next level.
Key Features to Look For:
- Aperture: Aim for 100mm or more.
- Mount: Equatorial mounts or GoTo mounts are highly recommended.
- Optics: Look for high-quality optics for sharper images.
Heres a table of some popular mid-range telescopes:
| Telescope Model | Aperture | Mount Type | Price Range |
|---|---|---|---|
| Celestron NexStar 6SE | 150mm | GoTo | $800-$900 |
| Sky-Watcher ProED 80mm Doublet APO Refractor | 80mm | Equatorial | $700-$800 |
| Orion SkyQuest XT8 Plus Dobsonian | 203mm | Dobsonian | $500-$600 |
These telescopes offer a significant upgrade in terms of image quality and features. Youll find that the additional investment pays off when you see the stunning details in your astrophotographs.
High-End Telescopes
For those who have a passion that borders on obsession, high-end telescopes are the way to go. These are for serious astrophotographers who want the best of the best.
Key Features to Look For:
- Aperture: 200mm or more.
- Mount: Advanced GoTo mounts or motorized equatorial mounts.
- Optics: Premium optics with minimal aberrations.
Heres a look at some top-tier options:
| Telescope Model | Aperture | Mount Type | Price Range |
|---|---|---|---|
| Celestron CGX-L 1100 Schmidt-Cassegrain | 279mm | GoTo | $5,000-$6,000 |
| Meade LX600-ACF 12″ f/8 | 305mm | Advanced GoTo | $7,000-$8,000 |
| Orion EON 130mm ED Triplet Apochromatic Refractor | 130mm | Equatorial | $3,000-$4,000 |
These telescopes are built for those who demand the highest quality. They come with advanced features and exceptional optics, allowing you to capture the faintest of celestial objects with incredible detail.
Accessories to Enhance Your Astrophotography
When diving into the enchanting world of astrophotography, having the right accessories can make a night-and-day difference. Let’s explore some essential gear that can elevate your starry captures.
Camera Adapters
Camera adapters are your bridge between the telescope and the camera. They connect your camera body to the telescope, allowing you to capture those mesmerizing celestial shots. Heres what you need to know:
- T-Rings: These are specific to your camera brand. They screw onto your camera like a lens.
- T-Adapters: These connect the T-Ring to your telescope. They come in different types, like prime focus adapters or eyepiece projection adapters.
| Adapter Type | Description | Best For |
|---|---|---|
| T-Rings | Brand-specific camera attachment | All cameras |
| T-Adapters | Connects T-Ring to telescope | Different types of astrophotography |
Filters
Filters can be game-changers in astrophotography. They help you capture clearer and more vibrant images of the night sky by blocking out unwanted light.
- Light Pollution Filters: These are essential if you’re shooting from a city or suburban area. They block out artificial lights.
- Nebula Filters: These enhance the contrast of nebulae, making them pop against the dark sky.
- Color Filters: These can bring out specific details in planets and stars.
| Filter Type | Purpose | Best For |
|---|---|---|
| Light Pollution Filters | Block artificial lights | Urban or suburban areas |
| Nebula Filters | Enhance nebulae contrast | Deep-sky objects |
| Color Filters | Highlight specific details | Planetary and star photography |
Tripods and Mounts
A stable tripod or mount is the backbone of your astrophotography setup. Without it, even the best cameras and lenses won’t capture clear images.
- Altazimuth Mounts: Easy to use and great for beginners. They move up-down and left-right.
- Equatorial Mounts: Perfect for long exposures. They follow the rotation of the Earth, keeping your subject in view.
- Motorized Mounts: These are high-tech and can track celestial objects automatically.
| Mount Type | Description | Best For |
|---|---|---|
| Altazimuth Mounts | Simple up-down, left-right movement | Beginners |
| Equatorial Mounts | Follows Earth’s rotation for long exposures | Long-exposure astrophotography |
| Motorized Mounts | Automatically tracks celestial objects | Advanced users |

Maintenance and Care for Your Telescope
Cleaning Lenses and Mirrors
Alright, lets dive into the nitty-gritty of keeping your telescope in tip-top shape. Cleaning your telescope is like brushing your teeth – you gotta do it regularly to keep things crystal clear.
Lenses and mirrors are the heart and soul of your telescope. Dust and grime can mess with your view of the stars. So, heres how to keep them sparkling:
- Gather Your Tools:
- Blower bulb
- Soft brush
- Microfiber cloth
- Lens cleaning solution
- Blow Away Dust:
- Use the blower bulb to gently blow away any loose dust.
- Brush Gently:
- Use a soft brush to sweep away any remaining particles.
- Wipe Carefully:
- Moisten the microfiber cloth with the lens cleaning solution.
- Wipe in a circular motion, starting from the center and moving outwards.
Pro Tip: Never use your breath to fog the lens. It might leave moisture that can cause damage.
Storing Your Telescope
Storing your telescope properly is like putting your favorite toy in a safe place. You want it ready for the next adventure.
Heres how to store your telescope:
- Find a Safe Spot:
- A cool, dry place is best.
- Avoid areas with high humidity.
- Cover It Up:
- Use a dust cover to keep it clean.
- Store Vertically:
- If possible, store it vertically to prevent dust from settling on the lenses.
- Use a Storage Case:
- Invest in a good storage case for added protection.
Regular Check-ups
Just like you go to the doctor for regular check-ups, your telescope needs some love too.
What to Check:
- Alignment:
- Make sure the lenses and mirrors are aligned.
- Mount Stability:
- Check that the mount is stable and secure.
- Lubrication:
- Lubricate the moving parts to keep them smooth.
- Battery Life:
- If your telescope has electronic parts, check the battery life.
Pro Tip: A little maintenance goes a long way in keeping your telescope in great shape.
Tips for Beginners in Astrophotography
Choosing the Right Location
Alright, so youve got your camera, and youre ready to dip your toes into the mesmerizing world of astrophotography. The first thing you need to nail down is location. You can’t just snap a photo from any random spot and expect to capture the Milky Way in all its glory.
Here are some things to consider:
- Dark Sky: You need a place far from city lights. National parks, rural areas, or high altitudes are ideal.
- Weather Conditions: Clear skies are a must. Check the weather forecast before heading out.
- Accessibility: Make sure the location is safe and accessible. You dont want to hike miles in the dark.
Understanding Light Pollution
Light pollution is the enemy of astrophotography. Its like trying to see stars through a foggy window. The less light pollution, the better your photos will be. Heres a quick guide to understanding and combating it:
Light Pollution Scale
| Bortle Scale | Description | Ideal for Astrophotography? |
|---|---|---|
| 1 | Excellent dark-sky site | Yes |
| 2 | Typical truly dark site | Yes |
| 3 | Rural sky | Yes |
| 4 | Rural/suburban transition | Maybe |
| 5 | Suburban sky | No |
| 6 | Bright suburban sky | No |
| 7 | Suburban/urban transition | No |
| 8 | City sky | No |
| 9 | Inner-city sky | No |
Key Tips:
- Use apps like Light Pollution Map to find dark sites.
- Even in rural areas, avoid nearby street lights or any artificial light sources.
Practicing Patience
Astrophotography is not a sprint; its a marathon. You need to be patient. Heres why:
- Long Exposures: Capturing faint stars and galaxies requires long exposure times. Sometimes, you might need to wait for several minutes for a single shot.
- Weather Changes: Clouds can ruin your shot. You might need to wait for them to clear.
- Learning Curve: Getting the perfect shot takes practice. Dont get discouraged if your first few attempts arent perfect.
Conclusion
How to Choose the Best Telescope for Astrophotography
Choosing the right telescope for astrophotography can feel like navigating a maze, but dont worry, well break it down for you. Heres what you need to know:
Types of Telescopes
There are three main types of telescopes:
| Type | Pros | Cons |
|---|---|---|
| Refractor | Simple, low maintenance, sharp images | Expensive for large apertures |
| Reflector | Affordable, large apertures | Requires regular maintenance, larger size |
| Compound | Compact, versatile, good for deep-sky objects | Expensive, more complex |
Key Considerations:
- Aperture: This is the diameter of the telescopes main lens or mirror. Larger apertures gather more light, which is crucial for capturing faint objects.
- Focal Length: This determines the magnification and field of view. Shorter focal lengths give a wider field of view, which is good for capturing large objects like galaxies.
- Portability: If you plan to travel to different locations, a portable telescope is a must.
Mounts
The mount is just as important as the telescope itself. Here are the main types:
| Type | Pros | Cons |
|---|---|---|
| Alt-Azimuth | Simple, easy to use | Not great for long exposures |
| Equatorial | Excellent for tracking celestial objects | More complex, heavier |
| Motorized | Tracks objects automatically | Expensive, requires power |
Key Tips:
- For astrophotography, an equatorial mount is often the best choice because it can track celestial objects as they move across the sky.
- Motorized mounts are great if youre willing to invest a bit more for convenience.
Additional Equipment
Heres a quick list of additional gear you might need:
- Camera Adapter: To connect your camera to the telescope.
- Field Flattener: Prevents stars from appearing distorted at the edges of your photos.
- Guiding System: Helps keep your telescope aligned during long exposures.
- Filters: These can enhance the details in your photos by blocking out certain wavelengths of light.
Frequently Asked Questions
What factors should I consider when buying a telescope for astrophotography?
Look at aperture size, mount type, and focal ratio. Each affects image quality and ease of use.
How does the focal length impact astrophotography?
Longer focal lengths give more details. Shorter focal lengths capture a wider field of view. Choose based on what you want to photograph.
Do I need a computerized mount?
It helps with tracking stars as the Earth rotates. Easier long exposure shots! So, yes, it’s a good idea.
Is a refractor or reflector telescope better for astrophotography?
Refractors offer crisp images and low maintenance. Reflectors are cost-effective for larger apertures. Both work; it’s about your preference.
How much should I budget for a good astrophotography telescope?
It varies. Budget at least $500 for decent quality. Expect to spend more for advanced features.


