How to Build a Budget-Friendly Astrophotography Setup might seem overwhelming at first, but it’s totally doable without burning a hole in your pocket! Imagine capturing stunning pictures of the night sky on a tight budget. We’ll dive into the best entry-level cameras, affordable lenses, and even some nifty DIY hacks to help you get there. Plus, youll learn to make the most of budget-friendly accessories and the ultimate free-editing tools. Ready to explore the universe without breaking the bank? Lets get started!
Important Points to Remember
- Start with a Budget-Friendly Camera
- Use Affordable Lenses
- DIY Mount and Tripod Solutions
- Find a Dark Sky Area
- Learn Free Software Tools
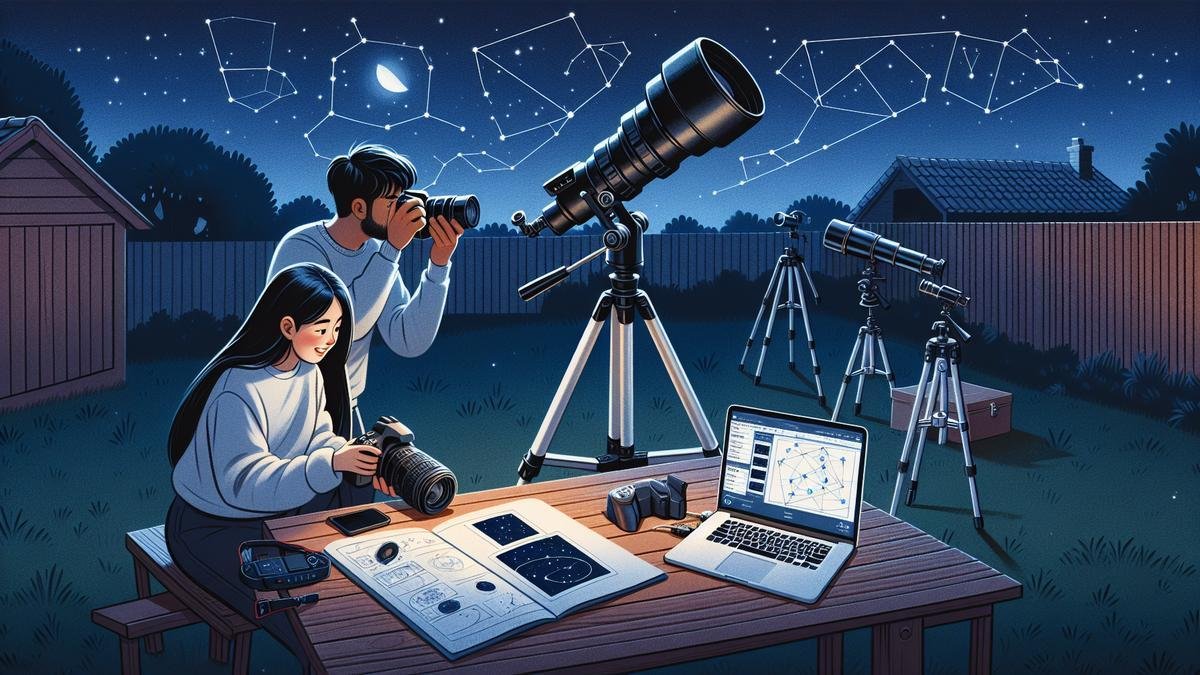
Choosing the Right Budget Camera for Astrophotography
When you’re diving into the mesmerizing world of astrophotography, picking the right camera can be a game-changer. You might think capturing the stars requires a wallet-busting setup, but that’s not necessarily the case. With the right choices, you can start snapping stunning celestial shots without breaking the bank.
Best Entry-Level Cameras
Let’s start with some of the best entry-level cameras that wont have you eating ramen for the next six months.
| Camera Model | Price Range | Key Features |
|---|---|---|
| Canon EOS Rebel T7 | $400 – $500 | 24.1 MP, ISO 100-6400, 9-point AF system, Wi-Fi |
| Nikon D3500 | $450 – $550 | 24.2 MP, ISO 100-25600, EXPEED 4 image processor, Bluetooth |
| Sony Alpha a6000 | $500 – $600 | 24.3 MP, ISO 100-25600, 179-point AF system, Wi-Fi/NFC |
| Pentax K-70 | $600 – $700 | 24.2 MP, ISO 100-102400, Weather-resistant body, In-body shake reduction |
These cameras are fantastic for beginners. They offer a mix of affordability and features that can help you get started in astrophotography. For more detailed insights on top cameras, check out the top 10 cameras for astrophotography in 2024.
Features to Look For
When you’re on the hunt for a budget-friendly astrophotography camera, there are a few must-have features to keep an eye on.
High ISO Range
A high ISO range is crucial. It allows your camera to capture more light in low-light conditions, which is essential for night sky photography. Look for cameras that offer ISO settings of at least 6400 or higher.
Manual Mode
Manual mode is a lifesaver. It lets you control the exposure, shutter speed, and aperture, which are critical for capturing the night sky. Automatic settings often don’t cut it when you’re trying to photograph stars and other celestial objects.
Interchangeable Lenses
Cameras with interchangeable lenses give you more flexibility. You can switch out lenses to suit different types of astrophotography, whether you’re shooting wide-angle shots of the Milky Way or close-ups of the moon. For a deeper dive into essential lenses, you might find this guide on lenses for capturing the night sky useful.
Long Exposure Capabilities
Long exposure is a must for capturing the faint light of distant stars. Look for cameras that allow you to take long exposure shots without excessive noise. Some cameras even have built-in noise reduction features, which can be a bonus.
Affordable Camera Brands
Now, let’s talk brands. Some brands are known for offering excellent budget-friendly options for astrophotography.
Canon
Canon has a reputation for producing reliable and affordable cameras. Models like the Canon EOS Rebel series are popular among beginners. They offer a good balance of price and performance, making them a solid choice for anyone starting out in astrophotography.
Nikon
Nikon is another brand thats well-regarded for its entry-level DSLR cameras. The Nikon D3500, for instance, is a favorite among budget-conscious astrophotographers. It offers excellent image quality and a range of features that make it easy to capture stunning night sky shots.
Sony
Sony’s mirrorless cameras, like the Alpha a6000, are also worth considering. Theyre compact, lightweight, and offer excellent image quality. Plus, the mirrorless design can be advantageous for astrophotography, as it often results in less vibration and noise.
Finding Affordable Lenses for Your Setup
When you’re diving into astrophotography, the right lens can make all the difference. But, dont worry. You dont need to empty your wallet to get started. Heres how you can find affordable lenses that will help you capture the night sky without breaking the bank.
Prime vs. Zoom Lenses
Choosing between prime and zoom lenses can be a bit like deciding between a sports car and an SUV. Both have their perks, but it depends on what you need.
Prime Lenses are fixed focal length lenses. They are often sharper and have wider apertures (lower f/numbers), which means they can capture more light. This is crucial for astrophotography since youre shooting in low light.
| Prime Lenses | Pros | Cons |
|---|---|---|
| Fixed Focal Length | Sharper Images | Less Versatile |
| Wider Apertures | Better Low-Light Performance | Need Multiple Lenses for Different Focal Lengths |
| Often Lighter | Easier to Carry |
Zoom Lenses, on the other hand, offer a range of focal lengths. This means you can zoom in and out to frame your shot without changing lenses. They are versatile but generally have smaller maximum apertures, which can limit light intake.
| Zoom Lenses | Pros | Cons |
|---|---|---|
| Variable Focal Lengths | Versatile | Generally Heavier |
| Convenient | One Lens for Many Uses | Smaller Maximum Apertures |
| Less Sharp than Primes |
Recommended Budget Lenses
Now, lets talk about some lenses that wont make your bank account cry. Here are a few budget-friendly options that are great for astrophotography.
- Rokinon 14mm f/2.8 – This is a great prime lens for wide-angle shots of the night sky. Its relatively affordable and offers excellent sharpness and low-light performance.
- Canon EF 50mm f/1.8 STM – Often called the “Nifty Fifty,” this prime lens is inexpensive and performs well in low light. Its a great starting point for those on a budget.
- Sigma 18-35mm f/1.8 DC HSM Art – This zoom lens offers a great range for astrophotography and has a wide maximum aperture, making it a versatile and affordable choice.
- Tamron 17-50mm f/2.8 XR Di II LD – Another excellent zoom lens that offers good performance at a reasonable price. Its a bit heavier but still a solid choice for budget-conscious astrophotographers.
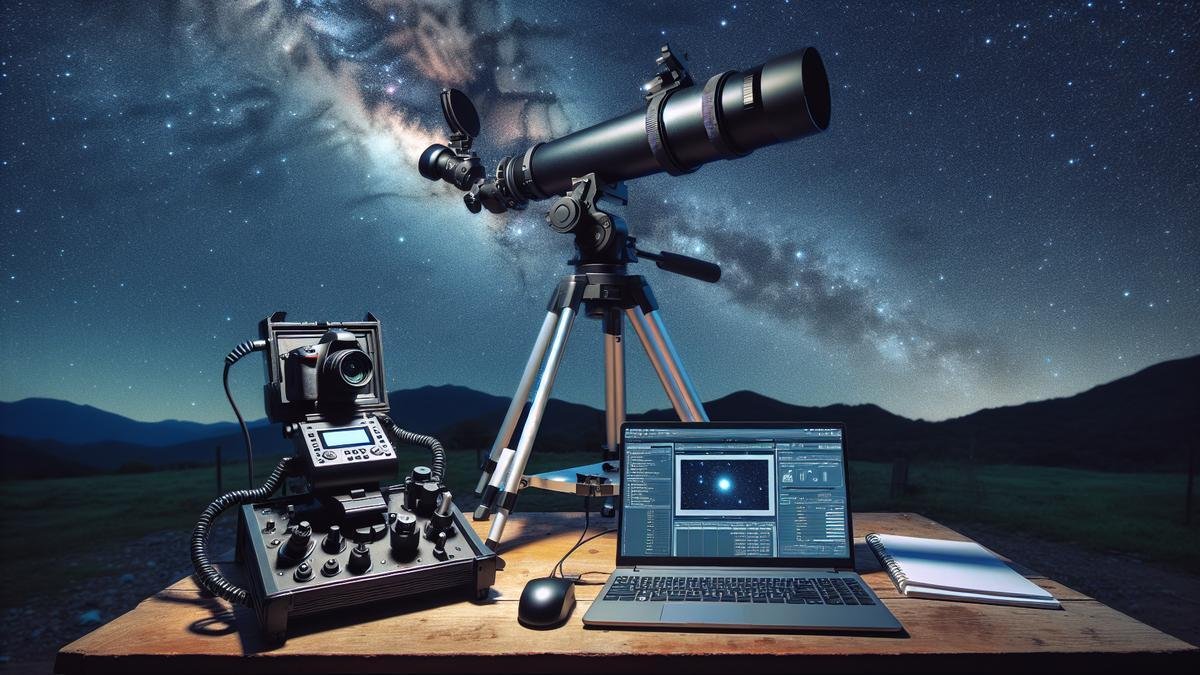
DIY Mounts and Tripods for Stability
Building Your Own Mount
So, you’ve got your camera and you’re ready to capture the cosmos. But wait, you need a solid mount. A good mount is like the backbone of your astrophotography setup. Without it, your images might end up as blurry messes. The good news? You don’t have to spend a fortune. You can build your own!
First, let’s talk about the materials. You’ll need some basic items:
- Wood or Metal: Depending on what you have available, both can work. Wood is easier to work with, but metal is sturdier.
- Screws and Bolts: To hold everything together.
- Adjustable Knobs: For fine-tuning your angles.
- A Tripod Head: You can buy a cheap one or repurpose an old one.
Here’s a simple table to help you gather your materials:
| Material | Purpose | Cost Estimate |
|---|---|---|
| Wood/Metal | Main structure | $10-$20 |
| Screws/Bolts | Fastening components | $5-$10 |
| Adjustable Knobs | Fine-tuning adjustments | $5-$15 |
| Tripod Head | Camera mounting point | $10-$30 |
Once you have your materials, it’s time to assemble. Start by cutting your wood or metal into a T-shape. The top of the T will hold your tripod head, and the bottom will act as the base. Use screws and bolts to secure everything tightly. Attach the adjustable knobs to the sides for easy angle adjustments.
Now, you’ve got a basic mount! It’s not fancy, but it gets the job done. And the best part? You made it yourself for a fraction of the cost of a commercial mount.
Budget Tripod Options
If DIY isn’t your thing, don’t worry. There are plenty of budget-friendly tripods that can provide the stability you need. Let’s break down some options:
- AmazonBasics 60-Inch Lightweight Tripod: This tripod is a steal for its price. It’s lightweight, easy to carry, and surprisingly sturdy for its cost.
- ZOMEI Z699C Carbon Fiber Tripod: A bit pricier than the AmazonBasics, but it offers better stability and durability. Plus, it’s lightweight, which is great for portability.
- Neewer Portable Aluminum Alloy Camera 2-in-1 Tripod Monopod: This one is versatile. It can be used as both a tripod and a monopod, giving you more bang for your buck.
Here’s a quick comparison table:
| Tripod Model | Key Features | Price Range |
|---|---|---|
| AmazonBasics 60-Inch Lightweight Tripod | Lightweight, affordable | $20-$30 |
| ZOMEI Z699C Carbon Fiber Tripod | Durable, lightweight, stable | $50-$100 |
| Neewer Portable Aluminum Alloy Camera Tripod | Versatile, 2-in-1 tripod/monopod | $40-$60 |
These tripods won’t break the bank, but they’ll give you the stability you need to capture stunning night sky images.
Essential Accessories on a Budget
So, you’re diving into the mesmerizing world of astrophotography, and you want to do it without burning a hole in your pocket. That’s totally achievable! Let’s talk about some essential accessories that won’t break the bank but will significantly enhance your astrophotography game.
Must-Have Filters
Filters are like sunglasses for your camera. They help you capture the night sky in all its glory. And guess what? You don’t need to spend a fortune on them.
Types of Filters:
| Filter Type | Purpose | Budget Options |
|---|---|---|
| Light Pollution Filters | Reduces city light interference | Neewer, K&F Concept |
| Neutral Density Filters | Balances light exposure | Tiffen, Gobe |
| UV Filters | Protects lens and enhances clarity | Hoya, AmazonBasics |
Light pollution filters are a lifesaver if you live in or near a city. They help you cut through the haze and capture clearer images of stars and planets. Brands like Neewer and K&F Concept offer affordable options that do a pretty good job.
Neutral density filters are another must-have. They help balance the light exposure, making sure your photos are neither too bright nor too dark. Tiffen and Gobe are excellent budget-friendly choices.
Lastly, UV filters not only protect your lens but also enhance the clarity of your photos. Hoya and AmazonBasics offer reliable and affordable options.
Budget-Friendly Intervalometers
An intervalometer is like a remote control for your camera. It allows you to take multiple shots at set intervals, which is crucial for capturing time-lapses or long-exposure shots. And yes, you can find affordable ones.
Top Budget Intervalometers:
| Brand | Model | Price Range |
|---|---|---|
| Neewer | NW-880 | $20-$30 |
| AODELAN | TRS-80E3 | $25-$35 |
| Pixel | TW-283 | $30-$40 |
Neewer’s NW-880 is a solid choice if you’re on a tight budget. It offers all the basic functions you need for about $20-$30. AODELAN’s TRS-80E3 is another great option, slightly more expensive but still within a reasonable range. Pixel’s TW-283 is a bit pricier but offers more advanced features like a backlit display and longer battery life.
Finding Affordable Memory Cards
Memory cards are the unsung heroes of astrophotography. They store all your precious captures, and you need them to be both reliable and affordable.
Top Budget Memory Cards:
| Brand | Model | Capacity | Price Range |
|---|---|---|---|
| SanDisk | Ultra | 64GB | $15-$20 |
| Samsung | EVO Select | 64GB | $15-$20 |
| Kingston | Canvas Select | 64GB | $10-$15 |
SanDisk’s Ultra series offers great performance at a reasonable price. A 64GB card will set you back around $15-$20. Samsung’s EVO Select is another reliable option in the same price range. If you’re looking for something even cheaper, Kingston’s Canvas Select offers decent performance for about $10-$15.
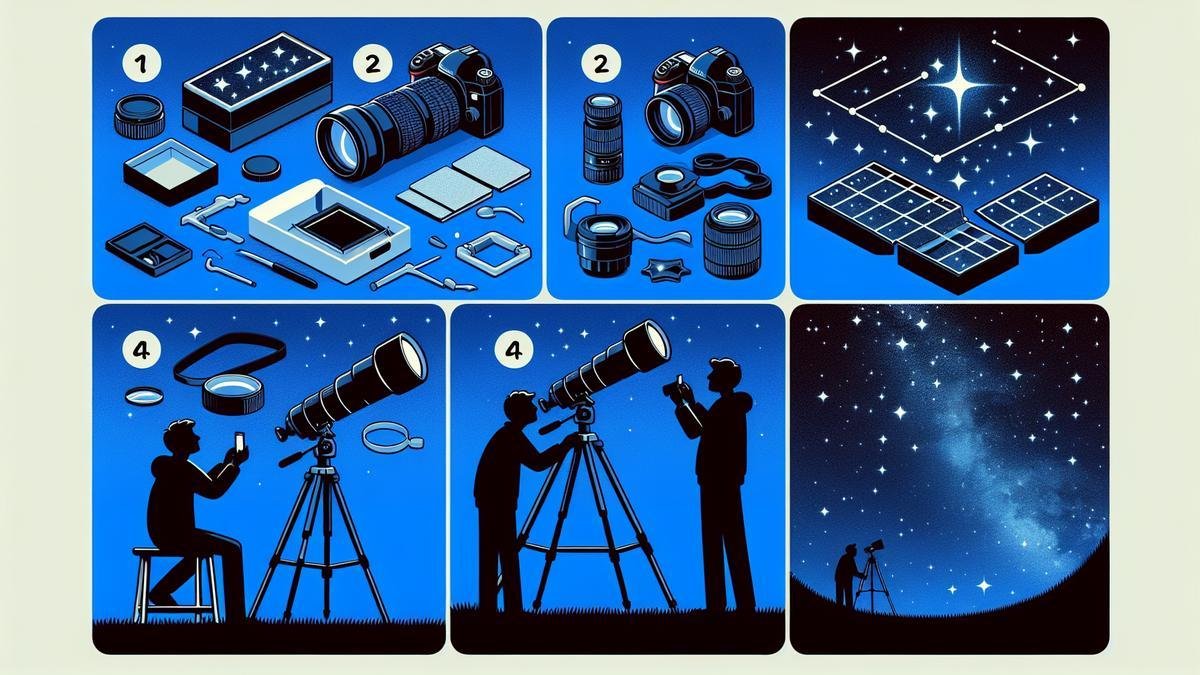
Free and Low-Cost Software for Editing
Alright, you’re ready to dive into the fascinating world of astrophotography, but you don’t want to empty your wallet on expensive editing software. No worries! There are plenty of free and affordable options that can help you turn your night sky shots into stunning masterpieces. Let’s explore some of these tools.
Best Free Editing Software
When youre starting out, you might not want to spend a lot on software. Luckily, there are some fantastic free options that can help you get the job done without costing a penny.
| Software | Key Features | Pros | Cons |
|---|---|---|---|
| GIMP | Layers, masks, and filters | Highly customizable, open-source | Steeper learning curve |
| Darktable | Non-destructive editing, RAW support | Great for photo management | Interface can be complex |
| RawTherapee | Advanced color correction, noise reduction | Excellent RAW processing | Less intuitive for beginners |
| Siril | Specialized for astrophotography | Stack and process multiple images | Limited general photo editing tools |
GIMP is like the Swiss Army knife of photo editing. It offers layers, masks, and filters, making it a powerful tool for your astrophotography needs. However, it does have a steeper learning curve. But hey, good things come to those who persevere, right?
Darktable is another gem. Its great for managing your photos and offers non-destructive editing. This means you can always go back to your original image. It’s a bit complex, but once you get the hang of it, its a powerhouse.
RawTherapee shines when it comes to RAW processing. It offers advanced color correction and noise reduction, which are crucial for astrophotography. Its not the most intuitive, but the results are worth it.
Siril is a bit different. Its specifically designed for astrophotography, allowing you to stack and process multiple images. While its limited in general photo editing tools, its a must-have for those deep-sky shots.
Affordable Paid Options
If youre willing to spend a bit, there are some affordable paid options that offer more features and user-friendly interfaces.
| Software | Price | Key Features | Pros | Cons |
|---|---|---|---|---|
| Affinity Photo | $49.99 (one-time) | Advanced editing tools, HDR merging | One-time payment, professional-grade | No cataloging |
| Adobe Photoshop Elements | $99.99 (one-time) | Guided edits, layers, filters | User-friendly, great for beginners | Limited advanced features |
| PixInsight | $260 (one-time) | Specialized for astrophotography, powerful processing tools | Highly specialized, great results | Expensive, steep learning curve |
Affinity Photo is a fantastic option. For a one-time payment of $49.99, you get advanced editing tools and HDR merging capabilities. Its professional-grade software without the subscription fee. The downside? It doesnt offer photo cataloging.
Adobe Photoshop Elements is another great choice. At $99.99, its more affordable than the full Photoshop suite and offers guided edits, layers, and filters. Its user-friendly and great for beginners, though it does lack some advanced features.
PixInsight is on the pricier side at $260, but its highly specialized for astrophotography. It offers powerful processing tools that can produce stunning results. The learning curve is steep, but if youre serious about astrophotography, its worth considering.
Maximizing Your Setup with DIY Hacks
Homemade Light Pollution Filters
You know that pesky orange glow that washes out your beautiful night sky photos? That’s light pollution. But don’t worry, you can tackle it without spending a fortune. Let’s talk about homemade light pollution filters.
Materials Needed
First, gather your materials. You’ll need:
- Transparent acrylic sheet: Get one that’s big enough to cover your camera lens.
- Red and blue cellophane: These will act as your filtering materials.
- Scissors and tape: For cutting and fixing the cellophane.
Step-by-Step Guide
- Cut the Acrylic Sheet: Trim it to match the size of your camera lens.
- Layer the Cellophane: Place the red and blue cellophane on top of each other and cut them to match the acrylic sheet.
- Attach the Cellophane: Tape the layered cellophane to the acrylic sheet.
- Mount the Filter: Secure the acrylic sheet with cellophane to the front of your lens.
This DIY filter can help reduce light pollution and enhance the contrast in your photos, making those stars pop.
DIY Dew Heaters
Dew can be a real nuisance, fogging up your lens and ruining your shots. But you don’t need to buy an expensive dew heater. Here’s how you can make one at home.
Materials Needed
- Resistor wire: You can find this at any electronics store.
- Battery pack: To power your heater.
- Electrical tape: For securing the wire.
- Velcro strips: To attach the heater to your lens.
Step-by-Step Guide
- Measure and Cut the Wire: Measure the circumference of your lens and cut the resistor wire accordingly.
- Attach the Wire to the Battery Pack: Connect the wire to the battery pack terminals.
- Secure the Wire: Use electrical tape to attach the wire around your lens.
- Add Velcro Strips: This makes it easy to attach and remove the heater.
Turn on your battery pack, and voilà! Your lens stays dew-free, ensuring clear shots all night long.
Tips for Customizing Your Gear
Customizing your gear can save you money and improve your astrophotography experience. Here are some tips to get you started.
Use a Sturdy Tripod
A shaky tripod can ruin your long-exposure shots. If you don’t have a sturdy tripod, you can make one more stable.
- Add Weight: Hang a weight (like a bag of rocks) from the center column to stabilize it.
- Use Sandbags: Place sandbags on the legs to prevent movement.
Modify Your Camera Settings
Sometimes, the best customizations are free. Adjust your camera settings to get the best results.
- ISO: Keep it low to reduce noise.
- Aperture: Use a wide aperture to let in more light.
- Shutter Speed: Experiment with longer exposures to capture more detail.
Build a DIY Star Tracker
A star tracker can help you take longer exposures without star trails. Here’s a simple way to make one.
Materials Needed:
- Two pieces of wood: One for the base and one for the arm.
- Hinge: To connect the two pieces of wood.
- Bolt and nut: To act as the pivot.
- Motor: To move the arm.
Step-by-Step Guide:
- Assemble the Base and Arm: Attach the hinge to connect the base and arm.
- Add the Pivot: Drill a hole for the bolt and secure it with the nut.
- Attach the Motor: Connect the motor to the arm to move it slowly.
This DIY star tracker will help you capture stunning, long-exposure shots without breaking the bank.
Budget Gear Options
While DIY solutions are great, sometimes you need to invest in gear. Here are some budget-friendly options.
Cameras
You don’t need the latest and greatest camera to get started. Check out some budget-friendly cameras that offer great performance without costing a fortune.
Lenses
A good lens can make a huge difference. Look for lenses with a wide aperture and good low-light performance. Here are some essential lenses that won’t break the bank.
Mounts
A stable mount is crucial for long exposures. Consider investing in a budget-friendly equatorial mount to improve your shots.
Frequently Asked Questions
What are some budget-friendly cameras for astrophotography?
For budget-friendly options, check out used DSLRs like Canon’s Rebel series or Nikon’s D3200. Mirrorless cameras like the Sony A6000 work great too.
Can I use my smartphone for astrophotography?
Absolutely! Modern smartphones with manual controls and apps like NightCap can capture stunning stars. Just use a stable tripod.
What’s a good DIY solution for a tripod?
Got an old camera tripod? Perfect! If not, build one with PVC pipes. It’s sturdy and cost-effective.
How can I save money on lenses?
Stick to a prime lens with a wide aperture like a 50mm f/1.8. Theyre cheap and deliver great results for night sky shots.
Are there budget-friendly mounts for tracking stars?
Yes! Try the Sky-Watcher Star Adventurer or iOptron SkyTracker. They’re affordable and help you capture those long-exposures.


