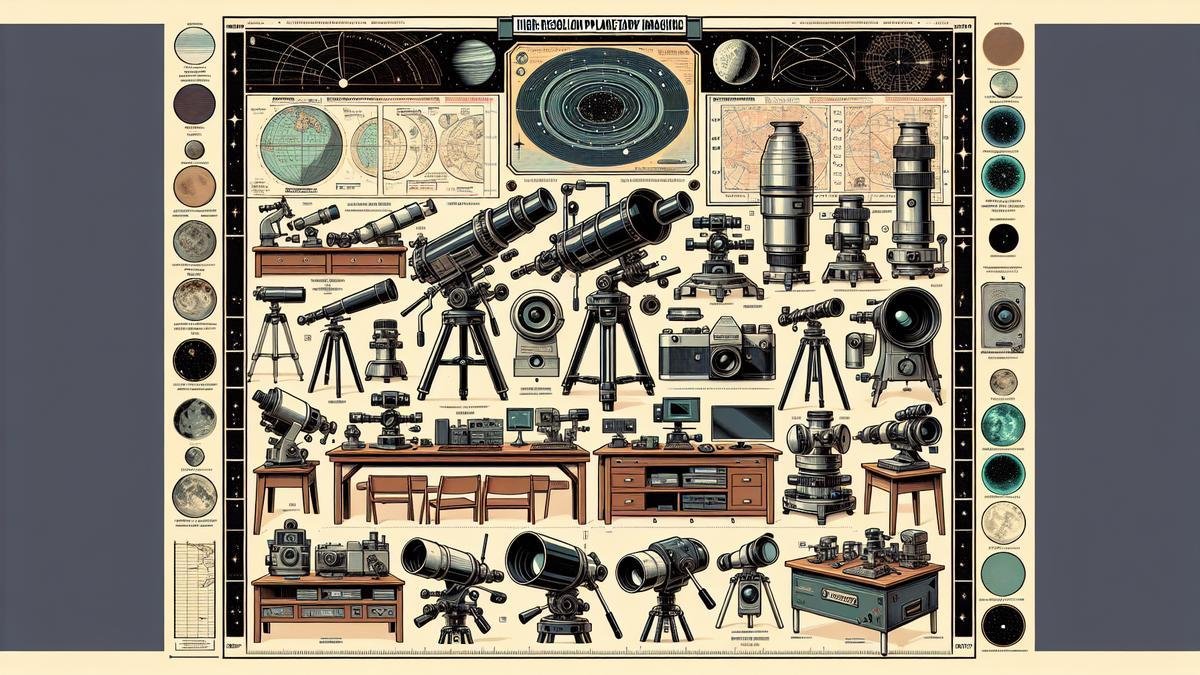
High-Resolution Planetary Imaging: Equipment and Methods is all about getting you the gear and know-how to capture stunning, detailed images of planets. Youll dive into different types of telescopes, learn essential camera equipment tips, and discover why DSLR vs. CCD cameras matter for your shots. Plus, you’ll explore software tools for image processing and get the lowdown on top techniques to make those planetary images pop. With this guide, youll be all set to uncover the secrets of the cosmos like a pro!
Key Points
- Use a high-quality telescope.
- Invest in a good camera.
- Stabilize your equipment.
- Use appropriate filters.
- Learn image processing techniques.
Choosing the Right Telescope for High-Resolution Planetary Imaging
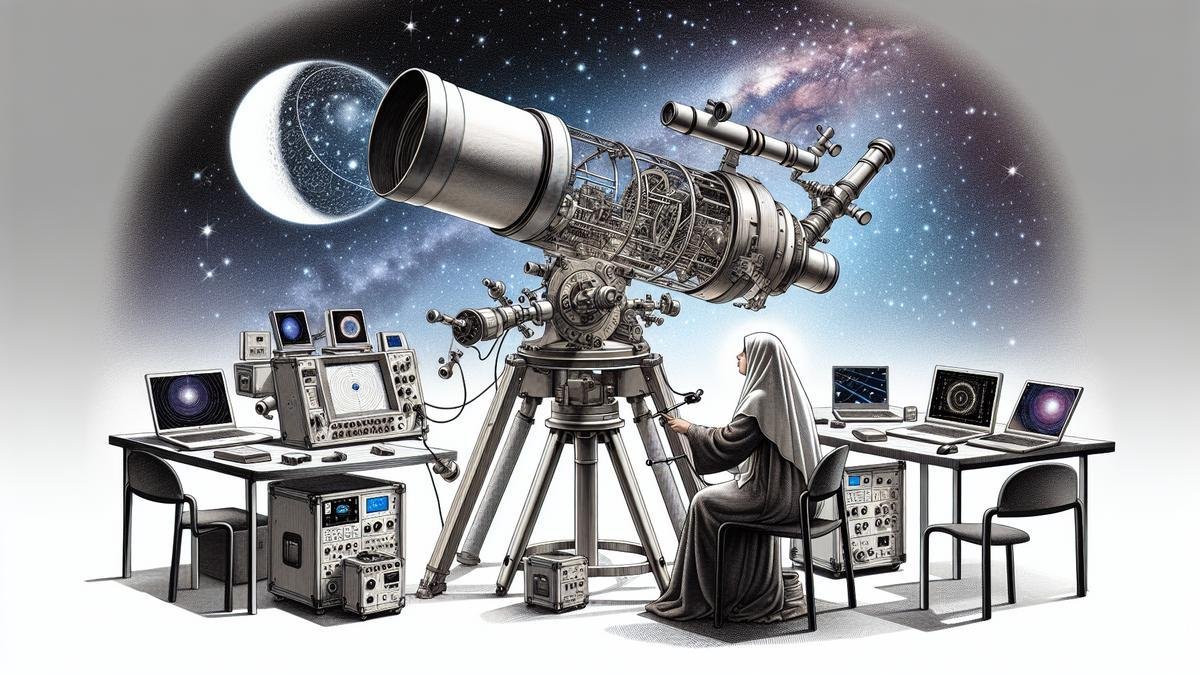
When you’re aiming to capture the breathtaking details of planets, choosing the right telescope is crucial. The right equipment can make the difference between a blurry blob and a crisp, detailed image of Jupiter’s Great Red Spot or Saturn’s rings. Let’s dive into the essentials of selecting the ideal telescope for high-resolution planetary imaging.
Types of Telescopes
There are several types of telescopes to consider, each with its own strengths and weaknesses. Understanding these can help you make an informed decision.
Refractor Telescopes
Refractor telescopes use lenses to gather and focus light. They are known for their excellent image quality and are often recommended for planetary imaging. However, they can be expensive, especially those with larger apertures.
Reflector Telescopes
Reflector telescopes use mirrors instead of lenses. They are generally more affordable than refractors and can offer larger apertures for the same price. However, they require more maintenance and can suffer from issues like coma, which distorts images at the edges.
Catadioptric Telescopes
Catadioptric telescopes combine lenses and mirrors, offering a compact design and good image quality. They are versatile and often come with motorized mounts, making them a popular choice for astrophotography.
| Telescope Type | Strengths | Weaknesses |
|---|---|---|
| Refractor Telescopes | Excellent image quality | Expensive |
| Reflector Telescopes | Affordable, larger apertures | Requires maintenance, coma issues |
| Catadioptric Telescopes | Compact, versatile, good image quality | Can be pricey |
Aperture and Magnification
When it comes to planetary imaging, aperture and magnification are key factors. The aperture is the diameter of the telescope’s main lens or mirror and determines how much light the telescope can gather. More light means better resolution and more detailed images.
Aperture
A larger aperture allows more light to enter the telescope, which is crucial for capturing detailed images of distant planets. For high-resolution planetary imaging, an aperture of at least 8 inches is recommended.
Magnification
Magnification is also important but can be a bit tricky. Too much magnification can lead to blurry images if the telescope’s aperture isn’t large enough to support it. A good rule of thumb is to use a magnification of 50x per inch of aperture.
| Aperture Size | Recommended Magnification |
|---|---|
| 4 inches | Up to 200x |
| 6 inches | Up to 300x |
| 8 inches | Up to 400x |
| 10 inches | Up to 500x |
Best Telescope Brands
When investing in a telescope for planetary imaging, you’ll want to go with a trusted brand. Here are some of the best telescope brands known for their quality and reliability.
Celestron
Celestron is a well-known name in the world of telescopes. They offer a wide range of models, from beginner to advanced, and are known for their excellent optics and build quality.
Meade Instruments
Meade Instruments is another top brand, offering high-quality telescopes with advanced features. Their catadioptric models are particularly popular among astrophotographers.
Orion Telescopes & Binoculars
Orion offers a variety of telescopes suitable for all skill levels. They are known for their affordable yet high-quality options, making them a favorite among amateur astronomers.
Sky-Watcher
Sky-Watcher provides a range of telescopes that are both affordable and high-performing. They are particularly known for their Dobsonian reflectors, which offer large apertures at a lower cost.
| Brand | Strengths | Popular Models |
|---|---|---|
| Celestron | Excellent optics, wide range | Celestron NexStar, Celestron EdgeHD |
| Meade Instruments | Advanced features, high-quality optics | Meade LX200, Meade ETX |
| Orion | Affordable, good quality | Orion SkyQuest, Orion AstroView |
| Sky-Watcher | Affordable, high performance | Sky-Watcher Dobsonian, Sky-Watcher ProED |
Additional Considerations
Mounts and Tracking Systems
A good mount is essential for high-resolution planetary imaging. Equatorial mounts are often recommended because they allow for precise tracking of celestial objects. For more on this, check out this guide to astrophotography mounts and tracking systems.
Filters
Using filters can enhance the details in your planetary images. For example, a red filter can bring out the details in Mars’ surface, while a blue filter can highlight Jupiter’s cloud bands. Learn more about the best filters for astrophotography here.
Cameras
The camera you use can also make a big difference. DSLRs and mirrorless cameras are both popular choices, but each has its pros and cons. For a detailed comparison, take a look at this article on DSLRs vs. mirrorless cameras.
Essential Camera Equipment for Planetary Imaging
When youre diving into the fascinating world of planetary imaging, the right gear can make all the difference. Capturing detailed images of planets requires more than just a good eye; it demands specific equipment and settings to bring out the celestial beauty in your photos.
DSLR vs. CCD Cameras
Choosing the right camera is the first step. You might wonder whether to use a DSLR or a CCD camera. Both have their strengths and weaknesses, so lets break it down.
| Feature | DSLR | CCD |
|---|---|---|
| Image Quality | Excellent for general use | Superior for astrophotography |
| Sensitivity | Good, but may need longer exposure | High sensitivity to light |
| Cost | Generally more affordable | Can be quite expensive |
| Portability | Lightweight and versatile | Often bulkier and less portable |
| Ease of Use | User-friendly for beginners | Requires more technical know-how |
DSLRs are versatile and can be used for a variety of photography types, making them a popular choice for those just starting. They offer good image quality and are more budget-friendly. However, CCD cameras are designed specifically for astrophotography, providing higher sensitivity and better image quality for capturing faint details of planets. They are, however, more expensive and might require a steeper learning curve.
Camera Settings for Clear Images
Getting the right settings on your camera is crucial for planetary imaging. Heres what you need to know:
ISO
ISO settings control your cameras sensitivity to light. For planetary imaging, you typically want a lower ISO to reduce noise and achieve clearer images. Start with an ISO of 100 or 200 and adjust as needed.
Aperture
Aperture settings determine how much light enters the camera. A wider aperture (lower f-number) allows more light, which is beneficial for capturing faint planetary details. However, be cautious of too much light, which can overexpose your image.
Shutter Speed
Shutter speed is another critical setting. For planetary imaging, youll often use a slower shutter speed to allow more light to hit the sensor. However, too slow a shutter speed can result in blurry images due to the Earths rotation. Experiment with different speeds to find the sweet spot.
Recommended Camera Models
When it comes to choosing a camera, here are some models that are highly recommended for planetary imaging:
| Camera Model | Type | Key Features |
|---|---|---|
| Canon EOS 90D | DSLR | 32.5 MP, 4K video, Dual Pixel AF |
| Nikon D850 | DSLR | 45.7 MP, 4K UHD video, excellent dynamic range |
| ZWO ASI1600MM Pro | CCD | 16 MP, high sensitivity, cooling system to reduce noise |
| QHYCCD QHY8L | CCD | 6 MP, one-shot color, low noise, high sensitivity |
| Sony Alpha a7 III | Mirrorless | 24.2 MP, high ISO performance, 4K video |
These cameras provide a range of options, from affordable DSLRs to high-end CCD cameras. Each model has its unique strengths, so consider what features are most important to you.
For more detailed information on camera options, check out our comprehensive guide on the top cameras for astrophotography in 2024.
Lenses and Filters
In addition to the camera itself, the lenses and filters you use can significantly impact your planetary images. A good lens will provide the necessary focal length and clarity, while filters can enhance specific details and reduce unwanted light.
Essential Lenses
For planetary imaging, youll need lenses with a long focal length to capture the small details of distant planets. Here are some top choices:
| Lens | Focal Length | Key Features |
|---|---|---|
| Canon EF 300mm f/2.8L IS II USM | 300mm | Excellent sharpness, image stabilization |
| Nikon AF-S NIKKOR 200-500mm f/5.6E ED VR | 200-500mm | Versatile zoom range, vibration reduction |
| Sigma 150-600mm f/5-6.3 DG OS HSM | 150-600mm | Affordable, good image quality, optical stabilization |
For more on lenses, you might find our guide on essential lenses for capturing the night sky helpful.
Filters
Filters can enhance your images by reducing glare and highlighting specific details. Here are some useful filters for planetary imaging:
| Filter | Purpose | Key Features |
|---|---|---|
| UV/IR Cut Filter | Blocks unwanted UV and IR light | Improves image clarity and sharpness |
| Light Pollution Filter | Reduces light pollution effects | Enhances contrast and detail |
| Color Filters | Enhances specific wavelengths | Helps in capturing specific planetary details |
Check out our article on the best filters for enhancing your astrophotography shots for more detailed information.
Tripods and Mounts
Stability is key in astrophotography. A sturdy tripod and a reliable mount will keep your camera steady and allow for precise tracking of celestial objects.
Tripods
A good tripod will provide the stability you need for long exposure shots. Here are some recommended models:
| Tripod | Key Features |
|---|---|
| Manfrotto MT055CXPRO4 | Carbon fiber, lightweight, versatile positioning |
| Gitzo GT3543LS Systematic | High load capacity, excellent stability, modular design |
| Benro Mach3 TMA37C | Carbon fiber, sturdy, affordable |
For more options, our guide on tripods for astrophotography provides a comprehensive overview.
Mounts
Mounts are crucial for tracking celestial objects. Here are some top choices:
| Mount | Type | Key Features |
|---|---|---|
| Sky-Watcher EQ6-R Pro | Equatorial | High load capacity, precise tracking, user-friendly |
| Celestron AVX | Equatorial | Affordable, good tracking accuracy, easy to set up |
| iOptron CEM60 | Center-balanced | High precision, lightweight, excellent tracking |
For more detailed information on mounts, check out our guide on astrophotography mounts and tracking systems.
Software for Post-Processing
Post-processing is an essential step in astrophotography. It allows you to bring out the details and colors in your images that might not be visible initially.
Recommended Software
Here are some of the best software options for post-processing your planetary images:
| Software | Purpose | Key Features |
|---|---|---|
| Adobe Photoshop | General editing | Powerful editing tools, layers, and masks |
| PixInsight | Astrophotography-specific | Advanced processing tools, excellent for noise reduction and detail enhancement |
| DeepSkyStacker | Stacking images | Free, easy to use, great for combining multiple exposures |
For more on post-processing, our article on best software for editing astrophotography images provides a comprehensive guide.
Accessories
Dont forget the accessories that can make your astrophotography experience smoother and more enjoyable. Here are some must-have items:
| Accessory | Purpose | Key Features |
|---|---|---|
| Remote Shutter Release | Prevents camera shake | Wired or wireless options, essential for long exposures |
| Portable Power Supply | Keeps your equipment running | High capacity, multiple output options |
| Red LED Headlamp | Preserves night vision | Adjustable brightness, hands-free operation |
For a complete list of essential accessories, check out our article on must-have accessories for every astrophotographer.
Combining Multiple Exposures
One technique that can significantly enhance your planetary images is combining multiple exposures. This process, known as stacking, can help reduce noise and bring out finer details.
Stacking Software
Here are some recommended software options for stacking your images:
| Software | Purpose | Key Features |
|---|---|---|
| RegiStax | Stacking and processing | Free, easy to use, excellent for planetary imaging |
| AutoStakkert! | Stacking | Fast, efficient, great for high-resolution images |
| AstroPixelProcessor | Stacking and processing | Advanced features, excellent for both planetary and deep-sky imaging |
For more information on stacking, our article on combining and stacking images for astrophotography provides a detailed guide.
Advanced Techniques
Once youve mastered the basics, there are several advanced techniques you can explore to take your planetary imaging to the next level.
High Dynamic Range (HDR)
HDR imaging involves taking multiple exposures at different shutter speeds and combining them to create a single image with a greater range of light and dark areas. This technique can help you capture the full dynamic range of planets.
Infrared Imaging
Infrared imaging allows you to capture details that are not visible in the normal light spectrum. This technique requires a specialized infrared filter and can reveal fascinating details of planetary atmospheres.
For more advanced techniques, our articles on creating HDR astrophotography images and infrared astrophotography provide in-depth guides.
Software Tools for Image Processing
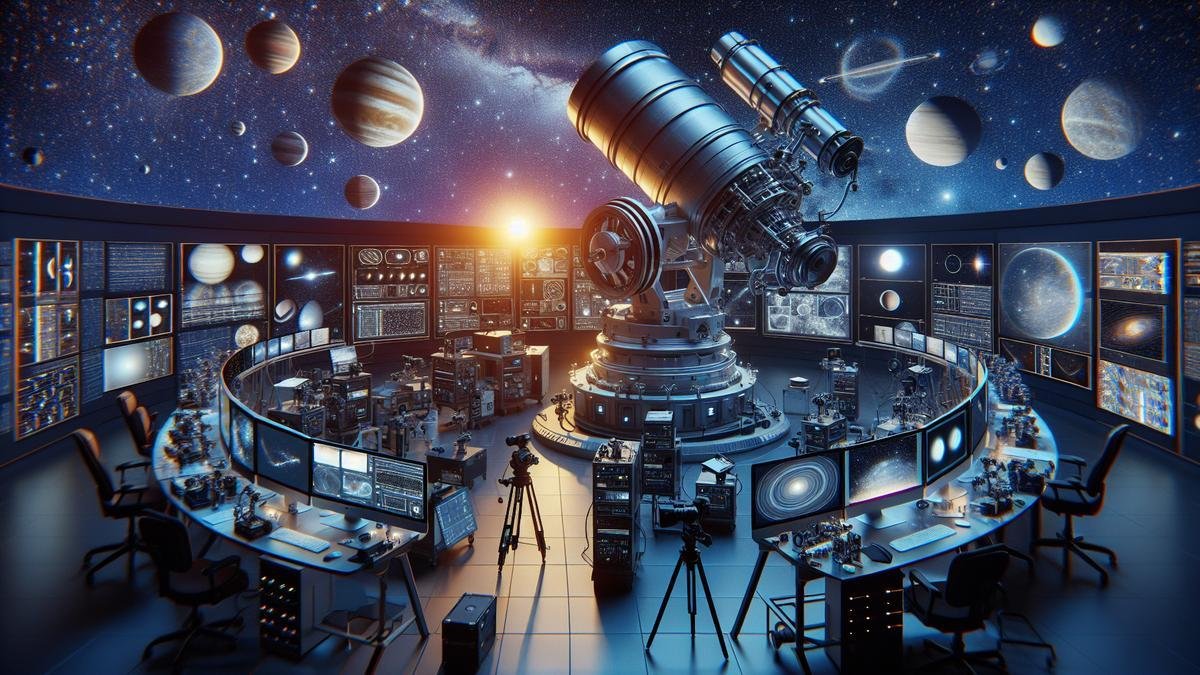
When you’re diving into the world of high-resolution planetary imaging, capturing the planets’ intricate details isn’t just about the right equipment. Once you’ve got your data, you’ll need to process it meticulously to bring out the best in your images. Let’s explore the software tools that can help you achieve stunning results.
Free vs. Paid Software
Choosing between free and paid software can be a bit like deciding between a trusty old car and a shiny new sports car. Both will get you where you need to go, but the ride might be a bit different.
Free Software:
Free software often offers a great starting point, especially if you’re new to astrophotography. These tools can provide robust features without the cost, allowing you to learn and experiment without financial pressure.
| Software | Features | Pros | Cons |
|---|---|---|---|
| GIMP | Image editing | Free, versatile | Steep learning curve |
| RegiStax | Stacking, wavelet processing | Specialized for planetary imaging | Limited advanced features |
| DeepSkyStacker | Stacking multiple exposures | Easy to use, free | Focused on deep-sky rather than planets |
Paid Software:
Paid software, on the other hand, often comes with more advanced features, better support, and regular updates. These tools can be worth the investment as you progress and seek more precise control over your images.
| Software | Features | Pros | Cons |
|---|---|---|---|
| Adobe Photoshop | Advanced image editing | Powerful, widely used | Expensive subscription |
| PixInsight | Comprehensive astrophotography processing | High-quality results | Steep learning curve, costly |
| AstroPixelProcessor | Stacking, calibration | User-friendly, powerful | Expensive |
Basic Image Processing Steps
Now that you know your software options, let’s break down the basic steps you’ll follow to process your planetary images.
1. Stacking:
Stacking is like baking a cake. You combine multiple images to create a final product that’s richer and more detailed. This process reduces noise and enhances details, making your planets pop.
2. Alignment:
Just like aligning a telescope, you need to align your images. This ensures that the details from each frame line up perfectly, providing a sharper final image.
3. Wavelet Processing:
Wavelet processing is a bit like sharpening a pencil. It enhances the fine details in your image, bringing out the textures and features of the planets.
4. Color Correction:
Color correction is essential to make your planets look natural. Adjust the colors to match what you see through your telescope, ensuring that the hues are accurate and vibrant.
5. Final Touches:
Finally, add any finishing touches. This might include cropping, adjusting brightness and contrast, or adding labels and annotations to your image.
Techniques for Capturing Sharp Planetary Images
When you’re aiming to capture the intricate details of distant planets, the key lies in mastering a few essential techniques. Let’s dive into the nitty-gritty of high-resolution planetary imaging.
Focus and Exposure Tips
Getting the focus and exposure just right can make or break your planetary images. Here are some critical pointers to help you out:
Focus
- Use a Bahtinov Mask: This simple tool helps achieve precise focus by creating diffraction spikes around stars. When the spikes align perfectly, you know you’re in sharp focus.
- Live View Zoom: Most modern cameras have a live view feature. Zoom in on a bright star and adjust the focus until the star appears as a tiny point of light.
- Electronic Focusers: These gadgets allow for fine-tuning focus remotely, reducing vibrations that can blur your images.
Exposure
- Short Exposures: Planets are bright, so you don’t need long exposures. Short exposures reduce the impact of atmospheric turbulence.
- High Frame Rate: Capture video at a high frame rate. This increases the chances of getting frames where the atmosphere is stable, resulting in sharper images.
- Histogram Check: Ensure your histogram is not clipping highlights or shadows. Proper exposure ensures you capture all the details without losing any information.
Using Filters for Better Detail
Filters can significantly enhance the details in your planetary images. Heres a breakdown of the most useful ones:
Color Filters
- Red, Green, Blue (RGB) Filters: These are essential for capturing color images. By taking separate exposures with each filter, you can combine them to create a full-color image.
- Infrared (IR) Pass Filters: These filters allow only IR light to pass through, reducing the effects of atmospheric turbulence and revealing more surface details.
Specialized Filters
- UV/IR Cut Filters: These filters block unwanted ultraviolet and infrared light, which can cause blurring and color fringing.
- Narrowband Filters: Useful for isolating specific wavelengths, these filters can help highlight particular features on planets, such as methane bands on Jupiter.
Common Mistakes to Avoid
Even experienced astrophotographers can make mistakes. Here are some common pitfalls and how to avoid them:
Poor Alignment
- Polar Alignment: Ensure your mount is accurately polar aligned. Misalignment can cause tracking errors, leading to blurred images.
- Collimation: Regularly check and adjust the collimation of your telescope. Misaligned optics can degrade image quality.
Overexposure
- Histogram Management: Avoid overexposing your images. Check the histogram to ensure you’re capturing the full range of details without clipping highlights.
- Gain Settings: Use appropriate gain settings. Too high a gain can introduce noise, while too low a gain can result in underexposure.
Insufficient Data
- Stacking: Capture multiple frames and stack them to reduce noise and enhance detail. Single frames often lack the necessary signal-to-noise ratio.
- Dithering: Slightly adjust the position of your telescope between exposures to reduce the impact of fixed pattern noise.
Essential Equipment for High-Resolution Planetary Imaging
To capture stunning planetary images, you need the right equipment. Heres a list of must-have gear:
Telescopes
- Aperture Size: Larger apertures gather more light and reveal finer details. Consider telescopes with at least 8 inches of aperture.
- Focal Length: Longer focal lengths provide higher magnification, essential for capturing small planetary details.
Cameras
- High Frame Rate Cameras: These cameras capture video at high frame rates, increasing the chances of getting sharp frames.
- Monochrome Cameras: Paired with RGB filters, monochrome cameras can capture more detail than color cameras.
Mounts and Tracking Systems
- Equatorial Mounts: These mounts provide accurate tracking, essential for long exposure astrophotography.
- Autoguiders: These devices help maintain precise tracking by correcting any deviations in real-time.
Filters
- UV/IR Cut Filters: Essential for blocking unwanted light and improving image sharpness.
- Narrowband Filters: Useful for isolating specific features on planets.
Setting Up Your Imaging Session
Choosing the Best Time and Location
Astrophotography is a dance with the cosmos. Timing and location are your partners. The first step? Scout a dark sky location. Light pollution is your enemy. Websites like Dark Sky Finder can help you locate the perfect spot.
Timing is crucial. Plan your session around the new moon. The absence of moonlight allows the stars and planets to shine in their full glory. Use apps like Stellarium or SkySafari to track planetary positions and visibility.
Preparing Your Equipment
Your gear is your toolkit for capturing the wonders of the universe. Here’s what you’ll need:
- Camera: A DSLR or mirrorless camera with a high ISO range. Top 10 Cameras for Astrophotography in 2024
- Lenses: A variety of lenses for different celestial objects. Essential Lenses for Capturing the Night Sky
- Telescope: A high-quality telescope for detailed planetary imaging. How to Choose the Best Telescope for Astrophotography
- Tripod: Stability is key. Invest in a sturdy tripod. Tripods for Astrophotography: Stability and Precision
- Filters: Enhance your images with specialized filters. The Best Filters for Enhancing Your Astrophotography Shots
- Mounts and Tracking Systems: Accurate tracking is essential for long exposures. Guide to Astrophotography Mounts and Tracking Systems
Troubleshooting Common Issues
Even the best-laid plans can go awry. Here are some common issues and solutions:
- Blurry Images: Often caused by camera shake. Use a remote shutter release or timer.
- Poor Focus: Achieving perfect focus can be tricky. Use live view and magnify the image to fine-tune focus.
- Battery Drain: Cold nights can drain batteries quickly. Bring spares or consider Portable Power Solutions for Nighttime Astrophotography.
- Tracking Errors: Ensure your mount is properly aligned. Regularly check and adjust as needed.
High-Resolution Planetary Imaging: Equipment and Methods
Cameras and Lenses
For high-resolution planetary imaging, your choice of camera and lens is critical. A camera with a high frame rate and low noise is ideal. DSLRs and mirrorless cameras are popular choices. Comparing DSLRs and Mirrorless Cameras for Astrophotography can help you decide.
A telephoto lens or a planetary imaging camera is essential for capturing detailed images of planets. Consider the following:
| Camera Type | Pros | Cons |
|---|---|---|
| DSLR | Versatile, High-quality images | Heavier, Requires more accessories |
| Mirrorless | Lightweight, Fast frame rates | Battery life can be shorter |
| Planetary Imaging Cam | Optimized for planetary imaging, High detail | Limited to planetary imaging, Expensive |
Telescopes and Mounts
A good telescope is the heart of your setup. Aperture and focal length are key. Larger apertures gather more light, while longer focal lengths provide higher magnification.
| Telescope Type | Pros | Cons |
|---|---|---|
| Refractor | Sharp images, Easy to use | More expensive, Chromatic aberration possible |
| Reflector | Larger apertures, No chromatic aberration | Requires regular maintenance, Bulkier |
| Catadioptric | Compact, Versatile | More expensive, Complex design |
Mounts are equally important. An equatorial mount with a tracking system is recommended for accurate tracking of planetary movements.
Filters and Accessories
Filters can enhance your planetary images by reducing glare and increasing contrast. Consider these options:
| Filter Type | Purpose |
|---|---|
| UV/IR Cut Filter | Blocks unwanted ultraviolet and infrared light |
| Color Filters | Enhances specific features on planets |
| Light Pollution | Reduces the impact of light pollution |
Accessories like Barlow lenses can increase magnification, while a dew shield can prevent moisture buildup on your telescope lens.
Capturing the Planets
Once your equipment is set up, it’s time to capture the planets. Here are some tips:
- Focus on One Planet: Start with a bright planet like Jupiter or Saturn.
- Use High Frame Rates: Capture many frames quickly to increase the chances of getting clear images.
- Stack Images: Combine multiple images to enhance detail and reduce noise. Combining and Stacking Images for Astrophotography can guide you through the process.
Post-Processing
Post-processing is where the magic happens. Software like RegiStax and AutoStakkert can help you stack and process your images. Best Software for Editing Astrophotography Images provides a comprehensive list of tools to enhance your planetary shots.
Reducing Noise
Noise can be a significant issue in astrophotography. Techniques like dark frame subtraction and noise reduction software can help. How to Reduce Noise in Astrophotography Photos offers practical tips.
Enhancing Colors
Planets often display vibrant colors. Enhance these using color balance and saturation adjustments. Techniques for Enhancing Star Colors in Astrophotography can also be applied to planetary imaging.
Advanced Techniques
For those looking to take their planetary imaging to the next level, consider these advanced techniques:
- Infrared Imaging: Captures details not visible in the standard spectrum. Infrared Astrophotography: Capturing the Invisible Universe offers insights.
- High Dynamic Range (HDR): Combines images at different exposures to capture a wider range of detail. Creating HDR Astrophotography Images can guide you through the process.
Software and Planning
Planning your imaging session is crucial. Software like Stellarium and SkySafari can help you plan your session. Using Software for Advanced Astrophotography Planning offers a detailed guide.
Printing and Sharing
Once you’ve captured and processed your images, consider printing them. High-quality prints can be a stunning addition to your home or office. Tips for Printing Your Astrophotography Images provides practical advice.
Advanced Methods for High-Resolution Imaging
When you’re diving into the world of high-resolution planetary imaging, it’s like stepping into a treasure trove of techniques and equipment. The goal is to capture those breathtaking, detailed images of planets that make you feel like you’re right there, floating in space. Let’s explore the advanced methods that can help you achieve this.
Stacking Multiple Images
One of the most powerful techniques in your astrophotography toolkit is stacking multiple images. This method involves taking numerous photos of the same celestial object and then combining them to create a single, high-quality image. Here’s why it’s so effective:
- Reduces Noise: By stacking images, you significantly reduce the noise that plagues single exposures.
- Enhances Detail: The more images you stack, the clearer and more detailed your final image becomes.
- Improves Signal-to-Noise Ratio: This is crucial for capturing faint details that would otherwise be lost.
Steps to Stack Images
- Capture Multiple Images: Use a camera with a high frame rate to take numerous shots in quick succession.
- Align the Images: Software like RegiStax or AutoStakkert! can help you align your images perfectly.
- Combine the Images: Use the same software to stack the aligned images, enhancing the overall quality.
Table: Essential Software for Image Stacking
| Software | Features | Price |
|---|---|---|
| RegiStax | Wavelet sharpening, alignment | Free |
| AutoStakkert! | Auto alignment, multi-point stacking | Free |
| DeepSkyStacker | Calibration frames, comet stacking | Free |
For more on this, you might want to check out Combining Multiple Exposures for Detailed Astrophotography.
Using Adaptive Optics
Adaptive optics is like having a magic wand that can correct the distortions caused by Earth’s atmosphere. This technology is a game-changer for high-resolution planetary imaging.
How Adaptive Optics Work
- Real-Time Adjustments: Adaptive optics systems make real-time adjustments to the telescope’s optics to counteract atmospheric turbulence.
- Sharper Images: These adjustments result in much sharper and more detailed images.
Table: Adaptive Optics Systems
| System | Features | Price Range |
|---|---|---|
| AO-8A | CCD camera compatibility, USB control | $1,500 – $2,000 |
| SXV-AO-LF | High-speed tilt mirror, USB interface | $2,000 – $3,000 |
| Gemini AO | Dual-axis control, high precision | $3,000 – $5,000 |
Benefits of Advanced Techniques
Using advanced techniques like stacking multiple images and adaptive optics offers numerous benefits that can elevate your astrophotography game to new heights.
Enhanced Image Quality
- Sharper Details: These techniques help you capture the intricate details of planetary surfaces, such as the bands of Jupiter or the rings of Saturn.
- Reduced Noise: By stacking multiple images, you can significantly reduce noise, resulting in cleaner and more professional-looking photos.
Frequently Asked Questions
What equipment do you need for high-resolution planetary imaging?
To capture sharp planetary images, you need a high-quality telescope, a good camera, and stable mounting. A Barlow lens helps too.
What types of telescopes are best for high-resolution planetary imaging?
Use a Newtonian reflector or a Schmidt-Cassegrain telescope. They offer great resolution and clarity for planet details.
How do you choose the right camera for planetary imaging?
A dedicated astro camera is best. Look for one with high frame rates and low noise. Webcams can also work in a pinch.
Can software help improve the quality of planetary images?
Yes! Software like RegiStax and AutoStakkert! enhances details and reduces noise. They stack multiple images to increase clarity.
What conditions are ideal for high-resolution planetary imaging?
Shoot when the sky is steady and clear. Avoid nights with high wind or turbulence. The planet should also be high in the sky.

