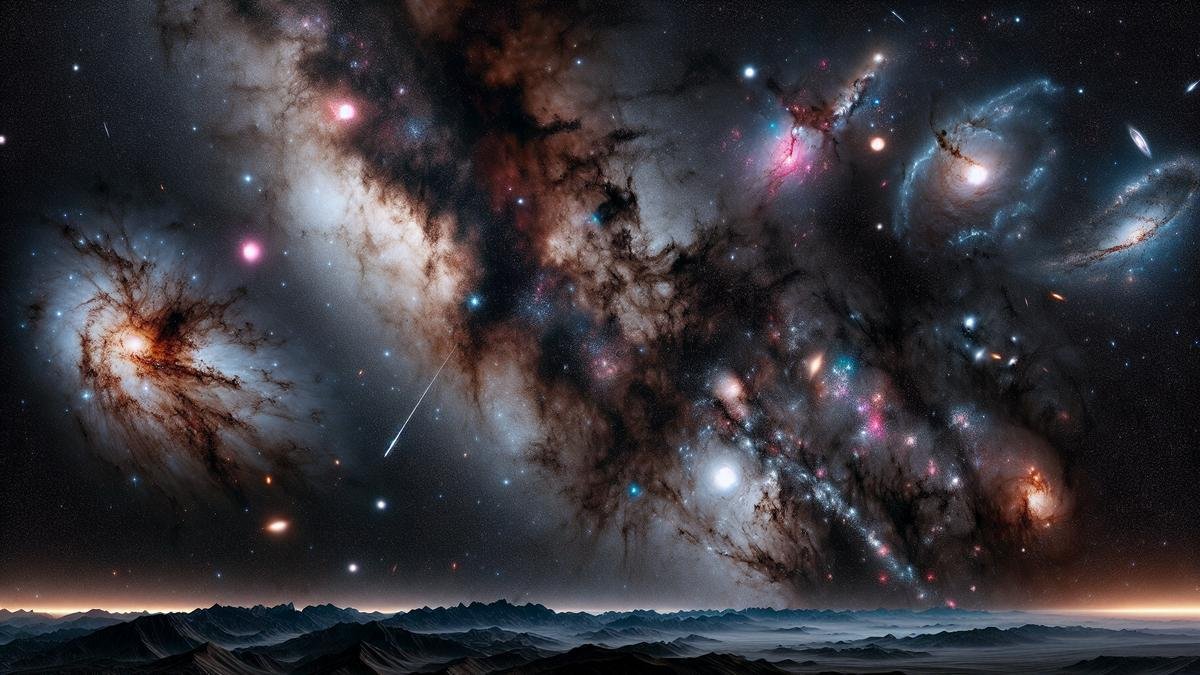
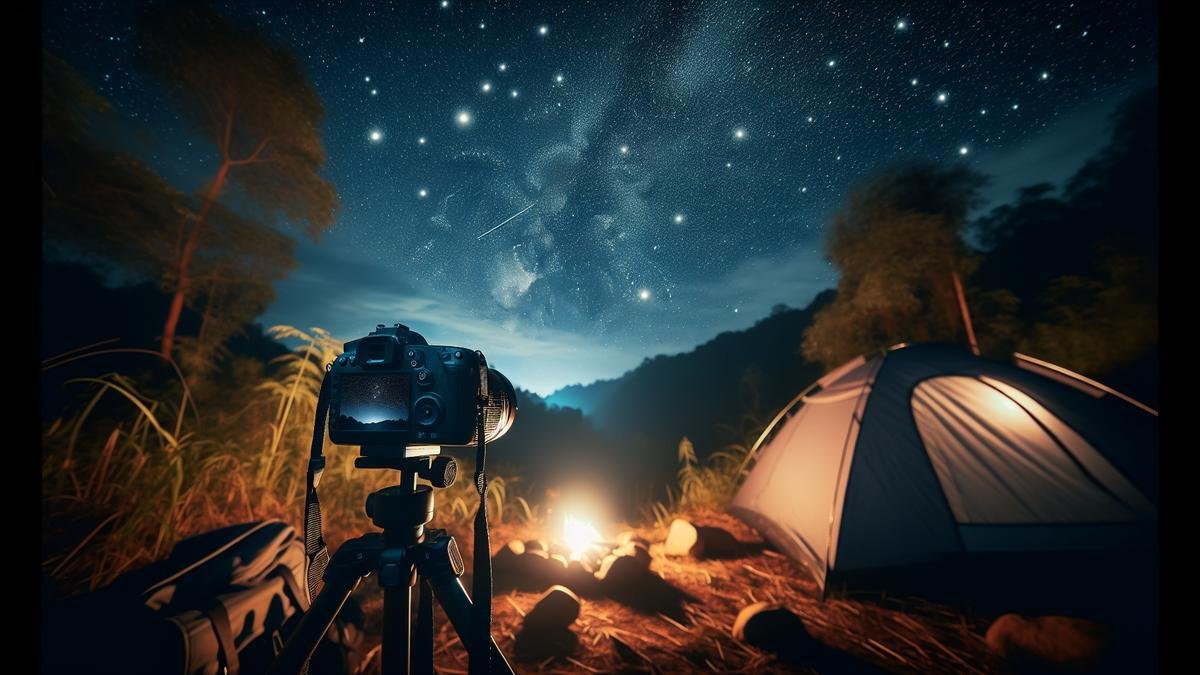
High Dynamic Range (HDR) Imaging in Astrophotography can transform how you capture the night sky! If you’re curious about unlocking rich details and vivid colors in your celestial photos, then you’re in for a treat. This article will guide you through the basics of HDR Imaging, explain why it’s a game-changer for astrophotographers, and walk you through the essential equipment and step-by-step techniques. Learn how to post-process your images for that perfect shot and tackle common challenges along the way. Ready to elevate your night sky photos? Lets get started!
Main Points to Remember
- Understand HDR blends multiple exposures.
- Capture details in both bright stars and dark sky.
- Use a sturdy tripod for stable shots.
- Merge images with HDR software.
- Experiment with different exposure settings.
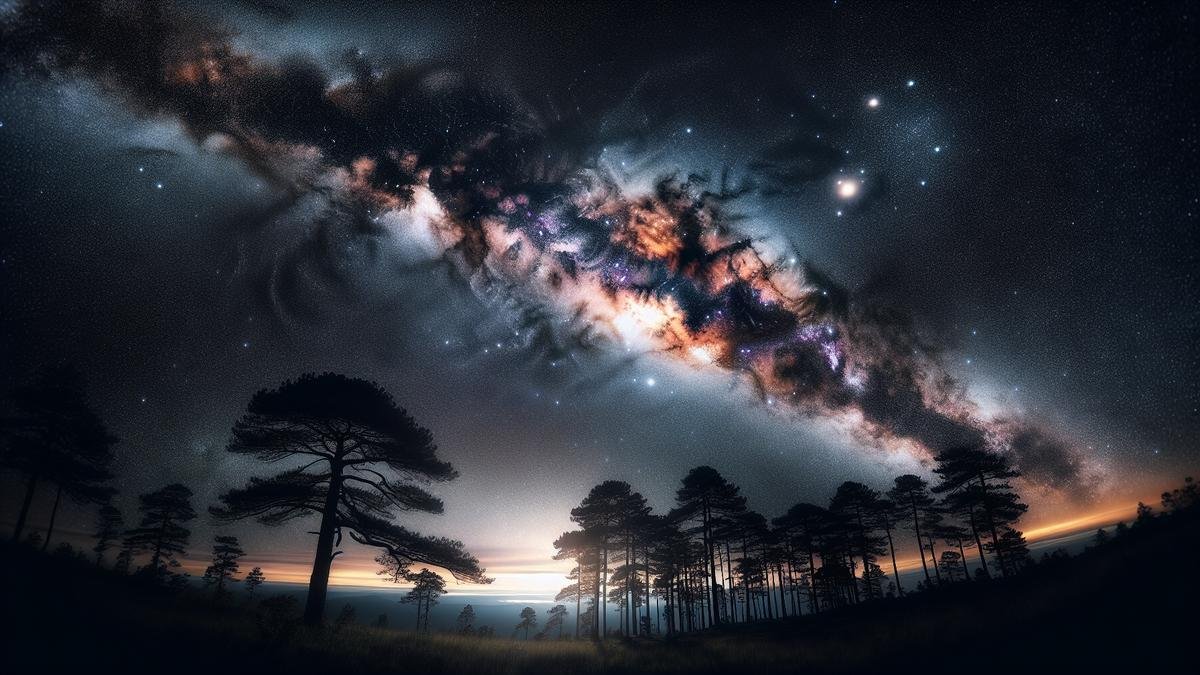
Basics of High Dynamic Range (HDR) Imaging in Astrophotography
What is HDR Imaging?
HDR, or High Dynamic Range, is a technique that combines multiple images taken at different exposures to create a single, balanced photograph. Imagine youre capturing a night sky full of stars. Some stars are bright, while others are faint. With a single exposure, you might miss out on the faint stars or overexpose the bright ones. HDR imaging helps you capture all the details by merging various shots.
Table: Key Elements of HDR Imaging
| Element | Description |
|---|---|
| Multiple Exposures | Combining images taken at different exposure levels. |
| Software | Specialized tools to merge and process HDR images. |
| Dynamic Range | Capturing both the brightest and darkest parts of the scene. |
Why Use HDR in Astrophotography?
Astrophotography is all about capturing the beauty of the night sky. But the sky can be tricky. The dynamic range between the bright stars and the dark sky is vast. HDR allows you to bridge this gap, ensuring every detail is visible.
Benefits of HDR in Astrophotography
- Enhanced Detail: Reveal both bright and faint celestial objects.
- Balanced Exposure: Avoid overexposure and underexposure in a single shot.
- Vivid Colors: Capture the true colors of stars and nebulae.
Essential Equipment for HDR Astrophotography
Venturing into HDR astrophotography can be thrilling. Youre about to capture the night sky in ways that will leave people in awe. But first, you need the right gear. Lets dive into the essentials.
Choosing the Right Camera
Your camera is your most vital tool. For HDR astrophotography, you need a camera that can handle long exposures, has low noise levels, and a wide dynamic range. Heres a quick look at what to consider:
| Feature | Description |
|---|---|
| Sensor Type | Full-frame sensors are preferable for their larger size, which captures more light and detail. |
| ISO Performance | High ISO capabilities help in capturing faint celestial objects without excessive noise. |
| Dynamic Range | A wider dynamic range allows you to capture more detail in both the bright and dark areas of the sky. |
| Manual Controls | Essential for adjusting exposure, focus, and other settings with precision. |
Pro Tip: Mirrorless cameras are becoming increasingly popular due to their lightweight design and electronic viewfinders.
Important Lens Features
The lens is just as crucial as the camera. It determines how much light hits the sensor and the quality of the image. Heres what you should look for:
| Feature | Description |
|---|---|
| Aperture | A wide aperture (f/2.8 or lower) allows more light to reach the sensor, crucial for night photography. |
| Focal Length | Wide-angle lenses (14mm to 24mm) are ideal for capturing expansive night skies. |
| Optical Quality | Look for lenses with minimal chromatic aberration and distortion. |
| Manual Focus | Essential for achieving sharp stars, as autofocus often struggles in low light. |
Pro Tip: Prime lenses often offer better optical quality and wider apertures compared to zoom lenses.
Tripods and Stability
A stable tripod is non-negotiable in astrophotography. Long exposures require your camera to remain absolutely still. Heres what to consider:
| Feature | Description |
|---|---|
| Build Material | Carbon fiber tripods are lightweight yet sturdy. |
| Load Capacity | Ensure the tripod can comfortably support your camera and lens. |
| Height and Flexibility | Adjustable height and a ball head for easy maneuvering are essential. |
| Weight | A lightweight tripod is easier to carry, especially if youre hiking to your shooting location. |
Pro Tip: Use a remote shutter release or a timer to avoid camera shake when taking long exposures.
Additional Gear
Apart from the core equipment, there are a few other items that can significantly enhance your HDR astrophotography experience:
| Gear | Description |
|---|---|
| Star Tracker | Helps in tracking celestial objects, allowing for longer exposures without star trails. |
| Portable Power Bank | Essential for long nights of shooting, especially in remote locations. |
| Red Light Headlamp | Preserves your night vision while allowing you to see your equipment. |
| Dew Heater | Prevents your lens from fogging up in cold and humid conditions. |
Pro Tip: A star tracker can significantly improve your results by compensating for the Earth’s rotation. For more details, check out this guide on using star trackers for perfect astrophotography.
Image Processing Software
Capturing the images is just the beginning. Post-processing is where HDR magic happens. Heres what you need:
| Software | Description |
|---|---|
| Adobe Photoshop | Industry standard for image processing, offering powerful tools for blending and enhancing images. |
| Lightroom | Excellent for organizing and making initial adjustments to your photos. |
| DeepSkyStacker | Free software specifically designed for stacking astrophotography images. |
| PixInsight | Advanced software for astrophotography processing, though it has a steep learning curve. |
Pro Tip: Learn to use advanced Photoshop techniques for astrophotography to bring out the best in your HDR images. Here’s a helpful resource on advanced Photoshop techniques for astrophotography.
Combining and Stacking Images
Combining multiple exposures is key to HDR astrophotography. This process helps in capturing the full dynamic range of the night sky. Heres a quick guide:
| Step | Description |
|---|---|
| Capture Multiple Exposures | Take several shots at different exposure levels (e.g., -2, 0, +2 EV). |
| Align the Images | Use software like DeepSkyStacker to align the images perfectly. |
| Blend the Exposures | Combine the images in Photoshop or Lightroom to create a single HDR image. |
| Adjust and Enhance | Fine-tune the final image to bring out details and colors. |
Pro Tip: For detailed instructions, check out this guide on combining and stacking images for astrophotography.
Enhancing Star Colors and Reducing Noise
To make your HDR images truly stand out, focus on enhancing star colors and reducing noise. Heres how:
| Technique | Description |
|---|---|
| Noise Reduction | Use software like Lightroom or Photoshop to reduce noise without losing detail. |
| Color Enhancement | Adjust the color balance to bring out the natural hues of stars and nebulae. |
| Sharpening | Apply selective sharpening to enhance details in your image. |
Pro Tip: Learn more about noise reduction techniques for clearer night sky photos.
Printing Your Astrophotography Images
Once youve created a stunning HDR image, you might want to print it. Heres what you need to know:
| Step | Description |
|---|---|
| Choose the Right Paper | Glossy paper brings out vibrant colors, while matte paper offers a more classic look. |
| Calibrate Your Monitor | Ensure your monitor is color-calibrated for accurate prints. |
| Print Resolution | Use a high resolution (300 DPI or higher) for the best print quality. |
| Professional Printing Services | Consider using a professional service for large prints. |
Pro Tip: For more tips, check out this guide on printing your astrophotography images.
Advanced Techniques
As you gain experience, you might want to explore more advanced techniques to take your HDR astrophotography to the next level. Here are a few to consider:
| Technique | Description |
|---|---|
| Narrowband Imaging | Captures specific wavelengths of light, revealing details not visible in standard photos. |
| Long Exposure | Allows you to capture faint details and create stunning star trails. |
| Telescope Automation | Automates the process of capturing images, making it more efficient. |
Pro Tip: Learn more about advanced stacking techniques for astrophotographers to improve your results.
Overcoming Light Pollution
Light pollution can be a significant challenge in astrophotography. Heres how to tackle it:
| Technique | Description |
|---|---|
| Use Light Pollution Filters | These filters reduce the impact of artificial lights. |
| Choose Remote Locations | Shooting in remote areas minimizes the effect of light pollution. |
| Post-Processing | Use software to remove light pollution from your images. |
Pro Tip: For more tips, check out this guide on overcoming light pollution in astrophotography.
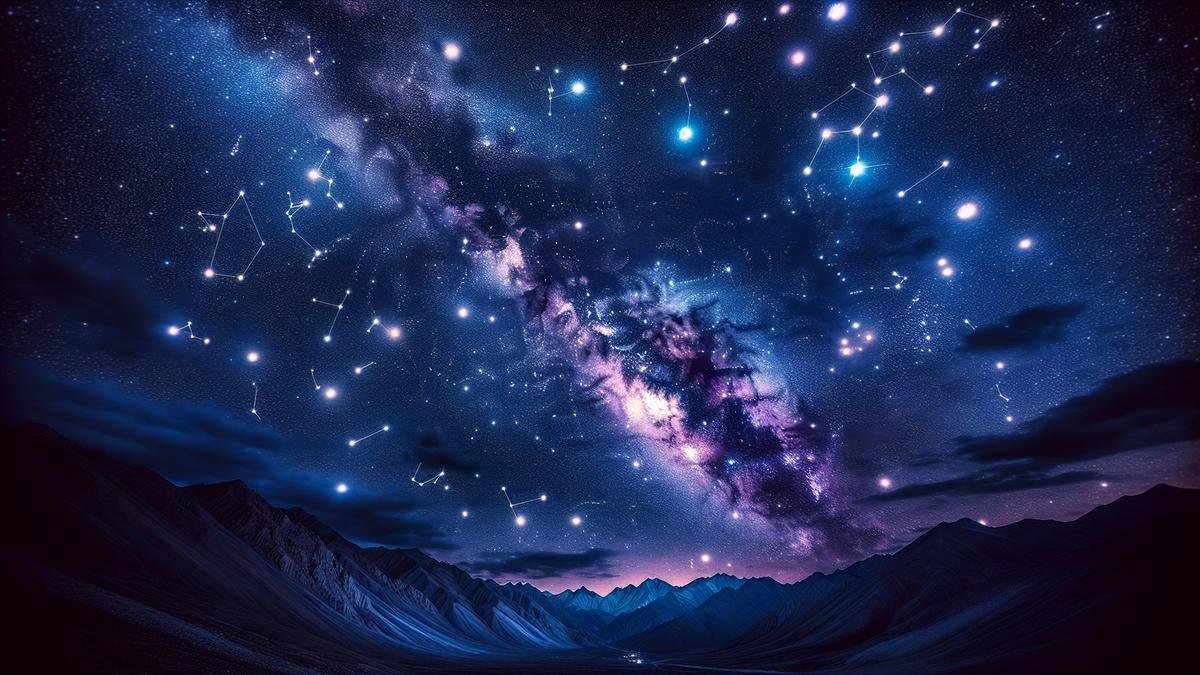
Step-by-Step Guide to Capturing HDR Images
Setting Up Your Camera
Alright, let’s dive right in. You’re about to embark on a journey where the night sky comes alive in ways you’ve never seen before. The first step in capturing stunning HDR images is setting up your camera properly. This is the foundation of your entire astrophotography experience.
Choosing the Right Camera
While you can use almost any camera for HDR photography, some are better suited for the job than others. DSLRs and mirrorless cameras are excellent choices because they offer full manual control over settings. If you’re serious about capturing the cosmos, investing in a good camera will pay off in spades.
Essential Camera Settings
Here’s a table to help you set up your camera for HDR astrophotography:
| Setting | Recommended Value | Notes |
|---|---|---|
| Mode | Manual | Gives you full control over exposure settings. |
| ISO | 800-3200 | Higher ISO captures more light but can introduce noise. |
| Aperture | f/2.8 – f/4 | A wider aperture lets in more light, essential for night photography. |
| Shutter Speed | 10-30 seconds | Longer exposures capture more light but can cause star trails. |
| White Balance | Auto or Daylight | Keeps colors natural. |
| Focus | Manual, set to infinity | Autofocus struggles in low light; manual focus is more reliable. |
Additional Gear
Youll need a few more items to make your astrophotography session a success:
- Tripod: A sturdy tripod is non-negotiable. You need to keep your camera absolutely still during long exposures.
- Remote Shutter Release: This helps you avoid camera shake when taking photos.
- Star Tracker: Consider using a star tracker to follow the stars’ movement and take longer exposures without star trails.
Taking Multiple Exposures
Now that your camera is all set up, it’s time to take multiple exposures. This is where HDR magic begins.
Why Multiple Exposures?
The night sky has a vast dynamic range. Some stars are incredibly bright, while others are faint. Taking multiple exposures allows you to capture this range effectively. You’ll take several shots at different exposure levels and combine them later.
Bracketing Your Shots
Bracketing is a technique where you take several shots of the same scene at different exposures. Heres how to do it:
- Set Up Your Shot: Frame your shot and focus manually.
- Take the Base Exposure: Start with an exposure that captures the mid-tones well.
- Adjust the Exposure: Take additional shots at different exposure levels. Typically, you’ll want to take at least three exposures: one underexposed, one correctly exposed, and one overexposed.
Heres a quick reference table for bracketing:
| Exposure Level | Shutter Speed (assuming f/2.8, ISO 1600) |
|---|---|
| Underexposed (-2 EV) | 5 seconds |
| Base Exposure (0 EV) | 15 seconds |
| Overexposed (+2 EV) | 30 seconds |
Using a Remote Shutter Release
Using a remote shutter release is crucial to avoid any camera shake. If you dont have one, you can use your cameras built-in timer function. Set it to a 2-second delay to give your camera time to stabilize after you press the shutter button.
Combining Images for HDR
You’ve now captured multiple exposures of the night sky. The next step is combining these images to create a stunning HDR photo.
Choosing Software
There are several software options available for combining HDR images. Here are a few popular ones:
| Software | Features |
|---|---|
| Adobe Lightroom | User-friendly, excellent for beginners, integrates well with other Adobe products. |
| Photoshop | More advanced, offers greater control over the final image. |
| Aurora HDR | Specialized HDR software, offers a lot of presets and customization options. |
| Photomatix Pro | Another specialized HDR software, known for its powerful tone mapping capabilities. |
Post-Processing Techniques for HDR Astrophotography
Using HDR Software
When diving into HDR astrophotography, HDR software becomes your best friend. This software helps you merge multiple exposures to create a single image with a greater dynamic range. Think of it as blending the best parts of each photo to make one stunning masterpiece.
Heres a quick rundown of popular HDR software:
| Software | Features | Price Range |
|---|---|---|
| Photomatix Pro | Advanced tone mapping, batch processing | $$ |
| Adobe Lightroom | User-friendly, seamless integration with Photoshop | $$$ |
| Aurora HDR | AI-powered, multiple presets | $$$ |
| HDR Efex Pro | Part of the Nik Collection, various filters | $$ |
Steps to Use HDR Software:
- Import Your Images: Load your bracketed shots into the HDR software.
- Alignment: Ensure that your images are properly aligned. This is crucial, especially if you dont use a star tracker.
- Merge: Use the softwares merge function to combine the images.
- Tone Mapping: Adjust the tone mapping settings to bring out the details in the shadows and highlights.
- Export: Save your HDR image in a high-resolution format.
For a more detailed guide, you might want to explore creating HDR astrophotography images.
Enhancing Details in Your Photos
After merging your images, the next step is to enhance the details. This involves sharpening, noise reduction, and bringing out the intricate details in the night sky.
Key Techniques for Detail Enhancement:
- Sharpening: Use tools like the Unsharp Mask or High Pass Filter in Photoshop.
- Noise Reduction: Apply noise reduction techniques to eliminate graininess, especially in the darker areas.
- Clarity and Texture: Increase clarity and texture to make stars and celestial objects pop.
Tools for Enhancing Details:
| Tool | Function | Best For |
|---|---|---|
| Unsharp Mask | Sharpens the image by increasing contrast along edges | Stars and fine details |
| High Pass Filter | Enhances fine details without affecting overall contrast | Detailed textures |
| Noise Reduction | Reduces graininess in the image | Dark areas and shadows |
| Clarity Slider | Enhances mid-tone contrast | Overall image clarity |
For advanced techniques, check out advanced Photoshop techniques for astrophotography.
Adjusting Colors and Contrast
Color and contrast adjustments can make a world of difference in your astrophotography. These adjustments help in bringing out the true colors of stars, nebulae, and other celestial objects.
Common Challenges and Solutions in HDR Astrophotography
HDR (High Dynamic Range) imaging in astrophotography can be a game-changer, allowing you to capture the vast range of light intensities in the night sky. However, navigating this technique comes with its own set of challenges. Let’s dive into some common hurdles and how to overcome them.
Dealing with Noise
Noise is like the pesky static on an old radio, distorting your beautiful night sky images. It’s a common issue in astrophotography, especially when you’re stacking multiple exposures.
Why Noise Happens:
- High ISO Settings: Higher ISO settings can introduce more noise.
- Long Exposures: The longer your camera sensor is exposed, the more noise it can accumulate.
How to Reduce Noise:
- Use Lower ISO Settings: Aim for the lowest ISO setting that still allows you to capture enough light.
- Dark Frame Subtraction: Take a series of dark frames (photos with the same exposure settings but with the lens cap on) and subtract them from your light frames.
- Noise Reduction Software: Tools like Noise Reduction Techniques can help clean up your images.
| Noise Reduction Technique | Description |
|---|---|
| Lower ISO Settings | Use the lowest ISO setting to minimize noise. |
| Dark Frame Subtraction | Subtract dark frames from light frames to reduce noise. |
| Noise Reduction Software | Use software tools to clean up your images. |
Managing Light Pollution
Light pollution is the bane of city-dwelling astrophotographers. It washes out the delicate details of the night sky, making it hard to capture those stunning celestial vistas.
Types of Light Pollution:
- Skyglow: The general brightening of the night sky.
- Glare: Direct light that interferes with your shots.
- Clutter: Unwanted light sources within the frame.
How to Combat Light Pollution:
- Light Pollution Filters: These filters can block out certain wavelengths of artificial light.
- Post-Processing Techniques: Use post-processing techniques to remove light pollution from your images.
- Shoot During New Moon: The absence of moonlight can significantly reduce light pollution.
| Light Pollution Solution | Description |
|---|---|
| Light Pollution Filters | Block out specific wavelengths of artificial light. |
| Post-Processing Techniques | Remove light pollution during image editing. |
| Shoot During New Moon | Reduce light pollution by shooting when the moon is not visible. |
Showcasing Your HDR Astrophotography
So, you’ve captured some breathtaking HDR astrophotography images. What’s next? Let’s dive into the best ways to showcase your stellar work.
Sharing on Social Media
Your HDR astrophotography deserves to be seen by the world. Social media platforms like Instagram, Facebook, and Twitter are perfect for sharing your cosmic captures. Here are some tips to make your posts shine:
1. Use High-Quality Images: Always upload the highest resolution possible. Social media compresses images, so starting with a high-quality file is crucial.
2. Captivating Captions: A good story can make your photo even more engaging. Share the experience of capturing the image, the location, or the technical details.
3. Relevant Hashtags: Use hashtags like #HDRastrophotography, #NightSky, and #AstroPhotography to reach a broader audience.
4. Engage with the Community: Comment on other astrophotography posts and join relevant groups. This builds your network and increases your visibility.
5. Use Tools for Scheduling: Tools like Hootsuite or Buffer can help you schedule your posts for the best times, ensuring maximum engagement.
Printing Your Photos
There’s something magical about holding a physical copy of your work. Here’s how to get the best prints of your HDR astrophotography:
1. Choose the Right Paper: Glossy paper can make your stars pop, while matte paper offers a more subtle, sophisticated look.
2. Calibrate Your Monitor: Ensure your screen shows colors accurately. This step is crucial for getting prints that match what you see on your monitor.
3. Use Professional Printing Services: Services like Shutterfly or local print shops can offer high-quality prints. Always read reviews before choosing a service.
4. Consider Framing: A good frame can elevate your print. Choose a frame that complements your image without distracting from it.
5. Print Sizes: Common sizes for astrophotography prints include 8×10, 11×14, and 16×20. Here’s a quick comparison:
| Print Size | Best For |
|---|---|
| 8×10 | Small spaces, gifts |
| 11×14 | Medium-sized rooms |
| 16×20 | Large walls, statement pieces |
Frequently asked questions
What is High Dynamic Range (HDR) Imaging in Astrophotography?
HDR imaging in astrophotography combines multiple exposures to capture more detail in both bright and dark areas of the night sky.
How do you create HDR images in astrophotography?
Take several photos at different exposures and then merge them using HDR software.
Why use HDR for night sky photos?
HDR helps you capture details in both the stars and the darker parts of the sky, making your photos more dynamic.
Can any camera be used for HDR astrophotography?
Most DSLR and mirrorless cameras can be used, as long as they allow for manual exposure control and can shoot in RAW format.
What software is best for HDR astrophotography?
Popular choices include Adobe Lightroom, Photomatix Pro, and Aurora HDR. These tools help you blend your exposures into stunning HDR images.

