If you’ve ever tried capturing the night sky, you know how tricky it is to get all those dazzling details just right. That’s where HDR photos come in! This guide will walk you through High Dynamic Range (HDR) techniques in astrophotography. You’ll learn to enhance both shadows and highlights in your night sky pictures, creating more balanced, eye-catching images. Dive into the must-have gear, the right software, and even step-by-step tips for blending exposures to get that perfect shot. Ready to take your astrophotography to the next level? Let’s get started!
Key Takeaways
-
- Use HDR to show more detail in night sky photos.
-
- HDR balances bright and dark areas in your pictures.
-
- Try different software for creating HDR images.
-
- Follow the steps for blending multiple photos.
-
- HDR can make your astrophotography stand out.
Understanding HDR in Astrophotography
What is HDR?
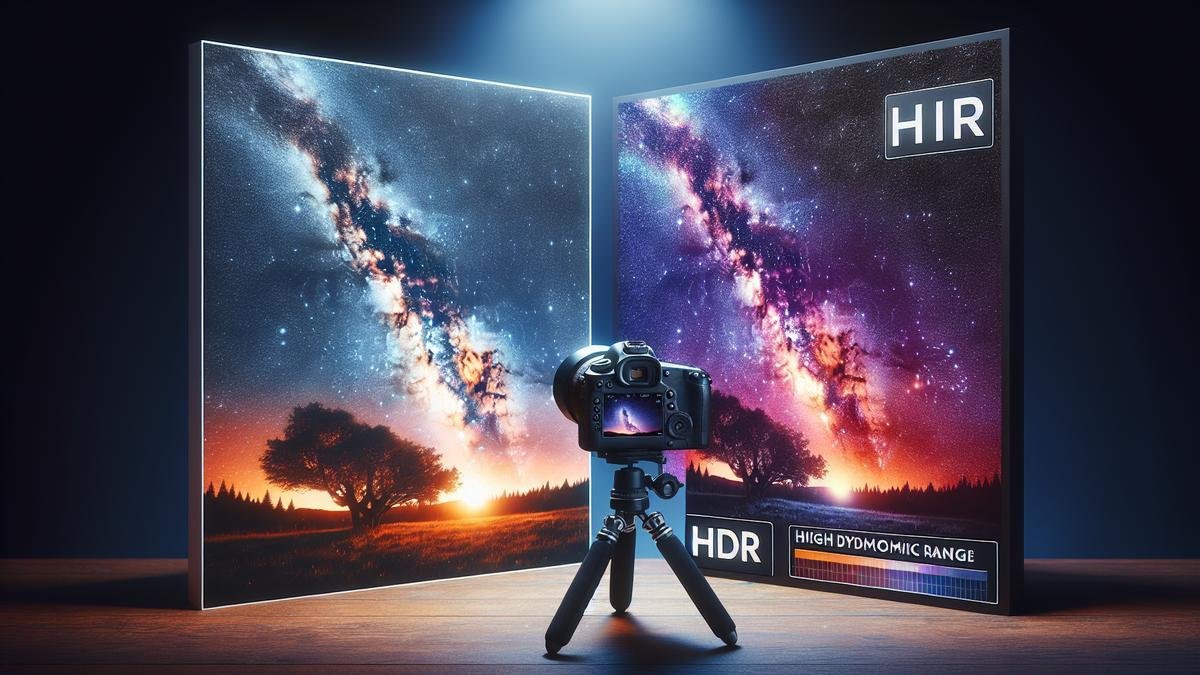
You’ve heard about HDR, right? HDR stands for High Dynamic Range. It’s a technique that allows you to capture a greater range of light and dark in your photos. Imagine you’re trying to photograph a sunset. The sky is bright, but the ground is dark. With HDR, you can capture the bright sky and the dark ground in one photo.
HDR combines multiple photos taken at different exposures into one image. This way, you get the best of both worlds: the details in the shadows and the highlights. It’s like having your cake and eating it too!
Why Use HDR in Astrophotography?
Now, let’s talk about why HDR is a game-changer for astrophotography. When you’re shooting the night sky, you often face a massive contrast between the bright stars and the dark sky. If you expose the stars, the sky might look pitch black. If you expose the sky, the stars might look washed out. HDR helps you balance this contrast.
Benefits of HDR Photos
-
- Enhanced Details: HDR brings out the details in both the dark and bright areas, so you’ll see more stars and nebulae in your photos.
-
- Balanced Exposure: Your photos will be more balanced, making them more visually appealing.
-
- Vibrant Colors: HDR can make the colors in your photos pop. Imagine capturing the vibrant hues of a nebula!
-
- Realistic Images: HDR can make your photos look more like what you see with your eyes.
How to Capture HDR Photos in Astrophotography
Alright, now that you know why HDR is awesome, let’s explore how to capture HDR photos of the night sky.
Step 1: Choose the Right Equipment
First things first, you need the right gear. A good camera is essential. If you’re looking for recommendations, check out this list of top cameras for astrophotography in 2024. Youll also need a sturdy tripod to keep your camera steady. Heres a guide to the best tripods for astrophotography.
Step 2: Set Up Your Camera
Once you have your gear ready, set up your camera on the tripod. Use a remote shutter release or the cameras timer to avoid any shake.
Step 3: Take Multiple Exposures
Now, take multiple photos at different exposures. You can do this manually by adjusting the shutter speed or using your cameras bracketing feature. Aim for at least three photos: one underexposed, one properly exposed, and one overexposed.
Step 4: Use HDR Software
After youve taken your photos, its time to blend them together. There are several software options for creating HDR images. Adobe Photoshop and Lightroom are popular choices. If youre looking for something more specialized, Aurora HDR is a fantastic option.
Heres a quick comparison of some popular HDR software:
| Software | Ease of Use | Features | Price |
|---|---|---|---|
| Adobe Photoshop | Medium | Extensive | Subscription |
| Lightroom | Easy | Basic to Advanced | Subscription |
| Aurora HDR | Easy | HDR-specific features | One-time purchase |
Step 5: Blend Your Photos
Open your HDR software and import your photos. Follow the softwares instructions to blend the photos together. Most software will automatically align and merge the photos for you.
Step 6: Adjust the Settings
Once your photos are blended, you can adjust the settings to get the look you want. Play around with the brightness, contrast, and saturation until youre happy with the result.
Tips for Better HDR Astrophotography
Here are some tips to help you get the best HDR astrophotography shots:
-
- Use a Low ISO: A lower ISO will reduce noise in your photos.
-
- Shoot in RAW: RAW files retain more detail and are easier to edit.
-
- Avoid Light Pollution: Find a dark location away from city lights.
-
- Use a Tracking Mount: A tracking mount will keep your camera aligned with the stars, reducing star trails. Check out this guide to astrophotography mounts and tracking systems.
Common Challenges and How to Overcome Them
Even with HDR, you might face some challenges. Heres how to tackle them:
Challenge 1: Noise
Nighttime photos can be noisy. To reduce noise, use a lower ISO and take longer exposures. You can also use noise reduction software like Topaz DeNoise.
Challenge 2: Star Trails
If your exposures are too long, you might get star trails. To avoid this, use a tracking mount or take shorter exposures and stack them together.
Challenge 3: Blending Issues
Sometimes, blending multiple exposures can create halos or ghosting. To avoid this, make sure your photos are perfectly aligned. Most HDR software has an alignment feature to help with this.
Advanced Techniques for HDR Astrophotography
Once youve mastered the basics, you can try some advanced techniques to take your HDR astrophotography to the next level.
Technique 1: Stacking
Stacking involves taking multiple photos and combining them to reduce noise and increase detail. You can use software like DeepSkyStacker or Sequator for this.
Technique 2: Panorama HDR
If you want to capture a wide view of the night sky, try creating an HDR panorama. Take multiple sets of HDR photos and stitch them together using software like PTGui or Microsoft ICE.
Best Practices for HDR Astrophotography
To get the best results, follow these best practices:
-
- Plan Your Shoot: Check the weather and moon phase before heading out. You want a clear night with little to no moonlight.
-
- Use a Star Tracker: A star tracker will help you take longer exposures without star trails.
-
- Experiment with Settings: Dont be afraid to experiment with different settings and exposures. The more you practice, the better youll get.
-
- Edit Carefully: When editing your photos, be careful not to overdo it. Aim for a natural look that enhances the beauty of the night sky.
Recommended Gear for HDR Astrophotography
Heres a list of recommended gear to help you get started with HDR astrophotography:
| Gear | Recommendation |
|---|---|
| Camera | Top cameras for astrophotography in 2024 |
| Lens | Essential lenses for capturing the night sky |
| Tripod | Best tripods for astrophotography |
| Star Tracker | Guide to astrophotography mounts and tracking systems |
| Filters | Best filters for enhancing your astrophotography shots |
| Portable Power | Portable power solutions for nighttime astrophotography |
| Accessories | Must-have accessories for every astrophotographer |
Essential Equipment for HDR Astrophotography
Alright, let’s dive straight into the nitty-gritty of HDR astrophotography. When you’re out there under the star-studded sky, capturing the magic of the universe with your camera, having the right gear can make all the difference. HDR (High Dynamic Range) techniques help you bring out the details in both the shadows and highlights of your night sky images, resulting in photos that are not just balanced but visually striking.
Choosing the Right Camera
First things first, your choice of camera is crucial. You need a camera that can handle the low light conditions and has the capability to shoot in RAW format. Shooting in RAW is essential because it preserves all the data from your camera’s sensor, giving you more flexibility when you process your images.
DSLR vs. Mirrorless Cameras
When it comes to choosing between DSLR and mirrorless cameras, each has its pros and cons. DSLRs are known for their durability and battery life, while mirrorless cameras are lighter and have better live-view capabilities. For a detailed comparison, you might want to check out this guide on DSLRs and mirrorless cameras for astrophotography.
| Feature | DSLR | Mirrorless |
|---|---|---|
| Durability | Generally more robust | Less durable |
| Battery Life | Longer battery life | Shorter battery life |
| Weight | Heavier | Lighter |
| Live-View | Less effective | Superior live-view capabilities |
Must-Have Accessories
Now that you’ve got your camera sorted, let’s talk about the accessories that will elevate your HDR astrophotography game.
Lenses
The lens you choose can make a significant impact on the quality of your photos. Wide-angle lenses are particularly popular for astrophotography because they allow you to capture more of the night sky. For a deeper dive into lens selection, consider exploring this essential lenses guide.
Filters
Filters can help you manage light pollution and enhance the colors in your photos. Using the right filter can make a world of difference, especially if you’re shooting in an area with a lot of artificial light. Take a look at this comprehensive guide on filters to find the best options for your needs.
| Accessory | Purpose | Recommended Options |
|---|---|---|
| Wide-Angle Lens | Capture more of the night sky | 14-24mm f/2.8, 16-35mm f/4 |
| Filters | Manage light pollution, enhance colors | Light pollution filters, color filters |
Tripod Stability
A stable tripod is non-negotiable for HDR astrophotography. Any movement can ruin your shot, especially when you’re taking multiple exposures to blend later.
Importance of Stability
When you’re capturing long exposures, even the slightest movement can blur your image. A sturdy tripod ensures that your camera remains absolutely still, allowing you to capture sharp, clear images. For more tips on choosing the right tripod, you might find this tripod guide useful.
Features to Look For
When selecting a tripod, look for features like adjustable legs, a robust head, and a hook for adding extra weight for stability. Here’s a quick table to summarize what to look for:
| Feature | Importance | Example Models |
|---|---|---|
| Adjustable Legs | Flexibility in uneven terrain | Manfrotto MT055CXPRO4, Gitzo GT2532 |
| Robust Head | Securely holds your camera | Ball heads, fluid heads |
| Weight Hook | Adds extra stability | Found in many high-end tripods |
Power Solutions
Long nights under the stars can drain your camera’s battery quickly. Having a reliable power solution is crucial for uninterrupted shooting.
Portable Power
Portable power solutions like battery packs and power banks can keep your gear running all night. For more options, check out this guide on portable power solutions.
| Power Solution | Benefit | Recommended Options |
|---|---|---|
| Battery Packs | Extended shooting time | Anker PowerCore, Goal Zero Yeti |
| Power Banks | Versatile and portable | RAVPower, Jackery Explorer |
Software Tools for HDR
Once you’ve captured your images, the next step is processing them. HDR software tools can help you blend multiple exposures to create a balanced and visually striking photo.
Popular HDR Software
There are several HDR software options available, each with its own set of features. Some popular choices include Adobe Lightroom, Photomatix Pro, and Aurora HDR.
| Software | Key Features | Pricing |
|---|---|---|
| Adobe Lightroom | Comprehensive editing tools | Subscription-based |
| Photomatix Pro | Specialized HDR features | One-time purchase |
| Aurora HDR | AI-powered HDR processing | One-time purchase |
Step-by-Step Guide to Blending Exposures
Blending multiple exposures is the heart of HDR astrophotography. Here’s a simple step-by-step guide to get you started:
-
- Capture Multiple Exposures: Take several shots at different exposure levels.
-
- Import Photos into HDR Software: Use software like Adobe Lightroom or Photomatix Pro.
-
- Align and Merge: Align your photos to correct any slight movements and merge them.
-
- Adjust Settings: Fine-tune the settings to bring out details in both the shadows and highlights.
-
- Final Touches: Make any final adjustments to contrast, color, and sharpness.
Additional Tips and Tricks
Use a Remote Shutter Release
A remote shutter release helps you avoid camera shake when taking long exposures. This small accessory can make a big difference in the sharpness of your photos.
Plan Your Shots
Check the weather, moon phase, and light pollution levels before heading out. Apps like Stellarium and PhotoPills can help you plan your shots effectively.
Step-by-Step Guide to Capturing HDR Photos
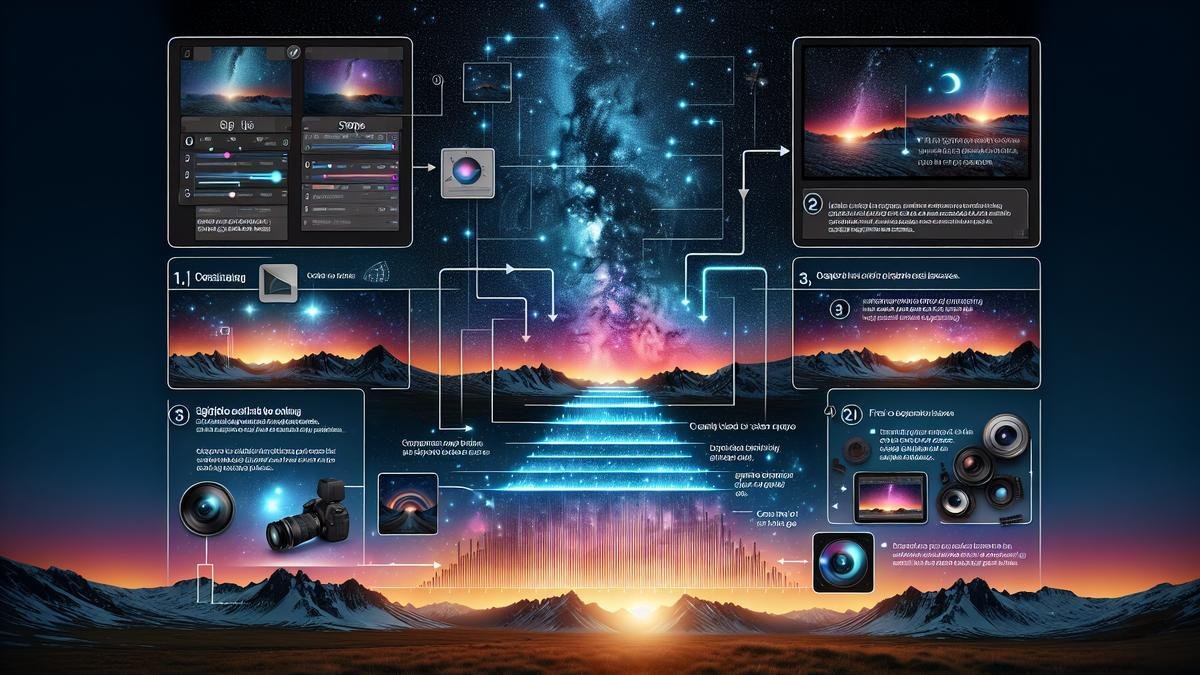
Astrophotography is like a journey through the cosmos, capturing the glittering tapestry of the night sky. High Dynamic Range (HDR) techniques can help you bring out the hidden details in both the shadows and highlights of your night sky images. This guide will walk you through the process of capturing stunning HDR photos.
Setting Up Your Camera
Before you dive into the world of HDR astrophotography, you need to set up your camera properly. This involves a few key steps:
-
- Choose the Right Camera: Not all cameras are created equal when it comes to astrophotography. It’s essential to use a camera that can handle low-light conditions and has good dynamic range. You might want to check out some of the top cameras for astrophotography in 2024 to help you decide.
-
- Stable Tripod: A sturdy tripod is a must. Long exposure shots require stability to avoid any blur caused by camera shake. Explore options for tripods that offer both stability and precision.
-
- Remote Shutter Release: This tool helps you take photos without touching the camera, reducing the risk of camera shake. It’s a small investment that can make a big difference in your results.
-
- Lens Selection: The lens you choose can significantly affect the quality of your astrophotography. Wide-angle lenses are popular because they capture more of the sky. Learn about essential lenses for capturing the night sky to make an informed choice.
Here’s a quick checklist for setting up your camera:
| Item | Purpose |
|---|---|
| Camera | Low-light performance and dynamic range |
| Tripod | Stability for long exposures |
| Remote Shutter Release | Minimize camera shake |
| Wide-Angle Lens | Capture more of the night sky |
Taking Multiple Exposures
HDR photography involves taking multiple exposures of the same scene. This technique allows you to capture details in both the dark and bright areas of your image.
-
- Exposure Bracketing: Most cameras have a feature called exposure bracketing. This setting automatically takes several shots at different exposure levels. You can usually choose the number of shots and the exposure difference between them. This is crucial for capturing a range of details in your astrophotography.
-
- Manual Exposure Adjustments: If your camera doesn’t have exposure bracketing, you can manually adjust the exposure settings. Take one photo with a normal exposure, one underexposed, and one overexposed. This manual method can be time-consuming, but it gives you control over each shot.
-
- Consistent Framing: Make sure your camera remains in the same position for all shots. Any movement can make it difficult to align the images later. Using a remote shutter release can help maintain consistent framing.
Best Software for Creating HDR Images
When you’re diving into the mesmerizing world of astrophotography, capturing the night sky’s essence can be a thrilling adventure. One technique that stands out is High Dynamic Range (HDR) photography. HDR can help you bring out the details in both the shadows and highlights of your night sky images, resulting in more balanced and visually striking photos.
Top HDR Software Options
Choosing the right software for your HDR astrophotography can make a huge difference. Here’s a rundown of some of the best options available:
| Software | Features | Pros | Cons |
|---|---|---|---|
| Adobe Lightroom | Advanced editing tools, easy-to-use interface, and powerful HDR merge capabilities. | Intuitive, versatile, excellent community support. | Subscription-based, can be pricey over time. |
| Photomatix Pro | Specialized HDR software with multiple tone-mapping options and batch processing capabilities. | Great for HDR, multiple presets, batch processing. | Interface can be overwhelming for beginners. |
| Aurora HDR | AI-powered HDR merging, multiple presets, and advanced editing tools. | User-friendly, powerful AI features, beautiful results. | High cost, requires a powerful computer. |
| EasyHDR | Simple interface, good for beginners, and effective HDR merging. | Affordable, easy to learn, decent results. | Limited advanced features, less popular. |
| Luminance HDR | Open-source HDR software with various tone-mapping operators. | Free, customizable, good for experimenting. | Steeper learning curve, less polished interface. |
Editing Tips for HDR Astrophotography
Editing HDR photos requires a bit of finesse. Here are some tips to help you get the most out of your images:
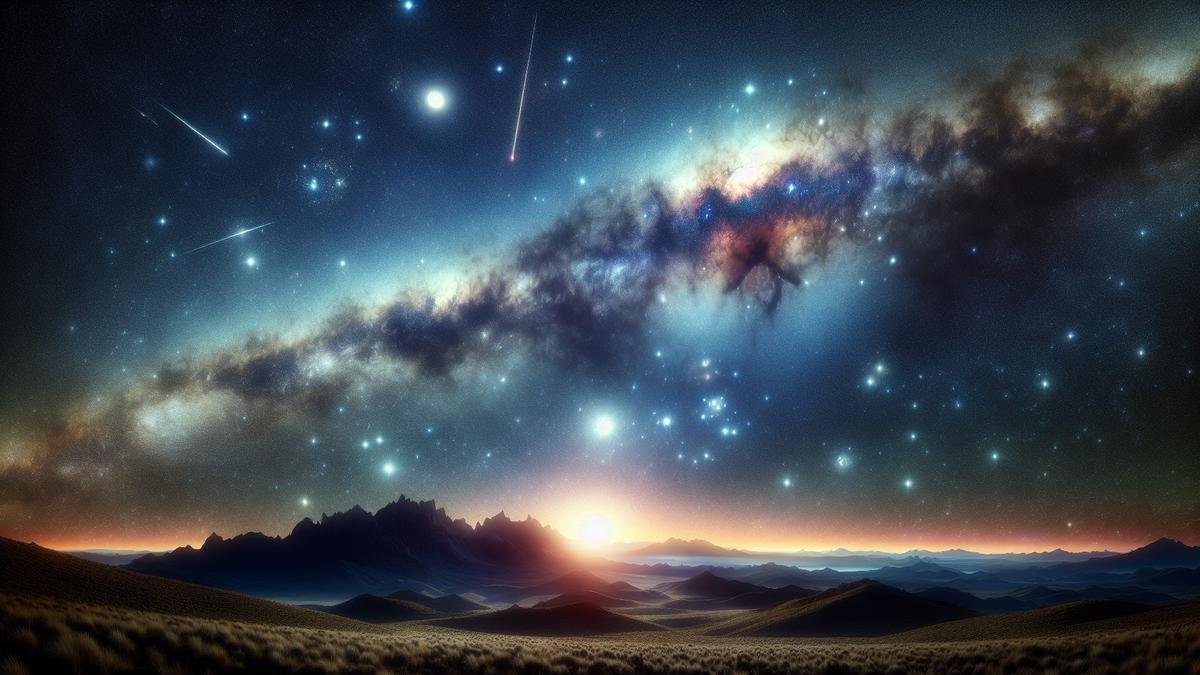
Common Mistakes to Avoid in HDR Astrophotography
So you’re diving into the captivating world of HDR astrophotography, huh? That’s fantastic! HDR, or High Dynamic Range, is a technique that can transform your night sky images, bringing out details in both the shadows and highlights. But, as with any art form, there are pitfalls. Let’s explore some common mistakes and how to sidestep them.
Overexposure Issues
One of the first hurdles you’ll encounter is overexposure. When you’re trying to capture the night sky, balancing the exposure can be tricky. You want to avoid blowing out the highlights while still bringing out the details in the shadows.
Key Points to Consider:
-
- Multiple Exposures: Capture multiple shots at different exposure levels. This helps in blending them later to achieve that perfect balance.
-
- Histogram: Keep an eye on your histogram. If its skewed too far to the right, youre overexposing.
-
- Aperture and ISO Settings: Use a low ISO and a wide aperture to minimize noise and avoid overexposure.
Heres a quick table to guide your settings:
| Setting | Recommended Value |
|---|---|
| ISO | 800-1600 |
| Aperture | f/2.8 – f/4.0 |
| Exposure Time | 15-30 seconds |
Misalignment Problems
Misalignment is another common issue that can ruin your HDR astrophotography efforts. When you blend multiple exposures, even a slight shift can result in blurry stars and ghosting.
Tips to Avoid Misalignment:
-
- Sturdy Tripod: Use a stable tripod to keep your camera steady. Check out these tripods for the best stability and precision.
-
- Remote Shutter Release: A remote shutter release can prevent camera shake when taking multiple exposures.
-
- Alignment Software: Use software tools like Lightroom or Photoshop to align your images before blending them.
Showcasing Your HDR Astrophotography
High Dynamic Range (HDR) photography is a game-changer for astrophotographers. By blending multiple exposures, you can capture the intricate details of the night sky, from the faintest stars to the brightest galaxies. This technique allows you to produce images with a broader range of luminosity, making your night sky photos more balanced and visually striking. But once you’ve mastered HDR and created your stunning astrophotographs, how do you share them with the world?
Sharing on Social Media
Social media platforms are a fantastic way to showcase your HDR astrophotography. Not only can you share your work with a wide audience, but you can also connect with other astrophotography enthusiasts and get valuable feedback.
First, you need to know which platforms are best for sharing your HDR photos. Here’s a quick table to help you decide:
| Platform | Best For | Tips |
|---|---|---|
| Visual content | Use relevant hashtags like #astrophotography, #HDR, and #nightphotography. | |
| Community building | Join astrophotography groups to share your work and engage with others. | |
| Quick updates | Tweet your photos with engaging captions and tag relevant accounts. | |
| Niche communities | Share in subreddits like r/astrophotography for targeted feedback. |
When sharing your HDR astrophotography on social media, remember to highlight the details in both the shadows and highlights. You can use editing tools within these platforms to enhance your photos further. Also, engage with your audience by responding to comments and joining discussions. This not only boosts your visibility but also helps you learn and grow as an astrophotographer.
Building an Online Portfolio
Creating an online portfolio is another effective way to showcase your HDR astrophotography. A well-organized portfolio can serve as a digital gallery of your best work, making it easier for potential clients, collaborators, or fans to view your photos.
To build an impressive portfolio, follow these steps:
-
- Choose a Platform: Websites like Squarespace, Wix, and WordPress offer customizable templates specifically designed for photographers.
-
- Organize Your Photos: Categorize your HDR astrophotographs by themes, such as Milky Way, star trails, or deep-sky objects. This makes it easier for visitors to navigate your portfolio.
-
- Write Descriptions: Provide context for each photo. Mention the equipment used, the location, and any interesting details about the shot. This adds depth to your portfolio and engages your audience.
-
- Optimize for SEO: Use relevant keywords in your photo descriptions and titles to improve your portfolio’s visibility on search engines. This can attract more visitors to your site.
Here’s an example of how to organize your portfolio:
| Category | Description |
|---|---|
| Milky Way | Stunning shots of the Milky Way galaxy captured using HDR techniques. |
| Star Trails | Long-exposure HDR photos showcasing mesmerizing star trails. |
| Deep-Sky Objects | Detailed images of galaxies, nebulae, and other deep-sky wonders. |
Frequently Asked Questions
How does HDR help with astrophotography?
HDR merges different exposures to balance light and dark areas. This technique enhances night sky photos, bringing out details in the stars and the Milky Way.
What software is best for creating HDR photos in astrophotography?
Photo editing software like Adobe Lightroom, Aurora HDR, and Photoshop are excellent. They offer tools to blend multiple exposures easily.
What are the first steps to start using HDR in astrophotography?
First, take multiple photos at different exposures. Then, use HDR software to blend these images. It will create a balanced and detailed photo of the night sky.
Can you use a smartphone for HDR astrophotography?
Yes, some smartphones have built-in HDR modes. However, for the best results, use a DSLR or mirrorless camera with manual settings.
Are there any tips for reducing noise in HDR photos?
Yes, use a high ISO setting with caution. Long exposures can introduce noise. Use noise reduction in post-processing to get clearer images.

