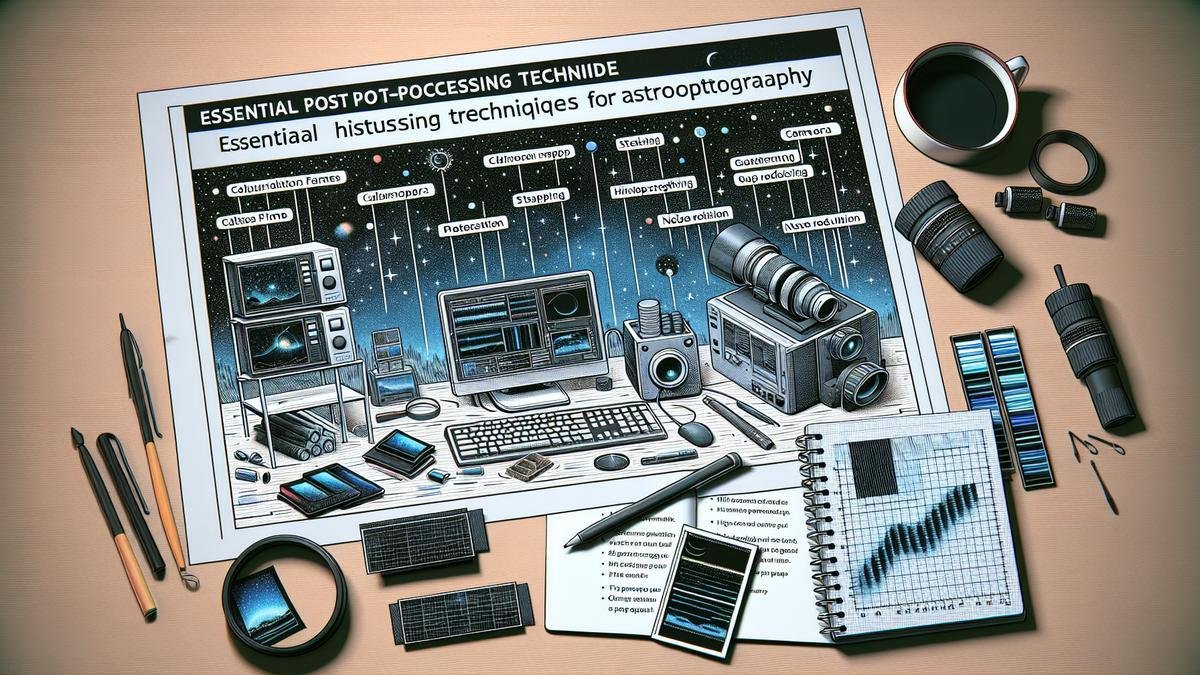
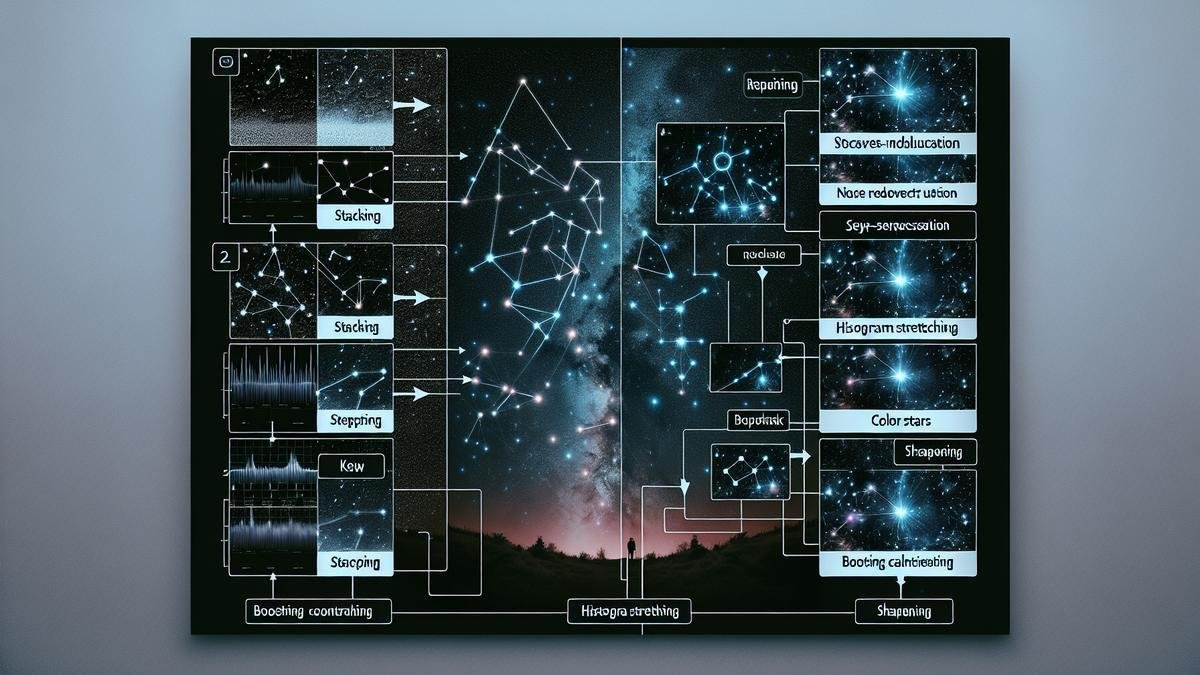
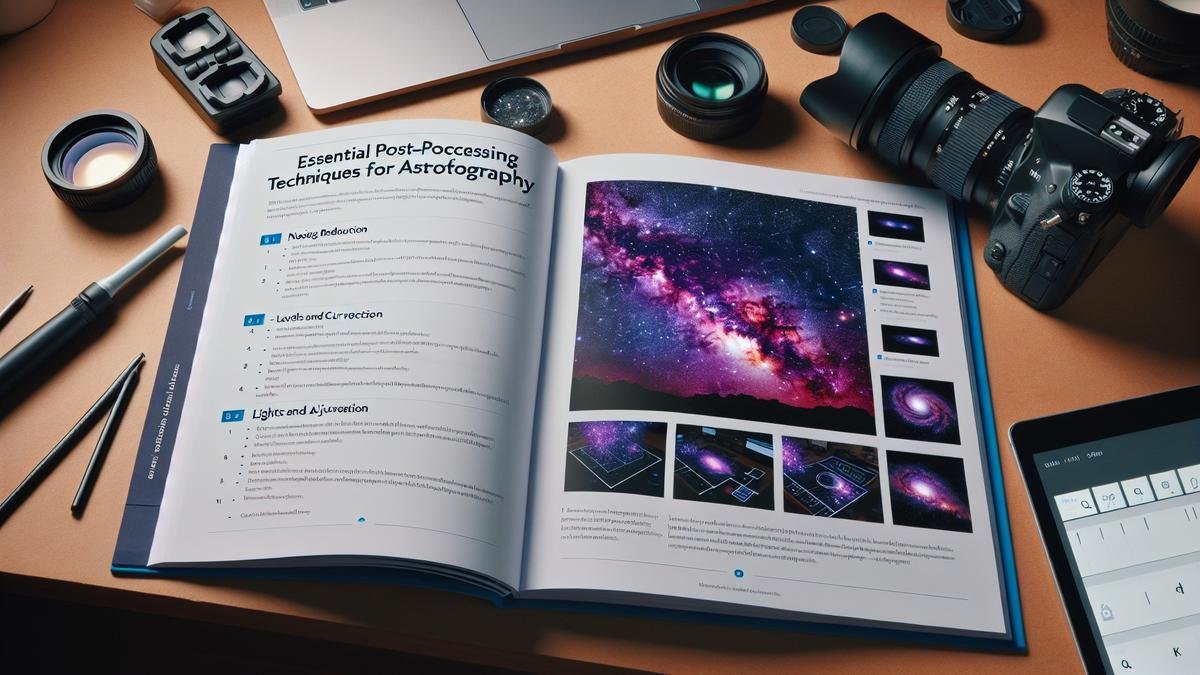
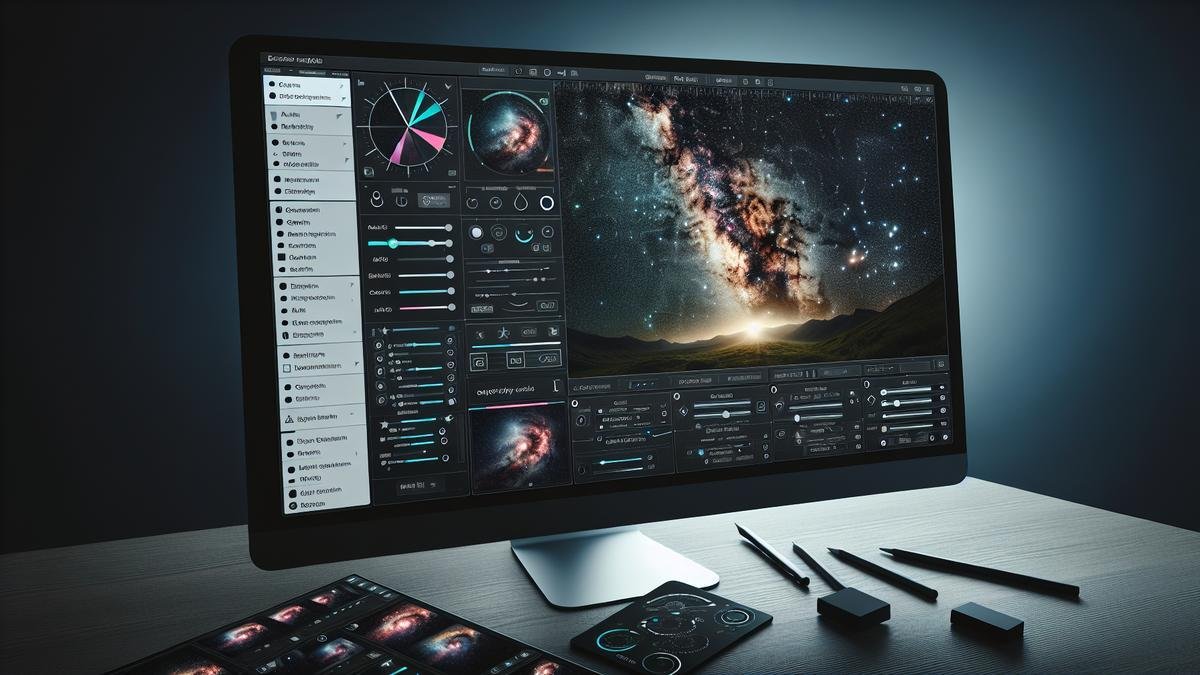
Essential Post-Processing Techniques for Astrophotography are key to making your space photos shine like the stars they capture. Imagine tweaking and fine-tuning your images to reduce blur, enhance sharpness, and bring out the vivid colors of nebulae. Whether you’re battling light pollution or looking to balance noise and detail, this article has you covered. Discover tools and tricks to adjust white balance, saturate colors, stack exposures, and get your shots export-ready for print or web. Let’s make your night-sky captures truly stellar!
Key Takeaways
- Adjust brightness and contrast for clarity
- Remove noise for a cleaner image
- Enhance colors to bring out details
- Use stacking to improve image quality
- Crop and align stars for better framing

Enhancing Image Sharpness
When you’re diving into the mesmerizing world of astrophotography, one of the most critical aspects you’ll want to master is enhancing image sharpness. This is where the magic happens, transforming your night sky images from good to jaw-dropping. Let’s delve into some techniques that can help you reduce blur, utilize deconvolution tools, and achieve those crisp star details that make your photos pop.
Techniques for Reducing Blur
Blur can be a pesky intruder in your astrophotography. It sneaks in through various means—camera shake, atmospheric turbulence, or even the Earth’s rotation. But fret not, there are ways to combat this.
Camera Stability
First off, camera stability is paramount. Using a sturdy tripod is non-negotiable. But beyond that, consider using a remote shutter release or the camera’s timer function to minimize any movement when you press the shutter button.
Tracking Mounts
For longer exposures, a tracking mount can be a game-changer. These devices counteract the Earth’s rotation, allowing you to take longer exposures without star trails.
| Equipment | Purpose |
|---|---|
| Sturdy Tripod | Minimizes camera shake |
| Remote Shutter Release | Reduces vibration from pressing the shutter |
| Tracking Mount | Compensates for Earth’s rotation |
Shorter Exposures
Sometimes, less is more. Shorter exposures can reduce the risk of blur. You can stack multiple shorter exposures during post-processing to create a single, sharp image.
Using Deconvolution Tools
Deconvolution might sound like a complex term, but it’s a powerful technique in your astrophotography toolkit. It essentially reverses the blurring effects that occur during image capture, making your stars sharper and more defined.
Software Options
There are several software options available for deconvolution. PixInsight and Photoshop are popular choices among astrophotographers. These tools provide advanced algorithms that can significantly enhance image sharpness.
| Software | Features |
|---|---|
| PixInsight | Advanced deconvolution algorithms |
| Photoshop | Versatile image editing capabilities |
Step-by-Step Process
- Select the Deconvolution Tool: Open your image in your chosen software.
- Define the Point Spread Function (PSF): This is a model of how your imaging system blurs the stars.
- Apply the Deconvolution Algorithm: Adjust the settings to suit your image. Be careful not to overdo it, as this can introduce artifacts.
Achieving Crisp Star Details
Crisp star details are the hallmark of a stunning astrophotography image. Here are some tips to help you achieve those pin-sharp stars.
Focusing Techniques
Proper focusing is crucial. Use live view mode on your camera and zoom in on a bright star to achieve precise focus. Bahtinov masks are also excellent tools for achieving perfect focus.
| Technique | Description |
|---|---|
| Live View | Zoom in on a bright star to achieve precise focus |
| Bahtinov Mask | A focusing aid that creates diffraction spikes for accurate focus |
Balancing Color and Contrast
When diving into the art of astrophotography, you’ll quickly realize that post-processing is where the magic truly happens. The stars, nebulae, and galaxies you capture can be transformed into breathtaking images. Let’s explore some essential techniques to make your astrophotography images pop.
Adjusting White Balance
White balance is crucial in astrophotography. It helps you achieve accurate colors in your images, making them more visually appealing. Here’s how you can adjust it effectively:
- Identify the Correct Color Temperature: Start by setting your camera to a specific color temperature. A good starting point is between 3500K and 4500K.
- Use Software Tools: Programs like Adobe Lightroom or Photoshop offer sliders to tweak the white balance. Adjust the temperature and tint sliders until the stars appear white and the sky looks natural.
- Check Against a Reference: Use a reference image to compare and ensure your adjustments are on point.
Enhancing Color Saturation
Color saturation can make the difference between a dull image and a vibrant masterpiece. Here’s how to enhance it:
- Selective Saturation: Instead of increasing the overall saturation, focus on specific colors. This prevents the image from looking overly processed.
- Use Masks: Apply masks to target areas like nebulae or galaxies. This allows you to enhance colors without affecting the entire image.
- Adjust Vibrance: Vibrance is a more subtle way to enhance colors. It increases the intensity of less saturated colors, making the image look more balanced.

Noise Reduction Strategies
Astrophotography can be a thrilling adventure, but it often comes with its own set of challenges. One of the most common issues youll face is noise in your images. Noise can make your beautiful night sky photos look grainy and less appealing. But dont worry, there are several effective strategies to tackle this problem.
Using Noise Reduction Software
Noise reduction software is a lifesaver for astrophotographers. It helps to clean up your images, making them look smoother and more professional. Here are some popular options:
| Software | Key Features | Pros | Cons |
|---|---|---|---|
| Adobe Lightroom | Advanced noise reduction tools, easy-to-use interface | Versatile, integrates well with other Adobe products | Can be expensive |
| Topaz DeNoise AI | AI-based noise reduction, excellent for low-light conditions | Highly effective, user-friendly | Requires a powerful computer |
| Noise Ninja | Simple interface, effective noise reduction | Affordable, easy to use | Limited features compared to others |
When using noise reduction software, its essential to strike a balance between reducing noise and preserving details. Applying too much noise reduction can make your images look soft and lose important details.
Balancing Noise and Detail
Finding the right balance between noise reduction and detail preservation is crucial. Here are some tips to help you achieve that balance:
- Use the Luminance Slider: In most noise reduction software, youll find a luminance slider. This helps to reduce noise without affecting the color details. Start with a low value and gradually increase it until you find the right balance.
- Adjust the Detail Slider: The detail slider helps to preserve the fine details in your image. Increasing this slider will retain more details but may also retain some noise. Find a middle ground that works best for your image.
- Use Masking Tools: Some software offers masking tools that allow you to apply noise reduction selectively. This means you can target specific areas of your image that need noise reduction while preserving the details in other areas.
Stacking Multiple Exposures
Benefits of Image Stacking
When you’re diving into the mesmerizing world of astrophotography, stacking multiple exposures is like adding a magical touch to your photos. Imagine this: youre out under a clear, starry sky with your camera ready. You snap one picture, and its beautiful. But what if you could make it even better? Thats where image stacking comes into play.
Image stacking is a technique where you take several images of the same scene and combine them. This method brings several benefits that can elevate your astrophotography game.
Reduced Noise: When you stack images, you effectively reduce the noise in your final photo. Noise, those tiny specks of random color, can be a real nuisance in low-light photography. By averaging out the noise across multiple images, you get a cleaner, crisper final result.
Increased Detail: Stacking helps you capture more detail. Each shot may have slightly different information due to atmospheric conditions or slight movements. By combining these, you can achieve a more detailed and sharper image.
Enhanced Dynamic Range: The dynamic range, or the range of light intensities from the darkest to the brightest parts of your image, is crucial in astrophotography. Stacking allows you to capture a broader dynamic range, making the stars pop against the dark sky.
Software for Stacking Images
Now, lets talk about the tools you need to stack those images. There are several software options out there, each with its own set of features. Heres a quick rundown:
| Software | Description |
|---|---|
| DeepSkyStacker | A free tool specifically designed for astrophotography. Its user-friendly and powerful. |
| Adobe Photoshop | While not free, Photoshop offers robust stacking features along with extensive editing tools. |
| Sequator | Another free option, great for beginners. Its simple and effective. |
| PixInsight | A bit more complex and expensive, but its a powerhouse for serious astrophotographers. |
DeepSkyStacker is a fantastic starting point. Its free and specifically designed for astrophotography. You load your images, and it aligns and stacks them for you. It even has features to handle dark frames, flat frames, and bias frames, which can further improve your final image.
Adobe Photoshop is another excellent choice if youre already familiar with it. It offers a lot of flexibility and advanced editing tools. You can manually align and stack images, giving you complete control over the process.
Sequator is a simpler, free option thats great for beginners. Its easy to use and handles the basics of image stacking well.
PixInsight is for those who want the best of the best and are willing to pay for it. Its complex but incredibly powerful, offering advanced features that can take your astrophotography to the next level.

Removing Light Pollution
Identifying Light Pollution
When you’re out there, camera in hand, gazing at the night sky, the last thing you want is light pollution ruining your shot. But first, you have to identify it. Light pollution is any unwanted or excessive artificial light that interferes with your ability to capture the stars. This could be streetlights, car headlights, or even the glow from a distant city.
Types of Light Pollution
| Type of Light Pollution | Description |
|---|---|
| Skyglow | The brightening of the night sky over populated areas. |
| Glare | Excessive brightness that causes visual discomfort. |
| Light Trespass | Unwanted or intrusive light that spills over into areas where it is not needed. |
| Clutter | Bright, confusing, and excessive groupings of light sources. |
Techniques to Minimize Light Pollution
Once you’ve identified the sources of light pollution, you can start tackling them. Here are some tried-and-true techniques to minimize light pollution in your astrophotography.
Choosing the Right Location
The first step is to pick a good spot. The further you are from city lights, the better. National parks, rural areas, and designated dark sky reserves are excellent choices.
| Location Type | Benefits |
|---|---|
| National Parks | Far from city lights, minimal artificial lighting. |
| Rural Areas | Less populated, darker skies. |
| Dark Sky Reserves | Specifically protected for their dark skies. |
Timing Your Shots
Timing is everything. Shoot during a new moon phase when the sky is at its darkest. Also, consider the time of night; late hours often have less human activity and artificial lighting.
| Time of Night | Benefits |
|---|---|
| New Moon | Darkest skies, minimal lunar light. |
| Late Night | Reduced human activity, fewer artificial lights. |
Using Filters and Software
Even with the best planning, some light pollution might still creep into your shots. This is where filters and software come into play.
Filters
Filters can be a game-changer. Light pollution filters are designed to block out specific wavelengths of artificial light, allowing the natural light from stars and celestial objects to shine through.
| Filter Type | Benefits |
|---|---|
| Light Pollution Filters | Blocks specific wavelengths of artificial light. |
| Neutral Density Filters | Reduces overall light without affecting color balance. |
Final Touches and Exporting
You’ve captured the night sky in all its glory, and now it’s time to put the finishing touches on your astrophotography masterpiece. Post-processing can transform a good image into a breathtaking one. Let’s dive into the essential techniques to make your photos stand out.
Cropping and Framing Your Image
Cropping and framing your image is like putting the final brushstrokes on a painting. It’s where you can refine your composition and emphasize the most striking elements of your photo.
- Identify the Focal Point: Determine the main subject of your image. Is it a constellation, a galaxy, or the Milky Way? Make sure this focal point is positioned according to the rule of thirds for a balanced composition.
- Eliminate Distractions: Crop out any unnecessary elements that detract from the main subject. This could include light pollution, unwanted stars, or parts of the landscape that don’t add to the overall image.
- Aspect Ratio: Choose an aspect ratio that complements your subject. For instance, a 16:9 ratio can give a panoramic feel, while a 4:3 ratio might be better for detailed shots of celestial objects.
- Maintain Resolution: Be cautious not to crop too much, as this can reduce the resolution and quality of your image. Aim to keep as much of the original resolution as possible.
Here’s a simple table to guide you through the cropping process:
| Step | Action | Tip |
|---|---|---|
| Identify Focal Point | Position main subject using rule of thirds | Use grid overlays in your editing software |
| Eliminate Distractions | Crop out unnecessary elements | Zoom in to spot minor distractions |
| Choose Aspect Ratio | Select an aspect ratio that enhances the subject | Experiment with different ratios |
| Maintain Resolution | Avoid excessive cropping to preserve quality | Keep an eye on the pixel dimensions |
Export Settings for Different Platforms
Once your image is perfectly cropped and framed, the next step is to export it for sharing. Different platforms have varying requirements and it’s crucial to get these right to retain the quality of your work.
Social Media
Social media platforms often compress images, which can lead to a loss in quality. Here are some tips to minimize this:
- Resolution: Export your image at the highest resolution allowed by the platform. For instance, Facebook supports up to 2048 pixels on the longest side.
- File Format: Use JPEG for most social media platforms, but ensure the compression level is set to high quality (around 80-90%).
- Color Profile: Use the sRGB color profile, as it is the standard for web images and ensures consistent color reproduction.
- Sharpening: Apply a slight sharpening after resizing to counteract any blurriness introduced by compression.
Here’s a quick reference table for popular social media platforms:
| Platform | Recommended Resolution | File Format | Color Profile | Additional Tips |
|---|---|---|---|---|
| 2048 pixels (longest side) | JPEG | sRGB | Use high-quality compression (80-90%) | |
| 1080×1080 pixels | JPEG | sRGB | Square format works best | |
| 1600×900 pixels | JPEG | sRGB | Use landscape orientation | |
| 1000×1500 pixels | JPEG | sRGB | Vertical images perform better |
Frequently Asked Questions
What are essential post-processing techniques for astrophotography?
To make your astro images pop, rely on stacking, noise reduction, color correction, and sharpening. These techniques are pivotal.
Why is stacking important in astrophotography?
Stacking minimizes noise by combining multiple images, resulting in clearer and more detailed shots.
How do you reduce noise in astrophotography photos?
Use noise reduction software like Lightroom or Photoshop. Apply noise reduction cautiously to maintain image detail.
What tools can you use for color correction in astrophotography?
Tools like Adobe Photoshop and Lightroom are great for adjusting colors, ensuring stars and nebulae look natural and vibrant.
Can sharpening enhance your astrophotography images?
Absolutely! Use selective sharpening to bring out details in stars and celestial objects without overdoing it.


