Enhancing star colors in your astrophotography can seem like chasing unicorns, but it’s easier than you think! This article dives into why stars have different colors, the science behind it, and how these colors can affect your photos and equipment choices. You’ll find tips on the best cameras, essential lenses, and sturdy tripods to help you snap those perfect shots. We’ll also cover camera settings, including adjusting ISO, shutter speed, and aperture for clear, vibrant star photos. Plus, learn about post-processing techniques, light pollution effects, and practical shooting tips to make your starry images pop! Ready to transform your night sky photography? Lets get started!
Key Takeaways
- Use a light pollution filter
- Adjust your cameras white balance
- Stack multiple exposures
- Edit in post-processing software
- Use a remote shutter release

Understanding Star Colors
Why Stars Have Different Colors
When you gaze up at the night sky, you might notice stars of various colors. Some shine in a cool blue, others in a fiery red, and some in a warm yellow. But why do stars have different colors? The answer lies in their temperature.
Stars are like cosmic thermometers. The color of a star is a direct result of its surface temperature. Hot stars appear blue or white, while cooler stars glow red or orange. This is similar to how metal changes color when heated – from red to blue as it gets hotter.
Here’s a simple table to illustrate:
| Star Color | Surface Temperature (Kelvin) |
|---|---|
| Blue | 10,000 – 30,000 |
| White | 7,500 – 10,000 |
| Yellow | 5,000 – 7,500 |
| Orange | 3,500 – 5,000 |
| Red | 2,000 – 3,500 |
Understanding these color differences is key to capturing the vivid hues in your astrophotography.
The Science Behind Star Colors
Stars emit light across a range of wavelengths, but the peak wavelength – the one that is most intense – determines the star’s color. This is described by Wien’s Displacement Law, which states that the peak wavelength is inversely proportional to the temperature. Simply put, hotter stars peak at shorter (bluer) wavelengths, while cooler stars peak at longer (redder) wavelengths.
Stars also differ in composition. The elements within a star can absorb and emit light at specific wavelengths, adding subtle color variations. For example, a star rich in hydrogen might have a slightly different hue than one rich in helium.
How Star Colors Affect Your Photos
Star colors can significantly impact your astrophotography. Capturing the true colors of stars can make your photos more dynamic and realistic. But how do you enhance these colors?
Choosing the Right Equipment
Embarking on your journey in astrophotography requires the right tools. With the right equipment, you can capture the stunning hues of stars and celestial bodies with impeccable clarity.
Best Cameras for Astrophotography
Your choice of camera is the cornerstone of your astrophotography setup. While there are many options available, some cameras stand out for their low-light performance and high-resolution capabilities.
Top Cameras for Astrophotography
| Camera Model | Key Features | Price Range |
|---|---|---|
| Nikon D850 | 45.7 MP, Excellent ISO range, Full-frame | $2,500 – $3,000 |
| Canon EOS Ra | 30.3 MP, Infrared sensitivity, Mirrorless | $2,500 – $2,900 |
| Sony A7S III | 12.1 MP, 4K video, Full-frame, High ISO | $3,500 – $3,900 |
| Fujifilm X-T4 | 26.1 MP, APS-C sensor, 4K video capabilities | $1,600 – $1,800 |
Choosing the right camera involves balancing your budget with the features you need. Full-frame cameras are often preferred for their larger sensors, which capture more light, making them ideal for low-light conditions.
Essential Lenses for Star Photography
The lens you choose can dramatically impact the quality of your astrophotography. Fast lenses with wide apertures are essential for capturing as much light as possible.
Top Lenses for Star Photography
| Lens Model | Aperture | Focal Length | Price Range |
|---|---|---|---|
| Rokinon 14mm f/2.8 | f/2.8 | 14mm | $300 – $400 |
| Sigma 14-24mm f/2.8 DG HSM | f/2.8 | 14-24mm | $1,200 – $1,400 |
| Canon EF 24mm f/1.4L II USM | f/1.4 | 24mm | $1,300 – $1,500 |
| Nikon AF-S 20mm f/1.8G ED | f/1.8 | 20mm | $800 – $900 |
Wide-angle lenses are particularly useful for capturing expansive night skies. Lenses with a fast aperture (f/2.8 or lower) allow more light to hit the sensor, which is crucial for capturing the faint light of distant stars.
Tripods and Mounts for Stability
A stable setup is non-negotiable in astrophotography. Even the slightest movement can blur your shot, ruining the intricate details of the stars.
Recommended Tripods and Mounts
| Tripod/Mount Model | Key Features | Price Range |
|---|---|---|
| Manfrotto 055 Aluminum | Sturdy, Adjustable legs, Quick-release plate | $250 – $300 |
| Gitzo Series 3 Systematic | Carbon fiber, Lightweight, High load capacity | $900 – $1,000 |
| Sky-Watcher Star Adventurer | Portable, Equatorial mount, Motorized tracking | $300 – $400 |
| iOptron SkyTracker Pro | Compact, Precise tracking, Easy alignment | $350 – $450 |
Using a high-quality tripod and a motorized mount can significantly enhance your ability to capture sharp, vibrant star images. Motorized mounts like the Sky-Watcher Star Adventurer or the iOptron SkyTracker Pro are particularly useful for tracking stars as they move across the sky, allowing for longer exposures without star trails.
Enhancing Star Colors in Your Astrophotography
Capturing the vibrant colors of stars can be challenging, but with the right techniques, you can bring out the rich hues that make your photos stand out.
Tips for Enhancing Star Colors
- Use a Light Pollution Filter: Light pollution can wash out the colors of stars. Using a filter designed to block out artificial light can help you capture the true colors of the night sky. Discover more about the best filters for astrophotography.
- Adjust Your White Balance: Setting the correct white balance can make a significant difference in the colors of your stars. Experiment with different settings to find what works best for your environment.
- Shoot in RAW: Shooting in RAW format gives you more flexibility in post-processing, allowing you to adjust colors without losing image quality.
- Post-Processing Techniques: Software like Adobe Lightroom or Photoshop can be used to enhance star colors. Adjusting the saturation, contrast, and color balance can bring out the vibrant hues.

Mastering Camera Settings
When you’re capturing the night sky, mastering your camera settings is crucial. Let’s dive into the specifics.
Adjusting ISO for Better Star Colors
ISO settings play a significant role in your astrophotography. The right ISO can make your stars pop with vivid colors. But, how do you find that sweet spot?
ISO Basics:
- Low ISO (100-400): This range is excellent for reducing noise, but it might not capture the faint colors of distant stars.
- Medium ISO (800-1600): A good middle ground, balancing noise and color capture.
- High ISO (3200+): This setting can bring out the colors of even the dimmest stars but at the cost of increased noise.
Tips for Adjusting ISO:
- Start Low: Begin with a lower ISO setting and gradually increase it. This method helps you find the best balance between noise and star color.
- Use Noise Reduction: Many cameras have built-in noise reduction settings. Utilize these to maintain clarity while using higher ISO settings.
- Experiment: Different nights and locations might require different ISO settings. Don’t be afraid to tweak and test.
Table: ISO Settings and Their Effects
| ISO Range | Noise Level | Star Color Capture |
|---|---|---|
| 100-400 | Low | Minimal |
| 800-1600 | Moderate | Balanced |
| 3200+ | High | Enhanced |
Shutter Speed Tips for Night Sky
Shutter speed is another critical factor in astrophotography. It determines how long your camera’s sensor is exposed to light. This setting can drastically affect the clarity and color of your stars.
Shutter Speed Basics:
- Short Exposure (1-10 seconds): Captures brighter stars with minimal trails.
- Medium Exposure (10-30 seconds): A good balance, capturing more stars without significant trails.
- Long Exposure (30+ seconds): Captures faint stars and star trails, but can blur the image if not done correctly.
Tips for Shutter Speed:
- Use a Tripod: A stable tripod is essential for long exposures. It prevents camera shake and ensures sharp images.
- Remote Shutter Release: This tool helps you avoid touching the camera, reducing the risk of blurring your shot.
- Test Different Speeds: Just like with ISO, different conditions might require different shutter speeds. Experiment to find what works best for you.
Table: Shutter Speed Settings and Their Effects
| Shutter Speed | Star Trails | Star Brightness | Star Colors |
|---|---|---|---|
| 1-10 seconds | Minimal | High | Moderate |
| 10-30 seconds | Moderate | Balanced | Enhanced |
| 30+ seconds | Significant | Low | High |
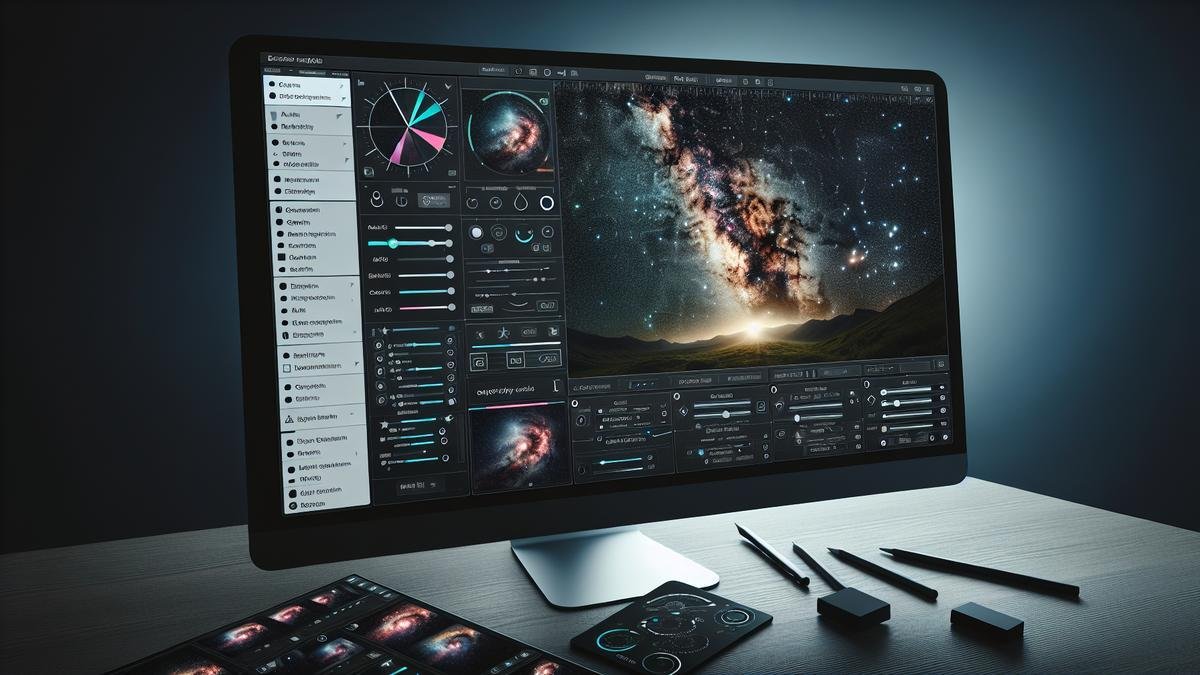
Post-Processing Techniques
Astrophotography is a mesmerizing hobby that lets you capture the beauty of the night sky. But to truly make your stars shine, post-processing is a game-changer. Let’s dive into some essential techniques to help you enhance the star colors in your astrophotography shots.
Using Software to Enhance Star Colors
When you first look at your raw astrophotography images, they might seem a bit dull. That’s where software like Adobe Photoshop or Lightroom comes into play. These tools can help you bring out those vibrant star colors that make your images pop.
Basic Adjustments
Start with the basics. Adjust the exposure, contrast, and brightness. This helps in bringing out the details in your image. Here’s a quick table to guide you:
| Adjustment | Purpose |
|---|---|
| Exposure | Brightens or darkens the entire image |
| Contrast | Enhances the difference between lights and darks |
| Brightness | Adjusts the overall light level |
Enhancing Star Colors
Now, lets focus on enhancing those star colors. Use the saturation and vibrance sliders to boost the colors without making them look unnatural. Be subtle; you want to enhance, not overwhelm.
| Tool | Purpose |
|---|---|
| Saturation | Increases the intensity of all colors |
| Vibrance | Boosts the intensity of less saturated colors |
Color Correction Tips for Beginners
Color correction can be tricky, especially if you’re new to astrophotography. But with a few tips, you’ll be on your way to creating stunning images.
White Balance
Setting the correct white balance is crucial. It ensures that the colors in your image look natural. Most astrophotography software has a white balance tool that lets you pick a neutral color in your image to set the balance.
| Tool | Purpose |
|---|---|
| White Balance | Adjusts the color temperature of your image |
Using Curves and Levels
The curves and levels tools are your best friends for color correction. They allow you to adjust the brightness and contrast of specific color channels, giving you more control over the final look of your image.
| Tool | Purpose |
|---|---|
| Curves | Adjusts the brightness and contrast of specific color channels |
| Levels | Adjusts the overall brightness and contrast |
Avoiding Over-Editing in Astrophotography
It’s easy to get carried away with editing, but over-editing can ruin your image. Here are some tips to keep your edits in check.
Keep It Natural
The goal is to enhance the natural beauty of the stars, not to create something artificial. Avoid using too much saturation or contrast. A little goes a long way.
| Tip | Purpose |
|---|---|
| Use Subtle Edits | Enhances natural beauty without creating an artificial look |
Check Your Histogram
The histogram is a useful tool that shows the distribution of light in your image. It helps you see if you’re losing details in the shadows or highlights. Aim for a balanced histogram to keep your image looking natural.
| Tool | Purpose |
|---|---|
| Histogram | Shows the distribution of light in your image |

Enhancing Star Colors in Your Astrophotography
Astrophotography is an enchanting blend of science and art, where you capture the celestial wonders in stunning detail. One crucial aspect to master is enhancing the colors of stars in your shots. Let’s dive deep into how light pollution affects your images and explore practical solutions to bring out the vivid hues of the night sky.
Light Pollution and Its Effects
Finding Dark Sky Locations
The first step to capturing vibrant star colors is to escape the clutches of light pollution. Light pollution, the excessive and misdirected artificial light, washes out the night sky’s natural glow. Its like trying to see fireflies in broad daylight. To find the perfect spot, you need a dark sky location.
Here are some tips to help you find these elusive havens:
- Use Light Pollution Maps: Websites and apps like Dark Sky Finder and Light Pollution Map can guide you to the darkest spots near you.
- National Parks and Reserves: These often have designated dark sky areas. Places like Big Bend National Park in Texas or Cherry Springs State Park in Pennsylvania are excellent choices.
- Local Astronomy Clubs: Join a club or group. They often have knowledge about nearby dark locations and can provide valuable tips.
| Resource | Description |
|---|---|
| Dark Sky Finder | An online tool to locate dark sky areas |
| Light Pollution Map | Visual representation of light pollution levels |
| National Parks | Many have designated dark sky areas for stargazing |
Minimizing Light Pollution in Your Shots
Sometimes, you can’t escape light pollution entirely. But don’t fret! There are ways to minimize its impact on your shots.
- Shoot During New Moon: The moon can be a major source of light pollution. Shooting during a new moon phase ensures the sky is as dark as possible.
- Use a Light Pollution Filter: These filters block unwanted artificial light, enhancing the natural colors of the stars.
- Shield Your Lens: Use a lens hood or create a makeshift shield to block stray light from entering your lens.
| Technique | Benefit |
|---|---|
| New Moon Shooting | Reduces natural light pollution |
| Light Pollution Filters | Blocks artificial light, enhancing star colors |
| Lens Hood | Prevents stray light from affecting your shots |
Practical Shooting Tips
Planning Your Astrophotography Session
When diving into the enchanting world of astrophotography, planning is your most trusted ally. The night sky is a vast canvas, and to capture its brilliance, you need to be prepared. Start by selecting a location with minimal light pollution. Urban areas can drown out the subtle hues of stars, so aim for a remote spot. Use light pollution maps to find the best dark-sky sites near you.
Next, check the weather forecast. Clear skies are a must. Cloud cover can obscure your view and ruin your shots. Apps like Clear Outside or Weather Underground can provide detailed forecasts.
Equip yourself with the right gear. A sturdy tripod is essential to keep your camera steady during long exposures. Consider using a remote shutter release to avoid any camera shake. And don’t forget a red flashlight; it helps preserve your night vision while adjusting settings.
Timing Your Shots for Best Results
Timing is everything in astrophotography. The best time to capture the night sky is during the new moon phase when the moon’s light doesn’t interfere with the stars’ brilliance. Use lunar calendars to plan your sessions around these dates.
The “golden hours” for astrophotography are the hours after sunset and before sunrise. During these times, the sky is dark enough, yet there’s a slight residual light that can add depth to your photos.
Set your camera to a high ISO setting to capture more light. However, be cautious, as too high an ISO can introduce noise. Experiment with different settings to find the sweet spot for your gear.
Capturing Different Star Constellations
Different constellations grace the night sky at various times of the year. To capture them, you’ll need to familiarize yourself with their positions and movements. Star charts and apps like Stellarium can be invaluable tools.
Here’s a quick guide to some popular constellations and when to capture them:
| Constellation | Best Viewing Time | Hemisphere |
|---|---|---|
| Orion | Winter | Northern |
| Scorpius | Summer | Southern |
| Ursa Major | Spring | Northern |
| Crux | All year | Southern |
To enhance the colors of these constellations, consider using filters. Filters can help reduce light pollution and bring out the natural colors of the stars. For more on this, check out the best filters for enhancing your astrophotography shots.
Frequently asked questions
How can I enhance star colors in my astrophotography?
Use a light pollution filter to cut down on unwanted glare. Increase exposure times. Adjust white balance during post-processing. This will make star colors pop!
What is the best software for editing star photos?
Try Adobe Lightroom or Photoshop. PixInsight is great too. They all have tools perfect for enhancing star colors in your astrophotography.
Does shooting in RAW help with star color enhancement?
Yes! RAW files hold more data. This lets you tweak colors without losing quality. Perfect for enhancing star colors in your astrophotography.
What settings should I use to capture vibrant star colors?
Set a low ISO, around 800-1600. Use a wide aperture, like f/2.8. Try a 20-30 second exposure. This captures more light and color from stars.
How does light pollution affect star colors?
Light pollution washes out star colors. Find a dark-sky location. Its crucial for enhancing star colors in your astrophotography. Use filters if needed.