Creating HDR Astrophotography Images may sound complex, but we’re here to break it down for you. In this guide, you’ll dive into the ins and outs of HDR, why it’s a game-changer for night sky photography, and the benefits it brings. Well cover everything from choosing the right gear to capturing the perfect shot and post-processing magic. Say goodbye to common mistakes and hello to stunning space photos. Whether you’re a newbie or looking to up your game, this article is your ticket to dazzling, detailed astral images.
Key Takeaways
- Understand HDR: Learn what HDR means and why its useful in astrophotography.
- Choose the Right Gear: Use a good tripod and a camera that supports manual settings.
- Shoot in RAW: Capture images in RAW format to retain more detail.
- Bracket Your Shots: Take multiple photos at different exposures.
- Use Editing Software: Combine and edit your images using HDR software.
Understanding HDR in Astrophotography
What is HDR?
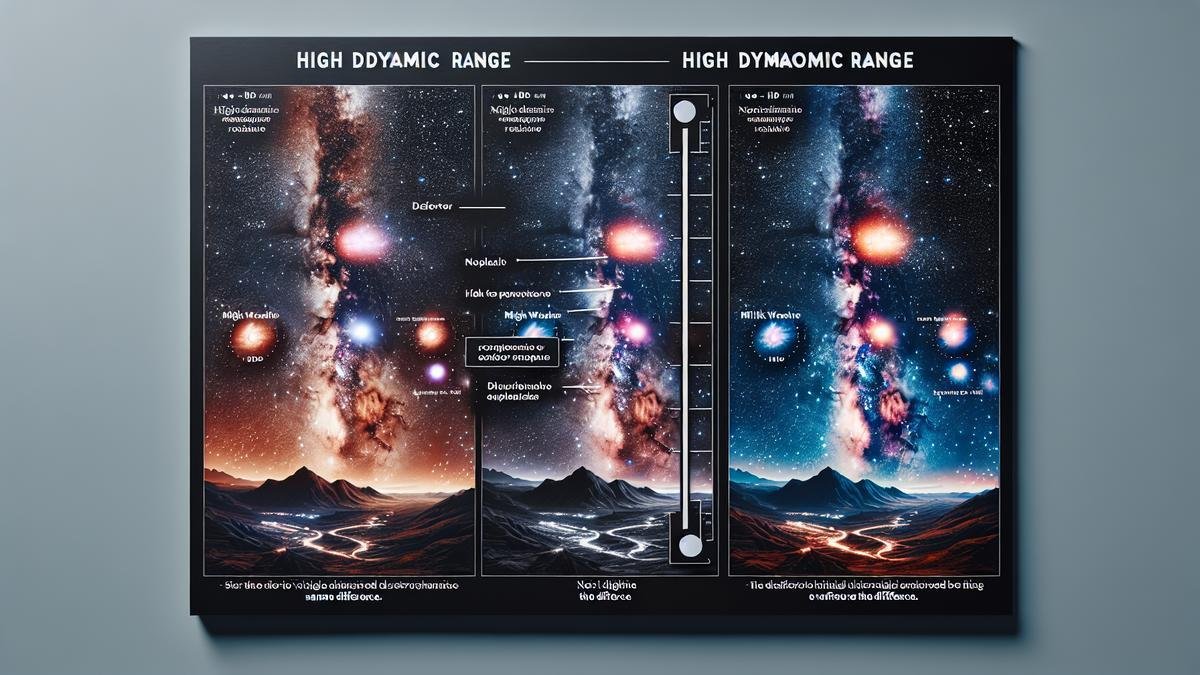
Alright, let’s dive right in. HDR, or High Dynamic Range, is a fancy way of saying you’re capturing more details in your photos. You know how sometimes your night sky photos look too dark or too bright? HDR fixes that. It combines multiple images taken at different exposures into one. This way, you get the best of both worlds—details in the dark areas and the bright ones.
Why Use HDR in Astrophotography?
You might be wondering, “Why go through the hassle of HDR?” Well, it’s like adding a secret ingredient to your favorite recipe. It makes your photos pop! The night sky is full of contrasts—bright stars and dark skies. HDR helps you capture all those details.
Benefits of HDR for Night Sky Photos
Let’s break it down further. Here are some perks of using HDR for your night sky shots:
- Enhanced Details: HDR captures the faint stars and the bright ones.
- Balanced Exposure: No more overly bright or dark spots.
- Vibrant Colors: The colors of the Milky Way and nebulae stand out more.
- Reduced Noise: Cleaner images with less grain.
Creating HDR Astrophotography Images
Now, let’s get to the fun part—creating HDR images. It’s like baking a cake. You need the right ingredients and steps.
Step 1: Gather Your Gear
You can’t make a great photo without the right tools. Here’s what you’ll need:
| Gear | Purpose |
|---|---|
| Camera | A DSLR or mirrorless camera works best. |
| Tripod | Keeps your camera steady. |
| Lens | A wide-angle lens captures more sky. |
| Remote | Helps avoid camera shake. |
| Software | For combining your images. |
Step 2: Shoot Multiple Exposures
Next, you’ll take several shots at different exposures. Think of it like making a sandwich. You need different layers to make it tasty.
- Underexposed Shot: Captures the bright stars.
- Normal Exposure: Captures a balanced view.
- Overexposed Shot: Captures the faint stars.
Step 3: Combine the Images
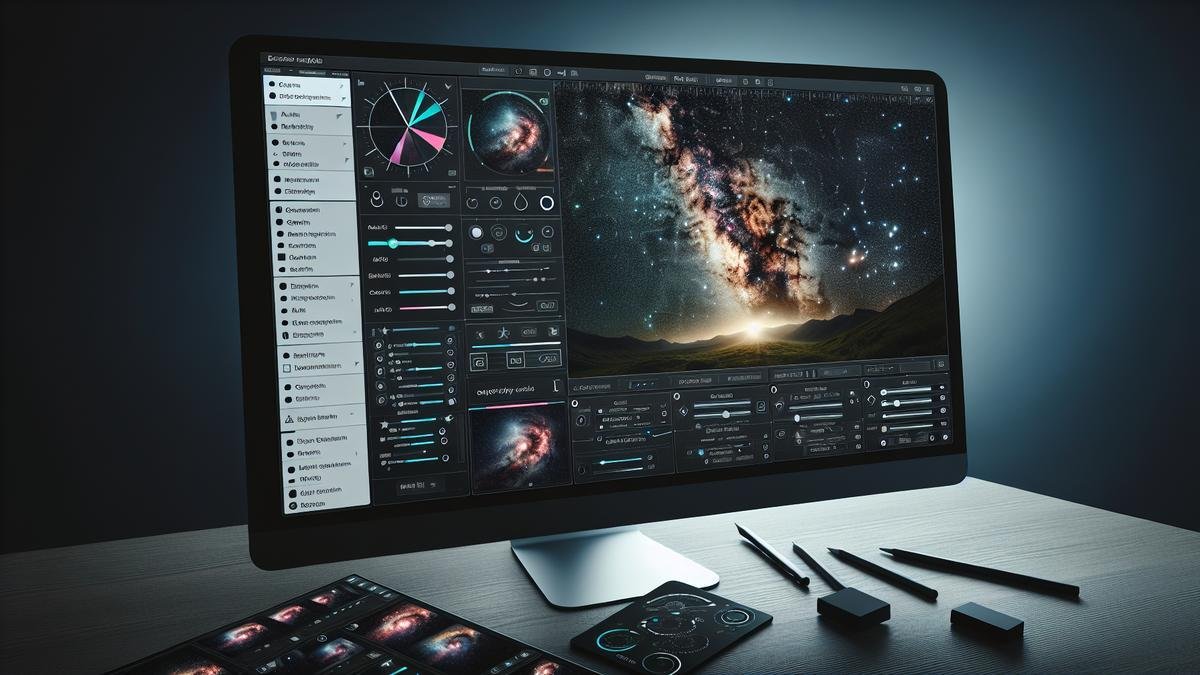
This is where the magic happens. You’ll use software to blend these images. Programs like Adobe Photoshop or Lightroom are great for this. It’s like mixing all your ingredients to bake that perfect cake.
Step 4: Fine-Tune Your Image
Once you’ve combined your images, you’ll want to tweak them a bit. Adjust the contrast, brightness, and colors. This is like adding frosting to your cake—makes it look even better!
Tips for Better HDR Astrophotography
Here are some quick tips to make your HDR photos even more stellar:
- Use a Low ISO: Keeps your images clean and reduces noise.
- Shoot in RAW: Gives you more control in post-processing.
- Avoid Light Pollution: Find a dark spot away from city lights.
- Be Patient: Good things take time. Don’t rush your shots.
Common Mistakes to Avoid
Even the best chefs make mistakes. Here are some pitfalls to watch out for:
- Overprocessing: Too much editing can make your photo look fake.
- Wrong Exposure Settings: Make sure your exposures are varied enough.
- Not Using a Tripod: A shaky camera ruins the shot.
Choosing the Right Equipment
So, you’re diving into the mesmerizing world of HDR astrophotography, huh? Great choice! Let’s talk gear. The right equipment can make or break your starry captures. We’ll cover the best cameras and essential accessories you need to shoot the night sky like a pro.
Best Cameras for HDR Astrophotography
First off, your camera is your best friend. You need one that can handle low light and capture those stunning high dynamic range (HDR) shots. Here’s a quick rundown of some top picks:
| Camera | Features | Price Range |
|---|---|---|
| Canon EOS R6 | Full-frame sensor, low noise, great ISO performance | $2,500-$2,800 |
| Nikon D850 | 45.7 MP, excellent dynamic range, weather-sealed | $3,000-$3,300 |
| Sony A7 III | 24.2 MP, outstanding low-light performance, fast autofocus | $1,800-$2,000 |
| Fujifilm X-T4 | APS-C sensor, 26.1 MP, in-body stabilization | $1,700-$1,900 |
These cameras offer a blend of high resolution, low noise, and excellent dynamic range. They’re perfect for capturing the subtle gradations of light and shadow in the night sky.
Essential Accessories for Astrophotography
Your camera isn’t the only thing you’ll need. There are a few other pieces of gear that will make your life much easier and your photos much better.
Tripods and Stabilizers
A sturdy tripod is a must. The last thing you want is a shaky camera ruining your long exposure shots. Here are some top choices:
| Tripod | Features | Price Range |
|---|---|---|
| Manfrotto MT055CXPRO3 | Carbon fiber, quick power lock, 90° column | $350-$400 |
| Gitzo GT1545T | Ultra-light, compact, versatile | $800-$900 |
| Benro Mach3 TMA37C | High load capacity, twist locks, spiked feet | $300-$350 |
| MeFOTO RoadTrip Classic | Lightweight, converts to monopod, travel-friendly | $150-$200 |
A good tripod will keep your camera steady during those long exposures. Look for one that’s sturdy but not too heavy, especially if you plan on hiking to your shooting location.
Other Essential Accessories
Don’t forget these other must-haves:
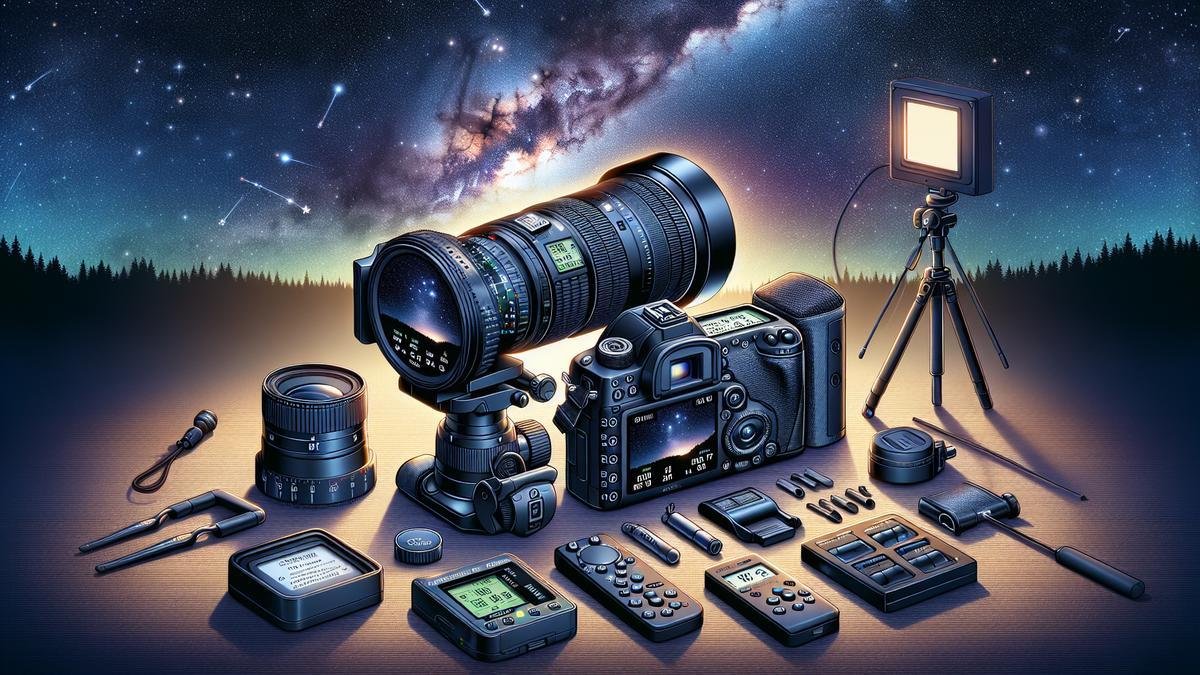
- Remote Shutter Release: Avoid camera shake by using a remote to trigger the shutter.
- Extra Batteries: Long exposure shots can drain your battery fast.
- Memory Cards: Youll need plenty of storage for those high-res images.
- Lens Heater: Prevents your lens from fogging up on cold nights.
- Red Flashlight: Helps you see your gear without ruining your night vision.
Setting Up Your Camera
So, youre ready to dive into the mesmerizing world of HDR astrophotography? Great! Let’s get your camera set up to capture those breathtaking night skies.
Optimal Camera Settings for HDR
First things first, let’s talk about the optimal camera settings for HDR (High Dynamic Range) photography. You’ll want to start by switching your camera to manual mode. This gives you full control over the settings.
Here’s a table to guide you:
| Setting | Recommended Value |
|---|---|
| Aperture | f/2.8 or lower |
| ISO | 800-3200 |
| Shutter Speed | 15-30 seconds |
| White Balance | Auto |
- Aperture: A wide aperture (like f/2.8) allows more light to hit the sensor, which is crucial for night photography.
- ISO: Higher ISO settings make the camera more sensitive to light, but be cautious as too high can introduce noise.
- Shutter Speed: Longer exposures capture more light, but too long can cause star trails.
- White Balance: Auto is usually fine, but you can tweak it in post-processing if needed.
Exposure Bracketing Explained
Exposure bracketing is a technique where you take several shots at different exposures. This is key for HDR astrophotography. It helps you capture the entire range of light in a scene, from the darkest shadows to the brightest highlights.
Heres how you do it:
- Set your camera to bracket mode. This is usually found in the shooting settings menu.
- Choose the number of shots. Most cameras allow for 3, 5, or 7 shots.
- Set the exposure increment. A common setting is ±2 EV (exposure value).
Example of a typical bracketing setup:
| Shot Number | Exposure Value |
|---|---|
| 1 | -2 EV |
| 2 | 0 EV |
| 3 | +2 EV |
This way, youll capture a darker, a normal, and a brighter image. Later, youll merge these in post-processing to create your HDR image.
Adjusting ISO and Shutter Speed
Adjusting the ISO and shutter speed is crucial to getting the right exposure for each shot in your bracket.
- ISO: Start with a base ISO of 800. If your images are too dark, increase the ISO incrementally. But watch out for noise.
- Shutter Speed: For each shot in your bracket, youll need to adjust the shutter speed so that each image has a different exposure.
Heres a quick guide:
| ISO Setting | Shutter Speed | Exposure Value |
|---|---|---|
| 800 | 30 seconds | -2 EV |
| 1600 | 15 seconds | 0 EV |
| 3200 | 8 seconds | +2 EV |
By using these settings, youll capture a range of exposures that you can later blend into a stunning HDR image.
Capturing the Perfect Shot
When you’re diving into the magical world of astrophotography, capturing that perfect shot is like catching lightning in a bottle. Its a blend of art and science, and every detail counts. Let’s break down the essentials.
Finding the Best Location
First things first, you need to find the right spot. The location can make or break your photo. You want a place that’s dark, open, and far from city lights.
- Dark Skies: The darker, the better. Look for places away from cities and towns. National parks and rural areas are usually great.
- Open Spaces: Avoid areas with buildings or trees that can block your view. An open field or a hilltop is ideal.
- Accessibility: Make sure you can get there easily and safely, especially if youre carrying a lot of gear.
Here’s a quick comparison to help you choose:
| Location Type | Pros | Cons |
|---|---|---|
| National Parks | Dark skies, open spaces | May have restrictions, far from amenities |
| Rural Areas | Less light pollution, accessible | May have some obstructions |
| Hilltops | Clear view, dark skies | Harder to access, weather can be harsh |
| Beaches | Open view, low light pollution | Sand can get into your gear, tides |
Timing Your Shots
Timing is everything in astrophotography. You need to plan your shots meticulously to get the best results.
- Moon Phases: The moon can be your best friend or your worst enemy. A new moon is perfect for capturing stars.
- Season: Different seasons offer different skies. Summer has the Milky Way, while winter offers clearer skies.
- Weather: Clear skies are a must. Cloudy weather will ruin your shot.
Avoiding Light Pollution
Light pollution is the bane of astrophotographers. It washes out the stars and makes your photos look dull. Heres how you can avoid it:
- Use Light Pollution Maps: There are apps and websites that show areas with low light pollution.
- Get Away from Cities: The farther you are from city lights, the better.
- Use Filters: Light pollution filters can help reduce unwanted light in your photos.
Creating HDR Astrophotography Images
Now, lets dive into creating those stunning HDR images. HDR, or High Dynamic Range, helps you capture the full range of light in a scene.
- Multiple Exposures: Take several shots at different exposures. Youll need at least three: one underexposed, one overexposed, and one properly exposed.
- Use a Tripod: Keep your camera steady to avoid blurry images.
- Post-Processing: Use software like Adobe Lightroom or Photoshop to merge your images. This will bring out the details in both the dark and light areas.
Heres a simple workflow:
| Step | Action |
|---|---|
| Set Up Your Camera | Use a tripod, set to manual mode |
| Take Multiple Shots | Capture at different exposures |
| Merge in Software | Use HDR software to combine shots |
| Fine-Tune | Adjust contrast, brightness, etc. |
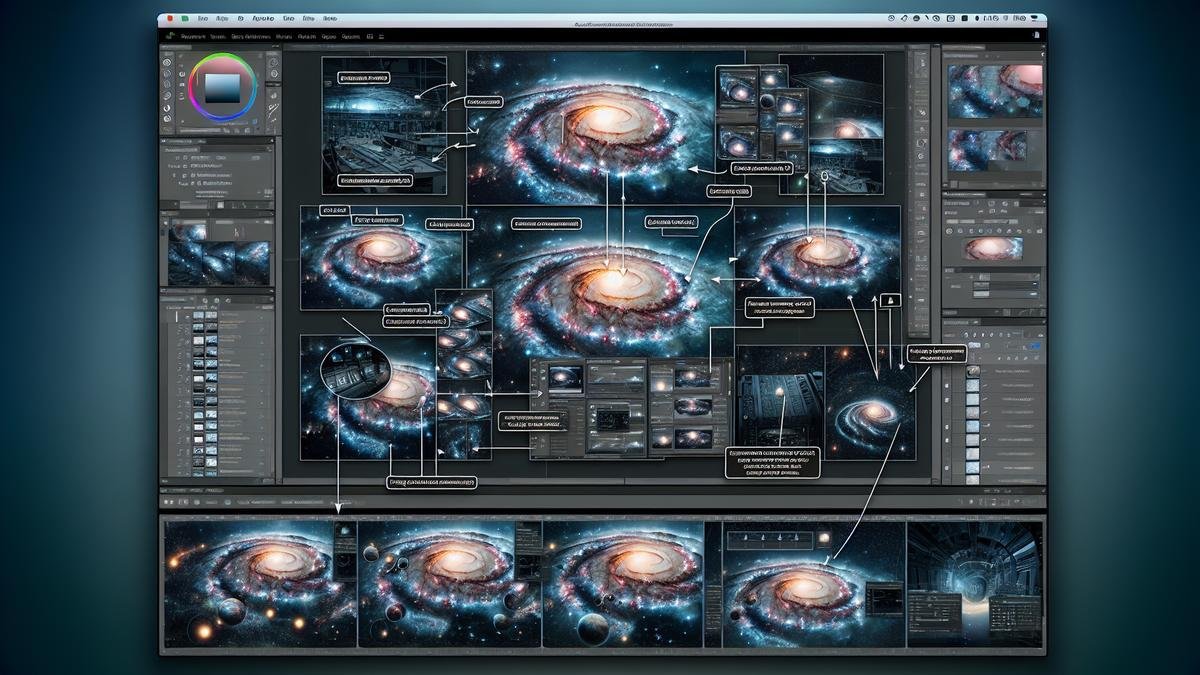
Post-Processing Your Images
Software for HDR Astrophotography
Alright, so you’ve captured some stunning shots of the night sky. Now, it’s time to take those images to the next level with post-processing. First things first, you need the right software. Here are some of the best tools to help you create HDR (High Dynamic Range) images:
| Software | Description |
|---|---|
| Adobe Photoshop | The big name in photo editing. Great for layering and combining multiple exposures. |
| Lightroom | Perfect for adjusting exposure, contrast, and color balance. |
| Aurora HDR | Specifically designed for HDR photography. It offers a lot of presets and powerful editing tools. |
| DeepSkyStacker | Free software that specializes in stacking and aligning astrophotography images. |
| PixInsight | Advanced tool for astrophotographers. Offers detailed control over every aspect of your images. |
Combining Multiple Exposures
Now that you have the right software, let’s talk about combining multiple exposures. This is key for HDR astrophotography. You want to capture the full range of light in the night sky, from the faintest stars to the brightest planets. Here’s how you do it:
- Take Multiple Shots: Capture several images at different exposure levels. You’ll need at least three: one underexposed, one correctly exposed, and one overexposed.
- Align the Images: Use your software to align the images. This ensures that all the stars and celestial objects line up perfectly.
- Merge the Exposures: Combine the images to create one HDR image. This will give you a photo with a wider range of light and detail.
Enhancing Details and Colors
Once you’ve merged your exposures, it’s time to enhance the details and colors. This is where your creativity can really shine. Here are some tips to get you started:
Adjusting Brightness and Contrast
- Brightness: Increase the brightness to make the stars pop.
- Contrast: Boost the contrast to highlight the differences between the dark sky and the bright stars.
Enhancing Colors
- Saturation: Increase the saturation to make the colors of the stars and nebulae more vivid.
- Hue: Adjust the hue to get the exact colors you want.
Sharpening Details
- Clarity: Increase the clarity to bring out the fine details in the stars and celestial objects.
- Sharpness: Use the sharpness tool to make your image crisp and clear.
Common Mistakes and How to Avoid Them
So, you’ve got your camera ready, and you’re itching to capture the night sky in all its glory. Astrophotography is a rewarding hobby, but it can be tricky. Let’s dive into some common mistakes and how you can avoid them.
Overexposure and Underexposure
One of the most common pitfalls in astrophotography is getting the exposure wrong. It’s a delicate balance between capturing enough light and not washing out your image.
Overexposure happens when your camera sensor gets too much light. This can make your stars look like big, blurry blobs.
Underexposure is the opposite. It happens when your camera doesn’t get enough light, making your stars faint and your image dark.
How to Avoid Overexposure and Underexposure:
- Use a Histogram: This graph shows the brightness levels in your image. Aim for a nice spread without bunching up on either end.
- Adjust ISO: Higher ISO means more sensitivity to light but also more noise. Find a balance.
- Shutter Speed: Longer exposures capture more light but can also cause star trails. Start with 15-20 seconds and adjust.
- Aperture Settings: A wider aperture (lower f-number) lets in more light. However, it can also create a shallow depth of field.
Here’s a simple table to guide you:
| Setting | Overexposure Risk | Underexposure Risk |
|---|---|---|
| High ISO | High | Low |
| Low ISO | Low | High |
| Long Shutter | High | Low |
| Short Shutter | Low | High |
| Wide Aperture | High | Low |
| Narrow Aperture | Low | High |
Dealing with Noise in Your Images
Noise is the grainy texture that can ruin an otherwise stunning photo. Its more common in low-light conditions, which makes it a frequent issue in astrophotography.
Tips to Reduce Noise:
- Lower ISO: As mentioned, higher ISO increases sensitivity but also noise. Stick to the lowest ISO possible for clear images.
- Use Noise Reduction Software: Programs like Lightroom or Photoshop can help clean up your images.
- Take Multiple Shots: Stack several shorter exposures to create one clear image. Software like DeepSkyStacker can help with this.
- Cool Your Camera: Heat can increase noise. If your camera has a cooling feature, use it. If not, give it breaks between shots.
Keeping Your Images Sharp
Blurry images can be a real letdown. Sharpness is key to capturing the intricate details of the night sky.
Tips for Sharp Images:
- Use a Tripod: Stability is crucial. A good tripod can make all the difference.
- Remote Shutter Release: Even the slightest touch can cause a blur. Use a remote or timer to avoid this.
- Focus Manually: Autofocus can struggle in low light. Switch to manual focus and use live view to zoom in on a bright star for precision.
- Check Your Lens: Make sure it’s clean and free of smudges or dust.
Frequently Asked Questions
What is HDR in astrophotography?
HDR stands for High Dynamic Range. It’s a technique that combines different exposure levels to capture stunning details in the night sky.
Do you need special equipment for creating HDR astrophotography images?
Yes, a DSLR or mirrorless camera, a sturdy tripod, and a remote shutter release help. But the key isn’t just gear; it’s patience and practice!
How do you set exposure for HDR astrophotography?
Take multiple shots at different exposures: one for the stars, one for the sky, and one for the foreground. Then blend them using software.
What software is best for creating HDR astrophotography images?
Adobe Photoshop, Lightroom, or free options like GIMP and Luminance HDR. Each has tools tailored for blending multiple exposures.
Can you use your smartphone for creating HDR astrophotography images?
Yes, but it’s more challenging. Use a tripod and a dedicated camera app that allows manual settings for better results.

