Combining and stacking images for astrophotography might sound complicated, but the results are worth it. By merging multiple shots of the night sky, you can achieve improved image quality, enhanced detail, and impeccable clarity. Whether you’re a budding stargazer or a seasoned astrophotographer, this guide will walk you through the essential tools, steps, and techniques needed to create stunning celestial images. Get ready to dive into the fascinating world of image stacking and make your starry nights shine brighter than ever!
Key Takeaways
- Combining images helps reveal more detail.
- Stacking reduces noise in your pictures.
- You can use software to help you stack images.
- Align your images carefully when combining.
- Practice makes perfect with astrophotography.

Benefits of Combining and Stacking Images for Astrophotography
Improved Image Quality
When you dive into astrophotography, you’ll quickly learn that combining and stacking images can make a world of difference. Why? Because it can significantly improve the quality of your photos. Let’s break it down.
- Noise Reduction: By stacking multiple images, you can reduce noise. Noise is the grainy, speckled look that can ruin a good photo. Stacking helps smooth out these imperfections.
- Signal Boost: Stacking increases the signal-to-noise ratio. This means the actual stars and celestial objects become clearer and more prominent.
- Dynamic Range: You’ll capture more details in both the dark and bright areas of your images. This makes your photos look more balanced and natural.
Here’s a quick table to summarize these benefits:
| Benefit | Description |
|---|---|
| Noise Reduction | Smoother images with less graininess |
| Signal Boost | Clearer and more prominent celestial objects |
| Dynamic Range | Better details in both dark and bright areas |
Enhanced Detail and Clarity
When you’re photographing the night sky, detail and clarity are everything. Stacking images can help you achieve both.
- Sharpness: Stacking can improve the sharpness of your images. This means you’ll see more defined stars and celestial objects.
- Contrast: You’ll also get better contrast, making the stars stand out against the dark sky.
- Color: Stacking can enhance the colors in your images, making them more vibrant and true-to-life.
Here’s another table to help you see these benefits clearly:
| Benefit | Description |
|---|---|
| Sharpness | More defined stars and celestial objects |
| Contrast | Better separation between stars and the dark sky |
| Color | More vibrant and true-to-life colors |
Why Stacking is Essential
Stacking isn’t just a nice-to-have; it’s essential for anyone serious about astrophotography. Here’s why:
- Long Exposures: Long exposures are great for capturing faint objects, but they also introduce noise. Stacking multiple shorter exposures can give you the same result without the noise.
- Weather Conditions: Sometimes, weather conditions aren’t ideal. Stacking can help you get a good photo even when the sky isn’t perfectly clear.
- Equipment Limitations: Not everyone has the best equipment. Stacking can help you get great results even with entry-level gear.
And let’s not forget the pride you’ll feel when you see the final result. There’s nothing like the satisfaction of capturing a stunning image of the night sky.
Here’s a final table to sum up why stacking is essential:
| Reason | Description |
|---|---|
| Long Exposures | Capture faint objects without introducing noise |
| Weather Conditions | Get good photos even when the sky isn’t perfectly clear |
| Equipment Limitations | Achieve great results with entry-level gear |
Tools You Need for Combining and Stacking Images
Alright, so you want to dive into the fascinating world of astrophotography. Combining and stacking images is like weaving a beautiful tapestry of stars. But to get those stunning results, you need the right tools. Lets break it down.
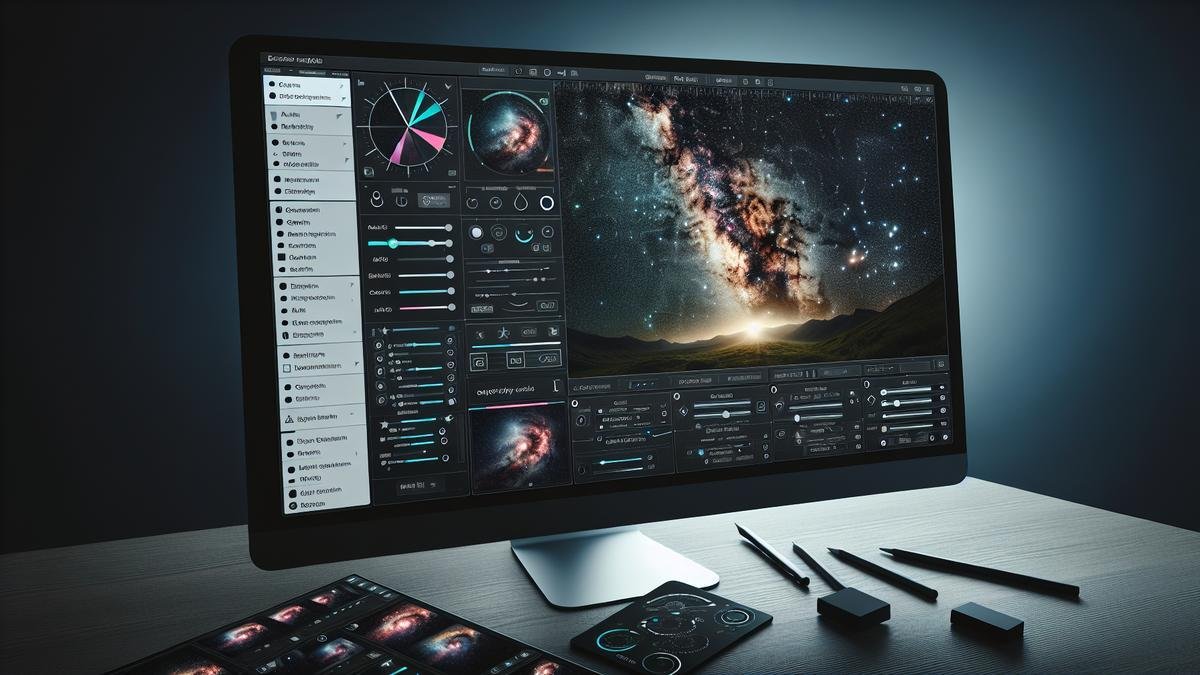
Best Software Options
First up, you need software. Think of it as your digital darkroom. Here are some top choices:
| Software | Features | Cost |
|---|---|---|
| DeepSkyStacker | Free, user-friendly, great for beginners | Free |
| PixInsight | Advanced features, high-quality results | $$$ |
| Photoshop | Versatile, powerful, not just for astrophotography | $$$ |
| Sequator | Easy to use, good for star trails | Free |
DeepSkyStacker is perfect if youre just starting. Its free and easy to use. PixInsight is for the pros. Its a bit pricey but packed with features. Photoshop is versatile. You can use it for other photo edits too. And Sequator is great for star trails.
Necessary Equipment
Now, lets talk gear. You need the right equipment to capture those stunning night skies.
Choosing the Right Camera
Your camera is your best friend in astrophotography. Heres what you need to look for:
- DSLR or Mirrorless: These are the best for capturing clear, high-quality images.
- Full-Frame Sensor: This helps you get more detail and less noise.
- High ISO Performance: You need a camera that performs well in low light.
- Manual Mode: Essential for controlling exposure, focus, and ISO.
Heres a quick comparison:
| Camera | Type | Sensor | ISO Performance | Manual Mode |
|---|---|---|---|---|
| Canon EOS R5 | Mirrorless | Full-Frame | Excellent | Yes |
| Nikon D850 | DSLR | Full-Frame | Excellent | Yes |
| Sony A7III | Mirrorless | Full-Frame | Great | Yes |
| Canon EOS 6D | DSLR | Full-Frame | Good | Yes |
Canon EOS R5 and Nikon D850 are top-notch. They have excellent ISO performance and full-frame sensors. Sony A7III is also great, especially for its price. And Canon EOS 6D is a solid choice if youre on a budget.
Other Essential Gear
Besides the camera, youll need a few more items:
- Tripod: Keeps your camera steady. Look for one thats sturdy and can handle your cameras weight.
- Remote Shutter Release: Helps to avoid camera shake during long exposures.
- Lens: A wide-angle lens with a low f-stop (like f/2.8) is ideal.
- Star Tracker: Optional, but useful for longer exposures without star trails.
Heres a quick look:
| Item | Purpose | Recommendations |
|---|---|---|
| Tripod | Stability | Manfrotto, Gitzo |
| Remote Shutter Release | Avoid shake | Vello, Canon |
| Wide-Angle Lens | Capture more sky | Rokinon 14mm f/2.8, Sigma 14mm f/1.8 |
| Star Tracker | Longer exposures | Sky-Watcher Star Adventurer, iOptron SkyGuider Pro |
A sturdy tripod is a must. Manfrotto and Gitzo make great ones. A remote shutter release from Vello or Canon will help you avoid any shake. For lenses, Rokinon 14mm f/2.8 and Sigma 14mm f/1.8 are excellent choices. And if youre serious about long exposures, consider a star tracker like the Sky-Watcher Star Adventurer.

Step-by-Step Guide to Image Stacking
Preparing Your Images
Alright, let’s dive right in! Youve spent hours under the night sky, capturing those stunning starry scenes. Now, its time to prepare your images for stacking. This process is crucial for reducing noise and enhancing the details in your astrophotography.
First, gather all your photos. Its best to use RAW files because they contain more data than JPEGs. This extra data will be handy during the editing process.
Heres a quick checklist to get started:
- Transfer your images to your computer.
- Organize them into a dedicated folder.
- Review each image and discard any with blurred stars or unwanted artifacts.
Aligning and Stacking
Now that your images are ready, let’s move on to the alignment and stacking process. This step combines multiple exposures to create a single, detailed image.
Tools Youll Need:
- Software: Programs like DeepSkyStacker or Photoshop.
- Patience: This process can take some time, but the results are worth it.
Steps to Follow:
- Open your stacking software.
- Load your images into the program.
- Align the stars: Most software will do this automatically, but you might need to tweak settings for the best results.
- Stack the images: This combines the aligned images, reducing noise and enhancing details.
Heres a simple table to help you understand the process:
| Step | Action |
|---|---|
| 1 | Open stacking software |
| 2 | Load images |
| 3 | Align stars |
| 4 | Stack images |
Final Touches and Editing
Youve stacked your images, and now its time for the final touches. This is where you bring out the beauty in your astrophotography.
Basic Editing Steps:
- Adjust levels and curves: This helps to enhance contrast and bring out details.
- Reduce noise: Even after stacking, some noise might remain. Use noise reduction tools to clean it up.
- Sharpen the image: This will make the stars pop and add clarity to your photo.
Heres a quick rundown in table format:
| Editing Step | Purpose |
|---|---|
| Adjust levels/curves | Enhance contrast and details |
| Reduce noise | Clean up remaining noise |
| Sharpen image | Add clarity and make stars pop |
Common Mistakes to Avoid in Astrophotography
So, you’re diving into the fascinating world of astrophotography. It’s thrilling, isn’t it? But, like any hobby, there are pitfalls. Here, we’ll talk about common mistakes and how to avoid them. Lets make sure your star-studded shots are out of this world!
Overexposure Issues
Overexposure is a biggie. You might think longer exposure times mean better photos, but that’s not always true. Too much light can wash out details, leaving you with a bright, blurry mess.
Signs of Overexposure:
- Blown-out Stars: Stars appear as large, white blobs.
- Lack of Detail: The Milky Way or nebulae lose their intricate patterns.
- Noise: Your image looks grainy and lacks clarity.
How to Avoid Overexposure:
- Use a Lower ISO: Try starting with ISO 800 or lower.
- Shorter Exposure Times: Begin with 20-30 seconds and adjust.
- Aperture Settings: Use a wider aperture (like f/2.8) to let in more light without overexposing.
Misalignment Problems
Misalignment can ruin your shots. The stars should be pinpoints, not streaks. Misalignment happens when your camera or telescope isn’t properly aligned with the Earth’s rotation.
Signs of Misalignment:
- Star Trails: Stars appear as lines instead of dots.
- Blurred Images: The entire image looks out of focus.
- Warped Stars: Stars look like little comets with tails.
How to Avoid Misalignment:
- Use a Star Tracker: This device follows the stars’ movement.
- Polar Alignment: Make sure your mount is aligned with Polaris (the North Star).
- Double-Check: Always re-check alignment before starting your session.
How to Fix Common Errors
Mistakes happen, but dont worry. Most can be fixed with some tweaks. Heres a quick guide:
Overexposure Fixes
| Problem | Solution |
|---|---|
| Blown-out Stars | Lower ISO, shorter exposure time |
| Lack of Detail | Adjust aperture, use a light pollution filter |
| Noise | Use noise reduction software, lower ISO further |
Misalignment Fixes
| Problem | Solution |
|---|---|
| Star Trails | Use a star tracker, shorten exposure time |
| Blurred Images | Re-align mount, check focus |
| Warped Stars | Ensure polar alignment, use guiding software |

Advanced Techniques in Image Stacking
Using Multiple Filters
So you’re ready to take your astrophotography to the next level? Great! Let’s dive into using multiple filters. Filters can make a world of difference in capturing the night sky. They help you isolate specific wavelengths of light, which can reveal details you might otherwise miss.
Types of Filters:
- Light Pollution Filters: These help reduce the glare from city lights. They can make your stars pop against a darker background.
- Narrowband Filters: These are great for isolating specific elements like hydrogen-alpha, oxygen, or sulfur. Perfect for capturing nebulae.
- Broadband Filters: These are more general and can help improve contrast overall.
How to Use Them:
- Layering Filters: You can stack different filters to get more precise results. For example, use a light pollution filter with a narrowband filter to capture a nebula in a city.
- Filter Wheels: These are devices that hold multiple filters and let you switch between them easily. Handy for when you need to change filters quickly.
High Dynamic Range (HDR) Stacking
HDR stacking is a technique that can really make your images shine. It involves taking multiple shots at different exposure levels and combining them. This way, you capture both the bright and dark parts of the scene.
Steps to HDR Stacking:
- Take Multiple Exposures: Youll need shots at different exposure times. For example, one at 10 seconds, one at 30 seconds, and one at 60 seconds.
- Use Software: Programs like Adobe Photoshop or specialized astrophotography software can help you combine these images.
- Adjust Levels: Tweak the brightness, contrast, and colors to get the perfect balance.
Benefits:
- More Detail: Youll capture more detail in both the bright and dark areas of your image.
- Better Colors: The colors will be richer and more vibrant.
Combining Different Exposure Times
Combining different exposure times is another technique that can add depth to your astrophotography. This method is similar to HDR stacking but focuses more on capturing different elements of the scene.
Why Different Exposure Times?
- Short Exposures: Good for capturing bright objects like stars.
- Long Exposures: Great for capturing faint objects like nebulae.
How to Combine Them:
- Layering: Use software to layer the different exposures. You can then blend them to highlight the best parts of each.
- Masking: Create masks to isolate specific parts of each exposure. This lets you control which parts of each image are visible.
Example Workflow:
| Exposure Time | Purpose | Result |
|---|---|---|
| 10 seconds | Capture bright stars | Sharp, bright stars |
| 30 seconds | Capture mid-bright objects | Balanced stars and some nebulae |
| 60 seconds | Capture faint objects | Detailed nebulae |
Sharing and Showcasing Your Astrophotography
So, you’ve captured some stunning shots of the night sky, and now you’re itching to share them with the world. Good news: there are plenty of platforms and communities ready to welcome your work with open arms. Let’s dive into the best ways to share and showcase your astrophotography.
Best Platforms for Sharing
When it comes to sharing your astrophotography, you want to choose the right platform to reach the right audience. Here’s a quick rundown of some top choices:
| Platform | Description |
|---|---|
| Perfect for visually stunning content. Use hashtags like #astrophotography and #nightscape to get noticed. | |
| Flickr | A favorite among photographers. Offers high-quality image uploads and detailed metadata. |
| 500px | Great for professional exposure. Join themed contests and get feedback from seasoned photographers. |
| Subreddits like r/astrophotography are goldmines for engagement and advice. | |
| Facebook Groups | Find niche groups dedicated to astrophotography. Share your work and join discussions. |
Engaging with the Community
Sharing your photos is just the beginning. Engaging with the community can help you learn, grow, and get your work noticed.
- Comment on Others’ Work: A simple “Wow, great shot!” can go a long way.
- Ask for Feedback: Don’t be shy. Constructive criticism can help you improve.
- Join Discussions: Participate in forums and groups. Share tips, ask questions, and be active.
- Attend Events: Virtual or in-person, events are great for networking and learning.
Tips for Getting Noticed
Getting your astrophotography noticed isn’t just about posting your photos. It’s about making them stand out. Here are some tips:
- Use Eye-Catching Thumbnails: Your thumbnail is the first thing people see. Make it count.
- Write Engaging Captions: Tell a story about your photo. What makes it special?
- Tag Your Photos: Use relevant hashtags and tags to increase visibility.
- Post Regularly: Keep your audience engaged by posting consistently.
- Engage with Your Audience: Reply to comments and messages. Show appreciation for your followers.
Combining and Stacking Images for Astrophotography
Combining and stacking images can take your astrophotography to the next level. This technique helps you reduce noise and bring out more detail in your photos. Here’s how you can do it.
Why Combine and Stack Images?
Combining and stacking images is like putting together a puzzle. Each piece adds more detail and clarity to the final picture. Here are some benefits:
- Reduces Noise: Multiple images help average out the noise.
- Increases Detail: More images mean more data, which translates to finer details.
- Enhances Dynamic Range: Capture more of the faint details in the night sky.
Steps to Combine and Stack Images
Let’s break down the process into simple steps:
- Capture Multiple Shots: Take several photos of the same scene. Aim for at least 10-20 shots.
- Align the Images: Use software to align the stars in each photo. This ensures that the stars are in the same position in every shot.
- Stack the Images: Combine the aligned images. This process averages out the noise and enhances the details.
- Post-Processing: Adjust the brightness, contrast, and colors to bring out the best in your final image.
Recommended Software for Stacking
There are several software options available for stacking images. Here are a few popular ones:
| Software | Description |
|---|---|
| DeepSkyStacker | Free and user-friendly. Great for beginners. |
| PixInsight | Offers advanced features for serious astrophotographers. |
| Photoshop | Versatile and powerful. Useful for both stacking and post-processing. |
| Starry Landscape Stacker | Ideal for stacking landscape astrophotography. |
Tips for Successful Stacking
- Use a Tripod: Stability is key. A tripod ensures that your shots are aligned.
- Shoot in RAW: RAW files contain more data, which is crucial for stacking.
- Avoid Light Pollution: Find a dark location to capture your shots.
- Keep Your Camera Cool: Overheating can introduce noise. Take breaks between shots if needed.
Frequently Asked Questions
What is Combining and Stacking Images for Astrophotography?
Combining and Stacking Images for Astrophotography means taking many pictures of the same starry sky and merging them. This helps reduce noise and brings out fainter details.
Do I need special software for Combining and Stacking Images for Astrophotography?
Yes, you do. Photoshop, DeepSkyStacker, and other astronomy software can do the job. They’re easy to use and can make a big difference.
How many images should I use for Combining and Stacking Images for Astrophotography?
The more, the better! Start with at least 10-20 images. More images mean less noise and clearer stars.
Do I need a specific camera for Combining and Stacking Images for Astrophotography?
Not really. Most DSLRs or mirrorless cameras work fine. Just make sure your camera can handle long exposures.
How long should my exposure be when Combining and Stacking Images for Astrophotography?
It varies. Usually, anywhere from 10 seconds to several minutes. Practice and see what works best for your location and equipment.