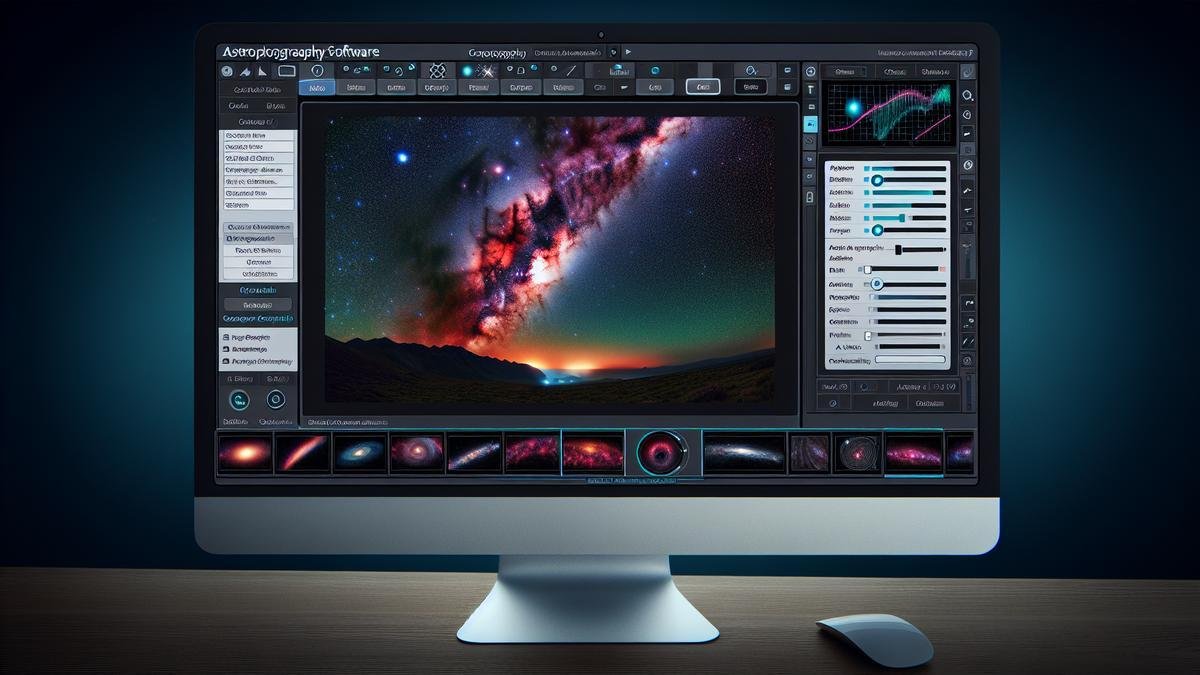
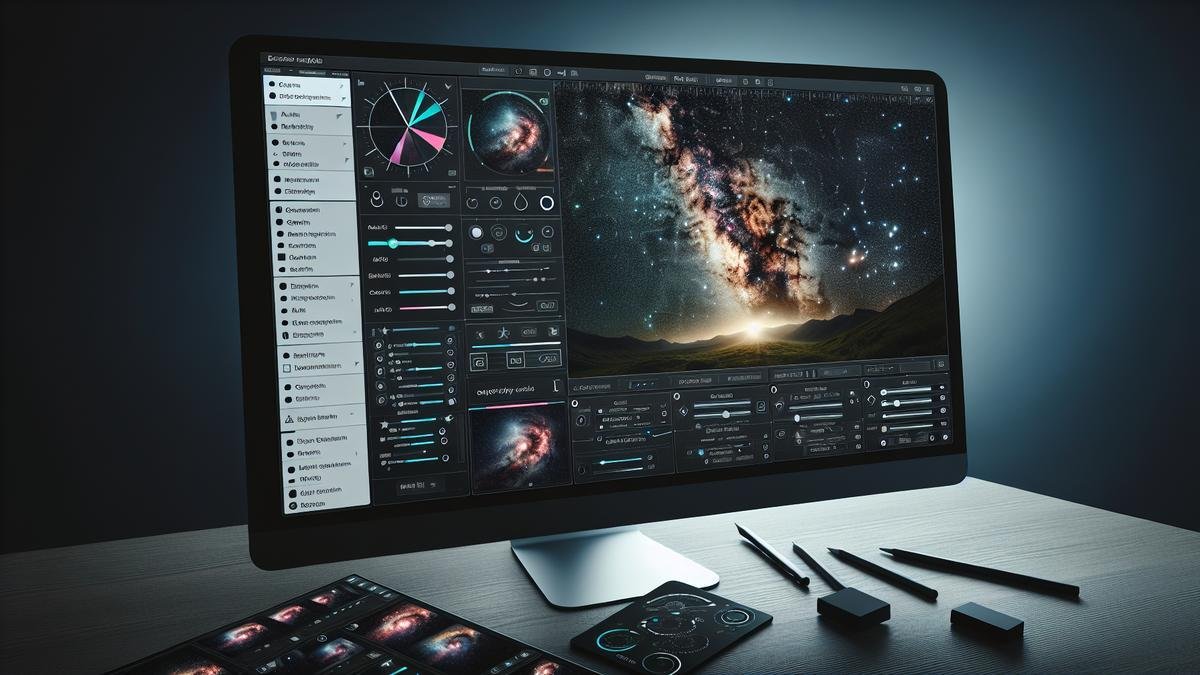
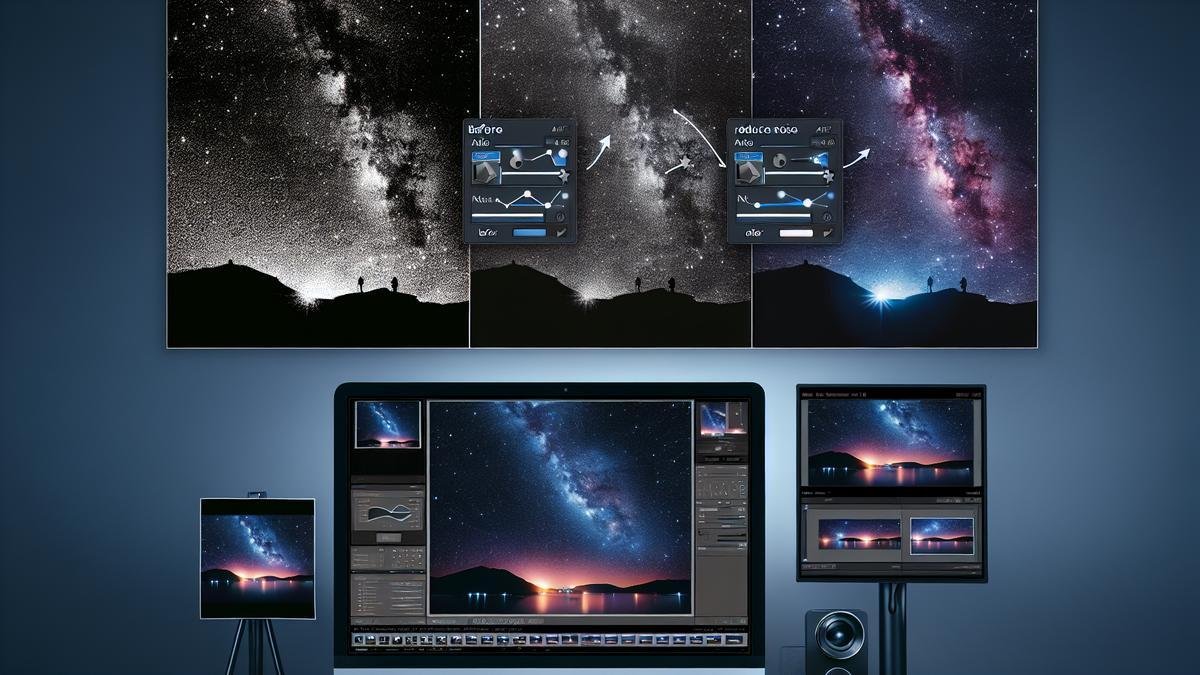
Best Software for Editing Astrophotography Images: Ready to take your night sky photos to the next level? This guide dives deep into the best tools you can use for editing your stellar shots. From spotting the key features you need to ensuring compatibility with your equipment, well cover it all. Plus, we’ll explore various software options, comparing free vs. paid ones and highlighting easy-to-use editing tools. Whether youre just starting or looking to master advanced techniques like layering and noise reduction, youll find everything you need to enhance those starry captures. Let’s bring the galaxies closer to home!
Main Points to Remember
- Find user-friendly software for easy editing.
- Look for tools with advanced features for detailed work.
- Choose software with noise reduction for cleaner images.
- Check for customizable settings to suit your needs.
- Consider free trials to test before you buy.

Understanding Astrophotography Software
Alright, you’ve got your telescope, your camera, and a clear night sky. But there’s one more thing you need to capture those breathtaking celestial images: astrophotography software. This software is like the secret sauce that transforms your raw images into stunning works of art. Let’s dive into what makes good astrophotography software and how to choose the best one for your needs.
Key Features to Look For
When picking out astrophotography software, you’ll want to focus on a few key features. These features will help you get the most out of your images and make the editing process a breeze.
Image Stacking
One of the most important features is image stacking. This process combines multiple images to reduce noise and enhance details. Look for software that makes stacking easy and effective.
Noise Reduction
Speaking of noise, noise reduction is another must-have feature. This helps to clean up your images, making them clearer and more detailed.
Star Alignment
Star alignment ensures that all your images line up perfectly. This is crucial for stacking and for creating those sharp, crisp images.
Color Correction
Finally, youll want color correction tools. These help you adjust the colors in your images to make them more accurate and visually appealing.
Here’s a quick table to summarize these features:
| Feature | Importance |
|---|---|
| Image Stacking | Reduces noise, enhances detail |
| Noise Reduction | Cleans up images |
| Star Alignment | Sharp, crisp images |
| Color Correction | Accurate, appealing colors |
Compatibility with Your Equipment
Now, let’s talk about compatibility. Not all software works with all cameras and telescopes. You need to make sure the software you choose is compatible with your gear.
Supported File Formats
First, check the supported file formats. Your software should be able to handle the types of files your camera produces, whether theyre RAW, JPEG, or something else.
Telescope Control
Some software also offers telescope control features. This can be super handy, allowing you to control your telescope directly from your computer.
Operating System
Dont forget about your operating system. Make sure the software is compatible with your computer, whether youre using Windows, macOS, or Linux.
Here’s another table to help you remember:
| Compatibility Aspect | What to Check |
|---|---|
| File Formats | RAW, JPEG, etc. |
| Telescope Control | Direct control features |
| Operating System | Windows, macOS, Linux |
User-Friendly Interface
Finally, you want software thats easy to use. A user-friendly interface can make a huge difference, especially if youre new to astrophotography.
Intuitive Design
Look for software with an intuitive design. This means you can find what you need without digging through endless menus.
Tutorials and Support
Good software often comes with tutorials and support. These resources can help you learn the ropes and troubleshoot any issues you run into.
Community and Forums
A strong community and forums can also be a big help. Other users can offer tips, share their experiences, and help you get the most out of your software.
Heres a table to keep these points in mind:
| User-Friendly Aspect | Why It Matters |
|---|---|
| Intuitive Design | Easy to navigate |
| Tutorials and Support | Learn and troubleshoot |
| Community and Forums | Tips and shared experiences |
Top Software Options for Beginners
Free vs. Paid Software
When you’re new to astrophotography, choosing the right software can feel like searching for a needle in a haystack. You might wonder, “Should I go for free software or invest in a paid option?” Let’s break it down.
Free Software
Free software can be a great starting point. Here are some popular options:
- GIMP: It’s like Photoshop’s free cousin. You get lots of tools for editing your starry skies.
- DeepSkyStacker: This is perfect for stacking multiple photos to get a clearer image.
- Siril: Great for pre-processing your images. It handles calibration, registration, and stacking.
These tools are free, but they do come with a learning curve. You might need to watch a few tutorials or read some guides to get the hang of them.
Paid Software
Paid options often offer more features and better support. Here are some top picks:
| Software | Price Range | Key Features |
|---|---|---|
| Adobe Photoshop | $9.99/month | Advanced editing tools, layers, and filters. |
| PixInsight | $260 one-time | Specialized for astrophotography with powerful processing tools. |
| Starry Landscape Stacker | $39.99 one-time | Excellent for stacking landscape astrophotos. |
Paid software can be pricey, but it often comes with easier interfaces and more robust features. If you’re serious about astrophotography, it might be worth the investment.
Easy-to-Use Editing Tools
When you’re just starting out, you want tools that are straightforward. Here are some easy-to-use options that can help you edit your astrophotography images without pulling your hair out.
Basic Editing Tools
- Brightness and Contrast: Adjust these to make your stars pop.
- Saturation: Boost this to bring out the colors in your nebulae and galaxies.
- Noise Reduction: Use this to clean up any grainy parts of your images.
Advanced Editing Tools
Once you’re comfortable with the basics, you might want to explore more advanced tools:
- Curves: This helps you control the brightness and contrast more precisely.
- Layers: Use layers to make complex edits without affecting the whole image.
- Masks: These allow you to edit specific parts of your image without touching the rest.
Best Software for Editing Astrophotography Images for Starters
Now, let’s get into the nitty-gritty. What software should you actually use? Here are some top recommendations for beginners.
GIMP
GIMP is a great free option. It offers many of the same features as Photoshop but without the cost. You can adjust brightness, contrast, and saturation. Plus, it has layers and masks for more advanced editing.
DeepSkyStacker
If you’re looking to stack multiple images, DeepSkyStacker is your go-to. It’s free and relatively easy to use. It helps you combine several shots to reduce noise and improve detail.
Adobe Photoshop
For those willing to spend a bit, Adobe Photoshop is a powerhouse. It offers advanced tools and a user-friendly interface. You can do everything from basic edits to complex adjustments. Plus, there are tons of tutorials available to help you learn.
Starry Landscape Stacker
If you’re into landscape astrophotography, Starry Landscape Stacker is a must-have. It’s designed to stack images of the night sky with the landscape, reducing noise and making your photos look stunning.
PixInsight
For those who want to dive deep, PixInsight is a specialized tool for astrophotography. It offers advanced processing tools that can handle everything from stacking to final edits. It’s a bit pricey, but many astrophotographers swear by it.
| Software | Free/Paid | Best For |
|---|---|---|
| GIMP | Free | General editing |
| DeepSkyStacker | Free | Image stacking |
| Adobe Photoshop | Paid ($9.99/mo) | Advanced editing |
| Starry Landscape Stacker | Paid ($39.99) | Landscape astrophotography |
| PixInsight | Paid ($260) | Specialized astrophotography |

Advanced Editing Techniques
Alright, let’s dive into the nitty-gritty of astrophotography editing. If you’ve got your stunning starry shots and you’re ready to make them pop, you’re in the right place. We’ll talk about some advanced editing techniques that will take your photos from “wow” to “WOW!”
Layering and Masking
Layering and masking might sound like something out of a sci-fi movie, but they’re game-changers in photo editing.
Layering:
- Think of layers like transparent sheets stacked on top of your photo. Each layer can have different adjustments without affecting the others.
- You can adjust exposure, contrast, and color on separate layers. This way, if you mess up, you can just tweak that layer instead of starting over.
Masking:
- Masking lets you apply changes to specific parts of your photo. It’s like painting with a magic brush that only affects certain areas.
- Use masks to brighten the Milky Way without blowing out the stars or to darken the sky without losing detail in the foreground.
Here’s a quick table to summarize:
| Technique | Purpose | Benefit |
|---|---|---|
| Layering | Separate adjustments | Easy corrections |
| Masking | Targeted changes | Precise control |
Noise Reduction Tools
Astrophotography is notorious for noise, those pesky little specks that ruin your perfect shot. Luckily, noise reduction tools are here to save the day.
Types of Noise:
- Luminance Noise: Grainy texture.
- Color Noise: Weird color specks.
Tools to Use:
- Adobe Lightroom: Great for basic noise reduction.
- Topaz DeNoise AI: Uses artificial intelligence for top-notch results.
- DxO PhotoLab: Another powerful option with advanced features.
Steps for Noise Reduction:
- Identify the Noise: Zoom in to see the noise clearly.
- Adjust Luminance: Reduce the grainy texture without losing too much detail.
- Tweak Color Noise: Get rid of color specks while keeping the natural colors intact.
Here’s a table to help you choose the right tool:
| Software | Best For | Key Features |
|---|---|---|
| Adobe Lightroom | Basic Noise Reduction | Easy to use |
| Topaz DeNoise AI | Advanced Noise Reduction | AI-powered |
| DxO PhotoLab | Professional Editing | Advanced features |
Enhancing Star Details
Stars are the stars of your astrophotography (pun intended). Let’s make them shine!
Tools and Techniques:
- Clarity and Dehaze: Use these sliders in Lightroom to make stars pop.
- Star Masking: Create a mask to target stars specifically. Increase brightness and contrast to make them stand out.
- Star Reduction: Sometimes, stars can be too bright. Use star reduction techniques to balance the image.
Steps to Enhance Stars:
- Increase Clarity: But don’t overdo it. You want stars to pop, not look artificial.
- Use Dehaze: This can help reduce any haze and make stars clearer.
- Mask Stars: Apply adjustments only to stars for precise control.
- Reduce Overly Bright Stars: Use star reduction to keep the image balanced.
Here’s a handy table for star enhancement:
| Technique | Purpose | Benefit |
|---|---|---|
| Clarity and Dehaze | Make stars pop | Clearer, brighter stars |
| Star Masking | Target stars specifically | Precise adjustments |
| Star Reduction | Balance brightness | Natural-looking stars |
Comparing Popular Software
So, youve captured some stunning shots of the cosmos, and now youre ready to polish them up. Lets dive into the nitty-gritty of the best software to help you edit those astrophotography images. Well break it down by Price and Value, Customer Reviews, and then highlight the Best Software for Editing Astrophotography Images Based on Feedback.
Price and Value
When it comes to choosing software, price and value are crucial. You want to get the best bang for your buck, right? Let’s compare some popular options:
| Software | Price | Key Features |
|---|---|---|
| Adobe Photoshop | $20.99/month | Layers, masks, advanced editing tools, plugins |
| PixInsight | $260 one-time fee | Specialized tools for astrophotography, comprehensive processing capabilities |
| Affinity Photo | $49.99 one-time fee | Layers, masks, HDR merge, panorama stitching |
| GIMP | Free | Open-source, layers, masks, customizable with plugins |
Adobe Photoshop
Adobe Photoshop is the heavyweight champ. Its packed with tools and features, but it comes with a subscription fee. If youre serious about editing, its a solid investment.
PixInsight
PixInsight is a powerhouse specifically tailored for astrophotography. Its a one-time purchase, which can be appealing. Its more specialized, so its ideal if youre diving deep into space photos.
Affinity Photo
Affinity Photo offers a lot of Photoshops features but at a fraction of the cost. Its a one-time fee, making it budget-friendly. Its versatile and powerful, suitable for a range of editing tasks.
GIMP
GIMP is the go-to for those looking for a free option. Its open-source and highly customizable. While it might not be as polished as the paid options, it gets the job done without costing a dime.
Customer Reviews
Now, lets see what users are saying about these software options. Sometimes, the best insights come from those whove walked the path before you.
| Software | Average Rating | Common Praise | Common Complaints |
|---|---|---|---|
| Adobe Photoshop | 4.7/5 | Versatility, powerful tools | Expensive, steep learning curve |
| PixInsight | 4.5/5 | Specialized for astrophotography, detailed processing | Complex interface, high cost |
| Affinity Photo | 4.6/5 | Affordable, user-friendly | Limited plugins, occasional bugs |
| GIMP | 4.2/5 | Free, highly customizable | Less intuitive, fewer advanced features |
Adobe Photoshop Reviews
Pros: Users love its versatility and powerful tools. Its the Swiss Army knife of editing software.
Cons: The subscription model is a turn-off for some, and the learning curve can be steep.
PixInsight Reviews
Pros: Perfect for astrophotography with detailed processing capabilities. Its like having a telescope for your computer.
Cons: The interface can be complex, and the initial cost is high.
Affinity Photo Reviews
Pros: Affordable and user-friendly. Its like getting a sports car at a sedan price.
Cons: Limited plugins and occasional bugs can be frustrating.
GIMP Reviews
Pros: Its free and highly customizable. Think of it as the Swiss Army knife you didnt have to pay for.
Cons: Less intuitive and fewer advanced features compared to its paid counterparts.
Best Software for Editing Astrophotography Images Based on Feedback
Based on user feedback, here are the top picks:
| Software | Best For |
|---|---|
| Adobe Photoshop | Versatility and advanced editing |
| PixInsight | Specialized astrophotography editing |
| Affinity Photo | Budget-friendly, user-friendly option |
| GIMP | Free and customizable solution |
Adobe Photoshop: The All-Rounder
If youre looking for versatility and dont mind the subscription fee, Adobe Photoshop is the way to go. Its packed with features that cater to both beginners and advanced users. Youll have everything you need to make your starry shots shine.
PixInsight: The Specialist
For those who want to dive deep into astrophotography, PixInsight is unbeatable. Its designed specifically for this purpose, offering tools and features that other software cant match. Its a bit pricey, but if youre serious about your star photos, its worth every penny.
Affinity Photo: The Budget-Friendly Choice
Affinity Photo is perfect if youre looking for a powerful yet affordable option. It offers many of the same features as Photoshop without the ongoing cost. Its user-friendly and great for those who want a one-time purchase.
GIMP: The Free Option
If budget is your main concern, GIMP is your best bet. Its free and open-source, offering a range of tools that can handle most editing tasks. It might not be as polished, but its a solid option for those who want to keep costs down.

Tips for Better Astrophotography Edits
So, you’ve taken some jaw-dropping shots of the night sky. Now what? Editing can make or break your astrophotography. Here are some tips to help you get the most out of your celestial snaps.
Balancing Colors
Getting the colors just right in your astrophotography can be tricky. Here’s how you can make it easier:
- White Balance: Your camera’s white balance settings might not always nail it. Adjust the white balance to make the stars pop.
- Color Correction: Use the color correction tools to remove any unwanted tints. You want those stars to look natural, not neon.
- Histogram: Keep an eye on the histogram to make sure youre not overdoing it. A balanced histogram means balanced colors.
Adjusting Exposure
Exposure is key to revealing the hidden details in your photos. Here’s what you need to do:
- Brightness and Contrast: Increase brightness to bring out the stars, but be careful with contrast. Too much contrast can make your image look harsh.
- Highlights and Shadows: Adjust the highlights to make the stars shine brighter, and tweak the shadows to bring out the darker areas of the sky.
- Clarity: Boosting clarity can help make the stars more defined. But remember, a little goes a long way.
Sharpening Your Images
No one likes a blurry star. Sharpening can help, but you need to be careful:
- Unsharp Mask: This tool is great for sharpening details. Adjust the amount, radius, and threshold until you get a crisp image.
- Noise Reduction: Sharpening can sometimes introduce noise. Use noise reduction tools to keep your image clean.
- Detail Enhancement: Some software offers detail enhancement features. Use these to bring out the finer details without over-sharpening.
Integrating Software with Other Tools
Astrophotography can be a thrilling yet challenging hobby. Youve captured the night sky, but now what? To get those stunning images, you need to integrate your software with other tools. Here, well dive into using plugins and combining multiple programs to streamline your workflow.
Using Plugins
Plugins can be your best friends. Theyre like the secret sauce that enhances your editing software. Heres how you can leverage them:
1. Astro Panel:
- What it Does: Enhances your images with advanced features.
- Why You Need It: Simplifies complex editing tasks.
2. StarNet++:
- What it Does: Removes stars from your images.
- Why You Need It: Helps you focus on nebulas and other celestial objects.
3. GradientXTerminator:
- What it Does: Eliminates gradients caused by light pollution.
- Why You Need It: Ensures a cleaner, more professional look.
| Plugin Name | What it Does | Why You Need It |
|---|---|---|
| Astro Panel | Enhances images with advanced features | Simplifies complex editing tasks |
| StarNet++ | Removes stars from images | Helps focus on nebulas and celestial objects |
| GradientXTerminator | Eliminates gradients from light pollution | Ensures a cleaner, professional look |
Combining Multiple Programs
Sometimes, one software isnt enough. Combining multiple programs can give you the best results. Heres a guide on how to do it:
1. DeepSkyStacker + Photoshop:
- DeepSkyStacker: Aligns and stacks your images.
- Photoshop: Fine-tunes the final image.
2. PixInsight + Lightroom:
- PixInsight: Handles complex data processing.
- Lightroom: Adds the finishing touches.
3. Siril + GIMP:
- Siril: Specialized in astrophotography.
- GIMP: Free and powerful for final edits.
| Combination | First Program | Second Program |
|---|---|---|
| DeepSkyStacker + Photoshop | Aligns and stacks images | Fine-tunes final image |
| PixInsight + Lightroom | Handles data processing | Adds finishing touches |
| Siril + GIMP | Specialized in astrophotography | Free and powerful for final edits |
Seamless Workflow for Best Results
Creating a seamless workflow is crucial. It saves time and effort. Heres a simple guide:
1. Pre-Processing:
- Use DeepSkyStacker to align and stack your images.
- Clean up with GradientXTerminator.
2. Main Processing:
- Use PixInsight for advanced data handling.
- Enhance with Astro Panel.
3. Final Touches:
- Fine-tune with Photoshop or Lightroom.
- Remove stars with StarNet++.
| Workflow Stage | Tool/Software | Purpose |
|---|---|---|
| Pre-Processing | DeepSkyStacker | Align and stack images |
| GradientXTerminator | Clean up gradients | |
| Main Processing | PixInsight | Handle advanced data |
| Astro Panel | Enhance images | |
| Final Touches | Photoshop/Lightroom | Fine-tune final image |
| StarNet++ | Remove stars |
Frequently Asked Questions
What’s the best software for editing astrophotography images?
For many, Adobe Photoshop stands out. But Lightroom, PixInsight, and Affinity Photo are also top choices.
Is there free software for editing astrophotography?
Yes. GIMP and RawTherapee offer great tools without the cost.
Can I use mobile apps for editing night sky images?
Absolutely! Snapseed and Lightroom Mobile are solid picks for quick edits.
Do I need special software just for astrophotography?
Not necessarily. Regular photo editors like Photoshop can work wonders with the right techniques.
Which software offers the best noise reduction for stars?
Look into PixInsight. Its noise reduction tools are top-notch for those starry images.


