Comparing Filters: Which Ones Are Best for Astrophotography? Imagine capturing the night sky in all its glory, with vibrant colors and stunning details. That’s where astrophotography filters come into play. This article will dive into the different types of filters like light pollution reduction filters, and narrowband filters, showing you how each one enhances your photos. You’ll learn about the benefits of each filter, tips for choosing the right one for your needs, and even some budget-friendly options. Plus, well cover how to properly use and maintain your filters to keep them in top shape. Ready to transform your night sky shots? Let’s get started!
Key Takeaways
- Filters help you see faint stars and galaxies
- Some filters reduce light pollution
- Different filters work best on different objects
- Filters can improve color and detail
- Choosing the right filter can make photos clearer
Understanding Different Types of Astrophotography Filters
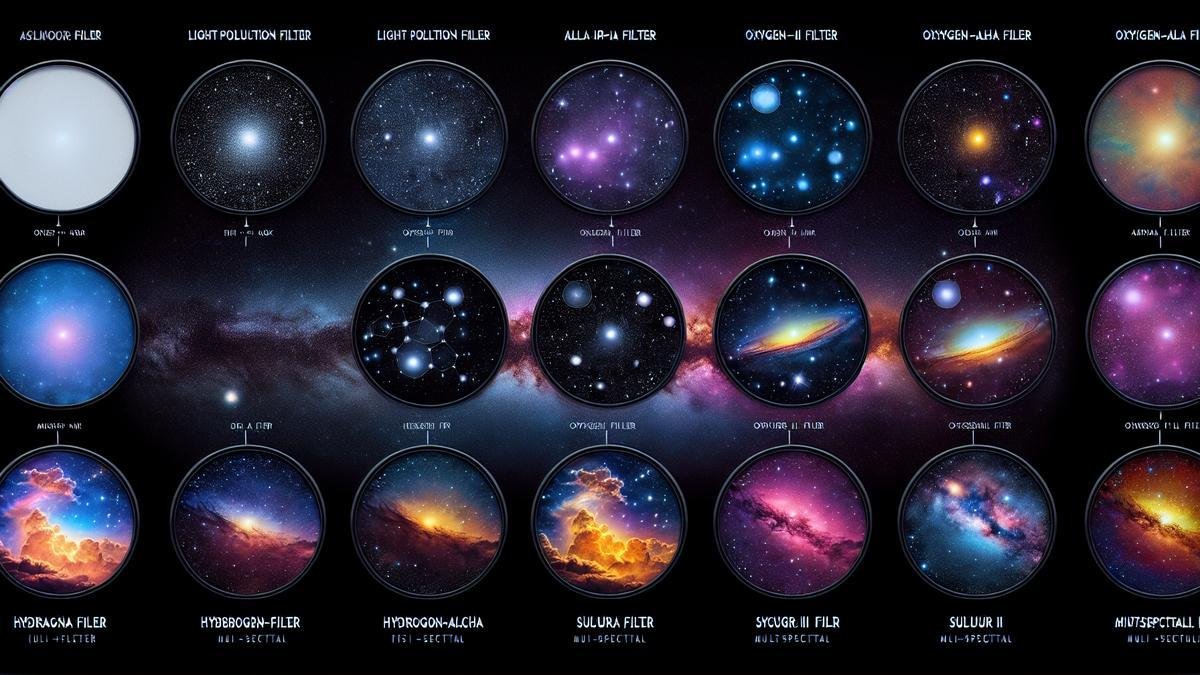
When you’re diving into astrophotography, the right filters can make all the difference. They help you capture those stunning celestial images by blocking unwanted light and enhancing the details of the night sky. But with so many options, how do you know which ones to choose? Let’s break down the key types of astrophotography filters and see how they stack up.
Light Pollution Reduction Filters
Light pollution is the bane of any astrophotographer’s existence. It washes out the night sky, making it hard to see stars and other celestial objects. Light Pollution Reduction (LPR) filters are designed to tackle this issue by blocking specific wavelengths of artificial light.
| Filter Type | Functionality | Effectiveness |
|---|---|---|
| LPR Filters | Block specific wavelengths from streetlights and other artificial sources | High in urban areas |
These filters are particularly useful if you’re shooting in or near a city. They help to bring out the stars and other celestial objects that might otherwise be obscured by the glow of streetlights.
Narrowband Filters
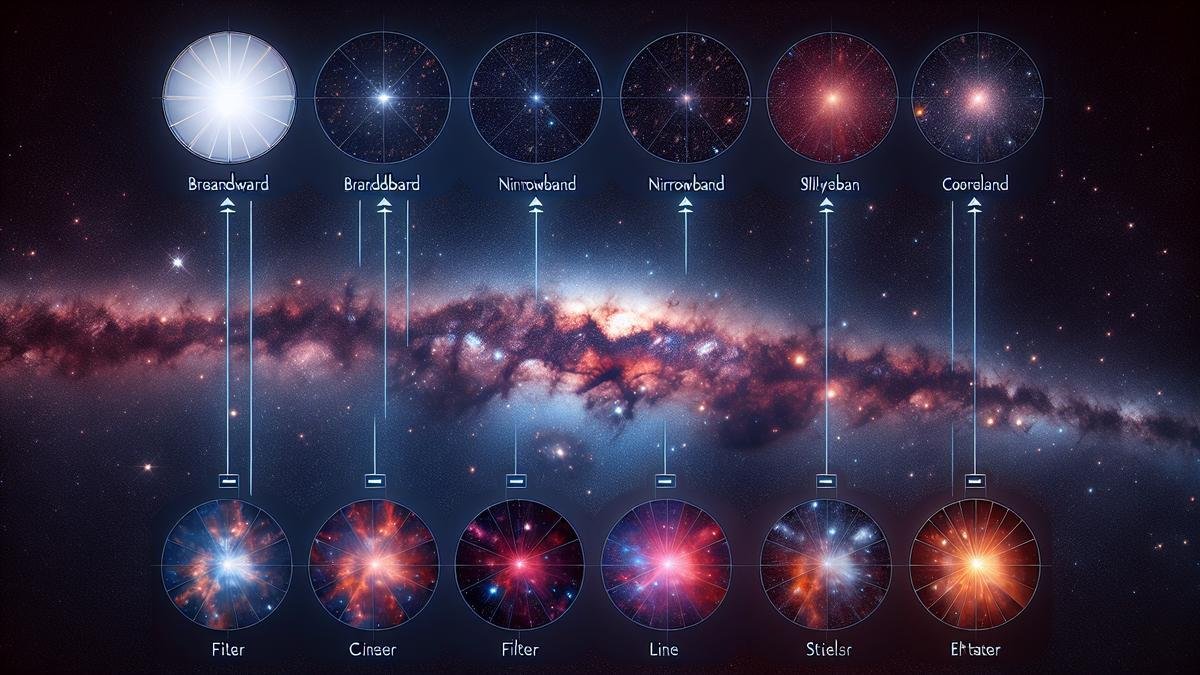
Narrowband filters are a different beast altogether. They isolate very specific wavelengths of light, usually emitted by particular types of nebulae. For example, Hydrogen-alpha (Ha), Oxygen-III (OIII), and Sulfur-II (SII) filters are commonly used in narrowband imaging.
| Filter Type | Wavelength | Target | Effectiveness |
|---|---|---|---|
| Ha Filter | 656.3 nm | Emission Nebulae | Very High |
| OIII Filter | 500.7 nm | Planetary Nebulae | High |
| SII Filter | 672.4 nm | Supernova Remnants | Moderate to High |
These filters are excellent for capturing the intricate details and structures within nebulae. They allow you to focus on specific elements, making your images pop with contrast and detail.
How Filters Enhance Your Astrophotography
Astrophotography is a magical journey. But to capture the cosmos in all its glory, you need the right tools. Filters are essential. They can transform a good photo into a stunning one. Let’s dive into how these filters can make your astrophotography stand out.
Improving Image Quality
When you look up at the night sky, you see stars, planets, and maybe even a galaxy or two. But your camera sees more. It captures light that your eyes can’t. Filters help manage this light, improving the quality of your images.
Light Pollution Reduction Filters
Light pollution is a big problem for astrophotographers. Streetlights, car headlights, and even the moon can wash out your photos. Light pollution reduction filters block unwanted light, letting you capture the stars more clearly.
| Filter Type | Benefits | Drawbacks |
|---|---|---|
| Light Pollution Reduction | Blocks unwanted artificial light | Can reduce overall brightness |
| Narrowband | Focuses on specific wavelengths | Expensive and complex to use |
| Broadband | General use, good for various objects | Less effective in heavily polluted areas |
Narrowband Filters
Narrowband filters are specialized. They focus on specific wavelengths of light. This makes them perfect for capturing nebulae and other celestial objects. They cut through the noise, letting you see details you might miss otherwise.
Capturing More Details
Details make the difference between a good photo and a great one. Filters can help you capture more details, making your photos more interesting and informative.
Broadband Filters
Broadband filters are versatile. They work well in various conditions and are good for capturing a wide range of celestial objects. They’re not as specialized as narrowband filters, but they’re easier to use and more affordable.
| Filter Type | Ideal For | Not Ideal For |
|---|---|---|
| Broadband | Wide range of celestial objects | Highly specific targets like nebulae |
| Narrowband | Specific targets like nebulae | General wide-field astrophotography |
| Light Pollution Reduction | Urban or suburban areas | Remote, dark-sky locations |
Infrared and Ultraviolet Filters
These filters let you capture light that your eyes can’t see. Infrared filters are great for capturing the heat of stars, while ultraviolet filters can show you the high-energy light emitted by young stars and galaxies.
Comparing Filters: Which Ones Are Best for Astrophotography?
When you’re diving into the fascinating world of astrophotography, choosing the right filters can make all the difference. Filters aren’t just accessories; they are essential tools that can significantly enhance your captures of celestial wonders. But with so many options out there, how do you decide which ones are worth your investment? Let’s break it down.
Budget-Friendly Options
Not everyone has a fortune to spend on photography gear, and that’s completely fine. There are plenty of budget-friendly filters that can still deliver impressive results. These filters are perfect for beginners or anyone looking to experiment without breaking the bank.
Popular Budget Filters
Here’s a quick look at some of the most popular budget-friendly filters:
| Filter Name | Type | Price Range | Best For |
|---|---|---|---|
| Neewer ND Filter | Neutral Density | $20-$30 | Reducing light pollution |
| Tiffen UV Filter | UV | $10-$20 | Protecting your lens |
| Gobe CPL Filter | Circular Polarizer | $30-$40 | Enhancing contrast |
These filters are affordable yet effective. The Neewer ND Filter, for instance, is great for reducing light pollution, which is a common issue in urban areas. The Tiffen UV Filter not only protects your lens but also helps to cut down on haze, making your stars appear sharper.
Why Choose Budget Filters?
You might wonder why you should consider budget filters at all. Well, they offer a low-risk way to get started with astrophotography. You can experiment with different types without making a huge financial commitment. Plus, they are often lightweight and easy to handle, making them perfect for on-the-go photography.
High-End Filters
For those who are serious about their astrophotography, high-end filters are the way to go. These filters offer superior quality and performance, making them worth every penny. They are designed to meet the needs of professional photographers who demand the best.
Top High-End Filters
Let’s take a look at some of the top high-end filters available:
| Filter Name | Type | Price Range | Best For |
|---|---|---|---|
| Hoya ProND Filter | Neutral Density | $100-$150 | Long exposure shots |
| Baader Planetarium UV/IR Cut Filter | UV/IR Cut | $80-$120 | Blocking UV and IR light |
| Astrodon Narrowband Filter | Narrowband | $300-$400 | Capturing specific wavelengths |
The Hoya ProND Filter is excellent for long exposure shots, allowing you to capture stunning star trails. The Baader Planetarium UV/IR Cut Filter is perfect for blocking unwanted UV and IR light, ensuring that your images are crisp and clear. The Astrodon Narrowband Filter, though pricey, is a game-changer for capturing specific wavelengths, making it ideal for photographing nebulae and other deep-sky objects.
Advantages of High-End Filters
High-end filters offer several advantages. They are made from high-quality materials, ensuring durability and longevity. They also provide better light transmission and color accuracy, resulting in more vibrant and detailed images. If you’re serious about astrophotography, investing in high-end filters can significantly elevate your work.
Best Overall Filters
Now, let’s talk about the best overall filters for astrophotography. These filters strike a balance between affordability and performance, making them a great choice for both beginners and experienced photographers.
Top Overall Filters
Here’s a look at some of the best overall filters:
| Filter Name | Type | Price Range | Best For |
|---|---|---|---|
| Optolong L-Pro Filter | Light Pollution Reduction | $150-$200 | Reducing light pollution |
| Astronomik CLS Filter | Light Pollution Reduction | $100-$150 | Enhancing contrast |
| ZWO LRGB Filter Set | LRGB | $200-$250 | Color imaging |
The Optolong L-Pro Filter is fantastic for reducing light pollution, making it easier to capture clear and detailed images of the night sky. The Astronomik CLS Filter enhances contrast, making stars and other celestial objects stand out more vividly. The ZWO LRGB Filter Set is perfect for color imaging, allowing you to capture the true colors of the cosmos.
Tips for Choosing the Right Filter for Your Needs
Consider Your Budget
When diving into astrophotography, budget is your first consideration. Filters range from affordable to high-end, and knowing what fits your wallet is crucial.
| Filter Type | Price Range | Quality Level |
|---|---|---|
| Basic Filters | $20 – $50 | Entry-Level |
| Mid-Range Filters | $50 – $150 | Intermediate |
| High-End Filters | $150 – $500+ | Professional |
Basic Filters are great for beginners. They offer decent quality without breaking the bank. Mid-Range Filters provide better clarity and are ideal for enthusiasts. High-End Filters deliver superior performance and are perfect for serious photographers.
Think About Your Goals
Your goals in astrophotography will shape your filter choice. Are you looking to capture the Milky Way, planets, or deep-sky objects? Each goal demands different filters.
| Astrophotography Goal | Recommended Filter Type |
|---|---|
| Milky Way | Light Pollution Filter |
| Planets | Color Filters |
| Deep-Sky Objects | Narrowband Filters |
Light Pollution Filters help reduce the glare from artificial lights, making them perfect for Milky Way shots. Color Filters enhance planetary details, while Narrowband Filters isolate specific wavelengths, ideal for deep-sky photography.
How to Properly Use Filters in Astrophotography
Installing and Removing Filters
When it comes to astrophotography, filters can be your best friend. They help you capture the beauty of the night sky by reducing light pollution and enhancing specific wavelengths of light. But first, you need to know how to install and remove them properly.
Installing Filters
Installing a filter might seem like a straightforward task, but it requires a bit of finesse. First, you need to make sure your telescope or camera is compatible with the filter. Most filters screw onto the end of your lens or telescope eyepiece. Heres a quick guide:
- Check Compatibility: Before you buy a filter, make sure it fits your equipment. Some filters are designed for specific camera models or telescope types.
- Clean the Filter: Always handle your filters with clean hands and make sure they are free of dust and smudges. Use a microfiber cloth to clean them if necessary.
- Screw it On: Gently screw the filter onto the end of your lens or eyepiece. Dont force it; it should go on smoothly.
- Adjust for Alignment: Make sure the filter is aligned correctly. Some filters have markings to help you align them properly.
Removing Filters
Removing a filter is usually easier than installing it, but you still need to be careful. Heres how:
- Unscrew Gently: Turn the filter counterclockwise to unscrew it. Be gentle to avoid damaging the threads.
- Handle with Care: Once the filter is off, place it in a protective case to keep it safe from scratches and dust.
- Clean if Necessary: If the filter is dirty, clean it with a microfiber cloth before storing it.
Adjusting Settings for Best Results
Now that you have your filter installed, it’s time to adjust your camera or telescope settings for the best results. Filters can change the way light enters your lens, so you might need to tweak your settings to get the perfect shot.
Camera Settings
When using filters, youll need to adjust your camera settings to compensate for the reduced light. Here are some tips:
- Increase Exposure Time: Filters often reduce the amount of light that reaches your camera sensor. To compensate, you might need to increase your exposure time. This allows more light to hit the sensor, resulting in a brighter image.
- Adjust ISO: Increasing your ISO can help brighten your image, but be careful not to go too high. High ISO settings can introduce noise, which can ruin your shot.
- Use Aperture Priority Mode: If your camera has an aperture priority mode, use it. This allows you to set the aperture while the camera automatically adjusts the shutter speed to get the right exposure.
Telescope Settings
If youre using a telescope, youll need to make some adjustments as well:
- Focus Carefully: Filters can affect the focus of your telescope. Make sure to refocus after installing a filter.
- Adjust Tracking: If youre using a motorized mount, you might need to adjust the tracking speed to compensate for the longer exposure times.
- Use a Barlow Lens: A Barlow lens can help increase the focal length of your telescope, allowing you to capture more detail. This can be especially useful when using filters.
Common Mistakes to Avoid
Even seasoned astrophotographers make mistakes when using filters. Here are some common pitfalls and how to avoid them:
Using the Wrong Filter
Not all filters are created equal. Using the wrong filter can result in poor-quality images. Make sure youre using the right filter for the type of astrophotography youre doing. For example, a light pollution filter is great for urban environments, while a narrowband filter is better for capturing specific wavelengths of light.
Ignoring Weather Conditions
Weather plays a crucial role in astrophotography. Even the best filters cant compensate for cloudy skies or high humidity. Always check the weather forecast before heading out to shoot.
Overlooking Proper Storage
Filters are delicate and can easily get scratched or damaged. Always store them in a protective case when not in use. This will keep them clean and free from dust and scratches.
Maintenance and Care for Your Astrophotography Filters
Astrophotography filters are like the unsung heroes in your toolkit. They help you capture the stars, planets, and nebulae in all their glory. But, just like any other tool, they need a bit of TLC to keep them in top shape.
Cleaning Your Filters
Cleaning your filters can feel like performing surgery. You need to be careful, precise, and patient. First, always use a blower to remove loose dust. This prevents scratches when you start wiping. Next, use a microfiber cloth or lens tissue with a few drops of lens cleaner. Gently wipe the filter in a circular motion.
Here’s a simple table to keep you on track:
| Step | Action | Tool |
|---|---|---|
| 1 | Blow off dust | Blower |
| 2 | Apply lens cleaner | Lens cleaner |
| 3 | Wipe gently | Microfiber cloth or lens tissue |
Remember, never use household cleaners. They can damage the coating on your filters. Always stick to products designed for optical equipment.
Storing Your Filters Safely
Storing your filters is like tucking them into bed. You want them to be safe and cozy. Use a filter case or pouch. These are designed to protect against dust, moisture, and scratches. Keep the case in a dry, cool place. Avoid areas with high humidity or direct sunlight.
Here’s a quick checklist for storing your filters:
- Use a filter case or pouch.
- Store in a dry, cool place.
- Avoid high humidity.
- Keep away from direct sunlight.
Extending the Life of Your Filters
Extending the life of your filters is all about prevention and care. Regularly inspect them for dust, fingerprints, or scratches. Clean them as needed, but dont overdo it. Excessive cleaning can wear down the coating.
Also, be mindful when handling your filters. Always hold them by the edges to avoid touching the glass. When not in use, keep them in their case.
In summary, maintaining your astrophotography filters is a bit like caring for a prized possession. With a little effort and attention, theyll serve you well for many starry nights to come.
Comparing Filters: Which Ones Are Best for Astrophotography?
Astrophotography can be a bit like cooking. You need the right ingredients to create a masterpiece. Filters are one of those key ingredients. They help you capture the night sky in ways that would be impossible with just a camera and lens.
Types of Filters and Their Effectiveness
There are several types of filters, each with its own strengths and weaknesses. Here’s a breakdown:
| Filter Type | Best For | Strengths | Weaknesses |
|---|---|---|---|
| Light Pollution | Urban areas | Reduces light pollution | Can alter colors |
| Narrowband | Nebulae | Enhances specific wavelengths | Expensive |
| UV/IR Cut | General use | Blocks unwanted UV/IR light | Limited to blocking UV/IR |
| H-alpha | Emission nebulae | Captures H-alpha emissions | Requires long exposures |
Light Pollution Filters
Light pollution filters are like sunglasses for your camera. They block out the glare from streetlights and other artificial sources. This makes them ideal for urban areas. However, they can sometimes alter the colors in your images.
For more on how to choose the right filter, check out this link.
Narrowband Filters
Narrowband filters are the specialists. They focus on specific wavelengths of light, like Hydrogen-alpha (H-alpha), Oxygen III (OIII), and Sulfur II (SII). These are perfect for capturing nebulae. However, they can be pricey and often require longer exposure times.
UV/IR Cut Filters
UV/IR cut filters are the all-rounders. They block out unwanted ultraviolet and infrared light, which can cause blurring and other issues. These filters are great for general use but dont offer the specialized benefits of other filters.
H-alpha Filters
H-alpha filters are the deep divers. They capture the specific wavelength of light emitted by hydrogen atoms. This makes them perfect for capturing emission nebulae. However, they require longer exposure times and are usually more expensive.
Comparing Filter Brands
Not all filters are created equal. Different brands offer different levels of quality and performance. Here’s a comparison of some popular brands:
| Brand | Quality | Price Range | Notable Features |
|---|---|---|---|
| Baader | High | $$$ | High transmission rates |
| Astronomik | High | $$$ | Durable coatings |
| Optolong | Medium | $$ | Good value for money |
| ZWO | Medium | $$ | Affordable options |
Baader Filters
Baader filters are like the Rolls Royce of filters. They offer high transmission rates and excellent build quality. However, they come with a hefty price tag.
Astronomik Filters
Astronomik filters are known for their durable coatings and high quality. They are a bit pricey but offer excellent performance.
Optolong Filters
Optolong filters offer good value for money. They provide decent performance at a more affordable price point.
ZWO Filters
ZWO filters are the budget-friendly option. They offer a range of affordable filters that are great for beginners.
Choosing the Right Filter for Your Needs
Choosing the right filter is like picking the right tool for the job. It depends on what you want to capture and where youre shooting. Here’s a quick guide:
| Scenario | Recommended Filter |
|---|---|
| Urban Area | Light Pollution Filter |
| Nebulae | Narrowband Filter |
| General Use | UV/IR Cut Filter |
| Emission Nebulae | H-alpha Filter |
For more tips on enhancing your shots, visit this link.
Practical Tips for Using Filters
Using filters effectively requires a bit of know-how. Here are some practical tips:
- Plan Your Shots: Know what you want to capture and choose your filter accordingly.
- Use a Filter Wheel: This allows you to quickly switch between filters without touching the glass.
- Check Weather Conditions: Clear skies are a must for astrophotography.
- Experiment with Exposure Times: Different filters may require different exposure times.
Real-World Examples
Lets look at some real-world examples to see how different filters perform:
Example 1: Light Pollution Filter
Imagine youre shooting from a city park. The streetlights are glaring, but you want to capture the Milky Way. A light pollution filter can help. It blocks out the artificial light, allowing you to capture the stars in all their glory.
Example 2: Narrowband Filter
Now, lets say youre targeting the Orion Nebula. A narrowband filter, like an H-alpha filter, can help you capture the intricate details. It focuses on the specific wavelength of light emitted by hydrogen atoms, making the nebula stand out.
Example 3: UV/IR Cut Filter
If youre doing general astrophotography, a UV/IR cut filter can be your best friend. It blocks out unwanted ultraviolet and infrared light, resulting in sharper images.
Example 4: H-alpha Filter
For capturing emission nebulae, an H-alpha filter is a must. It captures the specific wavelength of light emitted by hydrogen atoms, revealing the nebulas structure in stunning detail.
Advanced Techniques
Once youre comfortable with the basics, you can start exploring more advanced techniques. Here are a few to get you started:
- Stacking Images: This involves taking multiple shots and combining them to reduce noise and enhance detail.
- Using Multiple Filters: You can use a combination of filters to achieve different effects. For example, combining a light pollution filter with a narrowband filter.
- Post-Processing: Software like Photoshop or PixInsight can help you enhance your images further.
Troubleshooting Common Issues
Even with the best filters, you might run into some issues. Here are some common problems and how to fix them:
| Issue | Possible Cause | Solution |
|---|---|---|
| Blurry Images | UV/IR light | Use a UV/IR cut filter |
| Color Casts | Light pollution filter | Adjust white balance in post-processing |
| Long Exposure Times | Narrowband filter | Use a tracking mount |
Frequently Asked Questions
What are the best filters for astrophotography?
Different filters serve different purposes, but popular ones include light pollution filters, narrowband filters, and UV/IR cut filters.
How do light pollution filters help in astrophotography?
Light pollution filters block artificial light, making it easier to capture natural starlight.
Are narrowband filters worth it?
Yes! Narrowband filters isolate specific wavelengths. Perfect for deep-sky objects like nebulae.
Can UV/IR cut filters improve my astro shots?
Definitely. UV/IR cut filters block unwanted wavelengths. Your images will be sharper.
Comparing Filters: Which Ones Are Best for Astrophotography?
It depends on your needs. Light pollution filters for urban areas, narrowband for deep-sky, and UV/IR for more clarity.

