Ready to dive into the mesmerizing world of sky photography? This beginner’s guide will take you through the essential gear you need, simple techniques to capture those breathtaking moments, and tips for both day and night shots. From stunning sunrises and sunsets to the magical Milky Way, you’ll learn how to make the most of the golden hour, handle tripods for stability, and even track the moon phases. With accessible equipment and straightforward advice, let’s make your photography of the sky truly spectacular!
Main Points
- Use your smartphone to capture sky photos.
- Shoot during golden hours for amazing colors.
- Use a tripod for clear night shots.
- Find a dark place to photograph stars.
- Experiment with exposure settings for better results.
Essential Gear for Sky Photography
Choosing the Right Camera
Selecting a camera for sky photography can feel like picking a needle in a haystack. However, fear not! You don’t need to break the bank to get started. Many beginner-friendly cameras offer impressive capabilities without overwhelming you with complex settings.
Key Features to Look For:
- High ISO Performance: You’ll often be shooting in low light, especially at night. A camera with good high ISO performance will help you capture clear images without too much noise.
- Manual Settings: Being able to control the shutter speed, aperture, and ISO manually is crucial for sky photography.
- Interchangeable Lenses: This allows you to experiment with different types of lenses, giving you more creative freedom.
Here’s a quick comparison of some popular cameras suitable for beginners:
| Camera Model | High ISO Performance | Manual Settings | Interchangeable Lenses | Price Range |
|---|---|---|---|---|
| Canon EOS Rebel T7 | Good | Yes | Yes | $400-$500 |
| Nikon D3500 | Excellent | Yes | Yes | $450-$550 |
| Sony Alpha a6000 | Very Good | Yes | Yes | $500-$600 |
For more detailed insights, you can explore the top 10 cameras for astrophotography in 2024.
Must-Have Accessories
Your camera is just the beginning. To capture the breathtaking beauty of the sky, you’ll need a few essential accessories. These tools will help you stabilize your shots, enhance image quality, and make your photography sessions more enjoyable.
Best Times to Capture the Sky
Golden Hour Magic
Golden Hour, the time right after sunrise or just before sunset, is a magical period for sky photography. The light is softer and warmer, casting a golden hue that makes everything look ethereal. This is the perfect time for capturing stunning images of the sky, whether you’re aiming for a vibrant sunrise or a breathtaking sunset.
Tips for Golden Hour Photography:
- Plan Ahead: Check the local sunrise and sunset times. Apps like Sun Surveyor or PhotoPills can help you plan your shoot.
- Use a Tripod: A stable tripod is essential for sharp images, especially in low light conditions. For more on choosing the right tripod, you might want to explore this guide on tripods for astrophotography.
- Adjust Your Settings: Use a low ISO (100-200) to minimize noise, a small aperture (f/8-f/16) for a deep depth of field, and a slower shutter speed to let in more light.
Essential Gear:
| Equipment | Purpose |
|---|---|
| DSLR/Mirrorless Camera | Offers manual settings and higher image quality. |
| Wide-Angle Lens | Captures more of the sky and landscape. |
| Tripod | Provides stability for sharp images. |
| Remote Shutter Release | Minimizes camera shake when taking long exposures. |
Night Sky Wonders
When the sun sets and the stars come out, a whole new world of photography opportunities opens up. Night sky photography can be incredibly rewarding, capturing the beauty of the Milky Way, constellations, and even the occasional meteor shower.
Tips for Night Sky Photography:
- Find a Dark Location: Light pollution can ruin your shots. Use apps like Dark Sky Finder to locate dark sky areas near you.
- Use a Fast Lens: A lens with a wide aperture (f/2.8 or lower) will let in more light, essential for night photography. Check out essential lenses for capturing the night sky for more information.
- Long Exposures: Set your camera to manual mode, use a high ISO (1600-3200), and a long exposure time (15-30 seconds) to capture more light.
Essential Gear:
| Equipment | Purpose |
|---|---|
| DSLR/Mirrorless Camera | Offers manual settings and higher image quality. |
| Fast Lens | Allows more light to enter the camera. |
| Tripod | Provides stability for long exposures. |
| Star Tracker | Helps to follow the movement of stars, reducing star trails. |
Techniques for Stunning Daytime Shots
Capturing Sunrises and Sunsets
Capturing the breathtaking beauty of sunrises and sunsets can feel like trying to bottle up magic. But with a few simple tips, you can start to snag those golden moments. First, timing is everything. You want to be in position well before the sun starts to rise or set. This gives you time to set up your gear and find the perfect angle.
Equipment Needed:
- Camera: A DSLR or mirrorless camera is ideal, but even a smartphone can work.
- Tripod: Stability is key. Using a tripod prevents camera shake, especially in low light.
- Remote Shutter Release: This helps avoid any movement when you press the shutter button.
Settings to Use:
- Aperture: Use a small aperture (like f/11 or f/16) to get a wide depth of field.
- ISO: Keep your ISO low (100-200) to reduce noise.
- Shutter Speed: You might need a slower shutter speed, especially in low light, to capture enough light.
Composition Tips:
- Rule of Thirds: Place the horizon on the top or bottom third of the frame, not in the middle.
- Foreground Interest: Include elements like trees, rocks, or water to add depth to your shot.
Photographing Clouds
Clouds can add drama and texture to your sky photos. Whether theyre fluffy and white or dark and stormy, they can transform an ordinary scene into something spectacular.
Equipment Needed:
- Camera: Again, a DSLR or mirrorless camera is ideal.
- Polarizing Filter: This can help enhance the contrast between the clouds and the sky.
Settings to Use:
- Aperture: A mid-range aperture (like f/8) works well.
- ISO: Keep it low to maintain image quality.
- Shutter Speed: Adjust based on the light conditions. Faster speeds can freeze cloud motion, while slower speeds can create a dreamy effect.
Composition Tips:
- Leading Lines: Use elements like roads or rivers to lead the viewers eye into the photo.
- Contrast: Look for contrasts in the sky, such as dark storm clouds against a bright sky.
Tips for Night Sky Photography
Capturing the night sky can feel like you’re painting with light. The stars, moon, and celestial wonders offer a canvas like no other. But where do you start? Let’s dive into some straightforward tips to help you snap those breathtaking shots without needing advanced gear or deep knowledge of astrophotography.
Shooting Starry Nights
Shooting starry nights is like stepping into a magical world. The twinkling stars, the vastness of the sky – its all there waiting for you. Heres how you can capture that magic:
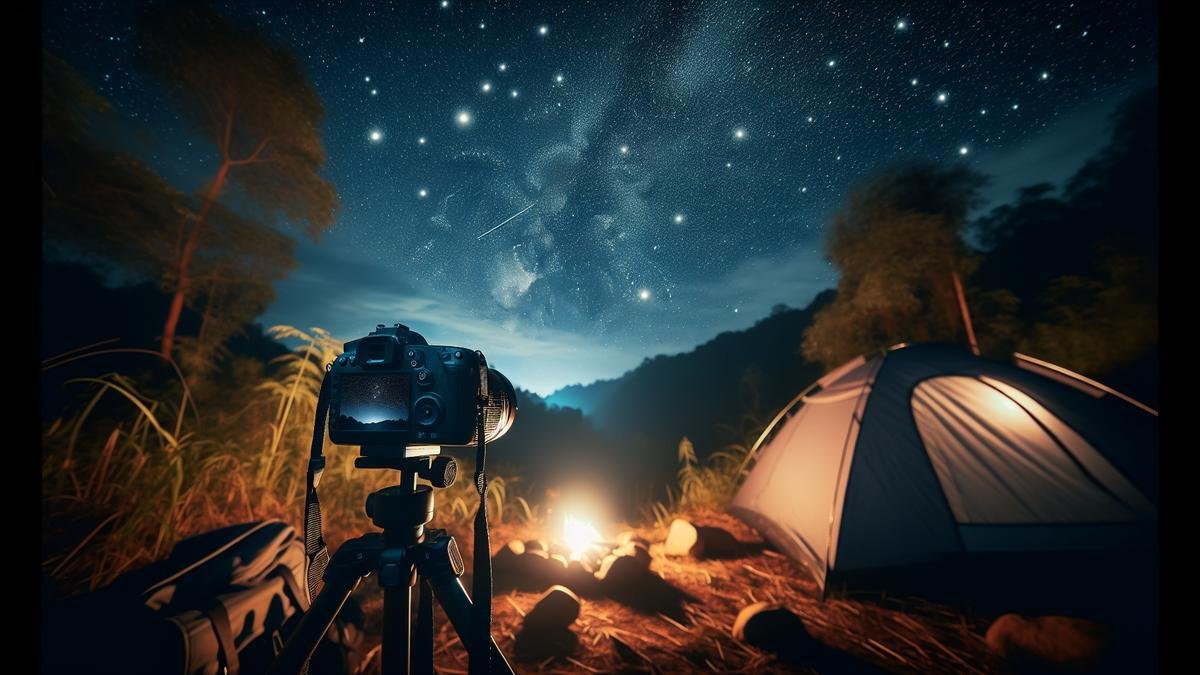
- Find a Dark Location: Light pollution is your biggest enemy when shooting stars. Try to get away from city lights. Even a short drive to the countryside can make a huge difference.
- Use a Tripod: Stability is key. A sturdy tripod will keep your camera steady during long exposures. If youre unsure which tripod to choose, check out this guide to tripods for astrophotography.
- Camera Settings:
- Aperture: Use a wide aperture (f/2.8 or lower) to let in as much light as possible.
- Shutter Speed: Start with a 20-second exposure. Too long, and the stars will start to trail.
- ISO: Set your ISO between 1600 and 3200. Higher ISO can capture more light but may introduce noise.
- Focus Manually: Autofocus struggles in the dark. Switch to manual focus and use live view to zoom in on a bright star for sharpness.
- Experiment: Dont be afraid to tweak your settings. Each night might require different adjustments due to varying light conditions.
Photographing the Milky Way
The Milky Way is a stunning subject. Its ethereal glow can transform your photos into something out of this world. Heres how to capture it:
- Plan Your Shoot: Use apps like Stellarium or SkyView to know when and where the Milky Way will be visible. The best time is usually during a new moon when the sky is darkest.
- Lens Choice: A wide-angle lens (14-24mm) is perfect for capturing the Milky Way. If youre looking for the best lenses, this essential lenses guide can help you choose.
- Camera Settings:
- Aperture: Again, use the widest aperture your lens allows.
- Shutter Speed: Aim for a 20-30 second exposure. Longer exposures will cause star trails.
- ISO: Start with ISO 3200 and adjust based on your results.
- Foreground Interest: Adding an interesting foreground element, like a tree or a rock formation, can make your Milky Way shots more compelling.
- Post-Processing: Editing is crucial. Use software like Lightroom to enhance the contrast and bring out the details in the Milky Way.
Post-Processing Your Sky Photos
You’ve captured some stunning images of the sky, whether it’s a vibrant sunset, fluffy clouds, or the Milky Way. Now, it’s time to bring out the best in your photos with some post-processing magic. Post-processing can transform your images from good to breathtaking with just a few tweaks. Don’t worry if you’re new to this; we’ll walk you through the basics.
Basic Editing Tools
First things first, you need some basic editing tools. There are plenty of options out there, both free and paid, that can help you get started. Here are a few popular choices:
| Software | Description | Price |
|---|---|---|
| Adobe Lightroom | Industry-standard for photo editing. Offers a wide range of tools. | Subscription-based |
| GIMP | Free and open-source. Great for beginners. | Free |
| Darktable | Another free option. Similar to Lightroom in functionality. | Free |
| Snapseed | Mobile app with powerful editing tools. | Free |
These tools will help you adjust exposure, contrast, sharpness, and more. Let’s dive into some basic adjustments you can make to enhance your sky photos.
Enhancing Colors and Details
One of the most important aspects of sky photography is the colors. Sunsets, sunrises, and starry nights all have unique color palettes that you can enhance to make your photos pop.
Adjusting Exposure and Contrast
Start by adjusting the exposure. This will help you balance the light in your photo. If your image is too dark, increase the exposure. If it’s too bright, decrease it. Next, tweak the contrast to make the colors more vibrant. High contrast can make the stars in your night sky photos stand out, while low contrast can create a softer look for sunsets and sunrises.
Boosting Saturation and Vibrance
To make the colors in your sky photos more vivid, increase the saturation and vibrance. Saturation will enhance all the colors in your image, while vibrance specifically targets the less saturated colors, giving a more natural look. Be careful not to overdo it, as too much saturation can make your photo look unnatural.
Sharpening and Clarity
Sharpening your image can bring out the details in the clouds or stars. Most editing software has a sharpening tool that allows you to adjust the level of sharpness. Clarity is another tool that enhances the midtones in your photo, adding depth and definition. Use these tools sparingly to avoid making your image look too harsh.
Removing Noise and Grain
One common issue with sky photography, especially at night, is noise and grain. These are the little specks that can appear in your photo, making it look less clean. Thankfully, there are ways to reduce noise and grain in post-processing.
Using Noise Reduction Tools
Most editing software comes with a noise reduction tool. This tool helps to smooth out the grainy areas of your photo. However, using too much noise reduction can make your image look soft and lose detail. Find a balance that reduces noise without sacrificing too much detail.
Applying Selective Noise Reduction
If you find that noise is only a problem in certain areas of your photo, you can use selective noise reduction. This allows you to target specific areas, like the sky, without affecting the rest of the image. This is particularly useful for night sky photos where you want to keep the stars sharp but reduce noise in the darker areas.
Common Mistakes and How to Avoid Them
Astrophotography is a thrilling adventure that lets you capture the beauty of the sky. But, like any journey, it comes with its bumps and hurdles. Let’s dive into some common mistakes beginners make and how you can sidestep them.
Overcoming Blurry Photos
Blurry photos are a common frustration. You’ve set up your camera, waited for the perfect moment, and then… blur. Here’s how to tackle this:
Use a Sturdy Tripod
A stable tripod is your best friend. Even the slightest shake can ruin a shot. When choosing a tripod, look for one that’s both sturdy and portable. Check out this guide to tripods for astrophotography for some great options.
Shutter Speed and ISO
Getting the right shutter speed and ISO settings is crucial. For night shots, a slower shutter speed can help capture more light, but too slow, and you’ll get star trails. A higher ISO can help, but too high, and you’ll get noise. Here’s a simple table to guide you:
| Scenario | Shutter Speed | ISO |
|---|---|---|
| Starry Night | 15-30 seconds | 800-1600 |
| Milky Way | 20-30 seconds | 1600-3200 |
| Sunrise/Sunset | 1/60 – 1/125 | 100-400 |
Remote Shutter Release
Using a remote shutter release or a timer can prevent camera shake. When you press the shutter button, even a tiny vibration can cause blur. A remote or timer solves this problem.
Avoiding Overexposure
Overexposure is another common issue. You want to capture the sky, not a bright white blob. Here’s how to avoid it:
Adjusting Exposure Settings
Learn to tweak your exposure settings. For night shots, underexpose slightly to avoid washing out stars. During the day, use a lower ISO and faster shutter speed.
Use Filters
Filters can help manage exposure. For example, a neutral density filter can reduce the amount of light entering the lens. Check out this guide to the best filters for more details.
Dealing with Unwanted Light
Unwanted light, or light pollution, can ruin a great shot. Here’s how to deal with it:
Find Dark Locations
The best way to avoid light pollution is to get away from city lights. Use apps or websites to find dark sky locations near you.
Use a Lens Hood
A lens hood can block stray light from entering your lens. It’s a simple tool that can make a big difference.
Frequently Asked Questions
How can I capture amazing sunsets with my phone?
Use HDR mode to balance light. Aim to shoot during the golden hour, about an hour before sunset. You can use the grid to follow the rule of thirds. Keep the horizon straight.
What’s the best way to photograph a cloudy sky?
Polarizing filters can help, but aren’t necessary. Focus on compositions that show contrast. Experiment with foreground elements. Clouds look cool when layered, so try wide-angle shots.
Can I photograph the Milky Way with a basic camera?
Yes! Use a tripod to keep your camera steady. Set your camera to manual mode. Use a high ISO (like 1600 or 3200), a wide aperture (f/2.8), and a slow shutter speed (20-30 seconds).
What settings do I need for daytime sky photography?
For a clear blue sky, set your ISO to 100. Use a small aperture like f/16. A fast shutter speed will help, around 1/125th of a second. Don’t forget to adjust your white balance to “Daylight.”
Any tips for star trail photography?
Use a sturdy tripod to avoid shaking. Set your camera to manual mode with a low ISO (100-400). Use a small aperture (f/2.8-f/4) and a very long shutter speed (30 minutes or more). Stack multiple exposures in post-processing to create longer trails.

