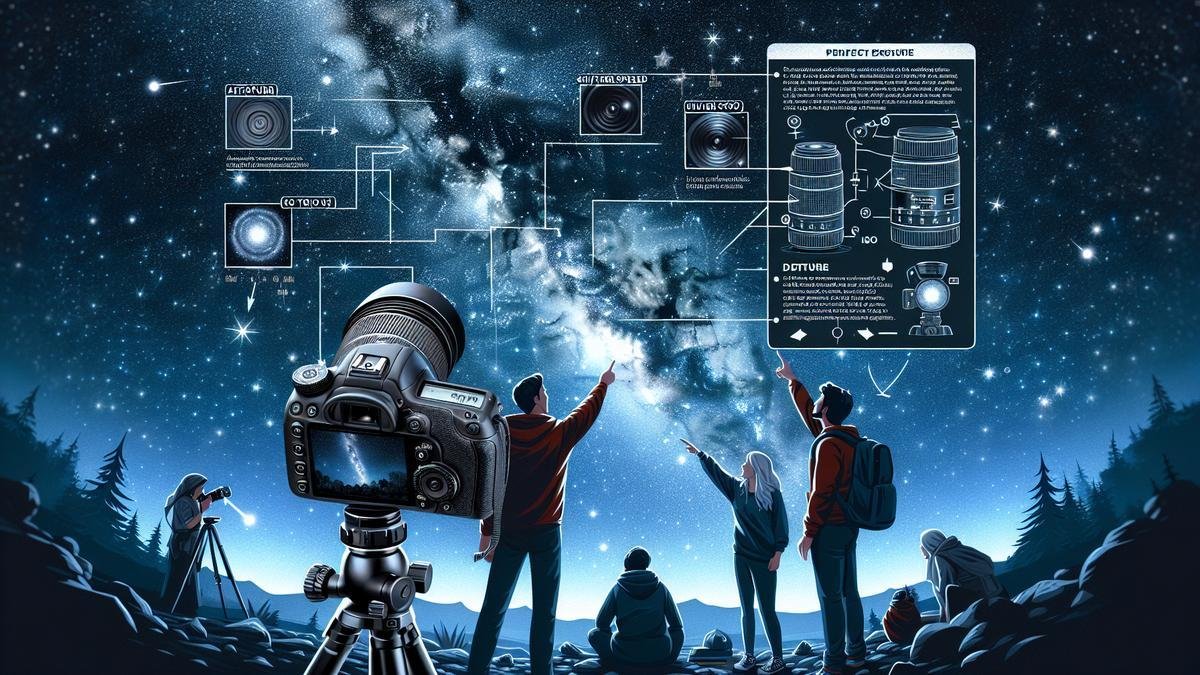
Astrophotography with High ISO: Tips and Tricks is your go-to guide for snapping stunning photos of the night sky. In this article, we’ll break down what ISO is and how high ISO settings can transform your images. From choosing the best camera and setting it up, to post-processing and advanced techniques, we’ve got you covered. Whether you’re a beginner looking to get started or an experienced photographer facing challenges with noise, you’ll find valuable tips here to enhance your astrophotography skills!
Key Takeaways
- Use a high ISO setting to capture faint stars.
- Keep exposure time short to avoid star trails.
- Use a fast lens with a wide aperture.
- Use a tripod to keep your camera stable.
- Experiment with noise reduction settings.
Understanding High ISO in Astrophotography
What is ISO?
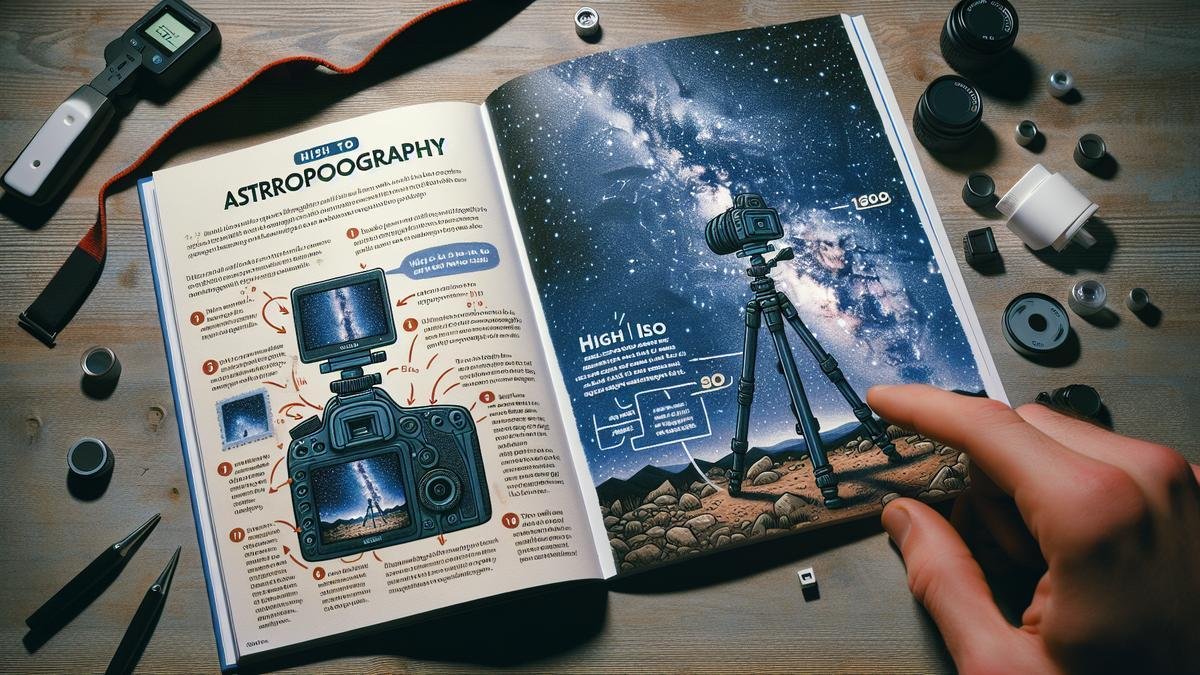
ISO is one of the three pillars of photography, alongside aperture and shutter speed. It measures the sensitivity of your camera’s sensor to light. In simpler terms, the higher the ISO number, the more sensitive your camera is to light. For instance, an ISO of 100 is less sensitive than an ISO of 3200.
| ISO Setting | Sensitivity | Noise Level |
|---|---|---|
| 100 | Low | Minimal |
| 400 | Moderate | Low |
| 1600 | High | Noticeable |
| 3200 | Very High | High |
When you crank up the ISO, your camera can capture more light in dark conditions, which is crucial for astrophotography. However, the trade-off is increased noise or graininess in your images.
How High ISO Affects Your Photos
Using a high ISO can be a double-edged sword. On one hand, it allows you to capture the faint light from stars, galaxies, and nebulae. On the other hand, it introduces noise, which can degrade the quality of your photos.
| Pros of High ISO | Cons of High ISO |
|---|---|
| Captures faint light | Increases noise |
| Shorter exposure times | Reduces image detail |
| Useful in low-light conditions | Can cause color distortion |
Noise Reduction Techniques
To combat noise, you can use noise reduction software like Adobe Lightroom or Topaz DeNoise AI. These tools can help you clean up your images without losing too much detail.
Benefits of Using High ISO
Despite its drawbacks, using a high ISO has several benefits that can elevate your astrophotography game.
Capturing More Detail
High ISO settings allow you to capture more detail in the night sky. Stars that are barely visible at lower ISOs become more prominent, revealing constellations and celestial objects that are otherwise hidden.
| ISO Setting | Visible Stars |
|---|---|
| 100 | Few |
| 800 | Moderate |
| 3200 | Many |
Shorter Exposure Times
Higher ISO settings enable shorter exposure times, reducing the risk of star trails caused by the Earth’s rotation. This is particularly useful if you’re shooting with a telephoto lens or a telescope.
Flexibility in Post-Processing
Using a high ISO gives you more flexibility in post-processing. You can adjust the exposure, contrast, and other settings without losing too much detail. This can be especially helpful when you’re trying to bring out the Milky Way or other faint objects.
Choosing the Right Camera for High ISO
Astrophotography is a thrilling hobby where you capture the night sky’s wonders. But, to get those breathtaking shots, you need a camera that can handle high ISO settings. High ISO settings let you capture more light, making those stars and galaxies pop in your photos. Let’s dive into the essentials of picking the right camera for high ISO.
Best Cameras for High ISO Settings
When it comes to choosing a camera for astrophotography, you want one that performs well in low light. Here are some top picks:
| Camera Model | Max ISO | Sensor Type | Price Range |
|---|---|---|---|
| Canon EOS R6 | 102,400 | Full-frame | $2,500 – $2,800 |
| Nikon D850 | 25,600 | Full-frame | $3,000 – $3,300 |
| Sony A7S III | 409,600 | Full-frame | $3,500 – $3,800 |
| Fujifilm X-T4 | 51,200 | APS-C | $1,700 – $2,000 |
| Pentax K-1 Mark II | 819,200 | Full-frame | $1,800 – $2,100 |
These cameras are known for their high ISO performance, making them ideal for capturing the night sky.
Features to Look For
When picking a camera, its not just about the ISO. You need to consider other features that will help you get the best shots.
Low Noise Levels
High ISO settings can introduce noise, which are those grainy specks in your photos. Look for cameras that handle noise well. Cameras with larger sensors, like full-frame sensors, usually perform better in low light.
Dynamic Range
Dynamic range is the cameras ability to capture details in both the darkest and brightest parts of a scene. A high dynamic range is crucial for astrophotography because it helps you capture the subtle details in the night sky.
Long Exposure Capabilities
Astrophotography often involves long exposure times. You want a camera that can handle long exposures without overheating or draining the battery too quickly.
RAW Image Support
Shooting in RAW format gives you the most flexibility in post-processing. It captures more data than JPEG, allowing you to pull out more details from your shots.
Built-in Intervalometer
An intervalometer lets you set the camera to take multiple shots over a period. This is useful for creating time-lapses of the night sky. Some cameras have this feature built-in, while others may require an external device.
Weather Sealing
Astrophotography often means being out in the elements. A camera with good weather sealing will protect against moisture and dust, ensuring your gear lasts longer.
Comparing Different Models
Now, lets compare some popular models to see how they stack up.
Canon EOS R6 vs. Nikon D850
| Feature | Canon EOS R6 | Nikon D850 |
|---|---|---|
| Max ISO | 102,400 | 25,600 |
| Sensor Type | Full-frame | Full-frame |
| Noise Performance | Excellent | Very Good |
| Dynamic Range | Good | Excellent |
| Long Exposure Capability | Very Good | Excellent |
| RAW Support | Yes | Yes |
| Built-in Intervalometer | Yes | Yes |
| Weather Sealing | Yes | Yes |
| Price Range | $2,500 – $2,800 | $3,000 – $3,300 |
Sony A7S III vs. Fujifilm X-T4
| Feature | Sony A7S III | Fujifilm X-T4 |
|---|---|---|
| Max ISO | 409,600 | 51,200 |
| Sensor Type | Full-frame | APS-C |
| Noise Performance | Outstanding | Very Good |
| Dynamic Range | Excellent | Good |
| Long Exposure Capability | Excellent | Very Good |
| RAW Support | Yes | Yes |
| Built-in Intervalometer | Yes | Yes |
| Weather Sealing | Yes | Yes |
| Price Range | $3,500 – $3,800 | $1,700 – $2,000 |
Setting Up Your Camera for High ISO
Diving into astrophotography means you’ll need to know your camera inside and out. One of the most vital aspects? High ISO settings. Let’s break it down.
Adjusting ISO Settings
First things first, ISO. Think of ISO as your camera’s sensitivity to light. The higher the ISO, the more sensitive it is. This is especially useful for capturing stars, galaxies, and other celestial wonders. But be cautious – high ISO can also bring noise.
How to Adjust ISO:
- Find the ISO Setting: On most cameras, this can be found in the menu or as a dedicated button.
- Start High: Begin with an ISO of 1600 or 3200. Test shots will guide you.
- Check Your Results: Look for noise. Too much? Lower the ISO a bit.
| ISO Setting | Light Sensitivity | Noise Level |
|---|---|---|
| 800 | Low | Minimal |
| 1600 | Medium | Moderate |
| 3200 | High | Noticeable |
| 6400 | Very High | High |
Other Important Camera Settings
ISO isn’t the only setting you’ll tweak. Let’s explore a few more.
Aperture: Keep it wide open. A lower f-number, like f/2.8 or f/4, lets in more light.
Shutter Speed: Longer exposures capture more light, but stars can start to trail. Aim for 15-30 seconds.
Focus: Switch to manual focus. Autofocus struggles in the dark. Focus on the brightest star or a distant light.
White Balance: Set to daylight or auto. Adjust in post-processing if needed.
| Setting | Recommended Value | Purpose |
|---|---|---|
| Aperture | f/2.8 – f/4 | Maximizes light intake |
| Shutter Speed | 15-30 seconds | Balances light and star trails |
| Focus | Manual | Ensures sharp stars |
| White Balance | Daylight/Auto | Accurate colors |
Post-Processing High ISO Photos
Reducing Noise in Your Photos
When you’re diving into astrophotography, one of the biggest challenges you’ll face is dealing with noise in your high ISO photos. Noise can make your stunning celestial captures look grainy and messy. But don’t worry, there are ways to reduce this pesky problem.
Understanding Noise
Noise in photos is like static on a radio. It shows up as random specks of color or brightness, especially in dark areas. High ISO settings, while great for capturing faint stars, can amplify this noise. But with the right techniques and tools, you can clean up your images.
Techniques for Noise Reduction
- Use Multiple Exposures: Instead of a single long exposure, take multiple shorter ones. This technique, called stacking, helps in reducing noise significantly.
- Dark Frame Subtraction: Take a photo with the same settings but with the lens cap on. This dark frame captures just the noise, which you can subtract from your actual photos.
- Use Noise Reduction Software: Software like Adobe Lightroom or Noise Ninja can help reduce noise without losing too much detail.
Enhancing Details with Software
Once you’ve tackled noise, it’s time to bring out the details in your photos. Enhancing details can make your astrophotography stand out, highlighting the intricate patterns of stars and galaxies.
Sharpening Your Images
Sharpening can make your stars pop, but be careful not to overdo it. Too much sharpening can introduce artifacts. Use tools like Unsharp Mask or High Pass Filter in Photoshop to carefully enhance details.
Adjusting Levels and Curves
Levels and curves adjustments can help in bringing out the faint details in your photos. By tweaking the shadows, midtones, and highlights, you can make the stars and galaxies more prominent.
Color Correction
Astrophotography often requires color correction to bring out the true colors of celestial objects. Use tools like Color Balance or Hue/Saturation adjustments to enhance the natural colors of the stars and nebulae.
Overcoming Challenges with High ISO
Navigating the intricacies of astrophotography can be a thrilling yet daunting journey. When you’re capturing the wonders of the night sky, using high ISO settings can be both a blessing and a curse. High ISO can help you capture faint celestial objects, but it also introduces noise and can degrade image quality. Let’s dive into the nuances of using high ISO in astrophotography and explore advanced techniques to mitigate these challenges.
Dealing with Noise
Noise is the pesky graininess that can ruin an otherwise stunning photo. When you crank up the ISO, your camera sensor becomes more sensitive to light, but it also picks up more noise. Here are some ways to tackle this issue:
- Use Noise Reduction Software: Tools like Adobe Lightroom, DxO PhotoLab, and Topaz DeNoise AI can significantly reduce noise. These programs use complex algorithms to identify and minimize noise without sacrificing much detail.
- Stacking Multiple Exposures: This technique involves taking several shorter exposures and combining them into one image. By doing so, you can reduce noise while still capturing enough light. Software like DeepSkyStacker or Sequator can help with this process.
- Dark Frame Subtraction: This involves taking a photo with the same settings but with the lens cap on. This “dark frame” only captures noise, which can then be subtracted from your actual photos to reduce noise.
- Use a Lower ISO When Possible: Sometimes, the best way to reduce noise is to use a lower ISO and compensate with a longer exposure time or a wider aperture.
Here’s a quick comparison table to help you understand the pros and cons of each method:
| Method | Pros | Cons |
|---|---|---|
| Noise Reduction Software | Easy to use, effective | Can lose some detail |
| Stacking Multiple Exposures | Reduces noise significantly | Requires more time and effort |
| Dark Frame Subtraction | Effective for reducing fixed pattern noise | Adds complexity to the shooting process |
| Lower ISO | Reduces noise naturally | Requires longer exposure times |
Maintaining Image Quality
Maintaining image quality while using high ISO settings is a balancing act. You want to capture the faint details of the night sky without degrading the overall quality of your image. Here are some advanced techniques to help you achieve this:
- Use a Fast Lens: A lens with a wide aperture (like f/2.8 or wider) allows more light to hit the sensor, which means you can use a lower ISO. This helps maintain image quality while still capturing faint details.
- Optimize Your Exposure Time: The longer your exposure, the more light you capture, but too long and you’ll get star trails. Use the “500 Rule” as a starting point: divide 500 by the focal length of your lens to get the maximum exposure time in seconds before star trails become noticeable.
- Shoot in RAW Format: RAW files contain more data than JPEGs, giving you more flexibility in post-processing. This is crucial for astrophotography, where you often need to make significant adjustments to brightness, contrast, and noise.
- Use a Star Tracker: A star tracker compensates for the Earth’s rotation, allowing you to take longer exposures without star trails. This means you can use a lower ISO and still capture detailed images.
- Calibrate Your Monitor: Ensuring your monitor is properly calibrated helps you make accurate adjustments in post-processing. This is especially important for astrophotography, where subtle changes can make a big difference.
Here’s a table summarizing these techniques:
| Technique | Benefit | Consideration |
|---|---|---|
| Fast Lens | Allows lower ISO | Can be expensive |
| Optimize Exposure Time | Balances light capture and star trails | Requires experimentation |
| Shoot in RAW | More post-processing flexibility | Larger file sizes |
| Use a Star Tracker | Allows longer exposures | Adds weight and complexity |
| Calibrate Your Monitor | Accurate post-processing | Requires calibration tool |
Advanced Astrophotography Techniques
Astrophotography isn’t just about pointing your camera at the night sky and hoping for the best. It’s about mastering techniques that can elevate your images to a whole new level. Let’s dive into some advanced methods that will help you capture the cosmos in all its glory.
Stacking Multiple Exposures
Stacking multiple exposures is an essential technique for astrophotographers. It involves taking several images of the same scene and then combining them to reduce noise and enhance details. Here’s how you can do it:
1. Capture Multiple Shots:
- Set Up Your Camera: Use a tripod to keep your camera steady. Set your camera to manual mode.
- Take Several Exposures: Capture at least 10-20 images of the same scene. The more shots you take, the better the final result.
2. Align and Stack Your Images:
- Use Software: Programs like DeepSkyStacker or Adobe Photoshop can align and stack your images.
- Align Images: Ensure each image is aligned perfectly with the others.
- Stack Images: Combine the aligned images to reduce noise and bring out more details.
3. Adjust and Enhance:
- Post-Processing: Use software to adjust levels, contrast, and colors.
- Fine-Tuning: Enhance details and remove any remaining noise.
Using Filters for Better Results
Filters can make a significant difference in your astrophotography. They help to reduce light pollution, enhance colors, and bring out more details. Heres how you can use them effectively:
1. Choose the Right Filter:
- Light Pollution Filters: These filters block artificial light, making it easier to capture the night sky.
- Color Filters: Enhance specific colors, like red for nebulae or blue for galaxies.
- Neutral Density Filters: Reduce the amount of light entering the camera, useful for long exposures.
2. Attach and Adjust:
- Attach the Filter: Secure the filter to your lens.
- Adjust Settings: You might need to adjust your camera settings to compensate for the filter.
3. Experiment and Compare:
- Take Test Shots: Capture images with and without the filter.
- Compare Results: Notice the differences and adjust your technique accordingly.
Frequently asked questions
How can using high ISO benefit astrophotography?
High ISO helps capture faint stars and details in the dark night sky.
What are the downsides of using high ISO in astrophotography?
High ISO can introduce noise and graininess in your photos.
What’s the best way to reduce noise when using high ISO for astrophotography?
Using noise reduction software like Lightroom or stacking multiple images can help.
Can I use a smartphone for astrophotography with high ISO?
Yes, many modern smartphones have a high ISO mode that can work well with some practice.
How does changing the ISO settings affect the exposure in astrophotography?
Higher ISO increases sensitivity and exposure, making faint objects more visible.

