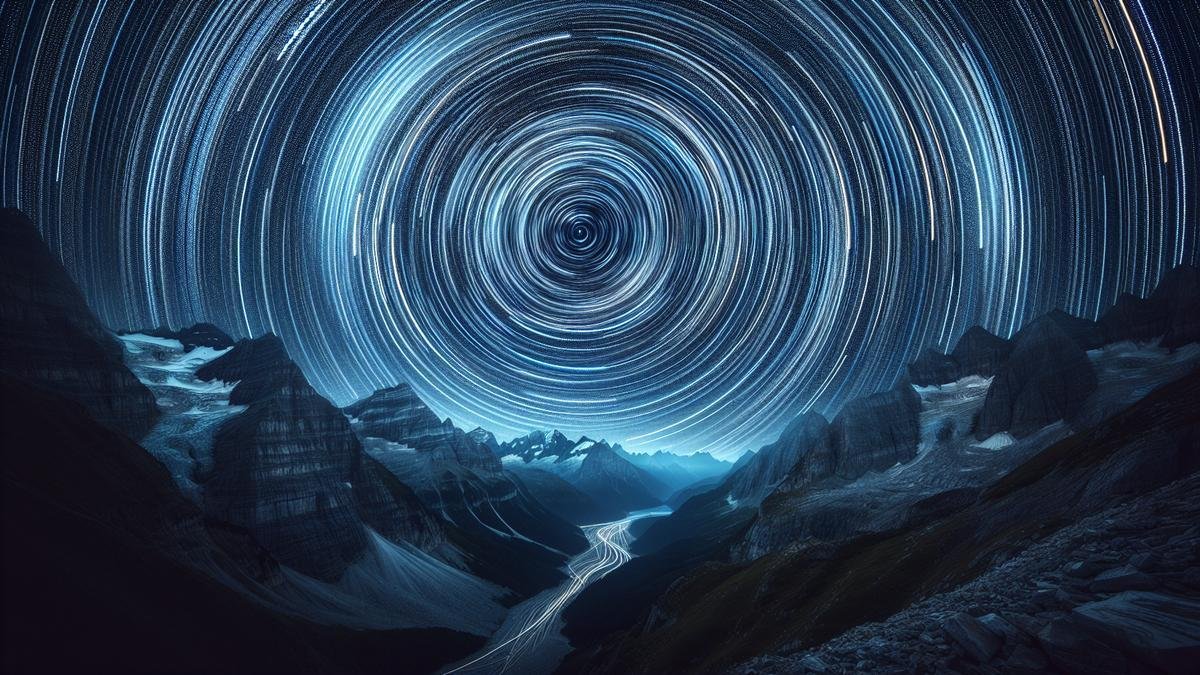
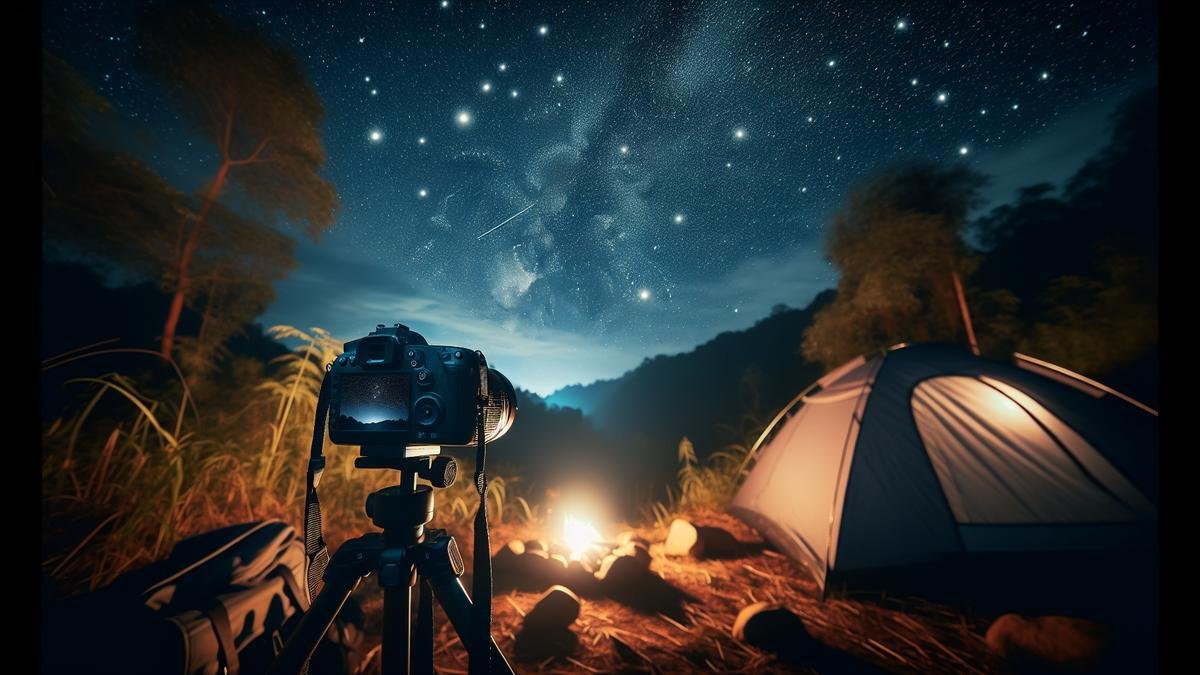
Capturing stunning star trails in your astrophotography doesnt have to be a mystery. In this guide on advanced techniques for capturing star trails, you’ll learn everything you need to know to take your photos to the next level. From understanding camera settings and adjusting your ISO for those long-exposure shots to picking out the best locations and timing your shoot for perfect results, we’ve got you covered. With tips on post-processing like stacking images for clarity and enhancing colors, plus troubleshooting common issues like light pollution, you’ll be well on your way to creating mesmerizing star trail photos. Ready to become an astrophotography pro? Lets dive in!
Key Takeaways
- Use a sturdy tripod to eliminate camera shake.
- Set your camera to manual mode for better control.
- Use a wide-angle lens to capture more stars.
- Set a long exposure time to create clear star trails.
- Use a remote shutter release to avoid touching the camera.
Understanding Your Camera Settings
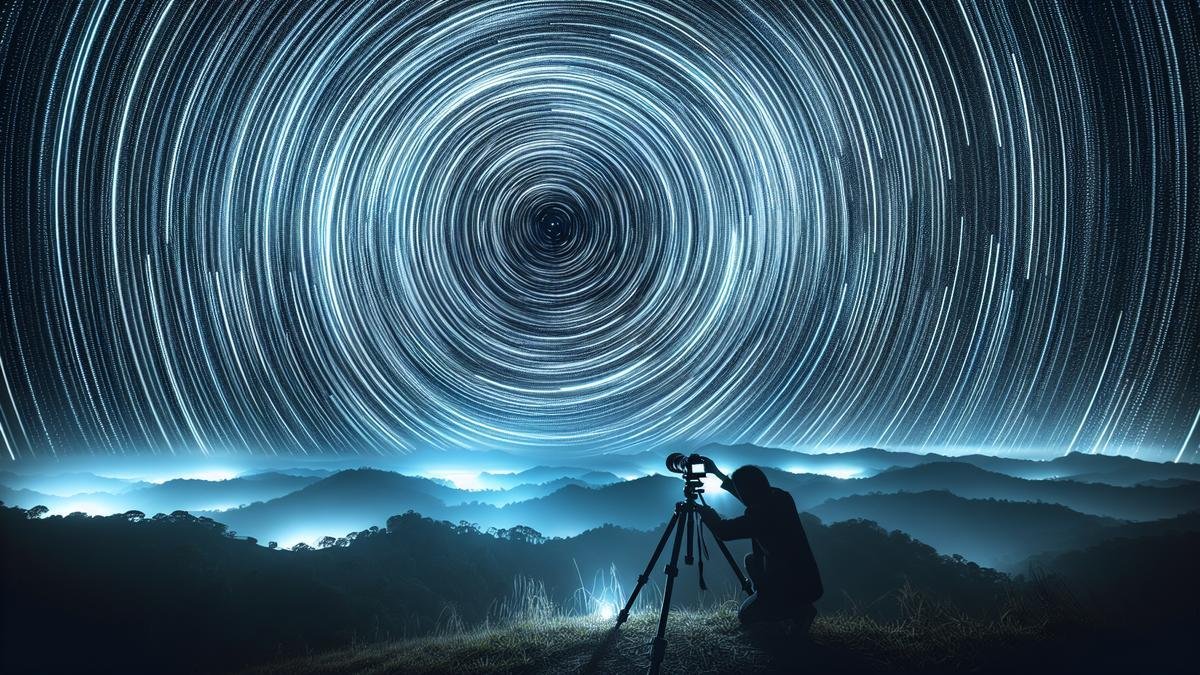
When diving into the captivating world of astrophotography, understanding your camera settings is paramount. It’s not just about pointing your camera at the night sky and hoping for the best. You need to master the intricate details to capture those stunning star trails that leave viewers in awe.
Adjusting ISO for Star Trails
ISO is one of the most crucial settings you’ll need to adjust. It determines the sensitivity of your camera’s sensor to light. For star trails, you want to find a balance between capturing enough light and minimizing noise.
- Low ISO (100-400): Ideal for reducing noise but requires longer exposures.
- Medium ISO (800-1600): A good compromise between sensitivity and noise.
- High ISO (3200 and above): Captures more light quickly but introduces significant noise.
Table: ISO Settings for Star Trails
| ISO Setting | Light Sensitivity | Noise Level | Ideal Use Case |
|---|---|---|---|
| 100-400 | Low | Very Low | Long exposures, minimal noise |
| 800-1600 | Medium | Moderate | Balanced light and noise |
| 3200+ | High | High | Quick captures, high noise |
Experiment with different ISO settings to see what works best for your specific conditions. It’s often helpful to start with a medium ISO and adjust based on your results.
Setting the Right Shutter Speed
Shutter speed is another critical factor in capturing star trails. The length of time your camera’s shutter remains open will determine the length of the trails.
- Short Exposures (5-30 seconds): Captures stars as points of light, not trails.
- Medium Exposures (1-5 minutes): Creates short star trails.
- Long Exposures (10 minutes and above): Produces long, dramatic star trails.
Table: Shutter Speed for Star Trails
| Shutter Speed | Trail Length | Ideal Use Case |
|---|---|---|
| 5-30 seconds | Points of light | Capturing stars without trails |
| 1-5 minutes | Short trails | Moderate star trail photography |
| 10 minutes and above | Long trails | Dramatic, intricate star trails |
Remember, the longer the exposure, the more you’ll need to consider factors like battery life and camera stability. Using a sturdy tripod is essential for long exposures to avoid any camera shake.
Planning Your Shoot
Finding the Perfect Location
When you’re setting out to capture those mesmerizing star trails, the first step is finding the right spot. Think of it as your blank canvas. You want a place with minimal light pollution. Urban areas are out; rural locations are in. The less artificial light, the better your results will be.
Key Factors to Consider:
- Light Pollution: Use light pollution maps to find dark sky areas. Websites like Dark Site Finder can help.
- Accessibility: Ensure your chosen location is easy to reach, especially if youre carrying a lot of gear.
- Safety: Always prioritize your safety. Inform someone of your whereabouts and carry essential safety equipment.
| Factor | Importance | Tools/Resources |
|---|---|---|
| Light Pollution | High | Dark Site Finder, Light Pollution Maps |
| Accessibility | Medium | Google Maps, Local Guides |
| Safety | High | Informing Someone, Safety Gear |
Timing Your Shoot for Best Results
Timing is everything in astrophotography. Youll need to plan meticulously to capture those intricate star trails. Heres a breakdown of what to consider:
Lunar Phases
The moon can be both a friend and foe. A full moon can wash out the stars, while a new moon provides the darkest skies.
| Lunar Phase | Best for Star Trails? |
|---|---|
| New Moon | Yes |
| Full Moon | No |
| Waxing/Waning Crescent | Maybe |
Time of Year
Different times of the year offer different celestial views. For example, during winter, the nights are longer, giving you more time to shoot.
| Season | Advantages |
|---|---|
| Winter | Longer nights, clearer skies |
| Summer | Milky Way visibility |
| Spring/Fall | Balanced conditions |
Time of Night
The best time to shoot star trails is during the darkest part of the night, typically from midnight to 3 AM.
| Time of Night | Ideal for Star Trails? |
|---|---|
| Early Evening | No |
| Midnight | Yes |
| Pre-Dawn | Yes |
Checking Weather Conditions
Weather can make or break your astrophotography session. Clear skies are a must, but theres more to consider.
Weather Elements to Monitor:
- Cloud Cover: Clear skies are essential. Partial clouds can add drama but can also obstruct your view.
- Humidity: High humidity can cause lens fogging. Use a lens heater if necessary.
- Wind: Strong winds can shake your camera, leading to blurry images. A sturdy tripod is crucial.
| Weather Element | Impact on Shoot | Solution |
|---|---|---|
| Cloud Cover | Obstructs view | Check forecasts, reschedule if necessary |
| Humidity | Lens fogging | Use lens heater |
| Wind | Camera shake | Sturdy tripod |
Advanced Techniques for Capturing Star Trails
Now that youve nailed down your location and timing, lets delve into the advanced techniques that will elevate your star trails from good to breathtaking.
Choosing the Right Equipment
Your gear plays a pivotal role in capturing stunning star trails. Heres a quick rundown of what you’ll need:
Camera: A DSLR or mirrorless camera with manual settings is ideal. For an in-depth comparison, you might find this article on comparing DSLRs and mirrorless cameras for astrophotography useful.
Lens: A wide-angle lens with a fast aperture (f/2.8 or lower) is recommended. Check out this guide on essential lenses for capturing the night sky for more insights.
Tripod: Stability is key. A sturdy tripod is non-negotiable. For recommendations, see this detailed guide on tripods for astrophotography.
Remote Shutter Release: This helps avoid camera shake during long exposures.
Star Tracker: While not essential, a star tracker can help you capture longer exposures without star trails becoming too elongated. Learn more about using star trackers for perfect astrophotography here.
| Equipment | Purpose |
|---|---|
| Camera | Capturing images |
| Lens | Wide-angle, fast aperture |
| Tripod | Stability |
| Remote Shutter Release | Avoiding camera shake |
| Star Tracker | Longer exposures |
Mastering Long Exposure
Long exposure is the cornerstone of star trail photography. Heres how to master it:
Exposure Time: The longer the exposure, the longer the star trails. Start with 30-second exposures and stack multiple shots.
ISO Settings: Use a low ISO (100-400) to minimize noise. For more tips, check out this article on astrophotography with high ISO.
Aperture: Use a wide aperture (f/2.8 or lower) to capture more light.
Stacking Images: Instead of one long exposure, take multiple shorter ones and stack them. This reduces noise and allows for more flexibility in post-processing. Learn more about combining and stacking images for astrophotography here.
| Setting | Recommended Value |
|---|---|
| Exposure Time | 30 seconds (stack multiple shots) |
| ISO | 100-400 |
| Aperture | f/2.8 or lower |
Post-Processing
Post-processing can turn a good star trail image into a spectacular one. Heres a basic workflow:
Software: Adobe Photoshop and Lightroom are popular choices. For a beginners guide, see using Lightroom for astrophotography.
Stacking Software: Use software like StarStaX or DeepSkyStacker to stack your images.
Noise Reduction: Apply noise reduction techniques to clean up your images. Learn more about how to reduce noise in astrophotography photos.
Enhancing Star Colors: Adjust the colors to make the stars pop. Check out techniques for enhancing star colors in astrophotography for more tips.
| Post-Processing Step | Recommended Software |
|---|---|
| Stacking | StarStaX, DeepSkyStacker |
| Noise Reduction | Adobe Photoshop, Lightroom |
| Color Enhancement | Adobe Photoshop, Lightroom |
Experimenting with Different Techniques
Dont be afraid to experiment. Try different techniques to see what works best for you.
Time-lapse Star Trails: Combine star trails with time-lapse photography for a dynamic effect.
Foreground Elements: Include interesting foreground elements to add depth to your images.
Light Painting: Use a flashlight to illuminate objects in the foreground.
HDR Astrophotography: Combine multiple exposures to capture a wider range of light. Learn more about creating HDR astrophotography images here.
| Technique | Description |
|---|---|
| Time-lapse Star Trails | Combining star trails with time-lapse |
| Foreground Elements | Adding depth to images |
| Light Painting | Illuminating foreground objects |
| HDR Astrophotography | Capturing a wider range of light |
Using the Right Equipment
Tripods for Stability
When youre diving into the intricate world of star trails, stability is your best friend. A solid tripod is essential. You see, even the slightest movement can ruin your shot. Imagine spending hours setting up, only to have a gust of wind knock your camera off balance. Frustrating, right?
Choosing the right tripod can make or break your astrophotography experience. Heres a quick guide to help you out:
| Tripod Feature | Why Its Important |
|---|---|
| Weight | A heavier tripod offers better stability. |
| Material | Carbon fiber is sturdy and lightweight. |
| Leg Locks | Twist locks are faster to adjust than flip locks. |
| Height | Ensure it reaches eye level without extending the center column. |
For more detailed insights on tripods, check out this comprehensive guide.
Remote Shutter Releases
Youve got your tripod set up. The next step? A remote shutter release. Why? Because even pressing the shutter button can cause a tiny shake, blurring your stars. A remote shutter release allows you to take photos without touching the camera.
Lets break down the types of remote shutter releases:
| Type | Pros | Cons |
|---|---|---|
| Wired | Reliable, no batteries needed | Limited by cable length |
| Wireless | More freedom of movement | Requires batteries, potential interference |
| Smartphone Apps | Convenient, no extra gear | Dependent on battery life and app compatibility |
Post-Processing Techniques
Stacking Images for Clarity
When you dive into astrophotography, youll quickly discover that stacking images is a game-changer. This technique involves combining multiple exposures of the same scene to reduce noise and enhance detail. Imagine it as layering multiple transparent sheets, each with a faint image, to create a single, clear picture.
Why Stack Images?
Noise is a pesky intruder in your night sky shots. Its those random specks of color or graininess that can ruin the crispness of your stars. By stacking images, you can significantly reduce this noise, resulting in a much clearer and more detailed photograph.
How to Stack Images?
- Capture Multiple Exposures: Start by taking several shots of the same scene. Aim for at least 10 to 20 exposures. The more images you have, the better the final result.
- Use Stacking Software: There are various software options available for stacking images. Some popular ones include DeepSkyStacker, Sequator, and Photoshop. These programs align and combine your images, averaging out the noise while keeping the stars sharp.
Heres a simple table to compare a few stacking software options:
| Software | Ease of Use | Features | Price |
|---|---|---|---|
| DeepSkyStacker | Easy | Basic stacking tools | Free |
| Sequator | Moderate | Advanced noise reduction | Free |
| Photoshop | Complex | Extensive editing tools | Paid |
Tips for Better Stacking
- Steady Your Camera: Use a sturdy tripod to avoid any movement between shots. This will make the alignment process easier and more accurate.
- Manual Focus: Autofocus can struggle in low light. Switch to manual focus and use live view to zoom in on a bright star for precise focusing.
- Consistent Settings: Keep your camera settings consistent across all exposures. This includes ISO, aperture, and shutter speed.
By stacking images, youre not just taking a picture; youre crafting a masterpiece. This technique is fundamental for anyone serious about capturing the night sky in all its glory.
Enhancing Colors in Post
After youve stacked your images, the next step is to bring out the vibrant colors hidden in your night sky photos. Enhancing colors can make your stars pop and add depth to your images.
Why Enhance Colors?
The night sky is full of subtle hues that arent always visible to the naked eye. Post-processing allows you to highlight these colors, making your photos more dynamic and visually appealing.
Tools for Color Enhancement
- Adobe Lightroom: Known for its user-friendly interface, Lightroom offers powerful tools for color correction and enhancement.
- Adobe Photoshop: While more complex, Photoshop provides extensive options for precise color adjustments.
Heres a quick comparison of these tools:
| Software | Ease of Use | Features | Price |
|---|---|---|---|
| Adobe Lightroom | Easy | Basic color adjustments | Paid |
| Adobe Photoshop | Complex | Advanced editing features | Paid |
Steps to Enhance Colors
- Adjust White Balance: Start by tweaking the white balance to remove any color cast from your image. A cooler white balance can bring out the blues in the sky, while a warmer balance enhances the reds and oranges.
- Increase Saturation and Vibrance: Carefully increase the saturation and vibrance to make the colors more vivid. Be cautious not to overdo it, as this can lead to unnatural-looking images.
- Use the HSL Panel: The Hue, Saturation, and Luminance (HSL) panel allows you to adjust specific color ranges. For instance, you can enhance the blues of the Milky Way or the reds of a nebula without affecting other colors.
Heres a simple step-by-step guide to using the HSL panel in Lightroom:
| Step | Action |
|---|---|
| 1. Open HSL Panel | Navigate to the HSL panel in Lightroom. |
| 2. Select Hue | Adjust the hue sliders to shift colors. |
| 3. Adjust Saturation | Increase the saturation for specific colors. |
| 4. Modify Luminance | Change the luminance to brighten or darken colors. |
By enhancing colors, youre not just editing a photo; youre revealing the hidden beauty of the night sky. This process can transform a good image into a breathtaking one.
Removing Noise from Photos
Noise can be a major issue in astrophotography, especially when shooting with high ISO settings. Removing noise in post-processing is crucial to achieving a clean and sharp image.
Why Remove Noise?
Noise can obscure the fine details in your photos, making stars appear blurry and reducing the overall quality of your image. By removing noise, you can enhance the clarity and detail of your astrophotography.
Tools for Noise Reduction
- Adobe Lightroom: Offers a simple yet effective noise reduction tool.
- Adobe Photoshop: Provides more advanced options for noise reduction.
- Topaz DeNoise AI: A dedicated noise reduction software that uses artificial intelligence for superior results.
Heres a comparison of these tools:
| Software | Ease of Use | Features | Price |
|---|---|---|---|
| Adobe Lightroom | Easy | Basic noise reduction | Paid |
| Adobe Photoshop | Complex | Advanced noise reduction | Paid |
| Topaz DeNoise AI | Moderate | AI-powered noise reduction | Paid |
Steps to Remove Noise
- Use Noise Reduction Tools: Most photo editing software has built-in noise reduction tools. Start by applying a moderate amount of noise reduction to your image.
- Adjust Luminance and Color Noise: Luminance noise appears as graininess, while color noise appears as random color specks. Adjust the sliders for both to reduce these types of noise.
- Preserve Details: Be careful not to overdo noise reduction, as it can lead to loss of detail. Use the detail slider to strike a balance between noise reduction and detail preservation.
Heres a simple step-by-step guide to using noise reduction in Lightroom:
| Step | Action |
|---|---|
| 1. Open Detail Panel | Navigate to the Detail panel in Lightroom. |
| 2. Adjust Luminance | Increase the luminance noise reduction slider. |
| 3. Adjust Color Noise | Increase the color noise reduction slider. |
| 4. Fine-tune Details | Use the detail slider to preserve fine details. |
By removing noise, youre not just cleaning up your image; youre enhancing the clarity and detail of your astrophotography. This step is essential for achieving professional-quality photos that truly capture the beauty of the night sky.
Advanced Techniques for Capturing Star Trails
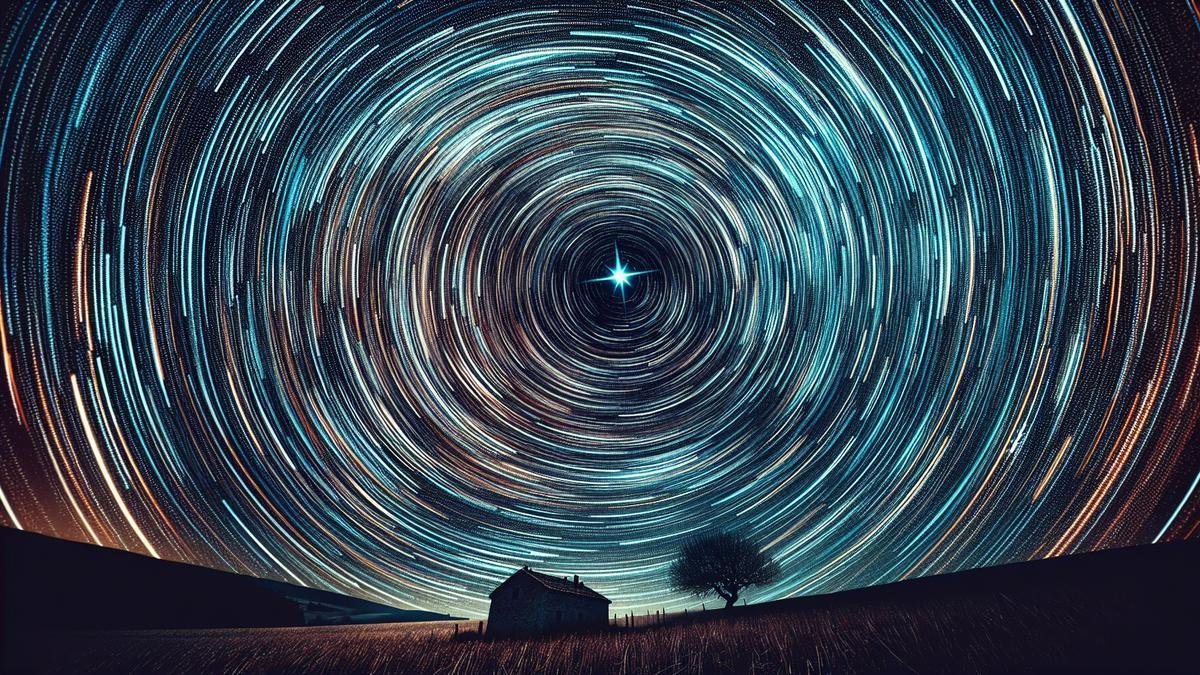
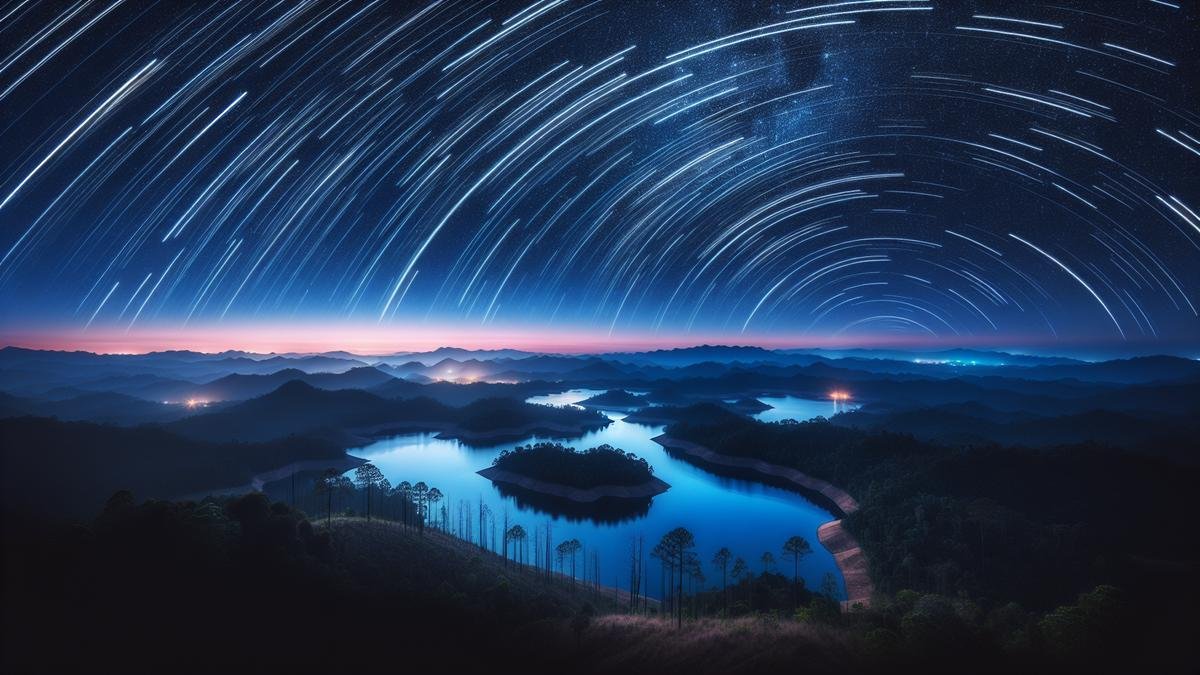
Capturing star trails is a mesmerizing aspect of astrophotography. It involves taking long-exposure shots to capture the movement of stars across the sky, creating stunning trails of light.
Choosing the Right Equipment
Before diving into the techniques, it’s crucial to have the right equipment. A sturdy tripod, a camera with manual settings, and a remote shutter release are essential. For those looking for more stability, consider exploring tripods designed for astrophotography.
Setting Up Your Camera
- Manual Mode: Switch your camera to manual mode to have full control over the settings.
- Low ISO: Set your ISO to a low value (e.g., ISO 100) to reduce noise.
- Aperture: Use a wide aperture (e.g., f/2.8) to allow more light to enter the lens.
- Shutter Speed: Set a long exposure time (e.g., 30 seconds) to capture the movement of stars.
Taking Multiple Exposures
Instead of taking one long exposure, it’s better to take multiple shorter exposures and stack them together. This reduces noise and allows you to create longer star trails without overexposing the image.
Heres a step-by-step guide:
| Step | Action |
|---|---|
| 1. Set Up Camera | Position your camera on a tripod and compose your shot. |
| 2. Take Multiple Shots | Use a remote shutter release to take multiple 30-second exposures. |
| 3. Stack Images | Use stacking software to combine the images and create star trails. |
Using Star Trackers
Star trackers can help you capture longer star trails without star trailing. These devices move your camera to match the rotation of the Earth, allowing you to take longer exposures without the stars appearing as streaks.
For more information on star trackers, check out this guide.
Composing Your Shot
When youre diving into the captivating world of astrophotography, especially star trails, the composition of your shot is critical. Its not just about pointing your camera at the sky and hoping for the best. You need to meticulously plan every element of your frame.
Framing the Foreground
The foreground in your astrophotography can make or break your shot. Its the anchor that grounds your celestial wonders to the earth, providing context and depth. Think of it like the stage for your star trails.
Tips for Effective Foreground Framing
- Scout Locations: Before nightfall, explore potential sites. Look for interesting structures, trees, or landscapes that can add character to your star trails.
- Use Apps: Utilize apps like PhotoPills or Stellarium to predict star positions relative to your chosen foreground.
- Experiment with Angles: Dont just settle for eye-level shots. Try different angles – low to the ground or from a higher vantage point.
- Incorporate Water Bodies: Lakes or rivers can reflect the star trails, creating a mesmerizing effect.
Balancing Light and Dark
Astrophotography is all about mastering the dance between light and dark. Too much light can wash out your stars, while too little can leave your foreground in complete obscurity.
Techniques for Balancing Light and Dark
- Light Pollution Management: Choose locations far from city lights to avoid light pollution. Use dark sky maps to find ideal spots.
- Controlled Illumination: Use a dim flashlight or a low-power LED to gently illuminate your foreground without overpowering the star trails.
- Multiple Exposures: Capture separate exposures for the foreground and the sky, then blend them in post-processing.
- Natural Light Sources: Utilize natural light sources like the moon or distant city glows to subtly light your foreground.
Using Leading Lines
Leading lines are a powerful compositional tool that guide the viewers eye through the image. They can be natural or man-made, and they help create a sense of depth and direction.
Examples of Leading Lines
| Type of Leading Line | Example |
|---|---|
| Natural | Rivers, tree branches, mountain ridges |
| Man-Made | Roads, fences, paths |
Tips for Using Leading Lines
- Align with Star Trails: Position your leading lines to converge towards the point where your star trails emanate from.
- Foreground Elements: Use elements like fallen logs or winding roads to draw the viewers eye into the starry sky.
- Symmetry and Balance: Ensure your leading lines are balanced within the frame to avoid a lopsided composition.
Advanced Techniques for Capturing Star Trails
Capturing star trails isnt just about leaving your shutter open for a long time. There are several advanced techniques that can elevate your astrophotography to the next level.
Stacking Multiple Exposures
Instead of one long exposure, take multiple shorter exposures and stack them. This reduces noise and allows for more control in post-processing.
Steps for Stacking Exposures
- Set Your Intervalometer: Configure your camera to take continuous shots with short intervals.
- Capture Multiple Frames: Aim for at least 30-50 frames for significant trails.
- Use Stacking Software: Programs like StarStax or Photoshop can be used to stack and blend your images.
Using Star Trackers
Star trackers help you follow the stars’ movement, allowing for longer exposures without star trails. However, for star trails, you can use them to capture sharper foregrounds.
Benefits of Star Trackers
| Benefit | Description |
|---|---|
| Longer Exposures | Allows for longer exposures without star trails |
| Sharper Images | Reduces motion blur in the foreground |
Post-Processing Techniques
Post-processing is where the magic happens. Its where you can enhance your star trails, manage noise, and bring out the best in your shots.
Essential Post-Processing Steps
- Noise Reduction: Use software like Lightroom or Photoshop to reduce noise in your images.
- Color Correction: Adjust the color balance to bring out the natural hues of the stars.
- Blending Exposures: Combine your foreground and sky exposures for a balanced final image.
- Enhance Star Colors: Use techniques to make the star colors pop, adding vibrancy to your trails.
Utilizing Filters
Filters can be a game-changer in astrophotography. They help manage light pollution and enhance specific wavelengths of light.
Types of Filters
| Filter Type | Purpose |
|---|---|
| Light Pollution Filter | Reduces city light interference |
| ND Filter | Allows for longer exposures during twilight |
| Color Filters | Enhances specific star colors |
Planning Your Shoot
Preparation is key. Use software and apps to plan your shoot meticulously.
Troubleshooting Common Issues
Dealing with Light Pollution
Light pollution can be the bane of any astrophotographer’s existence. It’s like trying to listen to a whisper in a noisy room. But don’t worry, there are ways to tackle this.
- Use Light Pollution Filters: These filters can help reduce the glare from artificial lights. They selectively block out certain wavelengths of light, making the stars pop out more. | Filter Type | Best For | Pros | Cons | |——————–|——————————-|————————————|——————————-| | CLS (City Light Suppression) | Urban Areas | Reduces streetlight glare | Can alter star colors | | UHC (Ultra High Contrast) | Suburban and Rural Areas | Enhances nebulas and galaxies | Expensive | | LPR (Light Pollution Reduction)| General Use | Easy to use | May not work in heavy pollution|
- Choose the Right Location: Get away from city lights. Use apps like Dark Sky Finder to locate dark sky areas near you. The farther you are from light sources, the better your star trails will appear.
- Optimize Your Settings: Use lower ISO settings to reduce the impact of light pollution. This might mean longer exposure times, but the results will be worth it.
- Post-Processing: Use software to enhance your images and reduce the effects of light pollution. Tools like Adobe Lightroom and Photoshop can help you tweak the contrast, brightness, and saturation to make your star trails stand out.
Fixing Star Trails Gaps
Star trails gaps can ruin an otherwise perfect shot. These gaps are usually caused by interruptions in your shooting sequence. Here’s how to avoid them:
- Check Your Intervalometer Settings: An intervalometer controls the time between shots. Make sure it’s set correctly. If there’s too much time between exposures, you’ll get gaps. | Setting | Recommended Value | |——————–|——————————-| | Interval Time | 1-2 seconds | | Exposure Time | 30 seconds to several minutes | | Number of Shots | 100+ |
- Use a Reliable Power Source: Ensure your camera has a stable power supply. Battery packs can die, causing gaps. Consider using an external power source for longer sessions.
- Avoid Camera Overheating: Long exposures can cause your camera to overheat, leading to shutdowns. Use a camera with good heat management or take breaks between shots.
- Software Solutions: If you’ve already got gaps, software like StarStaX can help you blend your images seamlessly. It can fill in the gaps and create smooth star trails.
Frequently Asked Questions
How do you set up your camera properly for capturing star trails?
Use a sturdy tripod. Set your camera to manual mode. Use a wide-angle lens. Adjust ISO to 800-1600. Set aperture to f/2.8 or f/4. Use a remote shutter or intervalometer.
What is the best time to photograph star trails?
During a moonless night. Away from light pollution. The sky should be clear. Typically after midnight.
How long should your exposure be for star trails?
For short trails, aim for 15-30 minutes. For longer trails, go for 1-2 hours. Ensure your battery is fully charged. Consider stack multiple short exposures.
Should you use any special software for processing star trails?
Yes, use software like StarStaX or Photoshop. Stacking images helps reduce noise. Enhances the overall effect.
What advanced techniques can improve your star trail photos?
Use light painting on foreground. Try star stacking. Experiment with different ISO settings. Use a star tracker.

