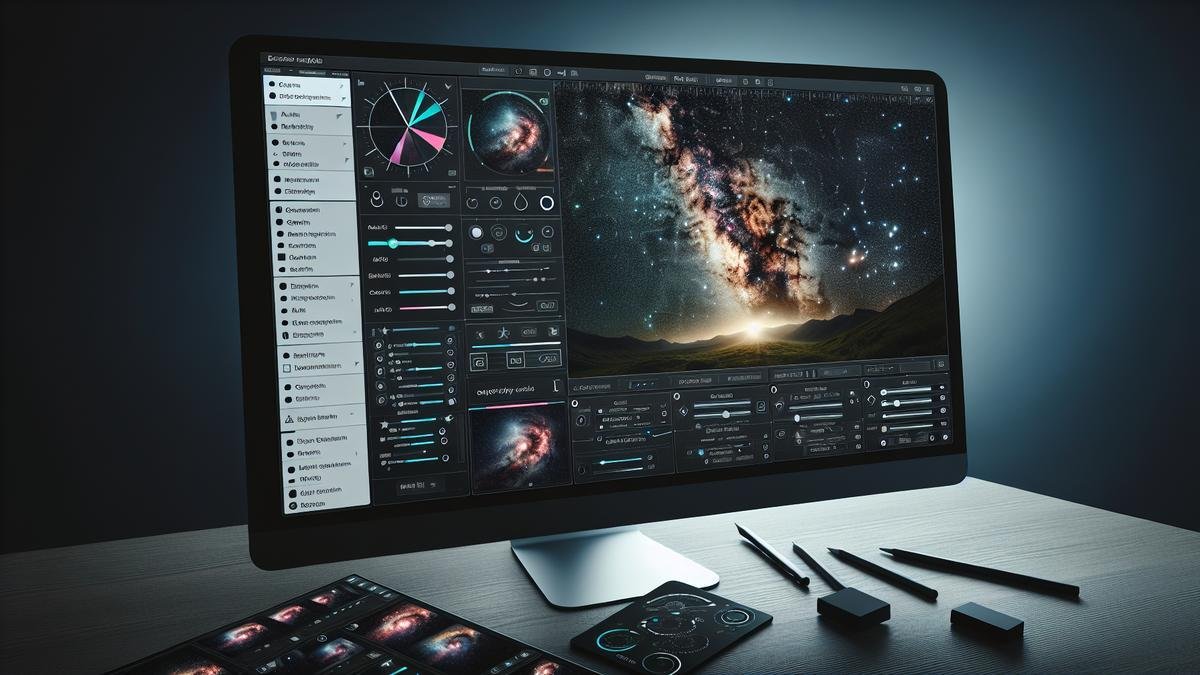
Enhancing star details in astrophotography is an art that blends science with creativity. You’re about to dive into a world where the right equipment, from cameras to lenses, makes all the difference. We’ll uncover the secrets of tripods and mounts for unwavering stability. Together, we’ll master camera settings, playing with ISO, shutter speed, and aperture for those sharp, dazzling stars. Post-processing tips and tricks will help you bring out the finest details, while techniques to handle light pollution ensure crystal-clear images. Focusing methods, exposure times, and more await you on this stellar journey. Ready to capture the night? Let’s get started!
Essential Insights
- Use a tripod to keep your camera steady.
- Choose a high ISO to capture more star light.
- Keep your exposure time short to avoid star trails.
- Use a wide-angle lens to capture more of the sky.
- Edit photos to enhance star colors and reduce noise.
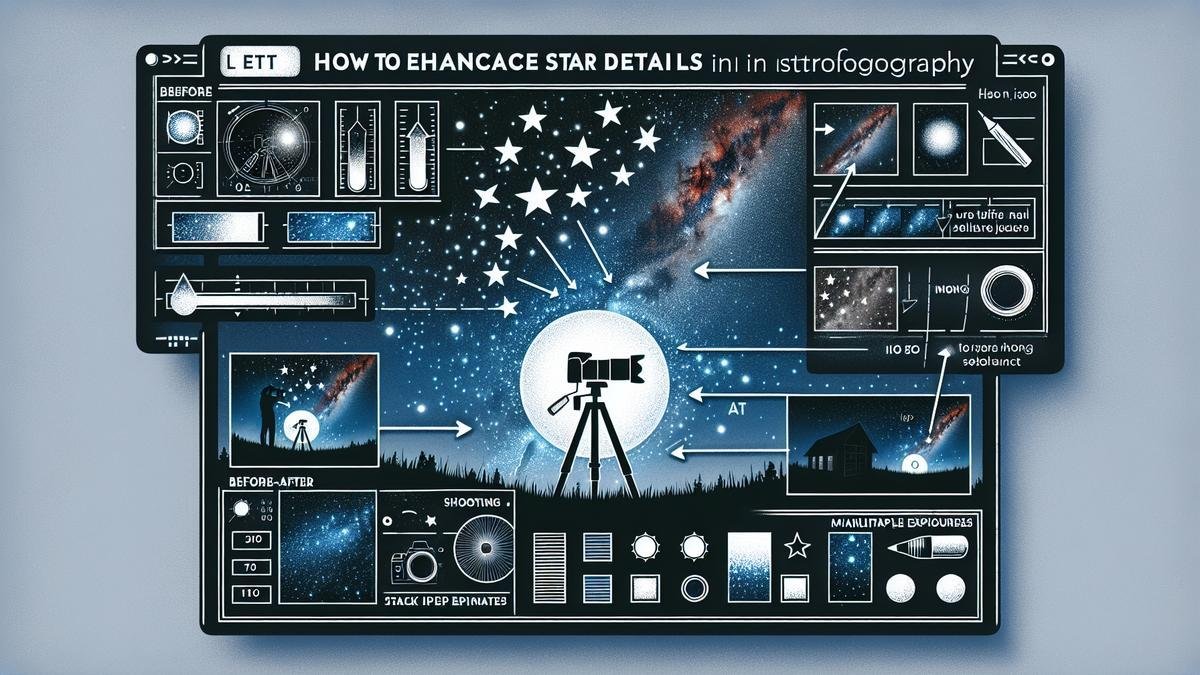
Choosing the Right Equipment for Star Details
When diving into astrophotography, the equipment you choose can make or break your images. The right gear will help you capture the fine details of stars, making them pop with clarity and brilliance. Let’s explore the best tools to bring out those star details.
Best Cameras for Astrophotography
Selecting the right camera is crucial. You want a camera that can handle low light and capture the night sky’s subtle nuances. Heres a breakdown of some top choices:
| Camera Model | Key Features | Why Its Great for Stars |
|---|---|---|
| Canon EOS Ra | 30.3 MP, Full-frame, IR Filter | Enhanced sensitivity to red light, perfect for capturing star colors |
| Nikon D850 | 45.7 MP, Full-frame, High ISO | Excellent resolution and low-light performance |
| Sony A7S III | 12.1 MP, Full-frame, 4K Video | Outstanding low-light capabilities and dynamic range |
The Canon EOS Ra stands out for its infrared filter, which helps capture the vivid reds of nebulae and star clusters. The Nikon D850 offers high resolution, allowing you to crop and still retain detail. The Sony A7S III is a powerhouse in low-light situations, making it easier to capture the faintest stars.
Essential Lenses for Capturing Stars
The lens you attach to your camera plays a pivotal role in the sharpness and clarity of your star images. Here are some top lenses to consider:
| Lens | Focal Length | Aperture | Why Its Ideal for Stars |
|---|---|---|---|
| Rokinon 14mm f/2.8 | 14mm | f/2.8 | Wide-angle, great for capturing expansive night skies |
| Sigma 20mm f/1.4 Art | 20mm | f/1.4 | Fast aperture, excellent for low light and star detail |
| Canon EF 24mm f/1.4L II USM | 24mm | f/1.4 | Sharpness and wide aperture for stunning star images |
The Rokinon 14mm f/2.8 is a budget-friendly option that delivers sharp images across the frame. The Sigma 20mm f/1.4 Art lens is known for its fast aperture, making it a favorite for capturing stars with minimal noise. The Canon EF 24mm f/1.4L II USM lens offers both sharpness and a wide aperture, ensuring your star images are crisp and clear.
Mastering Camera Settings for Star Clarity
When you’re aiming to capture the night sky, the clarity of your stars can make or break your photo. Let’s dive into some key camera settings that will help you bring out the fine details and enhance the appearance of stars in your astrophotography images.
Optimal ISO Settings for Star Photography
ISO settings can be your best friend or your worst enemy in astrophotography. They control your camera’s sensitivity to light. While higher ISO settings can help you capture faint stars, they can also introduce noise, which can obscure the details you’re trying to capture.
| ISO Setting | Usage |
|---|---|
| 800-1600 | Good for reducing noise while still capturing faint stars. |
| 1600-3200 | Useful for capturing more stars, but be cautious of increased noise. |
| 3200+ | Only use if absolutely necessary, as noise can become very prominent. |
A good starting point is an ISO setting between 800 and 1600. This range helps to balance sensitivity and noise. If you’re shooting in a particularly dark location, you might push it to 3200, but be prepared to deal with noise in post-processing. For more tips on reducing noise, you might want to explore this guide on reducing noise in astrophotography photos.
Adjusting Shutter Speed for Sharp Stars
Shutter speed is another crucial factor. Too long an exposure, and you’ll end up with star trails instead of sharp points of light. Too short, and you won’t capture enough light.
The 500 Rule
A popular rule of thumb is the 500 Rule. Divide 500 by the focal length of your lens to get the maximum exposure time in seconds before stars start to trail.
| Lens Focal Length | Maximum Exposure Time |
|---|---|
| 14mm | ~35 seconds |
| 24mm | ~20 seconds |
| 50mm | ~10 seconds |
For example, if you’re using a 24mm lens, your maximum exposure time should be around 20 seconds. This rule helps you keep your stars sharp and clear. If you want to explore more about lenses, check out this comprehensive guide on essential lenses for capturing the night sky.
Balancing Aperture for Star Details
Aperture settings affect the amount of light entering your camera. In astrophotography, a wider aperture (lower f-stop number) allows more light to hit the sensor, which is crucial for capturing faint stars.
Post-Processing Techniques to Enhance Star Details
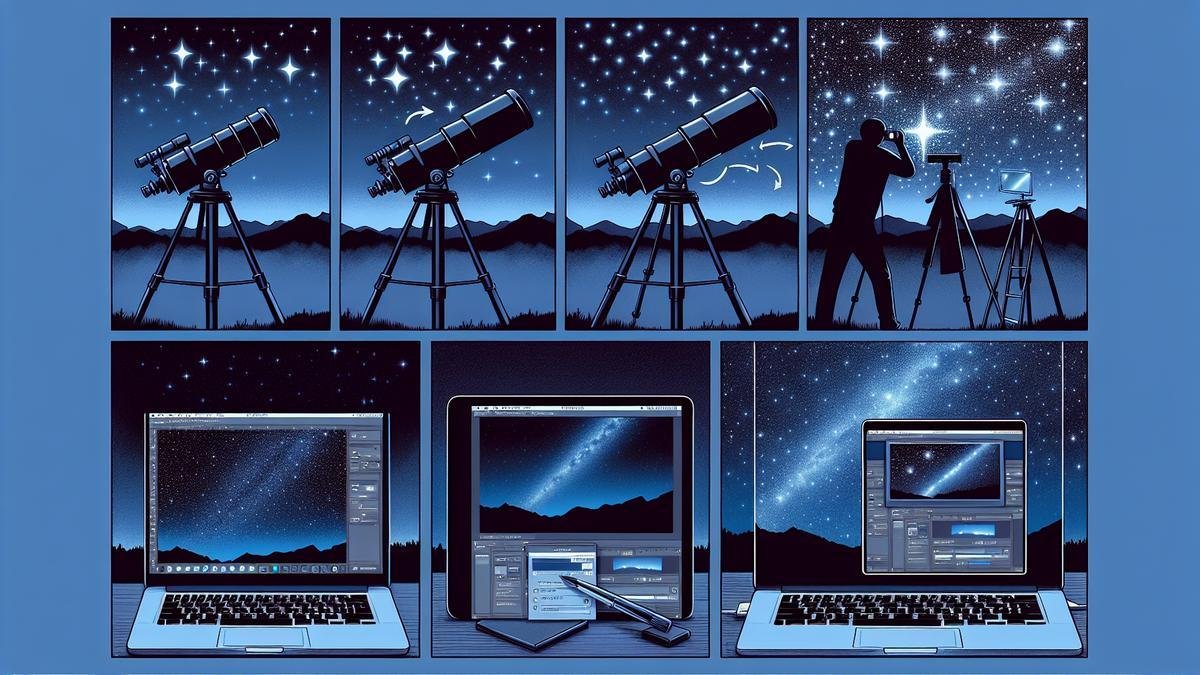
So, you’ve captured some breathtaking shots of the night sky, but now you’re staring at your computer screen wondering how to make those stars really pop. Let’s dive into some post-processing techniques that will help you enhance the fine details and bring out the beauty in your astrophotography images.
Using Software to Highlight Stars
First things first, you’ll need the right software. Programs like Adobe Photoshop, Lightroom, and specialized tools such as DeepSkyStacker or PixInsight are your best friends here. These tools offer a range of features that can help you highlight the stars in your images.
Step-by-Step Guide to Highlighting Stars
- Open Your Image: Start by opening your image in your chosen software.
- Duplicate the Layer: Always duplicate the original layer. This way, you can always go back if things don’t turn out as expected.
- Apply a High Pass Filter: This filter helps in sharpening the stars. Set the radius to a value that highlights the stars without affecting the rest of the image too much.
- Change the Blending Mode: Set the blending mode of the duplicated layer to “Overlay” or “Soft Light.” This will make the stars stand out more.
- Adjust Levels and Curves: Use the Levels and Curves adjustment tools to fine-tune the brightness and contrast of the stars.
Removing Noise for Clearer Images
Noise can be a real nuisance in astrophotography. It can make your stars look less sharp and your image less appealing. Let’s look at some techniques to reduce noise and enhance the clarity of your images.
Techniques to Reduce Noise
- Use Noise Reduction Software: Tools like Topaz DeNoise AI or the noise reduction features in Lightroom can work wonders.
- Stack Multiple Images: By combining and stacking images, you can significantly reduce noise. This technique involves taking multiple shots of the same scene and stacking them together to average out the noise.
- Adjust ISO Settings: When capturing your images, use a lower ISO setting to reduce noise. However, this might require longer exposure times.
Adjusting Contrast and Brightness
Properly adjusting the contrast and brightness can make a world of difference in your astrophotography. It can bring out the fine details and make the stars appear more vivid.
How to Adjust Contrast and Brightness
- Use Curves Adjustment: The Curves tool is incredibly powerful. It allows you to adjust the brightness and contrast with precision. Create an S-curve to increase contrast while maintaining the overall brightness.
- Levels Adjustment: The Levels tool can help you adjust the brightness and contrast by setting the black, white, and mid-tone points.
- Selective Adjustments: Use masks to apply adjustments selectively. This way, you can enhance the stars without affecting the rest of the image.
Additional Tips for Enhancing Star Details
- Use Star Masks: Star masks can help you apply adjustments specifically to the stars without affecting other parts of the image.
- Adjust Star Colors: Enhance the colors of the stars to make them more vivid. Tools like the HSL (Hue, Saturation, Lightness) panel in Lightroom can be very useful here.
- Sharpening: Apply sharpening selectively to the stars to make them stand out more.
Understanding Light Pollution and Its Effects
When you’re out capturing the night sky, light pollution can be a major hurdle. It masks the delicate details of stars and celestial objects, leaving your images lacking the desired clarity and brilliance. Light pollution is essentially the excessive or misdirected artificial light that brightens the night sky, making it difficult to see stars. Let’s explore how you can overcome this challenge and bring out the fine details in your astrophotography.
Finding Dark Sky Locations
Finding a dark sky location is like hunting for a hidden treasure. The further you are from city lights, the better your chances of capturing stunning star details. Heres a handy table to help you consider what to look for in a dark sky location:
| Factor | Description |
|---|---|
| Distance from Cities | Aim for locations at least 100 miles from major cities. |
| Elevation | Higher elevations often have less atmospheric interference. |
| Weather Conditions | Clear skies are a must. Check weather forecasts before heading out. |
| Local Light Sources | Avoid areas with street lights, car headlights, or any other light sources. |
Using apps like Dark Sky Finder or websites like Clear Dark Sky can help you pinpoint the best locations. Imagine standing on a remote hill, the Milky Way arching overhead, with nothing but the soft chirping of crickets around. Thats the kind of setting you want for your astrophotography.
Using Filters to Reduce Light Pollution
Filters are your best friends when dealing with light pollution. They work by blocking specific wavelengths of light, particularly those from artificial sources, allowing the natural light from stars to shine through. Heres a quick overview of some filters you might consider:
| Filter Type | Benefits |
|---|---|
| Light Pollution Filters | Reduces the impact of artificial lighting, enhancing star visibility. |
| Broadband Filters | Ideal for capturing a wide range of celestial objects. |
| Narrowband Filters | Targets specific wavelengths, excellent for nebulae and galaxies. |
For a deeper dive into the best filters for your astrophotography, you might want to explore this comprehensive guide.
Timing Your Shots for Best Results
Timing is crucial in astrophotography. The night sky is a dynamic canvas, constantly changing with the rotation of the Earth. Heres how you can time your shots to capture the most detail:
Golden Hours for Astrophotography
The best time to shoot is during the new moon phase when the sky is darkest. Here’s a breakdown of ideal timings:
| Time of Night | Best Targets |
|---|---|
| Early Evening | Capture planets and the Milky Way as they rise. |
| Midnight to 2 AM | Best for deep-sky objects like nebulae and galaxies. |
| Pre-Dawn | Perfect for capturing the Milky Way setting or the morning planets. |
Using software for advanced astrophotography planning can help you meticulously plan your shots, ensuring you capture the night sky at its best.
Methods to Bring Out Fine Details and Enhance the Appearance of Stars
Now, lets dive into the techniques that will make your stars pop and bring out those intricate details in your astrophotography images.
Stacking Images
Stacking multiple images is like layering a cake. Each layer adds more detail and reduces noise, resulting in a clearer, more detailed final image. Heres a simplified process:
- Capture Multiple Shots: Take several images of the same area of the sky.
- Align the Images: Use software to align the stars in each image.
- Stack the Images: Combine the aligned images to enhance detail and reduce noise.
For a step-by-step guide on combining and stacking images, this resource can be very helpful.
Enhancing Star Colors
Stars come in various colors, from blue to red, and enhancing these colors can add a new dimension to your images. Here are some tips:
- Use a Color Calibration Tool: This helps in balancing the colors accurately.
- Adjust Color Curves: In photo editing software, tweak the color curves to bring out the hues of different stars.
For more detailed techniques on enhancing star colors, you might find this article insightful.
Reducing Noise
Noise can be the bane of astrophotography, obscuring fine details. Here are some methods to reduce noise:
- Use a Lower ISO: While higher ISO settings make the camera more sensitive to light, they also introduce more noise.
- Longer Exposures: Longer exposures can capture more light, reducing the need for high ISO settings.
- Noise Reduction Software: Post-processing software can help in reducing noise without losing detail.
For a deeper understanding of noise reduction techniques, this guide can be quite enlightening.
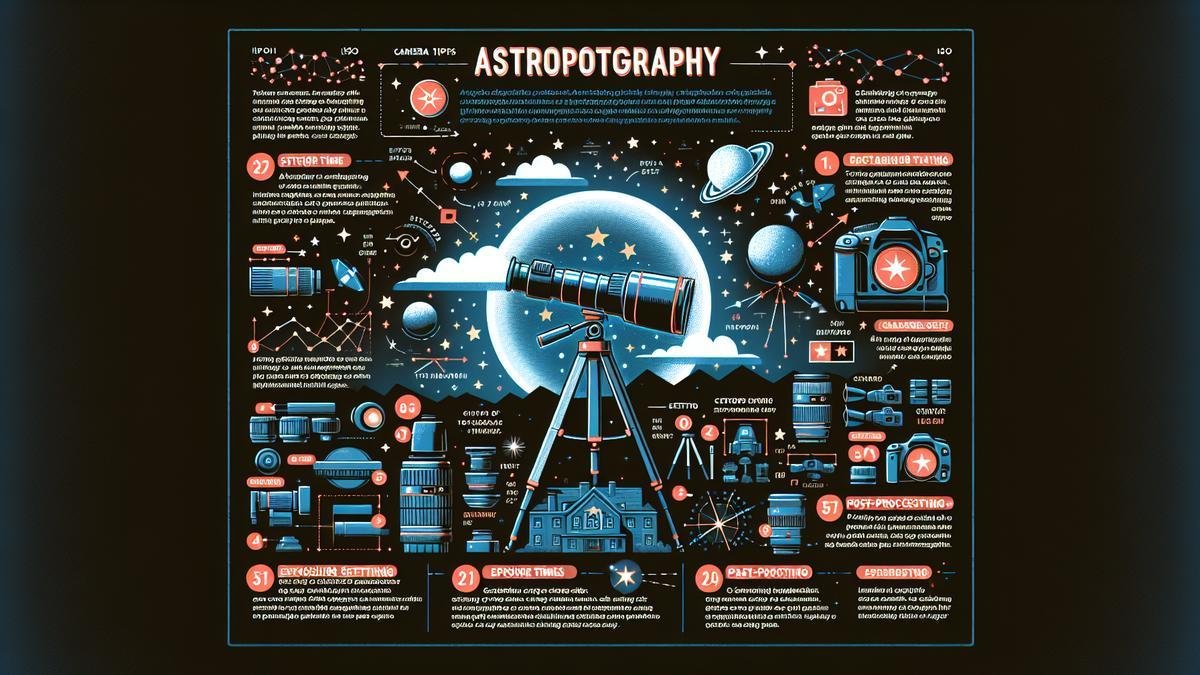
Techniques for Focusing on Stars
Astrophotography can be a rewarding yet challenging endeavor. One of the most critical aspects is achieving sharp focus on stars. Without precise focus, even the most stunning night sky can look blurry and lack detail. Let’s dive into some techniques to help you master the art of focusing on stars.
Manual Focus vs. Autofocus
Manual Focus
Manual focus gives you full control over the sharpness of your stars. While it might seem daunting at first, it allows you to fine-tune the focus to perfection. Heres how you can do it:
- Set your lens to infinity: Start by setting your lens to infinity. This is a good starting point but often needs tweaking.
- Use a bright star or planet: Focus on a bright star or planet. These are easier to see and focus on.
- Adjust slowly: Make small adjustments to the focus ring. Stars should appear as small, sharp points of light.
Autofocus
Autofocus can be convenient, but its not always reliable for astrophotography. Most cameras struggle to autofocus in low light. However, some modern cameras with advanced autofocus systems can handle it. Heres a quick guide:
- Use Live View: Switch to Live View mode. This can help your cameras autofocus system by providing a more detailed image.
- Focus on a bright object: Find a bright star or planet and let your camera autofocus on it.
- Check and adjust: Always double-check the focus. Autofocus can sometimes miss the mark, so be ready to make manual adjustments if necessary.
Using Live View for Precision
Live View is a powerful tool for achieving precise focus. It allows you to see a real-time image on your cameras screen, making it easier to fine-tune your focus. Heres how to use it effectively:
- Activate Live View: Switch your camera to Live View mode. This will display the image on your cameras LCD screen.
- Zoom in: Use the zoom function to magnify the image. This helps you see the stars more clearly and make precise adjustments.
- Adjust focus: Slowly adjust the focus ring until the stars appear as sharp points of light.
Checking Focus with Test Shots
Even with all the tools and techniques, its crucial to check your focus with test shots. Heres a simple method:
- Take a test shot: After focusing, take a short exposure test shot.
- Review the image: Zoom in on the image on your cameras LCD screen. Check if the stars are sharp.
- Adjust if needed: If the stars are not sharp, make small adjustments and take another test shot.
Bringing Out Fine Details in Your Images
Once you have nailed the focus, there are several techniques to enhance the fine details in your astrophotography images. Here are some methods:
Use a Tripod
A sturdy tripod is essential for astrophotography. It keeps your camera steady, preventing any blur caused by camera shake.
Table: Benefits of Using a Tripod
| Feature | Benefit |
|---|---|
| Stability | Reduces camera shake |
| Long Exposure Support | Allows for longer exposure times |
| Consistency | Keeps framing consistent |
Long Exposure
Long exposure is key to capturing the faint details of stars. Heres how to do it:
- Set a long exposure time: Start with an exposure time of 15-30 seconds.
- Use a low ISO: Set your ISO to 800 or lower to reduce noise.
- Aperture: Use a wide aperture (f/2.8 or lower) to let in more light.
Experimenting with Exposure Times
Short vs. Long Exposures
When you’re diving into the mesmerizing world of astrophotography, exposure time is your best friend and sometimes your worst enemy. It’s all about finding the sweet spot. Short exposures, typically under 30 seconds, can capture the brilliance of stars without introducing too much noise. They are your go-to for bright stars and avoiding the dreaded star trails. Here’s a quick comparison:
| Exposure Time | Advantages | Disadvantages |
|---|---|---|
| Short (under 30s) | Captures bright stars crisply, Less noise | Limited detail, Dim objects might not appear |
| Long (over 30s) | Reveals faint objects, More detail | Star trails, Increased noise |
Short exposures are great for sharp, pinpoint stars. But if you’re aiming to capture the faint glow of a distant galaxy, longer exposures become essential. However, longer exposures come with their own set of challenges. Star trails can ruin the sharpness of your stars, but we’ll tackle that in the next section.
Avoiding Star Trails for Sharp Images
Star trails are the bane of many astrophotographers. They occur because of the Earth’s rotation, causing stars to appear as streaks rather than points of light. To avoid this, you need to be meticulous with your setup. Here are some key strategies:
- Use a Star Tracker: A star tracker compensates for Earth’s rotation, keeping stars in the same spot in your frame. This allows for longer exposures without trails.
- Shorter Exposures: As mentioned earlier, keeping your exposure under 30 seconds can prevent trails.
- Stacking Images: Take multiple short exposures and stack them. This technique combines the light from each exposure, enhancing detail without the trails.
For those seeking more than just the basics, you might want to consider advanced planning software. These tools can help you plan your shots meticulously, ensuring you get the best possible images.
Combining Multiple Exposures
Combining multiple exposures, also known as stacking, is a powerful technique to enhance star details. By stacking several short exposures, you can increase the signal-to-noise ratio, bringing out faint details without the noise associated with long exposures. Here’s a step-by-step guide:
- Capture Multiple Shots: Take several images of the same part of the sky with identical settings.
- Align the Images: Use software to align the stars in each image. This step is crucial to avoid blurring.
- Stack the Images: Combine the aligned images. This process averages out the noise and enhances the signal.
Stacking can be a game-changer in your astrophotography journey. It allows you to capture the fine details of distant celestial objects, making your images pop. For more detailed techniques on stacking and combining images, you might find this guide on combining and stacking images particularly useful.
Frequently Asked Questions
1. How do I enhance star details in my astrophotography?
To enhance star details in astrophotography, use a high ISO and shoot in RAW to capture more data. You’ll have better control during post-processing.
2. What camera settings should I use for better star details?
Set your camera to a higher ISO between 1600-3200, use a wide aperture like f/2.8, and keep your shutter speed under 30 seconds to avoid star trails.
3. Can software help with enhancing star details in astrophotography?
Absolutely! Use software like Adobe Lightroom or Photoshop. Enhance clarity and contrast, reduce noise, and apply sharpening to bring out star details.
4. What tools can improve the sharpness of stars in photos?
A sturdy tripod and a remote shutter release can help. They prevent camera shake, ensuring those tiny star details stay sharp and clear.
5. How can I reduce noise while still enhancing star details in astrophotography?
Use a combination of high ISO and long exposure, but not too long! Apply noise reduction during post-processing without losing star details.

