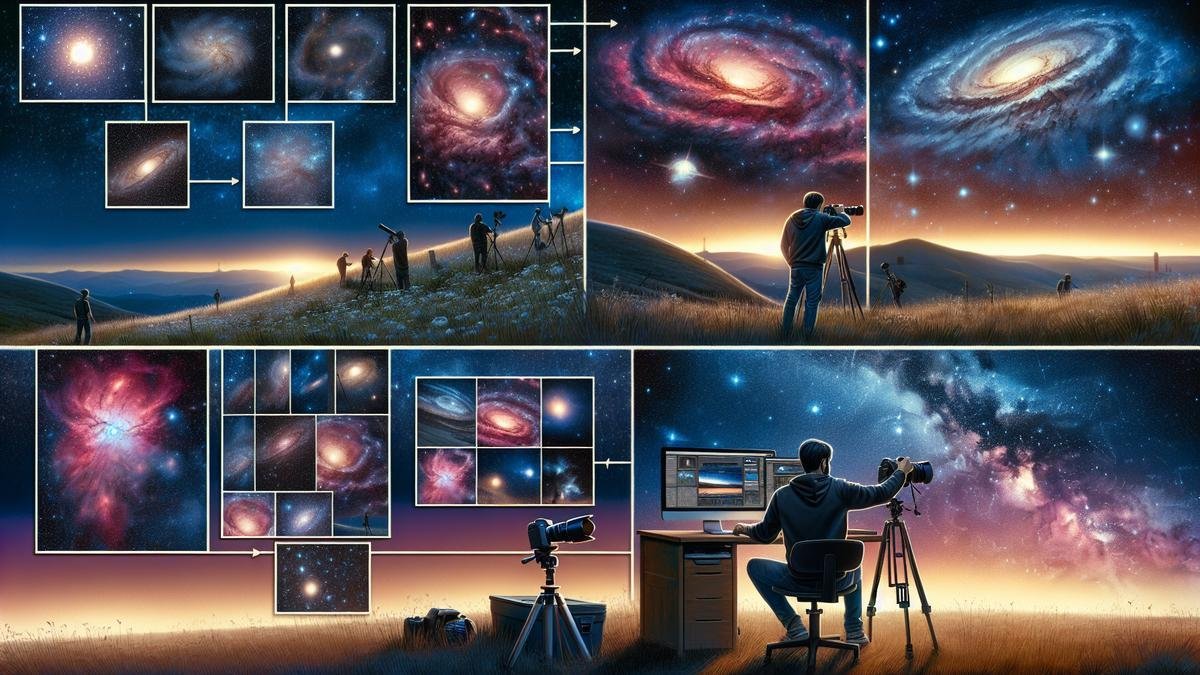
Creating Composite Astrophotography Images can seem like a daunting task, but with the right tools and some know-how, it’s easier than you might think. Dive into this guide where you’ll uncover the basics of astrophotography, essential equipment for beginners, and tips for choosing the right camera. You’ll learn about the benefits of combining multiple exposures to enhance image quality and capture more details. With our step-by-step instructions, overcoming challenges like light pollution and long exposure noise becomes manageable. Plus, advanced techniques and community engagement tips will ensure your cosmos creations stand out. Get ready to turn those starry dreams into stunning realities!
Key Takeaways
- Gather good-quality images for each element.
- Align and combine your images for best results.
- Use photo editing software to blend exposures.
- Balance brightness and colors for a natural look.
- Experiment to find your unique style.

Understanding the Basics of Astrophotography
What is Astrophotography?
Astrophotography is the art of capturing the night sky. It’s not just about snapping a picture of the stars; it’s about telling a story of the cosmos. You can photograph planets, galaxies, nebulae, and even the Milky Way. This type of photography requires patience, precision, and a bit of technical know-how. When you look at a stunning image of the stars, you’re seeing hours of work, from setting up the equipment to post-processing the final image.
Essential Equipment for Beginners
When you’re starting out in astrophotography, the equipment you choose can make a huge difference. You don’t need the most expensive gear, but you do need the right tools. Here’s a breakdown of what you should consider:
Choosing the Right Camera
Selecting the right camera is crucial. You want a camera that can handle low light and long exposures. Heres a quick comparison to help you decide:
| Feature | DSLR | Mirrorless |
|---|---|---|
| Low Light Performance | Excellent | Very Good |
| Weight | Heavier | Lighter |
| Battery Life | Longer | Shorter |
| Lens Compatibility | Wide Range | Growing Range |
| Viewfinder | Optical | Electronic |
For more detailed comparisons, check out this guide on DSLRs and Mirrorless cameras.
Creating Composite Images in Astrophotography
Creating composite images is a technique where you combine multiple exposures to produce a single, breathtaking image. This method allows you to capture different elements of the night sky and blend them seamlessly. Heres how you can start:
Step 1: Planning Your Shot
Before you even set up your camera, you need to plan. Use software to predict star positions and weather conditions. This can save you a lot of time and frustration. Resources like this guide to advanced astrophotography planning can be invaluable.
Step 2: Setting Up Your Equipment
You’ll need a sturdy tripod to keep your camera steady. A shaky tripod can ruin a long exposure shot. For more on selecting the right tripod, see this guide on tripods for astrophotography.
Step 3: Capturing Multiple Exposures
Take multiple shots at different exposure levels. This helps you capture the full range of light in the scene. You might take one shot for the stars, another for the foreground, and yet another for any interesting elements like a nebula.
Step 4: Combining the Images
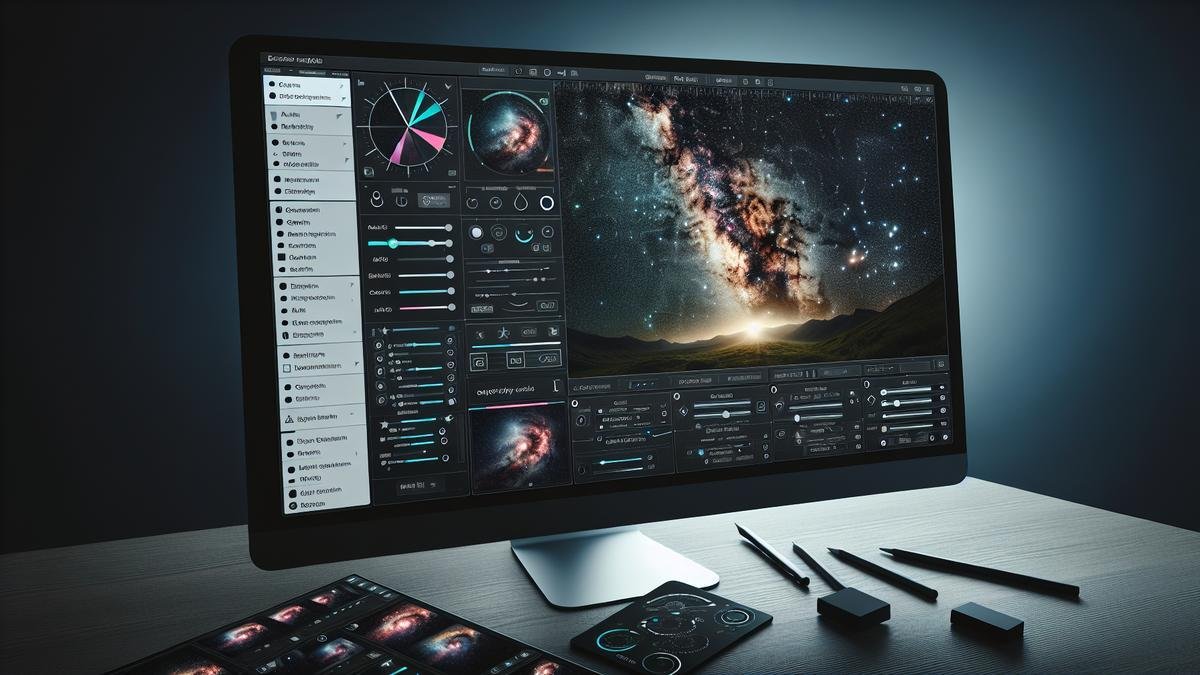
Use software to blend these exposures. Programs like Photoshop and Lightroom are popular choices. For beginners, this Lightroom guide is a good starting point. You can also explore advanced Photoshop techniques for more complex edits.
Essential Accessories
Besides the camera and tripod, there are other accessories that can make your astrophotography journey smoother:
| Accessory | Purpose |
|---|---|
| Star Tracker | Helps track the movement of stars for longer exposures |
| Remote Shutter Release | Prevents camera shake when taking long exposures |
| Portable Power Solutions | Keeps your equipment running during long night sessions |
| Filters | Enhances specific elements of the night sky, such as reducing light pollution |
For more on essential accessories, check out this comprehensive guide.
Post-Processing Techniques
After capturing your images, the real magic happens in post-processing. Here are some techniques to consider:
Reducing Noise
Long exposures can introduce noise into your images. Software tools can help reduce this. For tips on reducing noise, see this detailed guide.
Enhancing Star Colors
Stars come in different colors, and enhancing these can make your images pop. Learn more about enhancing star colors here.
Stacking Images
Stacking multiple images can increase the detail and reduce noise. This technique is essential for capturing faint objects like nebulae and galaxies. For a deep dive into stacking, check out this guide.
Benefits of Creating Composite Astrophotography Images
When you dive into the mesmerizing world of astrophotography, creating composite images can elevate your craft to a whole new level. These composites blend multiple exposures to produce images that are not only visually stunning but also rich in detail. Let’s explore the myriad benefits of this technique.
Enhanced Image Quality
Composite images allow you to achieve a level of quality that’s often unattainable with a single exposure. By combining multiple shots, you can significantly enhance the overall clarity and sharpness of your photographs. Imagine capturing the delicate glow of a distant nebula or the intricate patterns of the Milky Way with unparalleled precision. This technique mitigates issues like noise and overexposure, ensuring your final image stands out.
Here’s a breakdown of how composite images enhance quality:
| Aspect | Single Exposure | Composite Image |
|---|---|---|
| Noise Levels | High | Low |
| Sharpness | Moderate | High |
| Dynamic Range | Limited | Extended |
| Color Accuracy | Variable | Consistent |
Capturing More Details
When it comes to astrophotography, details are everything. Composite images enable you to capture and highlight the minute details that might otherwise be lost. By stacking multiple exposures, you can reveal the faintest stars and the subtlest textures in cosmic clouds. This technique is particularly useful for photographing deep-sky objects like nebulae and galaxies.

Step-by-Step Guide to Creating Composite Astrophotography Images
Creating composite astrophotography images can be a thrilling adventure. It’s like painting a masterpiece, layer by layer, with the night sky as your canvas. You will combine different exposures and elements to create a breathtaking final image. Let’s dive into the nitty-gritty of this fascinating process.
Planning Your Shots
Planning is the backbone of any successful astrophotography project. You need to be meticulous and have a clear vision of what you want to capture. Here are some key steps to consider:
- Location Scouting: Find a dark sky location away from city lights. Websites like Dark Site Finder can help you locate the best spots.
- Weather Check: Use weather apps to check for clear skies. Cloud cover can ruin your shots.
- Moon Phase: A new moon is ideal for astrophotography. The less moonlight, the better.
- Equipment Preparation: Make sure you have the right gear. This includes your camera, lenses, tripod, and any other accessories. For more on essential gear, check this guide.
Equipment Checklist
| Item | Purpose |
|---|---|
| Camera | Capturing images |
| Lenses | Different focal lengths for various shots |
| Tripod | Stability for long exposures |
| Remote Shutter | Prevents camera shake |
| Star Tracker | Tracks stars to avoid star trails |
Merging Different Exposures
Once you’ve captured your shots, the next step is merging different exposures. This is where the magic happens. By blending multiple images, you can bring out details that a single shot can’t capture.
Steps to Merge Exposures
- Collect Multiple Exposures: Take multiple shots with different exposure settings. This includes short exposures for stars and long exposures for foreground elements.
- Use a Star Tracker: A star tracker helps you take longer exposures without star trails. Learn more about star trackers here.
- Align the Images: Use software to align the images. This ensures that the stars and other elements match up perfectly.
- Blend the Images: Use blending modes to combine the images. This can be done in software like Photoshop or specialized astrophotography software.
Exposure Settings Table
| Element | Exposure Time | ISO | Aperture |
|---|---|---|---|
| Stars | 15-30 seconds | 1600-3200 | f/2.8-f/4 |
| Foreground | 1-2 minutes | 800-1600 | f/8-f/11 |
| Nebulae | 2-5 minutes | 3200-6400 | f/2.8-f/4 |
Using Photo Editing Software
Editing is where you bring your composite image to life. This is where you can enhance colors, reduce noise, and bring out the details.
Recommended Software
- Photoshop: A powerful tool for blending and editing images. Check out advanced techniques.
- Lightroom: Great for basic edits and color correction. Learn the basics here.
- DeepSkyStacker: Specialized for stacking multiple exposures. It helps to reduce noise and enhance details.
Editing Steps
- Stack the Images: Use software like DeepSkyStacker to stack multiple exposures. This reduces noise and brings out more detail.
- Adjust Levels and Curves: Use Photoshop or Lightroom to adjust the levels and curves. This enhances the contrast and brings out the details.
- Reduce Noise: Astrophotography images can be noisy. Use noise reduction techniques to clean up the image. Learn more here.
- Enhance Colors: Adjust the color balance to make the stars and nebulae pop. Techniques for enhancing star colors can be found here.
Common Challenges and How to Overcome Them
Astrophotography can be a thrilling yet challenging endeavor. You might find yourself grappling with various obstacles that can make or break your celestial captures. Let’s dive into some of these common challenges and how you can tackle them head-on.
Dealing with Light Pollution
Light pollution is the bane of astrophotographers. The glow from urban areas can wash out the night sky, making it difficult to capture the stars and other celestial objects.
Strategies to Mitigate Light Pollution:
- Location, Location, Location: Seek out dark sky sites far from city lights. National parks often provide excellent spots.
- Use Light Pollution Filters: These filters can help reduce the impact of artificial lights on your images. Check out essential lenses for capturing the night sky for more information.
- Shoot During Moonless Nights: The moon can add to light pollution. Plan your shoots around the new moon phase.
- Post-Processing: Software like Photoshop and Lightroom can help remove light pollution during editing. Learn more about advanced Photoshop techniques to enhance your images.
Managing Long Exposure Noise
Long exposures are essential for capturing faint celestial objects, but they can introduce noise into your images. Noise can ruin the clarity and detail of your astrophotography.
Techniques to Reduce Long Exposure Noise:
- Use a Cooling System: Some advanced cameras have built-in cooling systems to reduce sensor noise.
- Dark Frame Subtraction: Take a series of dark frames (photos with the lens cap on) and subtract them from your light frames to reduce noise.
- Stacking Images: Combining multiple exposures can significantly reduce noise. Explore combining and stacking images for detailed guidance.
- ISO Management: Use a lower ISO setting to reduce noise, but balance it with the need for exposure. Check out tips for astrophotography with high ISO.
Tips for Clear Skies
Clear skies are a dream for any astrophotographer. However, the weather can be unpredictable. Here are some tips to help you capture the night sky at its best:
- Weather Apps: Use apps like Clear Outside or Astrospheric to monitor weather conditions and cloud cover.
- Seasonal Planning: Certain seasons offer better sky conditions. For example, winter often provides clearer skies.
- Altitude Matters: Higher altitudes can offer clearer skies with less atmospheric distortion.
- Patience and Flexibility: Sometimes, waiting for the perfect moment is the best strategy. Be prepared to adapt your plans based on the weather.
Creating Composite Astrophotography Images
Composite astrophotography involves combining multiple exposures and elements to create a single, stunning image. This technique allows you to capture more detail and dynamic range than a single exposure could provide.
Steps to Create Composite Images
- Planning Your Shots: Decide on the elements you want to include in your composite image. This could be different parts of the Milky Way, foreground elements, or various celestial objects.
- Capturing Multiple Exposures: Take multiple shots with different exposure settings. For example, you might capture one exposure for the stars and another for the foreground.
- Stacking Images: Use software to stack your images. This process involves aligning and combining multiple exposures to reduce noise and increase detail.
- Blending Elements: Use photo editing software to blend different elements of your images. This could involve layering different exposures or combining images taken at different times.
- Final Adjustments: Make final adjustments to color, contrast, and sharpness to create a cohesive and visually appealing image.
Tools and Software for Composite Imaging
- Photoshop: A powerful tool for blending and layering images. Learn more about advanced Photoshop techniques.
- Lightroom: Great for initial edits and adjustments. Check out using Lightroom for astrophotography.
- DeepSkyStacker: A free tool specifically designed for stacking astrophotography images.
- Starry Landscape Stacker: Ideal for blending star and landscape exposures.
Practical Tips for Success
- Use a Tripod: Stability is crucial for capturing sharp images. Discover tripods for astrophotography that offer stability and precision.
- Remote Shutter Release: Minimize camera shake by using a remote shutter release or a timer.
- Manual Focus: Autofocus can struggle in low light. Use manual focus to ensure sharpness.
- Experiment and Practice: Composite imaging requires practice. Experiment with different techniques and settings to find what works best for you.
Advanced Techniques
- HDR Astrophotography: Combine multiple exposures with different brightness levels to capture a wider dynamic range. Learn more about creating HDR astrophotography images.
- Panoramic Composites: Capture wide-field views of the night sky by stitching multiple images together. Explore panoramic astrophotography for stunning results.
- Star Trackers: Use star trackers to capture longer exposures without star trails. Check out using star trackers for perfect astrophotography.

Advanced Techniques for Stunning Composites
Creating composite images in astrophotography is an art that combines different exposures and elements into one breathtaking image. Let’s dive into some advanced techniques to make your composites stand out.
Layering Multiple Images
Layering multiple images is a fundamental technique in composite astrophotography. By combining various exposures, you can capture the full range of detail in the night sky.
Steps for Layering Multiple Images:
- Capture Multiple Exposures: Take several shots with different exposure settings. For instance, a short exposure for the stars and a longer one for the Milky Way.
- Align Your Images: Use software like Photoshop or specialized astrophotography tools to align your images perfectly. Misaligned images can ruin the final composite.
- Blend the Layers: Utilize layer masks to blend the different exposures seamlessly. This allows you to highlight the best parts of each exposure.
Here’s a quick table to illustrate the process:
| Step | Description |
|---|---|
| Capture Multiple Exposures | Take shots with varying exposure times to capture different details. |
| Align Your Images | Use software to align the images accurately. |
| Blend the Layers | Use layer masks to blend exposures, highlighting the best parts of each. |
Adding Foreground Elements
Adding foreground elements can transform a good composite into a great one. The foreground provides context and scale to your celestial images.
Tips for Adding Foreground Elements:
- Choose Interesting Foregrounds: Look for unique landscapes, trees, or structures that can add depth to your image.
- Match the Lighting: Ensure the lighting of the foreground matches the sky to create a natural look.
- Use Layer Masks: Blend the foreground with the night sky using layer masks for a seamless transition.
Example:
Imagine you’re photographing the Milky Way over a mountain range. Capture a separate shot of the mountains during twilight and then blend it with your Milky Way shot. This way, you get the best of both worlds.
Sharing and Showcasing Your Composite Images
Building an Online Portfolio
Creating composite astrophotography images is an art that deserves to be shared with the world. One of the most effective ways to do this is by building an online portfolio. This digital gallery not only showcases your work but also helps you connect with other enthusiasts and potential clients.
Choosing the Right Platform
When selecting a platform for your portfolio, consider factors like ease of use, customization options, and how well it supports high-resolution images. Here are a few popular choices:
| Platform | Key Features |
|---|---|
| WordPress | Highly customizable, numerous plugins available. |
| Squarespace | User-friendly, visually appealing templates. |
| Wix | Drag-and-drop interface, flexible design options. |
| SmugMug | Built for photographers, excellent photo storage. |
Organizing Your Portfolio
A well-organized portfolio makes it easier for viewers to navigate through your work. Consider categorizing your images based on themes, such as:
- Milky Way Shots
- Nebulae and Galaxies
- Meteor Showers
- Star Trails
Adding Descriptive Captions
Each image should include a descriptive caption. This can include details like the location, date, and equipment used. Including technical details such as exposure times and stacking techniques can also be helpful for fellow photographers.
Engaging with the Astrophotography Community
Being part of the astrophotography community can provide valuable feedback and inspiration. Engaging with this community involves more than just sharing your work; its about building relationships and learning from others.
Joining Online Forums and Groups
Online forums and social media groups are excellent places to start. Platforms like Reddit, Facebook, and specialized forums such as Cloudy Nights offer spaces where you can share your work, ask questions, and participate in discussions.
Attending Workshops and Meetups
Workshops and meetups provide opportunities for hands-on learning and networking. Look for local events or consider attending larger conventions and expos. These gatherings often feature talks and demonstrations from experienced astrophotographers.
| Event Type | Benefits |
|---|---|
| Workshops | Hands-on learning, expert guidance. |
| Meetups | Networking, sharing tips and experiences. |
| Conventions | Access to industry leaders, new gear. |
Collaborating on Projects
Collaborating with other photographers can lead to amazing results. Whether its a joint photo shoot or a shared editing project, collaboration allows you to combine strengths and learn new techniques.
Frequently Asked Questions
How do you start with creating composite astrophotography images?
You begin by capturing multiple exposures. Use a stable tripod and ensure your camera is set to manual mode.
What software is best for creating composite astrophotography images?
There are many! Photoshop is popular, but apps like DeepSkyStacker are also fantastic for layering shots.
How do you combine different exposures in composite astrophotography?
Load your images into your software. Align them and use blending modes to highlight the best parts of each shot.
Why do you need different exposures for astrophotography composites?
Different exposures capture varying details. Some shots get celestial objects, others capture vivid colors or the Milky Way.
What settings should your camera have for astrophotography?
A low ISO to reduce noise, wide aperture for light, and longer exposures to capture stars. Experiment to get perfect results!


