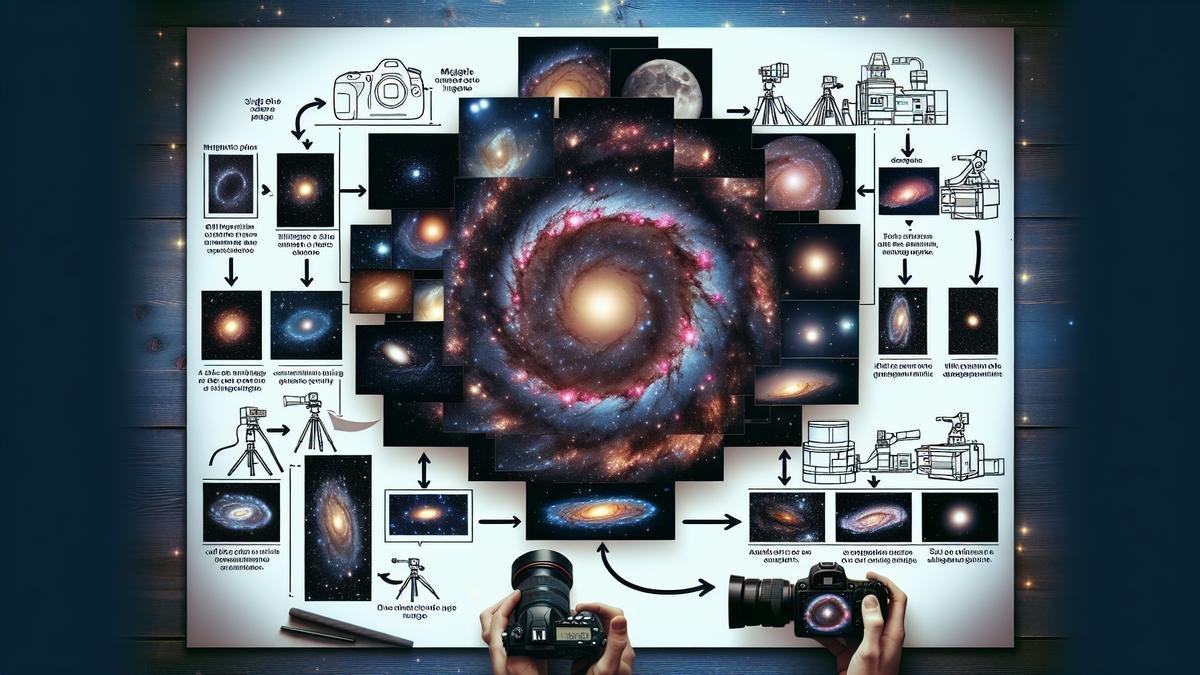
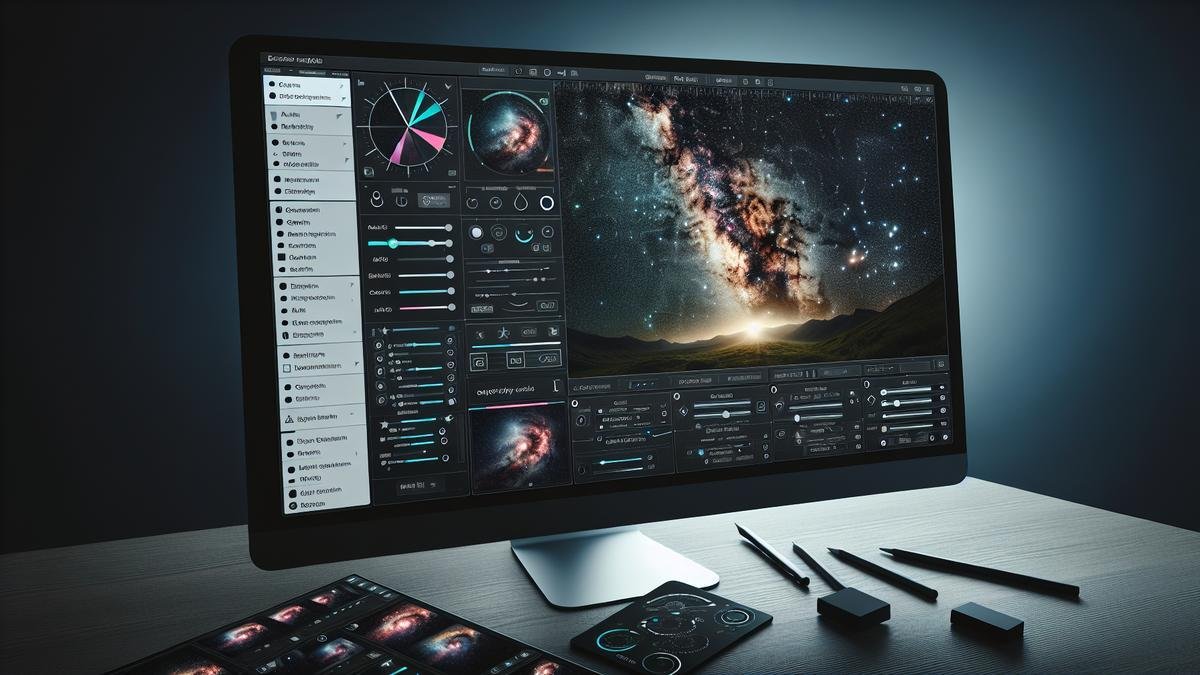
How to Stack Images for Astrophotography is your ultimate guide to capturing stunning night sky photos like a pro. If you’ve ever gazed up in awe at the stars and wanted to photograph them in all their glory, you’re in the right place. This article will walk you through the basics of image stacking in astrophotography, why it’s essential, and the gear you need. We’ll dive into how to capture multiple exposures and use software to stack them. Plus, you’ll get tips on enhancing your photos to make them truly breathtaking. Ready to unlock the mysteries of the universe and bring the stars closer to home? Let’s get started!
Key Points
- Ensure your camera is stable with a tripod.
- Capture multiple images of the same scene.
- Use stacking software to combine images.
- Adjust settings to reduce noise.
- Enhance details in the final image with editing tools.
Understanding the Basics of Image Stacking
What is Image Stacking?
Imagine you’re out under the night sky, camera in hand, trying to capture the beauty of the stars. You snap a photo, but it’s not quite right. There’s noise, and the details are fuzzy. This is where image stacking comes in. It’s a technique where you take multiple exposures of the same scene and combine them into one detailed, noise-free image.
Think of it like making a sandwich. Each slice of bread represents a single photo. When you stack them together, you get a thicker, more satisfying sandwich. In astrophotography, the more images you stack, the clearer and more detailed your final image becomes.
Why Stack Images in Astrophotography?
When photographing the night sky, you’re often dealing with low light and long exposure times. This can introduce noise and blur into your images. By stacking multiple exposures, you can reduce noise and bring out finer details that would otherwise be lost.
Benefits of Image Stacking
- Noise Reduction: Noise is the grainy texture you see in your photos, especially in low light. Stacking helps to average out the noise, making your image cleaner.
- Enhanced Detail: Each photo you take captures slightly different details. By stacking them, you combine all these details into one sharp image.
- Increased Dynamic Range: This is the range of light your camera can capture. Stacking helps to balance the light and dark areas, giving you a more balanced image.
Step-by-Step Guide to Stacking Images
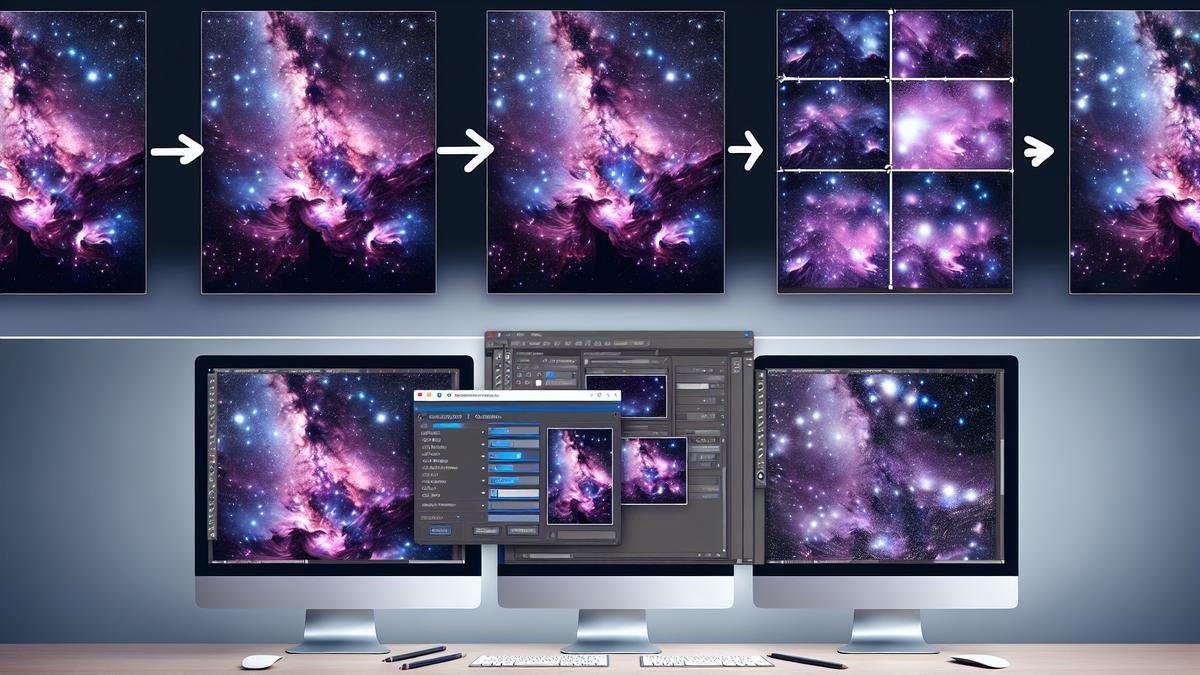
Now that you understand the basics, let’s dive into the process of stacking images. Follow these steps to enhance your astrophotography skills.
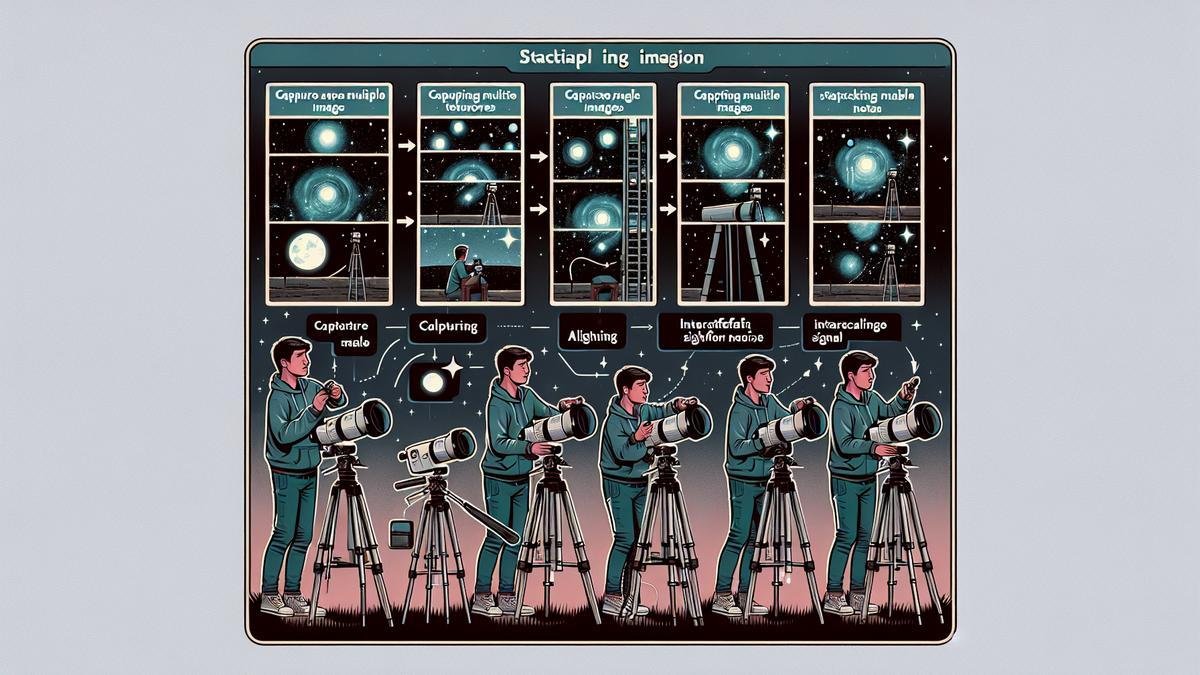
Step 1: Capture Multiple Exposures
Start by taking multiple photos of the same scene. Use a tripod to keep your camera steady. Aim for at least 10-20 exposures to get a good stack.
Step 2: Align Your Images
Once you have your photos, you’ll need to align them. This is crucial because even the slightest movement can cause misalignment. You can use software like Adobe Photoshop or specialized astrophotography software to do this.
Step 3: Stack Your Images
After aligning your photos, it’s time to stack them. This involves combining the images to average out the noise and enhance the details. Most software will have a stacking feature that automates this process.
Step 4: Process the Final Image
Once your images are stacked, you’ll need to process the final image. This can involve adjusting the brightness, contrast, and color balance to bring out the best in your photo.
Tools and Software for Image Stacking
Here’s a table of some popular tools and software you can use for image stacking:
| Software | Description | Price |
|---|---|---|
| Adobe Photoshop | Powerful photo editing software with stacking features | Subscription |
| DeepSkyStacker | Free software designed specifically for astrophotography | Free |
| PixInsight | Advanced astrophotography software with many features | Paid |
| AstroPixelProcessor | User-friendly software for stacking and processing | Paid |
Preparing Your Equipment for Image Stacking
Choosing the Right Camera and Lens
When you’re diving into astrophotography, the first step is choosing the right camera and lens. This decision can make or break your experience. You want a camera that captures stellar details and a lens that brings out the cosmic wonders.
Camera Options
Here’s a quick rundown of camera types you might consider:
| Camera Type | Pros | Cons |
|---|---|---|
| DSLR | High image quality, interchangeable lenses | Bulky, can be expensive |
| Mirrorless | Compact, high-quality images | Battery life can be shorter |
| CCD | Excellent for long exposures | Expensive, complex setup |
| CMOS | Good balance of quality and cost | Noise can be an issue |
For beginners, a DSLR or mirrorless camera is a solid choice. They offer a good balance between quality and ease of use. More advanced astrophotographers might opt for CCD or CMOS cameras, which provide superior performance but come with a steeper learning curve.
Lens Selection
Choosing the right lens is equally important. You want a lens with a wide aperture to capture as much light as possible. Here’s a quick guide:
| Lens Type | Ideal For | Aperture Range |
|---|---|---|
| Wide-angle lens | Milky Way, star fields | f/2.8 or lower |
| Telephoto lens | Planets, moon, nebulae | f/4 or lower |
A wide-angle lens is great for capturing vast star fields and the Milky Way. Telephoto lenses, on the other hand, are perfect for zooming in on planets, the moon, and distant nebulae.
Setting Up Your Tripod and Mount
Once you’ve got your camera and lens sorted, the next step is setting up your tripod and mount. This might seem straightforward, but a solid setup is crucial for crystal-clear images.
Tripod Tips
Your tripod needs to be sturdy. Any wobble can ruin your shot. Here are some tips:
- Use a heavy-duty tripod: Lightweight tripods might be easy to carry, but they can be too flimsy for astrophotography.
- Set up on stable ground: Avoid soft or uneven surfaces that can cause your tripod to shift.
- Extend the legs fully: This provides maximum stability.
Mount Types
The mount is what keeps your camera aligned with the stars. There are two main types:
| Mount Type | Pros | Cons |
|---|---|---|
| Alt-Azimuth Mount | Simple, easy to use | Limited tracking accuracy |
| Equatorial Mount | Precise tracking | More complex setup |
An equatorial mount is generally preferred for astrophotography because it can track the stars’ movement more accurately, reducing the risk of star trails.
Essential Accessories for Astrophotography
To make the most of your astrophotography sessions, there are a few essential accessories you’ll want to have on hand.
Intervalometer
An intervalometer is a must-have. It allows you to take a series of exposures without manually pressing the shutter button each time. This is crucial for image stacking, as you’ll need multiple shots to combine later.
Star Tracker
A star tracker mounts to your tripod and helps your camera follow the stars’ movement across the sky. This reduces star trails and allows for longer exposures, capturing more detail.
Red Light Headlamp
A red light headlamp is invaluable for preserving your night vision while adjusting your equipment. White light can ruin your night vision, making it harder to see the stars.
Power Supply
Astrophotography sessions can be long, and your camera’s battery might not last the entire night. An external power supply or extra batteries can save your session from ending prematurely.
Capturing Multiple Exposures
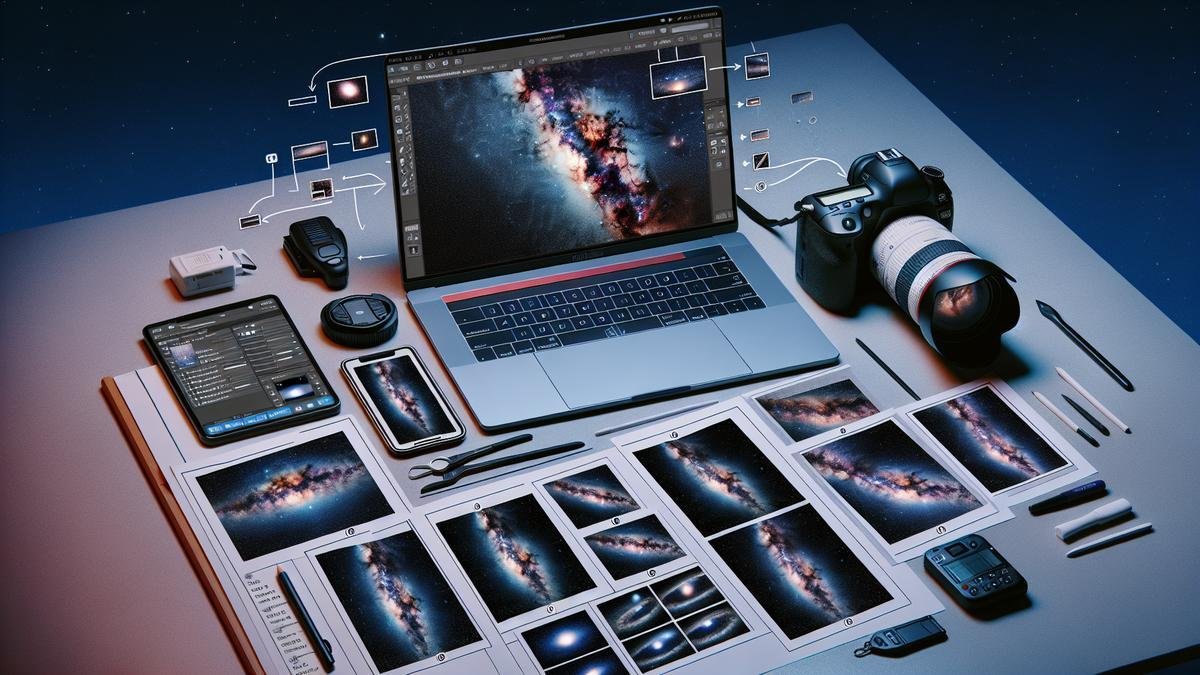
Astrophotography is an enchanting hobby that lets you capture the night sky’s wonders. But to get those stunning, clear images, you need to stack multiple exposures.
Finding the Perfect Location
First, you need to find the right spot. A place far from city lights is ideal. Light pollution can ruin your shots. Use tools like light pollution maps to find dark sky locations.
Adjusting Camera Settings for Night Sky
Once you’ve found your spot, it’s time to set up your camera. Use a DSLR or mirrorless camera for the best results. Here are some key settings:
| Setting | Recommended Value |
|---|---|
| Aperture | f/2.8 or lower |
| ISO | 800-1600 |
| Shutter Speed | 20-30 seconds |
| Focus | Manual, on a bright star |
Tips for Taking Clear Shots
- Use a Tripod: Keeps your camera steady.
- Remote Shutter Release: Avoids camera shake.
- Take Multiple Shots: More shots mean better stacking results.
Now, let’s dive into stacking those images.
Stacking Images for Astrophotography
Stacking multiple exposures helps enhance details and reduce noise.
Step-by-Step Guide
Step 1: Capture Multiple Exposures
Take several shots of the same area of the sky. Aim for at least 10-15 exposures.
Step 2: Import Your Photos
Use software like DeepSkyStacker or Adobe Photoshop. Import all your exposures.
Step 3: Align the Images
Aligning the images is crucial. Most stacking software does this automatically.
Step 4: Stack the Images
Stacking combines the images, reducing noise and enhancing details. Follow your software’s instructions.
Step 5: Post-Processing
After stacking, you’ll need to edit the final image. Adjust brightness, contrast, and color balance to make your photo pop.
Using Software to Stack Images
When you’re diving into astrophotography, you’re not just snapping a single shot of the night sky. You’re capturing multiple exposures and then combining them to create a stunning, noise-free image. This process, known as image stacking, is where software becomes your best friend.
Popular Image Stacking Software
Before you start stacking, you need the right tools. Here are some popular software options that many astrophotographers swear by:
| Software | Description |
|---|---|
| DeepSkyStacker | Free software that is user-friendly and powerful. Great for beginners. |
| PixInsight | A bit more complex, but offers advanced features. Ideal for those looking to dive deeper. |
| Sequator | Another free option, particularly good for star trails and Milky Way shots. |
| Astro Pixel Processor | Paid software with a focus on ease of use and excellent results. |
Each of these programs has its strengths, and your choice will depend on your specific needs and experience level.
Step-by-Step Guide to Using Stacking Software
Now, let’s walk through the process of using these tools. We’ll use DeepSkyStacker as our example, but the steps are quite similar across different software.
Step 1: Load Your Images
First, you need to load your images into the software. Most programs have a simple “Open” or “Load” button. Select all your images at once to save time.
Step 2: Align Your Images
Alignment is crucial. The stars need to line up perfectly across all your images. DeepSkyStacker does this automatically, but you can tweak settings for better precision.
Step 3: Stack Your Images
Once aligned, it’s time to stack. This is where the magic happens. The software will combine your images, reducing noise and enhancing detail. In DeepSkyStacker, this is as simple as clicking “Register Checked Pictures” and then “Stack Checked Pictures.”
Step 4: Adjust Settings
You might need to adjust some settings to get the best result. Look for options like “Light Frames,” “Dark Frames,” “Bias Frames,” and “Flat Frames.” Each of these helps to correct different types of noise and imperfections.
Step 5: Save and Export
After stacking, save your final image. Most software will allow you to export in various formats like TIFF or JPEG. Choose the one that suits your needs best.
Troubleshooting Common Issues
Even with the best software, you might run into some hiccups. Here are a few common issues and how to fix them:
Issue 1: Misaligned Stars
If your stars aren’t aligning correctly, double-check your alignment settings. You might need to manually adjust them or use more reference points.
Issue 2: Excessive Noise
If you still see a lot of noise, consider adding more frames to your stack. More frames generally mean less noise.
Enhancing Your Stacked Images
Astrophotography is a captivating journey, capturing the cosmos in all its glory. But to get those awe-inspiring shots, you need to stack multiple exposures. This process not only enhances detail but also reduces noise. Let’s dive into the nitty-gritty of enhancing your stacked images.
Basic Editing Techniques
Once you’ve stacked your images, it’s time to bring out the best in them. Here are some fundamental techniques to get you started:
1. Adjusting Brightness and Contrast:
- Brightness: Use this to make your image lighter or darker.
- Contrast: This will help to make the stars pop against the dark sky.
2. Color Correction:
- White Balance: Adjust this to get the stars and nebulae looking their best.
- Saturation: Increase this to bring out the colors of the celestial bodies.
3. Noise Reduction:
- Luminance Noise: Reduces graininess in your image.
- Color Noise: Eliminates color speckles that can appear in your photo.
4. Sharpening:
- Unsharp Mask: Use this to enhance the details of the stars and other celestial objects.
Advanced Editing Tips
Once you’ve mastered the basics, it’s time to move on to more advanced techniques. These will help you take your astrophotography to the next level.
1. Layer Masks:
- Selective Editing: Use layer masks to apply adjustments to specific parts of your image without affecting the whole picture.
2. Curves Adjustment:
- Fine-Tuning: Adjust the curves to bring out the faint details in your image.
3. Star Reduction:
- Reducing Overcrowding: Use this technique to make the stars less dominant, allowing other celestial objects to stand out.
4. Gradient Removal:
- Evening Out the Background: This helps to remove any unwanted gradients in the sky, making your image look more uniform.
Avoiding Common Mistakes in Image Stacking
When you dive into the world of astrophotography, stacking images can be a game-changer. But, its not just about piling up photos; theres a method to this madness. Lets break down the common pitfalls and how to sidestep them.
Overcoming Alignment Problems
Alignment issues can turn your celestial masterpiece into a blurry mess. Imagine youre trying to piece together a puzzle, but the pieces just wont fit. Thats what misalignment feels like in image stacking.
Step-by-Step Guide to Proper Alignment
- Use a Stable Tripod: A wobbly tripod is your worst enemy. Make sure its sturdy.
- Polar Alignment: If youre using an equatorial mount, polar alignment is crucial. Its like setting the stage for a flawless performance.
- Software Assistance: Tools like DeepSkyStacker or PixInsight can help. Theyre like having a seasoned guide by your side.
- Manual Adjustments: Sometimes, software isnt perfect. Dont hesitate to make slight manual tweaks.
| Step | Action | Tool/Tip |
|---|---|---|
| 1 | Use a Stable Tripod | Invest in a good-quality tripod |
| 2 | Polar Alignment | Equatorial mount setup |
| 3 | Software Assistance | DeepSkyStacker, PixInsight |
| 4 | Manual Adjustments | Fine-tune in software |
Dealing with Noise and Artifacts
Noise and artifacts can be the bane of your astrophotography existence. Think of them as the static on an old TV. They obscure the beauty of your images.
Techniques to Minimize Noise
- Shoot in RAW: RAW files retain more data, giving you more room to maneuver during post-processing.
- Dark Frames: Take photos with the lens cap on. These dark frames help in identifying and removing noise.
- Stack More Images: The more images you stack, the better. Its like building a fortress against noise.
| Technique | Description | Benefit |
|---|---|---|
| Shoot in RAW | Use RAW format instead of JPEG | Retains more data |
| Dark Frames | Photos with the lens cap on | Identifies and removes noise |
| Stack More Images | Increase the number of images | Reduces noise significantly |
Ensuring Consistent Exposure Levels
Inconsistent exposure levels can throw a wrench in your stacking process. Its like trying to bake a cake with unevenly mixed ingredients.
Frequently Asked Questions
What is image stacking in astrophotography?
Image stacking combines multiple shots of the same celestial object. It enhances detail and reduces noise.
How do you stack images for astrophotography?
You take multiple pictures of the night sky, and then you use software to align and blend them together.
Why is stacking images important?
Stacking helps bring out faint details and reduces the grainy look in your photos, making them clearer.
Which software should you use for stacking images?
Popular choices include DeepSkyStacker and Adobe Photoshop. They are user-friendly and effective.
Do you need special equipment to stack images?
A camera, tripod, and tracking mount can help. But, a decent DSLR and software can work wonders too.

