Advanced Noise Reduction Techniques for Astrophotography are your ticket to capturing the night sky like never before. In this article, youll dive into the mysteries of noise in your photos, uncover the types you might encounter, and discover why they happen. Learn essential camera settings, optimal ISO for night shots, and the balancing act between exposure and noise control. Plus, gain insights into post-processing techniques, equipment upgrades, and practical field tips. Get ready to transform your starry snapshots into breathtaking, noise-free masterpieces!
Key Takeaways
- Use longer exposures
- Invest in a quality tripod
- Shoot in RAW for better editing
- Apply noise reduction in post-processing
- Use dark frames to calibrate your images

Understanding Noise in Astrophotography
Astrophotography is an art and science that lets you capture the majesty of the night sky. However, noise can often mar your photos, turning your celestial masterpiece into a grainy mess. Let’s dive deep into understanding noise in astrophotography and how to tackle it.
Types of Noise You Might Encounter
Noise in your astrophotography images can come in various forms. Knowing the types can help you address them more effectively.
1. Thermal Noise
Thermal noise is caused by the heat generated by your camera’s sensor. The longer the exposure, the more heat, and consequently, the more thermal noise you get.
2. Read Noise
Read noise occurs during the process of reading the signal from the camera sensor. Its inherent to the electronics of your camera.
3. Shot Noise
Shot noise is a type of noise caused by the random arrival of photons at the sensor. Its more noticeable in low-light conditions, which is a common challenge in astrophotography.
4. Dark Current Noise
Dark current noise is similar to thermal noise but occurs even when the sensor is not exposed to light. Its a result of the random thermal motion of electrons within the sensor.
5. Fixed Pattern Noise
Fixed pattern noise appears as a consistent pattern across your images and is due to the inherent imperfections in the sensor.
Heres a quick reference table:
| Type of Noise | Cause | Characteristics |
|---|---|---|
| Thermal Noise | Heat from the sensor | Increases with longer exposures |
| Read Noise | Electronics of the camera | Present in all images |
| Shot Noise | Random arrival of photons | More noticeable in low light |
| Dark Current Noise | Random thermal motion of electrons | Occurs even without light exposure |
| Fixed Pattern Noise | Sensor imperfections | Consistent pattern across images |
Why Noise Happens in Your Photos
Noise is an inevitable part of digital photography, but its particularly noticeable in astrophotography due to the long exposures and low light conditions.
Long Exposures
Long exposures are essential for capturing the faint light of stars and galaxies. However, they also increase the sensors temperature, leading to more thermal noise.
High ISO Settings
High ISO settings make the sensor more sensitive to light, but they also amplify noise. Finding the balance between ISO and exposure time is crucial.
Environmental Factors
Temperature and humidity can also affect noise levels. Cooler temperatures generally result in less noise, which is why some astrophotographers use cooling systems for their cameras.
Sensor Quality
The quality of your camera sensor plays a significant role. Higher-end sensors tend to produce less noise, but they come at a higher cost.
Post-Processing
Post-processing can sometimes introduce noise, especially if you push the limits of your softwares capabilities. Proper techniques and tools are essential for minimizing this.
The Impact of Noise on Image Quality
Noise can significantly affect the quality of your astrophotography images. It can obscure details, reduce contrast, and make your photos look grainy and unprofessional.
Loss of Detail
Noise can mask the fine details in your images, making it difficult to distinguish between stars and noise. This is particularly problematic when capturing star clusters or nebulae.
Reduced Contrast
Noise can reduce the contrast in your images, making them look flat and unappealing. High contrast is essential for highlighting the intricate details of celestial objects.
Color Distortion
Noise can also cause color distortion, making your images look unnatural. This is especially noticeable in the dark areas of your photos.
Camera Settings for Reducing Noise
Astrophotography is a magical blend of art and science. Capturing the night sky’s grandeur requires more than just pointing your camera upward. One of the biggest challenges youll face is noise. Noise can turn your stunning celestial image into a grainy mess. Let’s delve into advanced methods to reduce noise, ensuring your images are cleaner and crisper.
Optimal ISO Settings for Night Sky Photography
When you’re out under the stars, the ISO setting on your camera is crucial. ISO determines your camera’s sensitivity to light. Higher ISO settings can capture faint stars, but they also introduce noise. So, what’s the sweet spot?
| ISO Setting | Noise Level | Best Used For |
|---|---|---|
| 100-400 | Low | Bright skies, moonlit nights |
| 800-1600 | Moderate | Milky Way, star clusters |
| 3200-6400 | High | Deep sky objects, faint stars |
Pro Tip: Start with an ISO of 800 or 1600. This range is usually a good balance between sensitivity and noise.
Shutter Speed and Its Role in Noise Control
Shutter speed is another key player. It determines how long your camera’s sensor is exposed to light. Longer exposures can capture more detail but also increase noise. Heres how to navigate this balancing act:
- Short Exposures (10-30 seconds): Minimize noise but may not capture faint details.
- Long Exposures (30 seconds – 5 minutes): Capture more detail but introduce more noise.
Pro Tip: Use the “500 Rule” to calculate your shutter speed. Divide 500 by your lens’s focal length to get the maximum exposure time in seconds before stars start to trail.

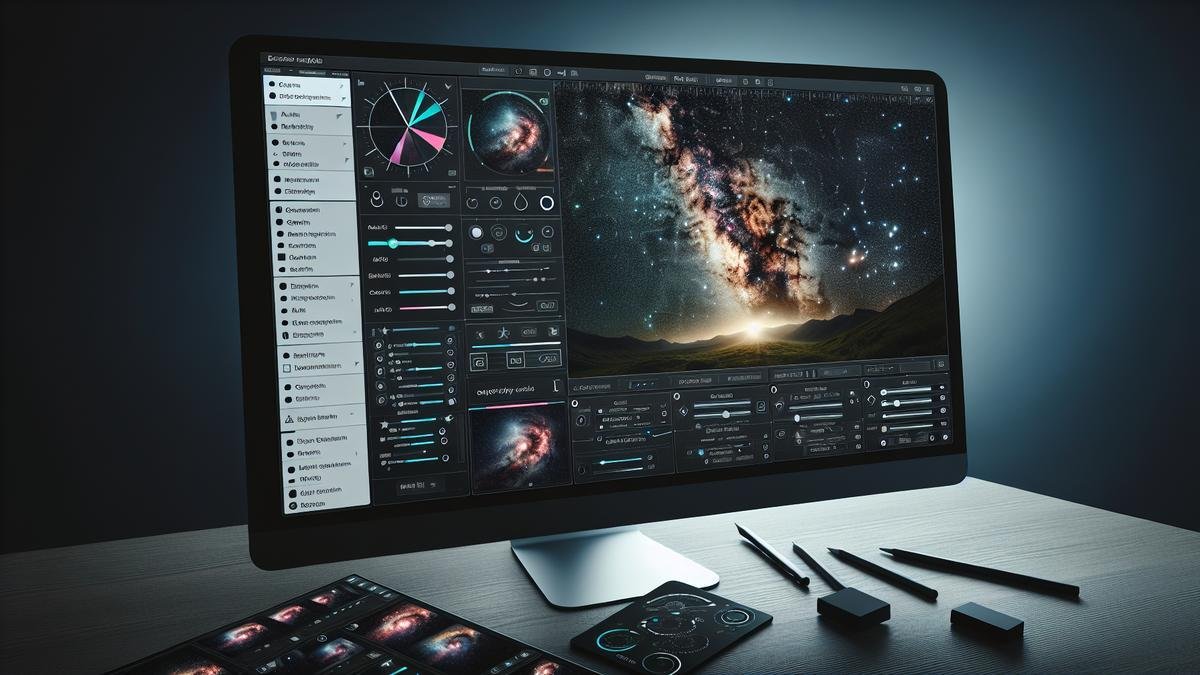
Post-Processing Techniques to Reduce Noise
When you’re diving into the mesmerizing world of astrophotography, capturing the night sky’s beauty is just the beginning. Post-processing plays a pivotal role in transforming your raw images into stunning masterpieces. One of the most challenging aspects? Reducing noise. Noise can obscure the intricate details of celestial objects and diminish the overall quality of your photos. Let’s explore some advanced methods to help you achieve cleaner, crisper results.
Using Software for Noise Reduction
Noise reduction software can be a game-changer in your post-processing toolkit. These programs are designed to analyze and minimize noise while preserving essential details in your astrophotography images. Here, we’ll delve into some popular noise reduction software and how to use them effectively.
Popular Noise Reduction Software
| Software Name | Key Features | Pros | Cons |
|---|---|---|---|
| Adobe Lightroom | Advanced noise reduction algorithms, user-friendly interface | Easy to use, integrates with other Adobe products | Subscription-based, can be resource-intensive |
| Topaz DeNoise AI | AI-driven noise reduction, batch processing | Excellent noise reduction, retains details well | Expensive, steep learning curve |
| Astro Pixel Processor | Tailored for astrophotography, multi-channel noise reduction | Specialized for astro images, powerful features | Complex interface, costly |
| DeepSkyStacker | Stacking and noise reduction, free | Effective noise reduction, free to use | Limited to Windows, basic interface |
Steps to Use Noise Reduction Software
- Import Your Image: Start by importing your raw image into the noise reduction software of your choice.
- Adjust Noise Reduction Settings: Each software has its unique settings. Typically, you’ll find sliders for luminance and color noise reduction. Adjust these sliders to find the sweet spot where noise is minimized without losing too much detail.
- Preview and Compare: Always use the preview feature to compare the before and after effects. This helps you fine-tune the settings.
- Apply and Export: Once satisfied, apply the changes and export your image in the desired format.
Layering and Masking Methods
Layering and masking are powerful techniques that allow you to target specific areas of your image for noise reduction. This approach ensures that noise is reduced where it’s most needed without affecting the entire image.
Understanding Layers and Masks
| Term | Definition | Usage |
|---|---|---|
| Layer | A separate level in your image editing software where you can apply adjustments without affecting the original image | Used to apply different adjustments to different parts of the image |
| Mask | A tool that allows you to hide or reveal parts of a layer | Used to apply adjustments selectively |
Step-by-Step Guide to Layering and Masking
- Open Your Image in Editing Software: Software like Adobe Photoshop is ideal for this technique.
- Create a Duplicate Layer: Duplicate your original layer. This allows you to work non-destructively.
- Apply Noise Reduction to the Duplicate Layer: Use your preferred noise reduction technique on this layer. It could be using noise reduction filters or plugins.
- Add a Mask to the Duplicate Layer: This mask will allow you to selectively apply the noise reduction.
- Paint on the Mask: Use a soft brush to paint on the mask. Black will hide the noise reduction effect, while white will reveal it. Focus on areas with the most noise, like the background sky, and avoid areas with important details, like stars and galaxies.
Fine-Tuning Your Images for Best Results
After applying noise reduction, it’s crucial to fine-tune your images to bring out the best possible details and colors. This involves several steps, including sharpening, contrast adjustment, and color correction.
Sharpening Your Image
Sharpening helps to enhance the details in your image, making stars and other celestial objects stand out. However, it’s important not to overdo it, as excessive sharpening can introduce artifacts.
- Use the Unsharp Mask Filter: This filter is available in most image editing software. Adjust the Amount, Radius, and Threshold sliders to achieve a natural-looking sharpness.
- Apply Selective Sharpening: Use masks to apply sharpening only to areas that need it, such as stars and galaxies, while avoiding the background sky.
Adjusting Contrast and Brightness
Contrast and brightness adjustments can make your image pop. Increasing contrast can help to highlight the differences between the dark sky and bright stars.
- Use Curves or Levels Adjustments: These tools allow you to adjust the contrast and brightness more precisely than simple sliders.
- Focus on the Midtones: Adjust the midtones to bring out the details in the celestial objects without blowing out the highlights or crushing the shadows.
Equipment Upgrades for Better Noise Control
Astrophotography is an art that requires patience and precision. You already know that capturing the night sky involves long exposures, but what about the noise that creeps into your images? Let’s dive into some advanced methods to reduce noise and get those crisp, clean results you crave.
Choosing the Right Camera for Astrophotography
When it comes to picking the right camera, sensor size and ISO performance are key factors. Full-frame cameras generally handle noise better than crop sensors. Here’s a quick comparison to help you make an informed choice:
| Feature | Full-Frame Cameras | Crop-Sensor Cameras |
|---|---|---|
| Noise Performance | Superior | Moderate |
| Field of View | Wider | Narrower |
| Cost | Higher | Lower |
Full-frame cameras are often more expensive, but they offer better noise control, especially at higher ISOs. Models like the Canon EOS R5 or the Nikon Z7 II are excellent choices. If you’re on a budget, consider crop-sensor cameras like the Sony A6400, which still provide decent noise control.
Lenses That Help Reduce Noise
Your lens choice can significantly impact noise levels. Faster lenses with larger apertures (like f/2.8 or lower) allow more light to hit the sensor, reducing the need for high ISO settings.
| Lens Type | Aperture | Noise Reduction |
|---|---|---|
| Prime Lenses | f/1.4 – f/2.8 | Excellent |
| Zoom Lenses | f/2.8 – f/4 | Good |
| Kit Lenses | f/3.5 – f/5.6 | Moderate |
Prime lenses like the Sigma 35mm f/1.4 or the Rokinon 14mm f/2.8 are fantastic for astrophotography. They gather more light, which means less noise. Zoom lenses can also work well, but you’ll want to stick to those with a constant aperture of f/2.8.
Accessories to Improve Image Quality
Sometimes, it’s the little things that make a big difference. Here are some accessories that can help you achieve cleaner images:
- Tripod: A sturdy tripod keeps your camera stable during long exposures.
- Remote Shutter Release: This minimizes camera shake when taking photos.
- Light Pollution Filter: These filters reduce the impact of artificial lights, making your images cleaner.
| Accessory | Function | Impact on Noise |
|---|---|---|
| Tripod | Stabilizes camera | Indirect |
| Remote Shutter Release | Reduces camera shake | Indirect |
| Light Pollution Filter | Cuts down artificial light interference | Direct |
By investing in these accessories, you can significantly improve your image quality and reduce noise.
Now, let’s delve into some advanced techniques to further reduce noise in your astrophotography images. You can explore more on how to reduce noise in astrophotography photos by checking out this guide.
Advanced Noise Reduction Techniques
Okay, you’ve got the gear. Now, let’s talk technique. One of the most effective ways to reduce noise is stacking. This involves taking multiple exposures of the same scene and then combining them in post-processing to average out the noise.
Stacking Multiple Exposures
Stacking is a game-changer. By combining several images, you can significantly reduce noise and enhance detail. Here’s a simplified process:
- Capture Multiple Shots: Take at least 10-20 exposures of the same scene.
- Align the Images: Use software like DeepSkyStacker or Photoshop to align the images.
- Stack the Images: The software will average out the noise, resulting in a cleaner image.
| Step | Description |
|---|---|
| Capture Multiple Shots | Take 10-20 exposures |
| Align the Images | Use software to align |
| Stack the Images | Average out the noise |
You can explore more advanced stacking techniques for astrophotographers in this resource.
Dark Frame Subtraction
Dark frame subtraction is another powerful technique. It involves taking a “dark frame” with the same settings as your light frames but with the lens cap on. This frame captures the noise pattern, which can then be subtracted from your light frames.
| Step | Description |
|---|---|
| Capture Dark Frame | Take an exposure with the lens cap on |
| Subtract Dark Frame | Use software to subtract noise pattern |
This method is particularly effective for reducing thermal noise, which can be a big issue during long exposures.

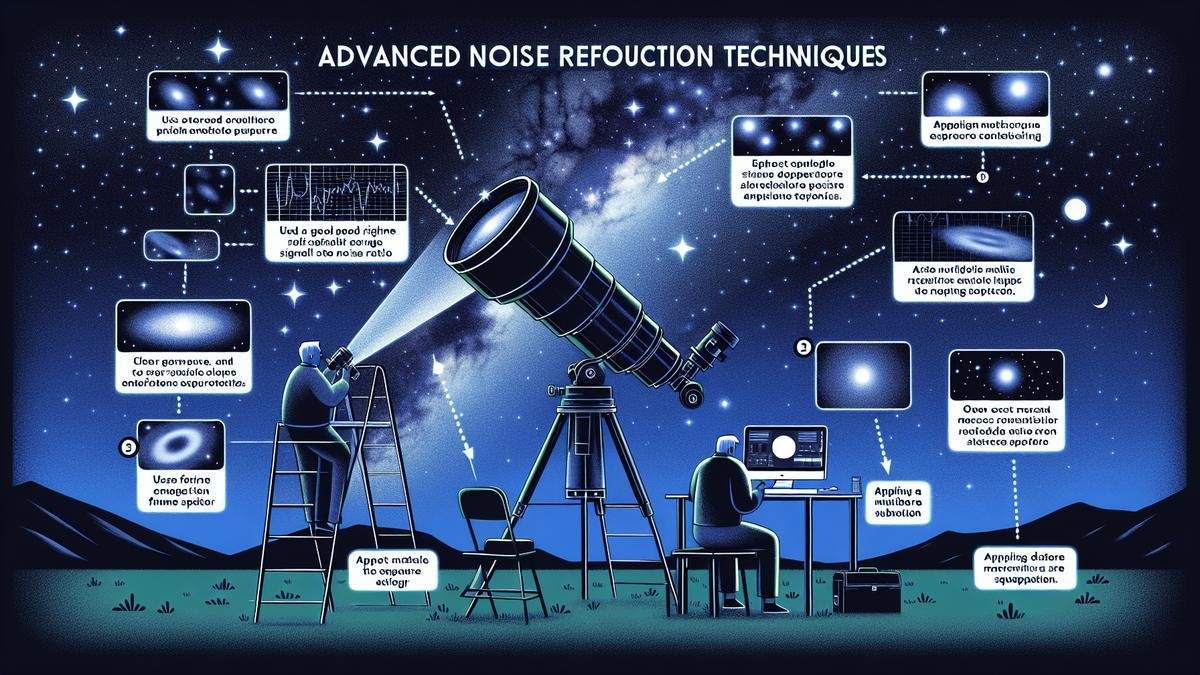
Practical Tips for Field Shooting
Best Practices for Nighttime Photography
When you’re out under the stars with your camera, the thrill of capturing the cosmos can be electrifying. But nighttime photography isn’t just about pointing your camera at the sky and pressing the shutter. To get those stunning, noise-free images, you need a few tricks up your sleeve.
First, choose the right location. Light pollution is your enemy. Head to a dark sky site, far from city lights. Apps like Dark Sky Finder can help you locate these spots.
Second, use a sturdy tripod. Even the slightest movement can ruin your shot. A solid tripod keeps your camera steady, ensuring sharp images. Consider investing in a tripod with a hook for adding weight, which adds stability.
Third, shoot in RAW format. RAW files capture more detail and give you greater flexibility in post-processing. JPEGs, while smaller, compress data and can lose critical information.
Fourth, use a remote shutter release or a timer. Touching your camera to press the shutter can introduce vibrations. A remote or timer eliminates this problem.
Lastly, experiment with different exposure settings. Start with a wide aperture (f/2.8 or wider), a high ISO (1600 or higher), and a long exposure (20-30 seconds). Adjust based on your results.
How to Minimize Noise During Long Exposures
Long exposures are essential for astrophotography, but they can introduce noise. Noise can make your images look grainy and reduce the clarity of the stars. Here are some advanced techniques to minimize noise:
- Lower the ISO: While a high ISO can help capture faint stars, it also increases noise. Try to find a balance between sensitivity and noise. Start with ISO 800 and adjust as needed.
- Use Noise Reduction Software: Software like Adobe Lightroom and Topaz DeNoise AI can be game-changers. They use algorithms to reduce noise without sacrificing detail.
- Dark Frame Subtraction: This technique involves taking a second exposure with the lens cap on. The camera records the noise, which can then be subtracted from the original image. Many cameras have a built-in feature for this.
- Stacking Multiple Exposures: By stacking several shorter exposures, you can reduce noise and increase detail. Software like DeepSkyStacker can help with this process. You can find more information on advanced stacking techniques here.
- Cool Your Camera: Heat can increase noise. If you’re shooting for extended periods, consider using a cooling device or taking breaks to let your camera cool down.
Advanced Noise Reduction Techniques for Astrophotography
You’re out under the starry sky, camera in hand, ready to capture the wonders of the cosmos. But when you look at your photos later, you notice they’re filled with unwanted noise. Don’t worry, you’re not alone. Many astrophotographers face this challenge. Let’s dive into some advanced noise reduction techniques to help you achieve cleaner, crisper results in your astrophotography images.
Stacking Multiple Images for Cleaner Results
One of the most effective ways to reduce noise in your astrophotography is by stacking multiple images. This technique involves taking several shots of the same scene and combining them to create a single, noise-free image.
Why does this work? Noise in photographs is random, but the signal (the stars, galaxies, and other celestial objects) remains constant. By stacking images, you average out the noise while keeping the signal intact. Here’s a simple step-by-step guide to get you started:
- Capture Multiple Shots: Aim for at least 10-20 images of the same scene. The more, the better.
- Align the Images: Use software like DeepSkyStacker or Photoshop to align the images. This ensures that the stars and other objects line up perfectly.
- Stack the Images: Combine the aligned images. The software will average out the noise, leaving you with a cleaner image.
Here’s a quick comparison of the noise levels in a single image versus a stacked image:
| Image Type | Noise Level |
|---|---|
| Single Exposure | High |
| Stacked Exposure | Low |
Using Dark Frames to Reduce Noise
Dark frames are another powerful tool in your noise reduction arsenal. These are images taken with the same settings as your light frames (the actual photos of the night sky), but with the lens cap on. They capture the noise generated by your camera’s sensor.
How to use dark frames:
- Capture Dark Frames: After taking your light frames, put the lens cap on and take a series of dark frames. Aim for the same number of dark frames as light frames.
- Subtract Dark Frames: Use software to subtract the dark frames from your light frames. This removes the noise captured in the dark frames from your final image.
Dark frames are especially effective at reducing thermal noise, which is caused by the heat generated by your camera’s sensor. This type of noise can be particularly problematic in long-exposure astrophotography.
Frequently Asked Questions
What are Advanced Noise Reduction Techniques for Astrophotography?
Advanced noise reduction techniques use software like Photoshop or specialized astrophotography tools to clean your images.
Why is noise a problem in astrophotography?
Noise hides details in your photos. It makes stars look fuzzy and the sky grainy.
How do you reduce noise without losing star detail?
Use selective noise reduction. Apply it to the dark sky but avoid the stars.
Do you need special software for noise reduction?
Yes, tools like Photoshop, DeepSkyStacker, or PixInsight offer advanced options.
Can stacking help with noise reduction?
Absolutely! Stacking multiple images averages out the noise, giving cleaner results.