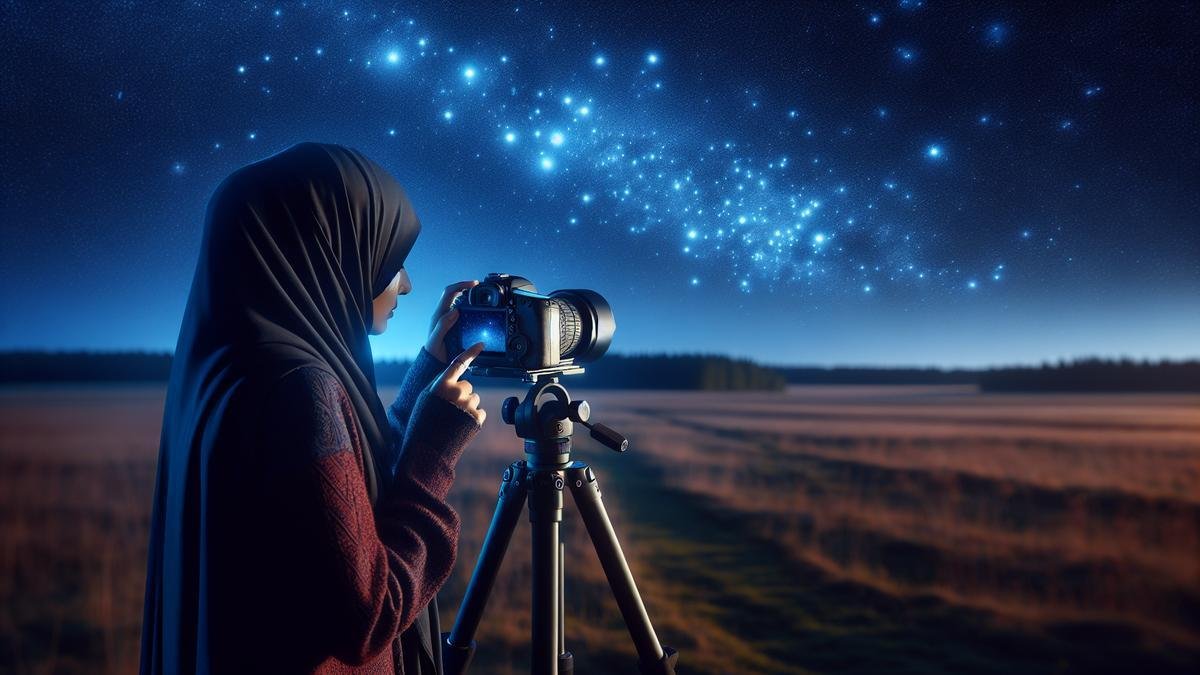
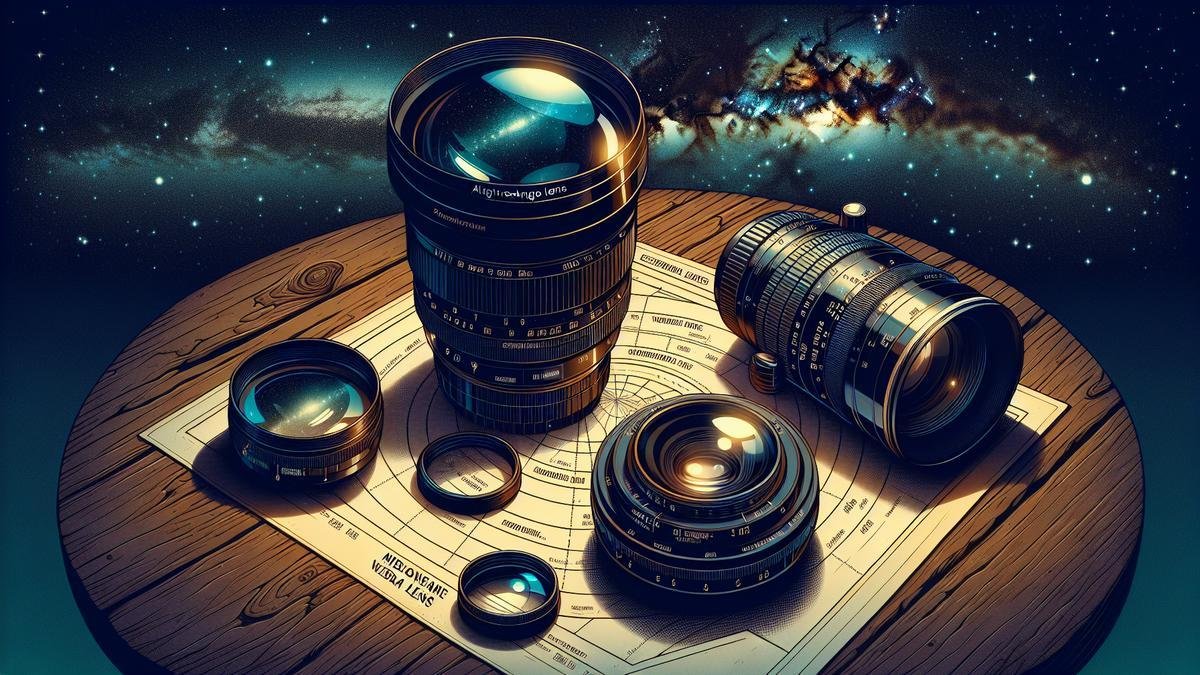
Optimizing Your DSLR for Night Sky Photography can seem daunting at first, but it’s all about finding the right balance in your camera settings and gear. In this guide, you’ll discover how to choose the best lens, set the perfect ISO, adjust your shutter speed, and master your aperture for captivating night shots. We’ll also dive into techniques for sharp focusing and handy post-processing tips. Whether youre aiming to capture the vast Milky Way or the dazzling array of stars, these tips and tricks will help you get the most stunning photos possible.
Key Takeaways
- Use a tripod to keep your camera steady.
- Choose a high ISO setting for low-light conditions.
- Use a wide-angle lens to capture more of the sky.
- Set a long exposure to capture more light and detail.
- Shoot in RAW format for better editing options.
Choosing the Right Lens for Night Sky Photography
When youre diving into the mesmerizing world of astrophotography, one of the first things youll need to consider is the lens youre going to use. The night sky is vast and full of wonders, and capturing it in all its glory requires the right tools. Lets explore the lenses that will help you achieve those breathtaking shots.
Wide-Angle Lenses for Capturing More Sky
Wide-angle lenses are your best friends for night sky photography. These lenses allow you to capture a larger portion of the sky, making them perfect for photographing expansive scenes. Think of the Milky Way stretching across the horizon or a meteor shower illuminating the night.
Key Features to Look For:
- Focal Length: A focal length of 14mm to 24mm is ideal.
- Aperture: A wide aperture (f/2.8 or lower) lets in more light, crucial for night shots.
- Build Quality: Sturdy construction to withstand the elements.
Popular Wide-Angle Lenses:
| Lens Model | Focal Length | Aperture | Price Range | Notable Features |
|---|---|---|---|---|
| Rokinon 14mm f/2.8 | 14mm | f/2.8 | $300-$400 | Manual focus, great for stars |
| Nikon 14-24mm f/2.8 | 14-24mm | f/2.8 | $1,500-$1,700 | Exceptional clarity, wide aperture |
| Canon EF 16-35mm f/2.8 | 16-35mm | f/2.8 | $1,800-$2,000 | Versatile, sharp images |
Prime Lenses for Better Clarity
Prime lenses, with their fixed focal lengths, offer superior image quality and sharpness. While they might not capture as wide a field as their wide-angle counterparts, their clarity makes them indispensable for certain types of astrophotography.
Advantages of Prime Lenses:
- Sharpness: Fewer lens elements mean sharper images.
- Light Gathering: Often have wider apertures, perfect for low-light conditions.
- Portability: Generally lighter and more compact.
Top Prime Lenses for Night Sky Photography:
| Lens Model | Focal Length | Aperture | Price Range | Notable Features |
|---|---|---|---|---|
| Sigma 35mm f/1.4 Art | 35mm | f/1.4 | $700-$900 | Exceptional sharpness, wide aperture |
| Canon EF 50mm f/1.8 STM | 50mm | f/1.8 | $100-$150 | Affordable, great for beginners |
| Sony FE 24mm f/1.4 GM | 24mm | f/1.4 | $1,400-$1,500 | Superior image quality, lightweight |
Lens Filters for Night Photography
Lens filters can be a game-changer in astrophotography. They help reduce light pollution, enhance contrast, and bring out the finer details in your shots.
Types of Filters:
- Light Pollution Filters: These filters block specific wavelengths of artificial light, enhancing the natural beauty of the night sky.
- Neutral Density (ND) Filters: Useful for long exposure shots, helping to balance the light.
- Color Correction Filters: Enhance the colors of stars and celestial objects.
Recommended Filters:
| Filter Type | Brand | Price Range | Notable Features |
|---|---|---|---|
| Light Pollution Filter | Hoya Red Intensifier | $60-$80 | Reduces light pollution effectively |
| ND Filter | B+W ND 3.0 | $100-$150 | High-quality glass, excellent for long exposures |
| Color Correction Filter | Tiffen 812 | $20-$30 | Enhances warm tones, great for star colors |
Mastering ISO Settings for Night Shots
Finding the Right ISO Balance
When you’re out in the dead of night, camera in tow, aiming to capture those stunning starry skies, the ISO setting on your DSLR becomes your best friend. The ISO controls your camera’s sensitivity to light. For night sky photography, you need to strike that perfect balance between capturing enough light and minimizing noise.
What is ISO?
ISO stands for International Organization for Standardization, but in the world of photography, it simply refers to how sensitive your camera sensor is to light. The higher the ISO number, the more sensitive your camera is to light, which is crucial for night shots.
Choosing the Right ISO
When you’re starting out, try an ISO setting between 1600 and 3200. This range often captures enough light without introducing too much noise. However, this can vary depending on your camera’s capabilities.
| ISO Setting | Light Sensitivity | Noise Level |
|---|---|---|
| 100-400 | Low | Minimal |
| 800-1600 | Medium | Moderate |
| 3200-6400 | High | High |
| 6400+ | Very High | Very High |
Reducing Noise in High ISO Photos
High ISO settings are a double-edged sword. They let you capture more light, but they also introduce noise. Noise appears as grainy or speckled areas in your photos, which can be distracting.
Use Your Camera’s Noise Reduction
Most modern DSLRs come with built-in noise reduction settings. These can be a lifesaver when you’re shooting at high ISOs. Look for settings like “High ISO Noise Reduction” in your camera menu.
Shoot in RAW Format
Shooting in RAW format gives you more flexibility in post-processing. RAW files retain more data than JPEGs, allowing you to reduce noise more effectively later on.
Using Noise Reduction Software
Even with the best in-camera settings, you might still find some noise in your photos. That’s where noise reduction software comes in handy.
Popular Noise Reduction Software
There are several software options available that can help you clean up your images. Here are a few popular choices:
| Software | Features | Price Range |
|---|---|---|
| Adobe Lightroom | Advanced noise reduction, easy to use | $$ |
| Topaz DeNoise AI | AI-powered noise reduction | $$$ |
| DxO PhotoLab | Excellent for high ISO images | $$$ |
Adjusting Shutter Speed for Starry Skies
When you’re out there in the middle of the night, camera in hand, staring up at the vast expanse of the universe, capturing the beauty of the night sky can feel like trying to bottle stardust. But with the right shutter speed, you can immortalize those twinkling wonders. Let’s dive into the nitty-gritty of adjusting your DSLR’s shutter speed to get those breathtaking shots.
Long Exposure Techniques
Long exposure is your best friend when it comes to night sky photography. Its all about letting in as much light as possible to capture those faint celestial bodies. Typically, you’ll want to start with a shutter speed of around 20-30 seconds. This allows your camera to soak up the light from stars and other heavenly bodies that are otherwise invisible to the naked eye.
Key Points to Remember:
- Tripod Stability: A sturdy tripod is essential. Any movement can ruin your shot. You might want to check out some top tripods for astrophotography.
- ISO Settings: While a higher ISO can help brighten your image, it also introduces noise. Start with ISO 800 and adjust as needed.
- Aperture: Use a wide aperture (f/2.8 or lower) to let in more light.
Here’s a quick table to guide you:
| Shutter Speed | ISO | Aperture | Conditions |
|---|---|---|---|
| 20-30 seconds | 800-1600 | f/2.8 | Clear skies, minimal light pollution |
| 10-20 seconds | 1600-3200 | f/2.8 | Moderate light pollution |
| 5-10 seconds | 3200-6400 | f/2.8 | High light pollution or moonlight |
Avoiding Star Trails with Shorter Shutter Speeds
While long exposures capture stunning details, they can also introduce star trails. These are the streaks of light caused by the Earth’s rotation. If you’re aiming for pinpoint stars rather than trails, you’ll need to shorten your shutter speed.
The 500 Rule: This is a handy formula to determine the maximum shutter speed before star trails appear. Divide 500 by the focal length of your lens. For example, if youre using a 24mm lens, your maximum shutter speed would be roughly 20 seconds (500 / 24 ≈ 20.8).
Example Calculation:
| Focal Length (mm) | Maximum Shutter Speed (seconds) |
|---|---|
| 14 | 35 |
| 24 | 20 |
| 35 | 14 |
| 50 | 10 |
Key Tips:
- Wide Angle Lens: A lens with a shorter focal length will allow longer exposures without trails. Check out some essential lenses for night sky photography.
- Star Trackers: These devices counteract the Earth’s rotation, allowing for longer exposures without trails. They can be a game-changer for your shots. Learn more about using star trackers.
Setting the Aperture for Night Photography
Wide Aperture for More Light
When youre out under the vast, starry sky, your goal is to capture as much light as possible. Using a wide aperture is the key here. The aperture, measured in f-stops, dictates how much light hits your cameras sensor. For night photography, youll want to use a low f-stop number like f/2.8 or even lower if your lens allows. This will open up the lens, letting in more light, which is crucial for capturing those faint stars and celestial bodies.
Heres a quick reference table to help you understand how different f-stops affect your night shots:
| Aperture (f-stop) | Light Intake | Depth of Field | Best Used For |
|---|---|---|---|
| f/1.4 – f/2.8 | High | Shallow | Stars, Milky Way |
| f/3.5 – f/5.6 | Moderate | Moderate | Brighter constellations |
| f/8 – f/11 | Low | Deep | Moon, Planets |
A wide aperture allows more light to hit the sensor, which is perfect for capturing the faint details of the night sky. However, it also creates a shallow depth of field, which can be a double-edged sword. While it highlights your subject, it can blur other elements in the frame.
Balancing Aperture with Depth of Field
Balancing aperture with depth of field is like walking a tightrope. You want to capture as much light as possible without sacrificing too much of the scenes sharpness. A wide aperture (low f-stop) lets in more light but narrows the depth of field, meaning only a small portion of your image will be in sharp focus.
To strike a balance, consider the following tips:
- Foreground Interest: If you have a foreground element like a tree or a rock, you might want to use a slightly higher f-stop (around f/4 or f/5.6) to keep both the foreground and the stars in focus.
- Focus Stacking: This technique involves taking multiple shots at different focus points and blending them in post-processing. Its a bit advanced but worth the effort for stunning results.
- Hyperfocal Distance: This is the distance at which everything from half of that distance to infinity will appear in focus. You can use hyperfocal distance calculators available online or as smartphone apps to help you set your focus.
Heres a table to help you understand the trade-offs between aperture and depth of field:
| Scenario | Recommended Aperture | Reason |
|---|---|---|
| Milky Way with no foreground | f/2.8 or lower | Maximum light intake |
| Stars with foreground interest | f/4 to f/5.6 | Balanced focus on stars and foreground |
| Moon or planets | f/8 to f/11 | Greater depth of field for capturing details |
Focusing Techniques for Sharp Night Photos
Capturing the night sky with your DSLR can be both exhilarating and challenging. The key to stunning astrophotography lies in your ability to achieve sharp focus. Lets dive into some techniques that will help you master this art.
Manual Focus vs. Autofocus
When it comes to night photography, manual focus often outperforms autofocus. The reason is simple: your cameras autofocus system struggles in low-light conditions. Its like trying to read a book in the dark.
Manual Focus allows you to take control. Heres how you can do it:
- Switch to Manual Focus Mode: On your lens, find the switch labeled “AF/MF” and toggle it to “MF”.
- Use the Focus Ring: Rotate the focus ring on your lens until you achieve the sharpest image.
- Zoom In: Use your cameras digital zoom to magnify the image on the LCD screen. This helps you see fine details and adjust the focus more precisely.
Autofocus can still be useful in some situations, especially if youre photographing brighter celestial objects like the moon or planets. However, its often less reliable for capturing stars.
Using Live View for Precision
Live View is a game-changer for astrophotography. It allows you to see a real-time preview of your shot on the LCD screen, making it easier to fine-tune your focus.
- Activate Live View: Switch your camera to Live View mode. This is usually done by pressing a dedicated button or selecting it from the menu.
- Magnify the Image: Use the zoom function to magnify the area youre focusing on. Aim for a bright star or planet.
- Adjust the Focus: Slowly turn the focus ring until the star or planet appears as a sharp point of light.
Focusing on Bright Stars or Planets
Focusing on bright stars or planets can be your guiding light in the dark. These celestial objects are easier to see and provide a clear reference point for achieving sharp focus.
- Find a Bright Star or Planet: Look for the brightest object in the sky. This could be Venus, Jupiter, or a prominent star like Sirius.
- Center the Object: Position the bright object in the center of your frame using Live View.
- Fine-Tune the Focus: Use the focus ring to make the object appear as sharp as possible. Remember, the goal is to turn it into a pinpoint of light.
Optimizing Your DSLR for Night Sky Photography
Now that youve mastered focusing techniques, lets talk about other settings that will help you capture the night sky in all its glory.
Choosing the Right Exposure Settings
Getting the right exposure is crucial for night sky photography. Heres a quick guide:
| Setting | Recommended Value |
|---|---|
| ISO | 800-3200 |
| Aperture | f/2.8 – f/4 |
| Shutter Speed | 15-30 seconds |
- ISO: Higher ISO settings increase your cameras sensitivity to light but also introduce noise. Start with ISO 800 and adjust as needed.
- Aperture: A wider aperture (lower f-number) lets in more light. Aim for f/2.8 or f/4.
- Shutter Speed: Longer exposures capture more light but can also introduce star trails. Experiment with 15 to 30 seconds.
Using a Tripod for Stability
A sturdy tripod is essential for night photography. It keeps your camera steady during long exposures, preventing blurry images. If youre still looking for the perfect tripod, check out this guide to tripods for astrophotography.
Utilizing Remote Shutter Release
A remote shutter release minimizes camera shake, ensuring sharp images. You can use a wired or wireless remote, or even your cameras built-in timer function.
Experimenting with White Balance
White balance can affect the color of your night sky photos. Here are some settings to try:
| White Balance Setting | Effect on Image |
|---|---|
| Auto | Neutral colors |
| Tungsten | Cooler tones |
| Daylight | Warmer tones |
Incorporating Filters
Filters can enhance your night sky photos by reducing light pollution and increasing contrast. For more information, explore this guide to the best filters for astrophotography.
Leveraging Star Trackers
Star trackers are devices that move your camera to match the Earths rotation, allowing for longer exposures without star trails. Learn more about using star trackers here.
Power Solutions for Extended Sessions
Night photography sessions can be long, and your cameras battery might not last. Portable power solutions can save the day. Check out some options here.
Post-Processing Tips for Night Sky Photos
Enhancing Stars and Milky Way
Capturing the night sky can be a magical experience, but the real magic happens in post-processing. Your DSLR has done its job, now it’s your turn to bring out the hidden gems in your photos. Enhancing stars and the Milky Way requires a keen eye and a bit of patience.
First and foremost, always shoot in RAW format. This gives you the most flexibility when editing. RAW files contain all the data captured by your camera’s sensor, allowing for more detailed adjustments.
Software Choices
You’ll need robust editing software. Adobe Lightroom and Photoshop are industry standards, but there are other options like GIMP and Darktable if you’re looking for free alternatives.
| Software | Pros | Cons |
|---|---|---|
| Adobe Lightroom | Intuitive interface, powerful tools | Subscription-based |
| Photoshop | Advanced editing capabilities | Steep learning curve |
| GIMP | Free, open-source | Less intuitive |
| Darktable | Free, RAW processing | Limited features |
Steps to Enhance Stars
- Adjust White Balance: Start by tweaking the white balance to remove any color cast. Night sky photos often benefit from a cooler temperature.
- Increase Clarity and Contrast: This will make the stars pop. Be cautious, though, as too much can introduce noise.
- Use the Dehaze Tool: This is particularly effective for Milky Way shots. It reduces haze and brings out more detail.
- Selective Editing: Use adjustment brushes to enhance specific areas, like brightening the Milky Way or darkening the sky.
Reducing Light Pollution in Photos
Light pollution can be a real thorn in the side for astrophotographers. But don’t worry, there are ways to minimize its impact during post-processing.
Initial Adjustments
- Lower Exposure: Start by slightly lowering the exposure to reduce the overall brightness.
- Adjust Highlights and Shadows: Lower the highlights to reduce the brightness of the light pollution. Increase the shadows to bring out details in the darker areas.
Advanced Techniques
- Gradient Filters: Apply a gradient filter to the area affected by light pollution. Adjust the exposure, contrast, and clarity within this filter to balance the light.
- Color Correction: Use the HSL (Hue, Saturation, Luminance) panel to reduce the saturation of unwanted colors, typically orange or yellow from streetlights.
Using Editing Software for Best Results
Mastering editing software is crucial for getting the best results from your night sky photos. Here are some tips for using popular software.
Adobe Lightroom
- Basic Panel: Start with the Basic panel. Adjust exposure, contrast, highlights, shadows, whites, and blacks to get a balanced image.
- Tone Curve: Use the tone curve for more precise control over the contrast.
- Detail Panel: Sharpen your image and reduce noise. Be careful not to overdo it, as this can lead to artifacts.
Frequently asked questions
How do you set your DSLR for capturing night skies?
To optimize your DSLR for night sky photography:
1. Set ISO between 800-3200.
2. Use Manual mode.
3. Aperture wide open (f/2.8 or lower).
4. Long exposure, around 20-30 seconds.
5. Use a tripod to avoid camera shake.
What lens is best for night sky photography?
A wide-angle lens with a low f-stop (e.g. f/2.8). This allows more light to hit the sensor, perfect for night shots.
Why is my night sky photo blurry?
Blurriness occurs from poor focus or camera shake. Use manual focus on stars and a sturdy tripod. Check for any wind or movement.
Can you avoid noise in night sky photos?
Yes! Use a lower ISO setting, but not too low. Balance your ISO and exposure time. Post-process your image to reduce any leftover noise.
How do you focus your DSLR on stars?
Use live view mode and zoom in on a bright star. Adjust the focus ring until the star appears sharp. Use infinity focus as a starting guide.

