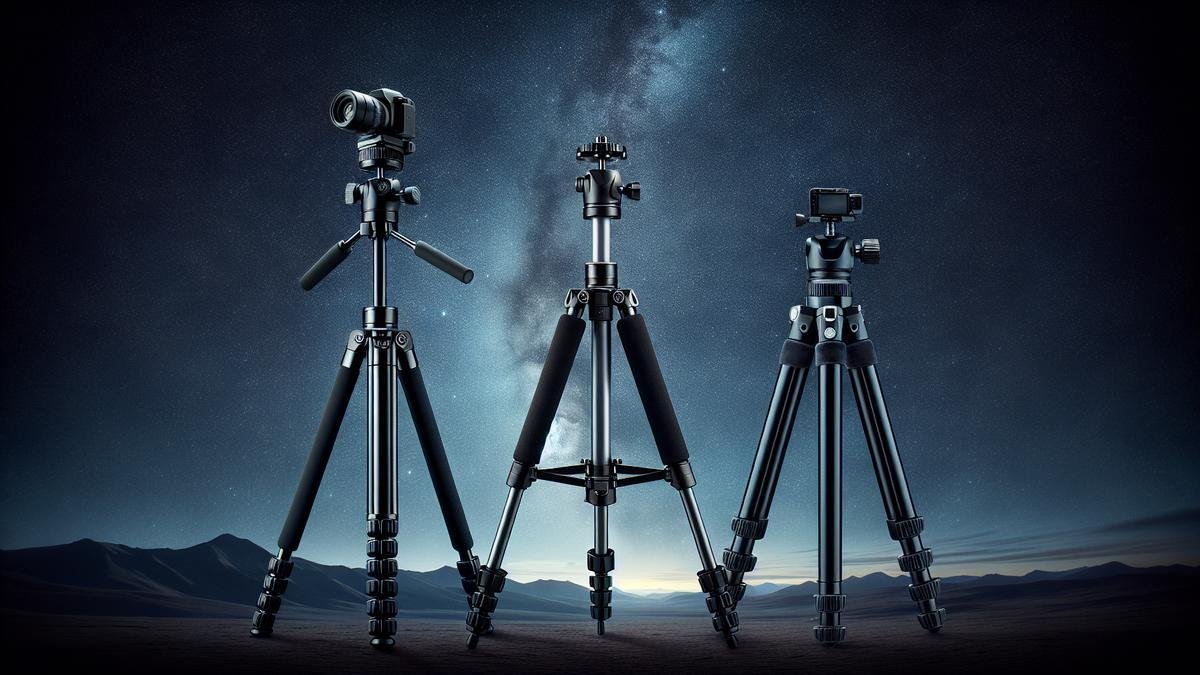
Best Tripods for Stable Astrophotography are essential for capturing the clearest night sky images. Exploring the intricate dance of stars and galaxies demands more than just a good camera. You’ll need a stable foundation to avoid those frustrating blurry shots. In this guide, we’ll dive into why stable tripods are crucial, what key features to look for, and how you can select the best one to meet your needs and budget. From beginner-friendly options to advanced setups, we’ve got you covered. Let’s make sure every celestial moment you capture is crystal clear.
Key Points
- Sturdy Build for Stability
- Adjustable Height Options
- Lightweight for Easy Transport
- Quick-Release Plate for Convenience
- Budget-Friendly Choices
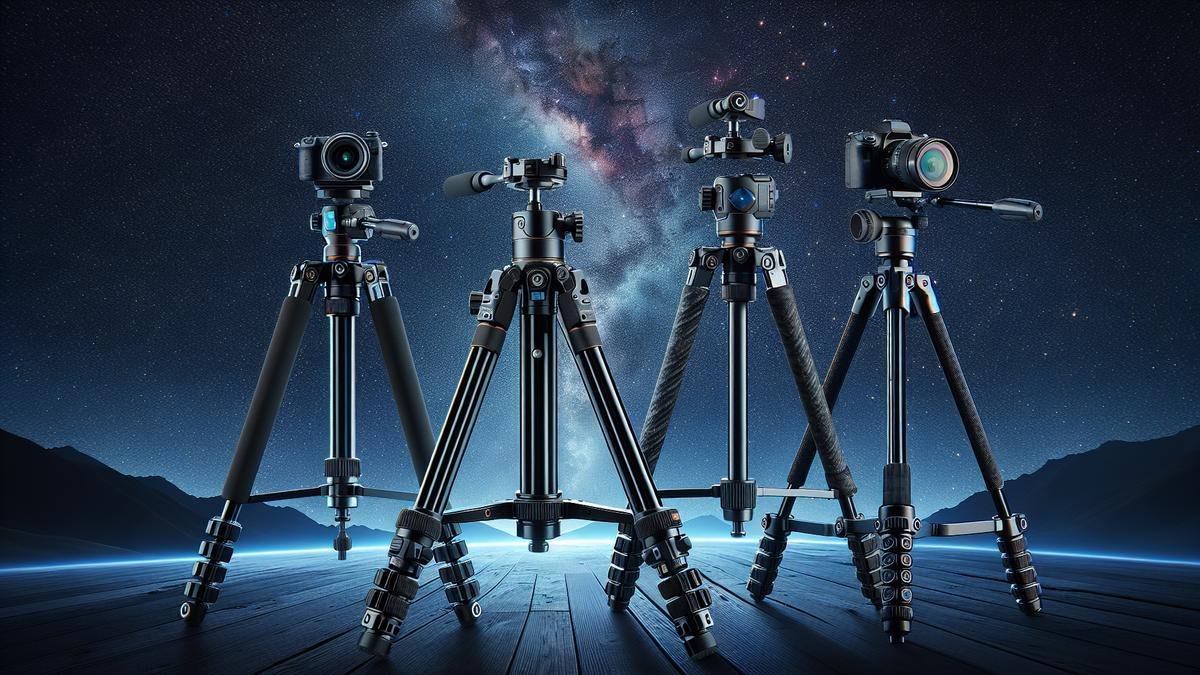
Why Stability Matters in Astrophotography
When you’re out under the night sky, capturing the beauty of the cosmos, stability is your best friend. Imagine spending hours setting up your camera, only to find that your shots are blurry. Frustrating, right?
The Importance of a Stable Tripod
A stable tripod is the backbone of astrophotography. Without it, even the most advanced camera and lens won’t give you the sharp, clear images you’re aiming for. Think of it as the foundation of a house; if the foundation is shaky, the entire structure is compromised.
Key Features of a Stable Tripod
| Feature | Why It Matters |
|---|---|
| Weight Capacity | Ensures the tripod can support your camera and lens without wobbling. |
| Material | Aluminum and carbon fiber are both strong and lightweight, perfect for stability. |
| Leg Locks | Twist or flip locks keep the legs secure and prevent unwanted movement. |
| Center Column | A hook for adding weight can increase stability, especially in windy conditions. |
| Feet Design | Rubber feet are great for indoor use, while spiked feet offer better grip outdoors. |
Avoiding Blurry Shots
Blurry shots are the bane of any astrophotographer’s existence. The tiniest movement can ruin a long exposure.
Techniques to Minimize Blur
- Use a Remote Shutter Release: Pressing the shutter button can cause slight vibrations. A remote release eliminates this risk.
- Mirror Lock-Up: If your camera has this feature, use it. It locks the mirror in place, reducing internal movement.
- Weight the Tripod Down: Hang a bag or weight from the tripod’s center column to keep it steady.
- Avoid Windy Conditions: If possible, shoot in calm weather. Wind can cause even the sturdiest tripod to shake.
How Stability Affects Your Photos
Stability directly impacts the clarity and sharpness of your astrophotography. A stable setup ensures that the stars appear as pinpoints of light, rather than streaks or blobs.
| Impact of Stability | Result on Photos |
|---|---|
| High Stability | Crisp, clear images with well-defined stars and celestial objects. |
| Low Stability | Blurry, streaked images that lack detail and sharpness. |
Choosing the Right Tripod for Astrophotography
Selecting the right tripod can feel like a daunting task, but it doesn’t have to be. Here are some things to consider:
Material: Aluminum vs. Carbon Fiber
| Material | Pros | Cons |
|---|---|---|
| Aluminum | Durable, affordable, and good weight capacity. | Heavier than carbon fiber, can be cold to the touch in winter. |
| Carbon Fiber | Lightweight, strong, and absorbs vibrations well. | More expensive, can be less stable in high winds without additional weight. |
Weight and Portability
A tripod that’s too heavy can be a burden, especially if you’re hiking to a remote location. Conversely, a tripod that’s too light may not provide the stability you need. Look for a balance between weight and sturdiness.
Leg Locks: Twist vs. Flip
| Type | Pros | Cons |
|---|---|---|
| Twist Locks | Quick to set up and take down, less likely to snag on clothing or gear. | Can be tricky to use with gloves, may wear out over time. |
| Flip Locks | Easy to operate, even with gloves, and provide a secure lock. | Can snag on clothing or gear, may require more maintenance to keep clean. |
Height and Adjustability
You want a tripod that can extend to a comfortable height for viewing and shooting but also collapses down for easy transport. Look for tripods with adjustable legs and center columns.
Best Tripods for Astrophotography
Here are some top recommendations to get you started:
| Tripod Model | Material | Weight | Max Height | Features |
|---|---|---|---|---|
| Manfrotto MT055CXPRO3 | Carbon Fiber | 2 kg | 170 cm | 90-degree center column, quick power lock system, excellent stability. |
| Gitzo GT2542 Mountaineer | Carbon Fiber | 1.68 kg | 165 cm | G-lock ultra twist locks, lightweight, excellent vibration absorption. |
| Benro Mach3 TMA37C | Carbon Fiber | 1.9 kg | 179 cm | Twist locks, spiked feet, high weight capacity. |
| MeFOTO Globetrotter | Aluminum | 1.6 kg | 163 cm | Converts to a monopod, compact and portable, good stability. |
| Vanguard Alta Pro 263AB | Aluminum | 2.44 kg | 173 cm | Multi-angle center column, flip locks, excellent build quality. |
Additional Accessories to Enhance Stability
Sometimes, it’s not just about the tripod. Here are some accessories that can help:
- Tripod Spreader: Adds extra stability by connecting the tripod legs.
- Sandbags: Place them on the tripod legs or hang them from the center column for added weight.
- Vibration Dampeners: These can be attached to the tripod legs to reduce vibrations.
Navigating the complexities of astrophotography gear can be overwhelming, but with the right tripod and accessories, you’ll be well on your way to capturing stunning images of the night sky. For more tips on essential gear, check out our must-have accessories for every astrophotographer.
Features to Look for in the Best Tripods for Stable Astrophotography
When you’re venturing into the mesmerizing world of astrophotography, a reliable tripod is your steadfast companion. A tripod isn’t just a stand; it’s the foundation upon which your celestial captures rest. Let’s dive straight into the pivotal features that will guide you in selecting the best tripod for those stellar shots.
Weight and Portability
Weight and portability are crucial when youre out under the stars. You want something thats easy to carry but sturdy enough to hold your equipment steady.
Lightweight Tripods:
- Pros: Easy to carry, ideal for remote locations.
- Cons: May not provide the best stability in windy conditions.
Heavy-duty Tripods:
- Pros: Exceptional stability, even in breezy environments.
- Cons: Heavier and more cumbersome to transport.
Heres a quick comparison to help you decide:
| Type | Pros | Cons |
|---|---|---|
| Lightweight | Easy to carry, great for travel | Less stable in wind |
| Heavy-duty | Superior stability, perfect for long exposure shots | Heavier, less portable |
When youre planning a night out in the wilderness, youll need to balance portability with the need for stability. A carbon fiber tripod can be a great middle ground. Its lightweight yet robust, giving you the best of both worlds.
Material and Durability
The material of your tripod is another critical aspect to consider. You want something that can withstand the elements and last through countless nights of stargazing.
Aluminum Tripods:
- Pros: Affordable, durable.
- Cons: Heavier than other materials.
Carbon Fiber Tripods:
- Pros: Lightweight, corrosion-resistant.
- Cons: More expensive.
Heres a helpful table to outline the differences:
| Material | Pros | Cons |
|---|---|---|
| Aluminum | Cost-effective, durable | Heavier |
| Carbon Fiber | Light, weather-resistant | Costlier |
Your choice will depend on your budget and how often you plan to use your tripod in rugged conditions. If youre frequently out in the elements, investing in a carbon fiber tripod might save you headaches down the line.
Choosing the Right Height
Height might seem like a trivial detail, but it can make a world of difference in your astrophotography experience. You dont want to be crouching or stretching uncomfortably while trying to capture that perfect shot.
Adjustable Height:
- Pros: Versatile, suitable for various shooting angles.
- Cons: More joints can mean less stability.
Fixed Height:
- Pros: Generally more stable.
- Cons: Less flexibility in shooting angles.
Heres a quick breakdown:
| Feature | Pros | Cons |
|---|---|---|
| Adjustable Height | Versatile, great for different angles | Potentially less stable |
| Fixed Height | Often more stable | Less flexible |
When selecting the height, consider a tripod that can extend to your eye level without extending the center column, as this can add instability. A tripod with a minimum height that allows for low-angle shots is also a bonus.
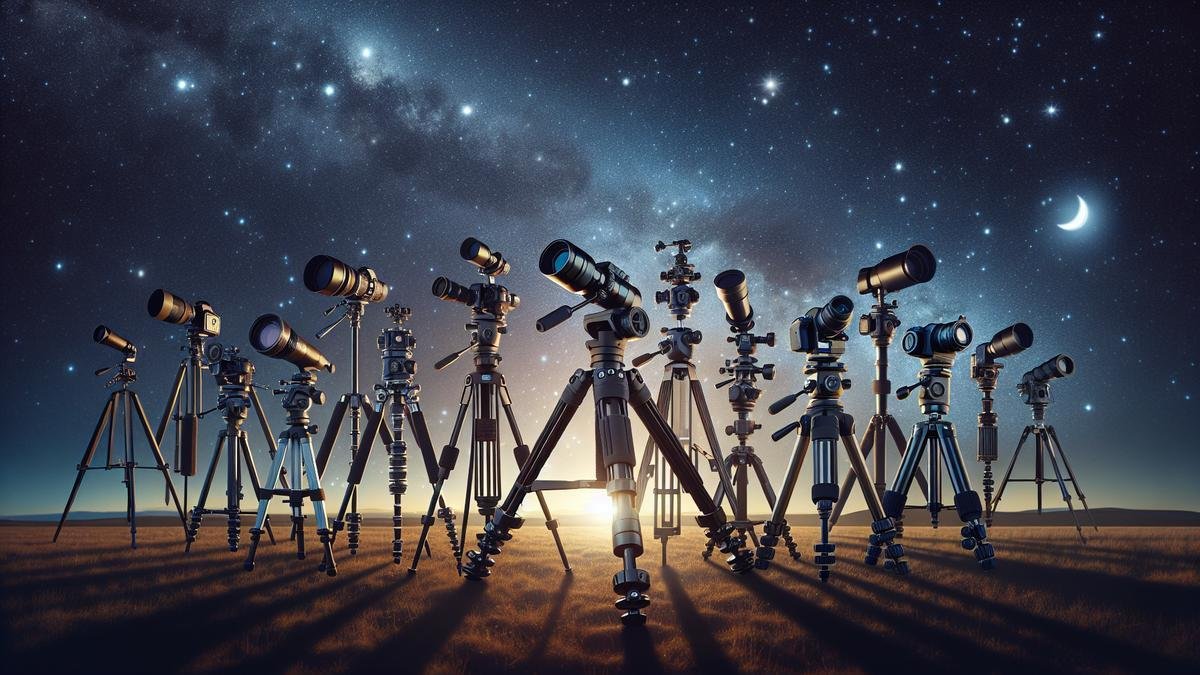
Comparing Different Types of Tripods
When you’re diving into astrophotography, choosing the right tripod can make all the difference. Stability is paramount for capturing those celestial wonders, and the tripod you select will be your steadfast companion under the night sky. Let’s explore the different types of tripods and what they offer.
Aluminum vs. Carbon Fiber
One of the first decisions you’ll face is choosing between aluminum and carbon fiber tripods. Each has its pros and cons, and your choice will depend on your specific needs and preferences.
Aluminum Tripods
Aluminum tripods are often the go-to for many beginners. They’re generally more affordable and provide solid stability. However, they tend to be heavier, which can be a drawback if you plan on moving around a lot during your shoots.
Pros:
- Cost-effective: Easier on the wallet, making it a great choice for those just starting out.
- Durable: Can withstand a bit of rough handling, which is handy if you’re shooting in rugged terrains.
Cons:
- Weight: Heavier than carbon fiber, which can be a burden during long treks.
- Temperature Sensitivity: Aluminum can get quite cold, which might be uncomfortable to handle in chilly night conditions.
Carbon Fiber Tripods
On the other hand, carbon fiber tripods are known for their lightweight and robust build. They are typically more expensive, but the investment can be worth it for serious astrophotographers.
Pros:
- Lightweight: Easier to carry around, especially if you’re hiking to remote locations.
- Stability: Offers excellent vibration dampening, crucial for long exposure shots.
Cons:
- Cost: Generally more expensive, which might be a barrier for those on a tight budget.
- Fragility: While strong, they can be more prone to damage from sharp impacts compared to aluminum.
Here’s a quick comparison table to help you decide:
| Feature | Aluminum Tripods | Carbon Fiber Tripods |
|---|---|---|
| Cost | Generally cheaper | More expensive |
| Weight | Heavier | Lightweight |
| Durability | Very durable | Durable but can be fragile to impacts |
| Vibration Dampening | Moderate | Excellent |
| Temperature Sensitivity | High | Low |
Tripod Head Types
Now that you’ve got a handle on tripod materials, it’s time to look at the different types of tripod heads. The head is where your camera will sit, and its functionality can greatly affect your shooting experience.
Budget-Friendly Options for Beginners
Affordable Yet Stable Tripods
When you’re just dipping your toes into the captivating waters of astrophotography, the key is to find gear that won’t break the bank but still delivers steady, clear shots. Tripods are the unsung heroes here, providing the stability needed to capture those awe-inspiring celestial images.
Top Picks for Affordable Yet Stable Tripods
| Tripod Model | Price Range | Weight | Max Height | Load Capacity | Special Features |
|---|---|---|---|---|---|
| Zomei Z818 | $70 – $90 | 3.7 lbs | 65 inches | 33 lbs | Quick release plate |
| AmazonBasics 60-Inch | $20 – $30 | 3 lbs | 60 inches | 6.6 lbs | Lightweight, bubble level |
| Neewer Carbon Fiber | $100 – $130 | 3.4 lbs | 66 inches | 26.5 lbs | 360-degree ball head |
| Manfrotto Compact Action | $60 – $80 | 2.6 lbs | 61 inches | 3.3 lbs | Joystick head |
These tripods are not only budget-friendly but also provide the stability required for long exposure shots. The Zomei Z818, for instance, offers a balance of affordability and sturdiness, making it a solid choice for beginners.
Best Value for Your Money
Finding that sweet spot between cost and quality can feel like searching for a needle in a haystack. But don’t worry, we’ve done the heavy lifting for you.
Why These Tripods Offer Great Value
- Zomei Z818: This tripod is a powerhouse for its price. With a load capacity of 33 lbs, it can handle heavier cameras and lenses, making it versatile for various types of photography. Its quick release plate ensures you can swiftly switch between shots without fumbling in the dark.
- AmazonBasics 60-Inch: Perfect for those on a tight budget. It’s lightweight and comes with a bubble level to help you set up your shots accurately. While it may not support heavy equipment, it’s ideal for smaller cameras and beginners just starting out.
- Neewer Carbon Fiber: This tripod is a bit on the pricier side for budget options, but its carbon fiber build makes it incredibly lightweight and durable. The 360-degree ball head allows for smooth adjustments, crucial for tracking celestial objects.
- Manfrotto Compact Action: Known for its joystick head, this tripod is user-friendly and perfect for quick adjustments. Its compact size and lightweight make it an excellent choice for travel.
Where to Find Deals
Now, let’s talk about where you can snag these tripods at the best prices. Hunting for deals can be a game-changer, especially when you’re working with a limited budget.
Top Spots to Find Bargains
- Online Retailers: Websites like Amazon, B&H Photo, and Adorama often have sales and discounts. Keep an eye out for seasonal sales, Black Friday, and Cyber Monday deals.
- Second-Hand Market: Platforms like eBay and Craigslist can be gold mines for gently used tripods. Just ensure you check the seller’s ratings and reviews.
- Local Camera Shops: Sometimes, local shops offer discounts or have clearance sales. Plus, you can physically inspect the tripod before purchasing.
- Photography Forums and Groups: Joining online communities can provide insider tips on where to find the best deals. Members often share links to sales or even sell their own gear at discounted prices.
By being savvy and patient, you can find a tripod that fits your budget and meets your needs, setting you up for success in your astrophotography journey.
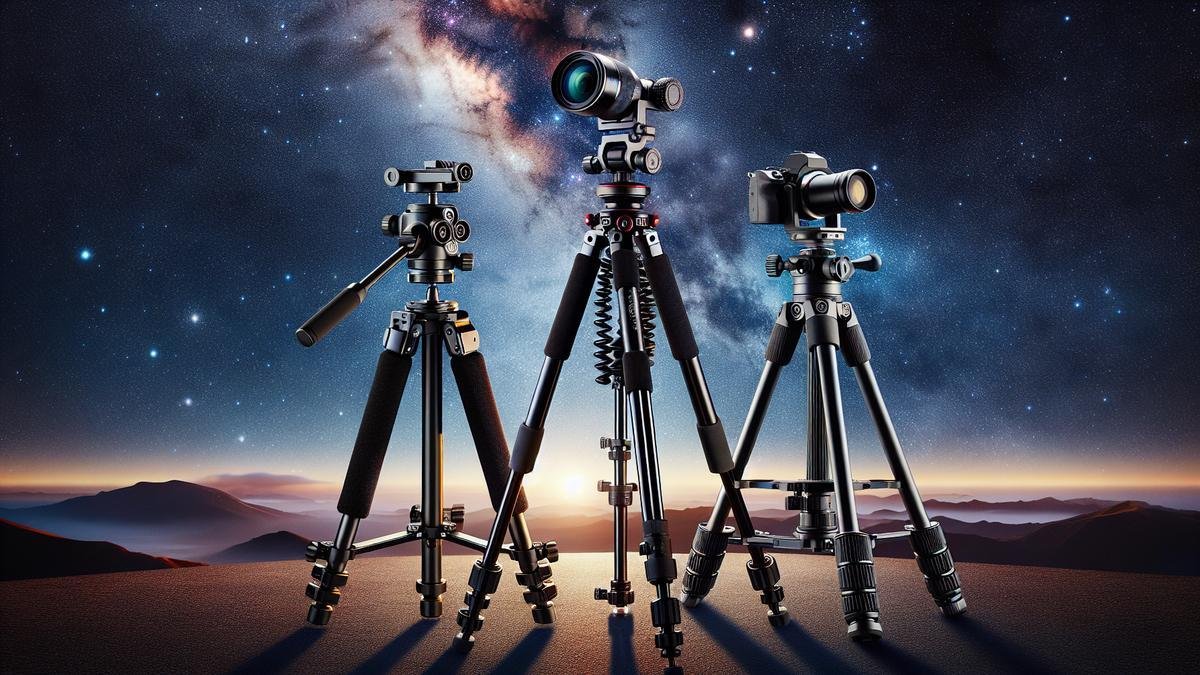
Advanced Tripods for Professional Astrophotographers
High-End Features
When you’re diving into the depths of astrophotography, having the right tripod can make all the difference. A high-end tripod isn’t just a stand for your camera; it’s a cornerstone for capturing those breathtaking celestial shots. Let’s explore some features that set advanced tripods apart.
Stability and Load Capacity
A top-tier tripod must have exceptional stability. When you’re capturing long-exposure shots of the night sky, even the slightest wobble can ruin your image. Look for tripods with robust legs and a high load capacity. You want something that can hold not just your camera, but also any additional gear like heavy lenses or filters.
| Feature | Description |
|---|---|
| Stability | Ensures clear, shake-free images during long exposures. |
| Load Capacity | Supports heavy equipment without compromising stability. |
Material and Build Quality
High-end tripods are often made from carbon fiber or aluminum alloy. Carbon fiber is lighter but just as strong, making it ideal for portability without sacrificing durability. Aluminum alloy, on the other hand, offers a more budget-friendly option while still providing excellent support.
| Material | Pros | Cons |
|---|---|---|
| Carbon Fiber | Lightweight, strong, excellent vibration dampening | Generally more expensive |
| Aluminum Alloy | Durable, cost-effective | Heavier, less effective at dampening vibrations |
Precision and Adjustability
Precision is key in astrophotography. High-end tripods often come with fine-tuning adjustments that allow you to make minute changes to your camera’s position. This can be crucial when you’re trying to capture a specific star or planet.
| Adjustment Type | Benefit |
|---|---|
| Fine-tuning Knobs | Allows for precise adjustments to camera position. |
| Ball Heads | Offers smooth and versatile movement. |
Customizable Options
Every astrophotographer has unique needs, and the best tripods offer a range of customizable options to meet them.
Interchangeable Heads
One of the most valuable features of a high-end tripod is the ability to swap out the head. Whether you prefer a ball head for its versatility or a geared head for its precision, having options means you can tailor your setup to your specific needs.
| Head Type | Best For |
|---|---|
| Ball Head | Versatility and ease of use |
| Geared Head | Precision adjustments |
Leg Adjustments
Advanced tripods often have legs that can be adjusted independently. This is particularly useful if you’re shooting on uneven terrain. Look for tripods with multi-angle leg locks that allow you to set each leg at a different angle.
| Feature | Benefit |
|---|---|
| Multi-angle Leg Locks | Stability on uneven terrain |
| Telescoping Legs | Easy height adjustments |
Accessory Compatibility
The best tripods are designed to work seamlessly with a variety of accessories. Whether you need a panoramic head for wide-angle shots or a motorized mount for tracking celestial objects, having a tripod that can accommodate these extras is invaluable.
| Accessory Type | Purpose |
|---|---|
| Panoramic Head | Capturing wide-angle shots |
| Motorized Mount | Tracking celestial objects |
Investing in Quality
When it comes to astrophotography, investing in a quality tripod is a decision that will pay off in the long run. A well-built tripod not only improves the quality of your shots but also lasts longer, making it a worthwhile investment.
Cost vs. Value
While high-end tripods can be expensive, they offer significant value in terms of durability, stability, and versatility. Cheaper tripods might save you money upfront, but they often lack the features and build quality needed for professional astrophotography.
| Price Range | Features |
|---|---|
| High-End | Superior stability, precision adjustments, durable materials |
| Budget | Basic stability, limited features, less durable |
Longevity
A quality tripod is built to last. Look for models that come with warranties and customer support. This not only gives you peace of mind but also ensures that your investment is protected.
| Feature | Benefit |
|---|---|
| Warranty | Protection against defects and damage |
| Customer Support | Assistance with setup and troubleshooting |
Tips for Using Your Tripod Effectively
Setting Up on Uneven Ground
Imagine you’re out in the wilderness, ready to capture the night sky, but the ground is anything but flat. This is a common scenario for astrophotographers. The key to stability lies in how you set up your tripod.
First and foremost, you need to adjust the legs. Most tripods come with adjustable legs that can extend at different lengths. This is a lifesaver on rocky or uneven terrain. Extend the legs so that the tripod stands level. You might need to extend one leg more than the others to achieve this.
Second, use the built-in bubble level. Many tripods have a small bubble level to help you make sure everything is balanced. This little tool is more important than you might think. A level tripod means a stable camera, which translates to clearer shots.
Third, consider using a tripod with spiked feet. Spiked feet can dig into the ground, providing extra stability. This is particularly useful on soft ground like grass or dirt.
Here’s a quick table to summarize these tips:
| Tip | Description |
|---|---|
| Adjust the Legs | Extend legs to maintain balance on uneven ground |
| Built-in Bubble Level | Use to ensure the tripod is level |
| Spiked Feet | Provides extra stability on soft ground |
Adjusting for Wind and Weather
Weather can be unpredictable, and wind can be a real nemesis for astrophotographers. A gust of wind can shake your setup and ruin a long-exposure shot. Heres how you can combat these elements.
First, lower the center column. The higher the center column, the more susceptible your tripod is to wind. Keeping it low adds stability.
Second, add weight to your tripod. Most tripods have a hook at the bottom of the center column. You can hang your camera bag or any other weighty object to anchor it down. This helps in windy conditions.
Third, use a wind shield. If the wind is particularly strong, you can set up a makeshift wind shield using your car, a blanket, or even your body. Anything that can block the wind will help.
Fourth, choose a tripod with a sturdy build. Materials like carbon fiber are not only lightweight but also sturdy enough to withstand harsh conditions.
Here’s a table to illustrate these points:
| Tip | Description |
|---|---|
| Lower the Center Column | Increases stability by lowering the center of gravity |
| Add Weight | Use the hook to add weight and anchor the tripod |
| Use a Wind Shield | Block the wind using available resources |
| Sturdy Build | Opt for materials like carbon fiber for durability |
Frequently asked questions
What should you look for when buying a tripod for astrophotography?
Look for stability, height, and weight. You need a tripod that stands firm, reaches the right height, and isn’t too heavy to carry.
Why is stability so important for astrophotography?
Stability keeps your camera still while capturing long exposures. This prevents blurriness and ensures sharp, clear photos of the stars.
Can you use any tripod for astrophotography?
Not quite. Standard tripods might not hold steady against wind or long exposure times. You need one designed for stability and durability.
Are carbon fiber tripods better for astrophotography?
Yes, they are lighter and more durable. They absorb vibrations better compared to aluminum tripods.
How much should you spend on a good tripod for astrophotography?
Expect to pay around $100 to $300. Spending more often means better stability and longer-lasting materials.

