Sure, let’s dive in!
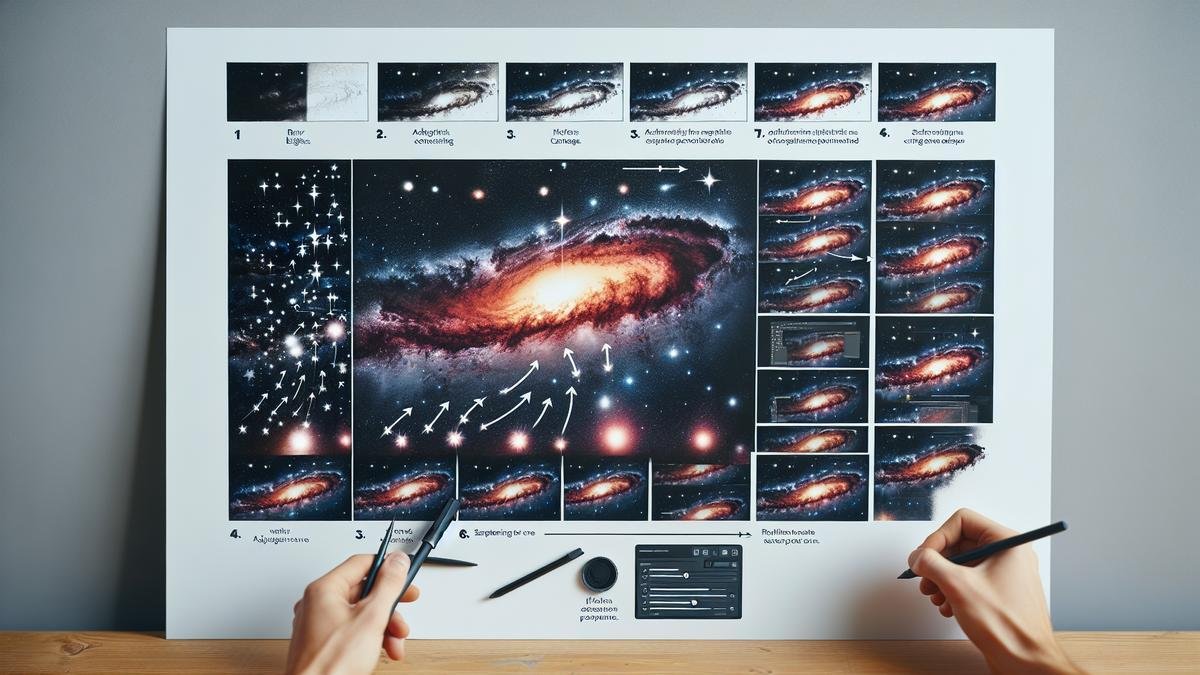
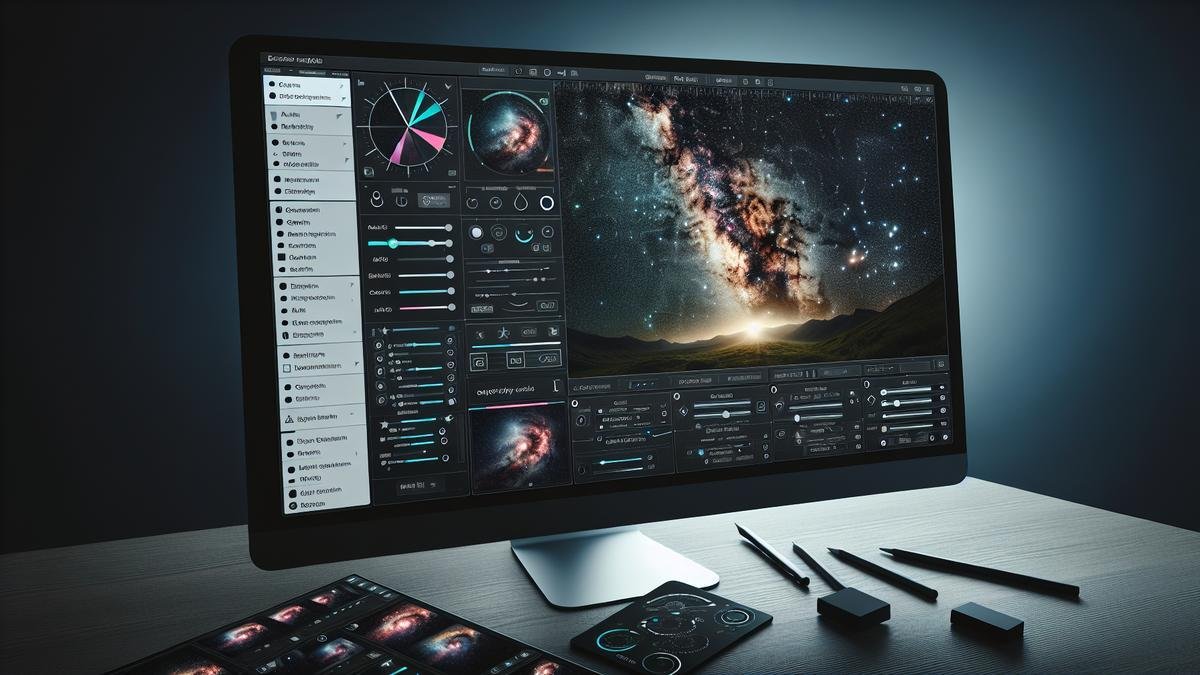
Sharpening and Detailing Your Astrophotography Images can transform your starry shots from good to wow. Whether you’re a newbie or a seasoned sky-gazer, understanding how to enhance and bring out the finer details in your celestial captures is key. You’ll explore everything from choosing the right gear to mastering sharpness techniques, balancing detail and noise, and avoiding common pitfalls. By the end, you’ll be well-equipped to boost contrast and clarity in your photos, making those stars and galaxies pop like never before. Get ready to turn your night sky snapshots into stunning works of art!
Quick Tips
- Use noise reduction to clean up your image.
- Apply unsharp masking for finer details.
- Try deconvolution to correct blurred images.
- Boost contrast for a crisper look.
- Use software tools like Photoshop or Lightroom.
Understanding the Basics of Astrophotography
What is Astrophotography?
Astrophotography is the art and science of capturing images of celestial objects in the night sky. Whether you’re fascinated by the moon, stars, planets, or distant galaxies, astrophotography allows you to bring the wonders of the universe into stunning visual form. It’s not just about pointing your camera at the sky and clicking; it’s a meticulous process that requires the right equipment, techniques, and a bit of patience.
Why Sharpening and Detailing Matters
When you’re photographing the night sky, details matter. The faint glow of a distant nebula, the intricate patterns of star clusters, or the delicate rings of Saturn—all these require sharpness and clarity to truly shine. Sharpening and detailing your images can transform a blurry mess into a masterpiece. It’s about enhancing the natural beauty of the cosmos and making every star and celestial body pop.
Getting Started with the Right Equipment
Before diving into sharpening and detailing techniques, you need the right gear. Here’s a quick rundown of essential equipment for astrophotography:
| Equipment | Description |
|---|---|
| Camera | A DSLR or mirrorless camera with manual settings is ideal. Check out Top 10 Cameras for Astrophotography in 2024. |
| Lenses | Wide-angle lenses are great for capturing expansive sky views. For more details, see Essential Lenses for Capturing the Night Sky. |
| Telescope | For close-up shots of planets and galaxies, a telescope is invaluable. Learn more at How to Choose the Best Telescope for Astrophotography. |
| Tripod | Stability is key. A sturdy tripod can make or break your shot. Explore Tripods for Astrophotography: Stability and Precision. |
| Filters | Filters can enhance contrast and reduce light pollution. Discover the best options at The Best Filters for Enhancing Your Astrophotography Shots. |
| Mounts and Tracking Systems | These help track celestial objects as the Earth rotates. For a comprehensive guide, visit Guide to Astrophotography Mounts and Tracking Systems. |
Once you’ve got your gear sorted, it’s time to focus on the techniques for sharpening and adding detail to your astrophotography images. Let’s dive into the methods that will elevate your night sky photos.
Methods for Sharpening and Adding Detail
1. Stacking Multiple Images
One of the most effective ways to sharpen and add detail to your astrophotography images is by stacking multiple exposures. This technique involves taking several shots of the same scene and combining them to reduce noise and enhance detail. For a detailed guide, check out Combining and Stacking Images for Astrophotography.
| Pros | Cons |
|---|---|
| Reduces Noise | Time-Consuming |
| Enhances Detail | Requires Software |
| Improves Signal-to-Noise Ratio | Needs Multiple Exposures |
2. Post-Processing Software
Post-processing is where the magic happens. Software like Adobe Photoshop, Lightroom, and specialized astrophotography software can help you sharpen and detail your images. Learn more about the best tools at Best Software for Editing Astrophotography Images.
| Software | Features |
|---|---|
| Adobe Photoshop | Layering, Masking, Sharpening Tools |
| Lightroom | Noise Reduction, Detail Enhancement |
| DeepSkyStacker | Stacking, Calibration |
| PixInsight | Advanced Processing, Noise Reduction |
3. Using Filters
Filters can significantly enhance the details in your astrophotography images. They can help reduce light pollution and increase contrast, making celestial objects stand out more. Explore the best filters at The Best Filters for Enhancing Your Astrophotography Shots.
| Filter Type | Use Case |
|---|---|
| Light Pollution Filters | Urban Areas |
| UV/IR Cut Filters | Improving Color Balance |
| Hydrogen-Alpha Filters | Capturing Nebulae |
4. Long Exposure Techniques
Long exposure photography allows you to capture more light from distant celestial objects, bringing out details that are invisible to the naked eye. For tips on mastering this technique, visit Mastering Long Exposure Astrophotography.
| Pros | Cons |
|---|---|
| Captures More Light | Requires Stable Tripod |
| Reveals Faint Objects | Risk of Overexposure |
| Enhances Details | Battery Drain |
5. Combining Exposures
Combining multiple exposures can help you capture a wider range of details. This technique is especially useful for creating HDR (High Dynamic Range) images of the night sky. For a step-by-step guide, check out Creating HDR Astrophotography Images.
| Pros | Cons |
|---|---|
| Wider Dynamic Range | Complex Processing |
| Enhanced Details | Requires Multiple Shots |
| Balanced Exposure | Software Intensive |
6. Enhancing Star Colors
Enhancing star colors can add a vibrant touch to your astrophotography images. Different stars emit different colors based on their temperature, and capturing these can make your photos more dynamic. For techniques on this, visit Techniques for Enhancing Star Colors in Astrophotography.
| Technique | Description |
|---|---|
| White Balance Adjustment | Corrects Color Cast |
| Saturation Boost | Enhances Colors |
| Selective Color Adjustment | Targets Specific Stars |
Techniques for Sharpening Your Images
So, you’ve captured some stunning shots of the night sky, but they’re not quite as crisp as you’d like. Don’t fret! Sharpening your astrophotography images can make a world of difference. Let’s dive into some effective methods for adding that extra detail.
Using Software for Sharpening
Software tools can be your best friend when it comes to sharpening your astrophotography images. These tools offer a variety of features designed to enhance the clarity and detail of your photos.
Popular Software Options
Here’s a quick comparison of some top software tools:
| Software | Key Features | Price |
|---|---|---|
| Adobe Photoshop | Advanced sharpening filters, layer masks | $$ |
| PixInsight | Specialized for astrophotography, wavelet sharpening | $$$ |
| GIMP | Free, basic sharpening tools | Free |
| Topaz Sharpen AI | AI-driven sharpening, noise reduction | $$ |
Each of these tools has its own strengths. Adobe Photoshop, for instance, offers advanced sharpening filters and layer masks. PixInsight is tailored specifically for astrophotography, making it an excellent choice if you’re serious about your craft. GIMP is a great free alternative, while Topaz Sharpen AI uses artificial intelligence to enhance your images.
Step-by-Step Guide to Using Software
Let’s walk through a basic sharpening process using Adobe Photoshop:
- Open Your Image: Start by opening your image in Photoshop.
- Duplicate the Layer: Create a duplicate of your background layer. This allows you to work non-destructively.
- Apply the Unsharp Mask: Go to Filter > Sharpen > Unsharp Mask. Adjust the Amount, Radius, and Threshold sliders to your liking.
- Fine-Tune with Layer Masks: Use layer masks to apply sharpening selectively, avoiding areas like the sky where noise can be amplified.
Manual Sharpening Methods
If you prefer a more hands-on approach, manual sharpening methods can also yield excellent results. These techniques often involve a bit more effort but can be incredibly rewarding.
Using a Masking Technique
One effective manual method is the masking technique. Here’s how you can do it:
- Open Your Image: Open your image in your preferred editing software.
- Create a High-Pass Layer: Duplicate your background layer and apply a High-Pass filter (Filter > Other > High Pass).
- Set Blending Mode to Overlay: Change the blending mode of the High-Pass layer to Overlay. This will sharpen the edges of your image.
- Use a Mask: Apply a mask to the High-Pass layer and paint over areas you don’t want to sharpen, like the sky.
Star Masking
Star masking is another manual technique that can help you sharpen the stars in your image without affecting the rest of the scene.
- Create a Star Mask: Use software like PixInsight to create a star mask. This mask isolates the stars from the rest of the image.
- Apply Sharpening: Apply your sharpening filter to the star mask. This will enhance the stars without introducing noise to the background.
Avoiding Over-Sharpening
While sharpening can significantly enhance your images, it’s easy to go overboard. Over-sharpening can introduce unwanted artifacts and noise, ruining an otherwise perfect shot.
Enhancing Details in Your Photos
Astrophotography is an art and a science. Youve captured the night sky, but how do you make those stars pop? Sharpening and detailing your images can transform a good photo into a stellar one. Lets dive into the methods that can help you bring out the best in your astrophotography pictures.
Boosting Contrast for Clarity
Boosting contrast is like adjusting the volume on your favorite song. It makes the stars stand out against the night sky, providing a clearer and more defined image.
Steps to Boost Contrast:
- Use Levels and Curves: Open your photo editing software. Adjust the levels and curves to increase the contrast. This will make the bright stars brighter and the background darker.
- Selective Contrast Adjustment: Focus on specific areas where you want more detail. This can be done using tools like the Dodge and Burn tool in Photoshop.
- Contrast Masks: Create a mask to apply contrast selectively. This helps in enhancing details without overexposing the image.
Heres a quick comparison:
| Method | Pros | Cons |
|---|---|---|
| Levels and Curves | Easy to use, quick results | Can overexpose if not careful |
| Selective Contrast | Focused enhancement | Time-consuming |
| Contrast Masks | Balanced enhancement, less overexposure | Requires more skill |
Highlighting Fine Details
Highlighting fine details is akin to polishing a diamond. Its the subtle touches that make the difference.
Techniques for Highlighting Fine Details:
- High Pass Filter: This is a powerful tool for sharpening. Duplicate your layer, apply the High Pass filter, and then set the blend mode to Overlay or Soft Light.
- Unsharp Mask: This tool sharpens your image by increasing the contrast along the edges. Adjust the Amount, Radius, and Threshold to find the perfect balance.
- Deconvolution Sharpening: This advanced technique involves reversing the blurring effects that occur during capture. Its particularly effective for astrophotography.
| Technique | Best For | Complexity |
|---|---|---|
| High Pass Filter | General sharpening | Moderate |
| Unsharp Mask | Edge enhancement | Easy |
| Deconvolution Sharpening | Advanced detail recovery | High |
Tools and Software for Image Enhancement
Popular Software Options
When you’re diving into the cosmos with your camera, capturing the grandeur of the night sky, you want every star, nebula, and galaxy to pop with clarity. To achieve this, you need the right tools. Here’s a rundown of some popular software options that can help you sharpen and add detail to your astrophotography pictures.
Adobe Photoshop is a powerhouse for image editing. It’s versatile, offering a plethora of tools to enhance your images. From basic adjustments like brightness and contrast to advanced techniques like layer masking and blending modes, Photoshop has it all.
Lightroom offers a more streamlined interface compared to Photoshop. It’s excellent for batch processing and organizing your photos. The clarity and dehaze sliders are particularly useful for astrophotography, helping to bring out details in the night sky.
PixInsight is tailored specifically for astrophotography. It offers advanced tools for image calibration, alignment, and integration. The software’s noise reduction and sharpening algorithms are top-notch, making it a favorite among astrophotographers.
DeepSkyStacker (DSS) is a free tool designed to simplify the pre-processing steps of astrophotography. It excels in stacking multiple images to reduce noise and enhance details. It’s user-friendly and does a great job of aligning and combining your shots.
StarTools is another software dedicated to astrophotography. It offers a range of modules for different stages of image processing, from noise reduction to detail enhancement. Its unique approach to processing makes it a valuable tool in your arsenal.
Free vs. Paid Tools
Choosing between free and paid tools can be a bit of a balancing act. Let’s break down the pros and cons to help you decide.
Free Tools:
| Tool | Pros | Cons |
|---|---|---|
| GIMP | Open-source, versatile | Steeper learning curve |
| DeepSkyStacker | Great for stacking, free | Limited post-processing features |
| Iris | Good for basic processing | Outdated interface |
| Siril | Powerful, free | Complex for beginners |
Paid Tools:
| Tool | Pros | Cons |
|---|---|---|
| Photoshop | Comprehensive, industry standard | Expensive subscription |
| Lightroom | User-friendly, excellent organization | Subscription required |
| PixInsight | Specialized for astrophotography | High initial cost |
| StarTools | Astrophotography-specific features | Less known, smaller community |
Choosing the Right Tool for You
Selecting the right tool depends on your needs and budget. If you’re just starting, free tools like GIMP and DeepSkyStacker can be incredibly useful. They offer a range of features without the hefty price tag.
However, if you’re looking to dive deeper into post-processing, investing in paid software might be worthwhile. Photoshop and Lightroom offer a wide array of features that can significantly enhance your astrophotography. PixInsight, though expensive, is tailored for astrophotography and provides detailed control over every aspect of your image.
Consider what you need most. Do you require advanced stacking capabilities? Are you looking for powerful noise reduction? Or perhaps you need a tool that’s easy to use and helps you organize your photos. Each software has its strengths, so weigh your options carefully.
Common Mistakes and How to Avoid Them
Over-Processing Your Images
When you’re knee-deep in editing your astrophotography images, it’s easy to get carried away. You might think that cranking up the contrast or sharpening every detail will make your stars pop. But here’s the thing: over-processing can ruin your hard work. Your stars might end up looking like blobs, and the natural beauty of the night sky can be lost.
Methods to Avoid Over-Processing
- Use Subtle Adjustments: Start with small tweaks. Increase sharpness or contrast in increments. This helps maintain the natural look of your image.
- Monitor Histograms: Keep an eye on the histogram to avoid clipping highlights or shadows. Extreme adjustments can lead to loss of detail.
- Layer Masks: Use layer masks in software like Photoshop to apply effects selectively. This way, you can sharpen specific areas without affecting the entire image.
Ignoring Noise Reduction
Noise is an unavoidable part of astrophotography. High ISO settings, long exposures, and even the camera sensor can introduce noise. Ignoring it can leave your images looking grainy and distract from the celestial wonders you’re trying to capture.
Effective Noise Reduction Techniques
| Technique | Description |
|---|---|
| Software Tools | Use specialized software like Topaz DeNoise or Adobe Lightroom for noise reduction. |
| Multiple Exposures | Stack multiple exposures to improve signal-to-noise ratio. |
| Dark Frames | Capture dark frames to subtract sensor noise from your images. |
Keeping a Natural Look
While editing, it’s crucial to retain the natural look of your astrophotography images. Overdoing it can make your photos look artificial and detract from the awe-inspiring beauty of the night sky.
Tips for a Natural Look
- Reference Real Images: Compare your edits with real images of the night sky to keep it natural.
- Avoid Over-Sharpening: Too much sharpening can create halos around stars. Use it sparingly.
- Color Balance: Ensure that colors are balanced. Over-saturating can make the sky look unnatural.
Advanced Tips for Astrophotography Enthusiasts
Stacking Multiple Images
When you’re diving into the cosmic ballet of astrophotography, one of the most transformative techniques is image stacking. This process involves combining multiple exposures of the same celestial object to enhance detail and reduce noise. It’s like layering slices of the night sky to create a richer, more detailed final image.
Why Stack?
- Noise Reduction: Each image you capture contains a certain amount of noise. By stacking, you can significantly reduce this noise, making your stars pop against the dark sky.
- Increased Detail: Stacking allows you to pull out faint details that might be lost in a single exposure.
How to Stack Images
- Capture Multiple Shots: Start by taking several shots of the same object. The more images you have, the better the final result.
- Align the Images: Use software to align your images. This step is crucial because even the slightest misalignment can blur your final image.
- Combine the Images: After alignment, the software will combine the images, averaging out the noise and enhancing the details.
Here’s a quick comparison table to illustrate the benefits of stacking:
| Single Exposure | Stacked Image |
|---|---|
| High noise level | Reduced noise |
| Limited detail | Enhanced detail |
| Lower dynamic range | Higher dynamic range |
For those seeking more in-depth guidance, you might find this guide on combining multiple exposures invaluable.
Using Filters for Better Detail
Filters are your best friends when it comes to capturing the night sky. They can help you cut through light pollution, enhance certain features, and bring out details that are otherwise invisible.
Types of Filters
- Light Pollution Filters: These filters are essential if you’re shooting in or near a city. They help reduce the orange glow from streetlights, making the night sky clearer.
- Narrowband Filters: These are great for capturing specific wavelengths of light, such as hydrogen-alpha (Hα), oxygen-III (OIII), and sulfur-II (SII). They can bring out incredible details in nebulae and other deep-sky objects.
- UV/IR Cut Filters: These filters block ultraviolet and infrared light, which can cause blurring and reduce the sharpness of your images.
Here’s a table to help you choose the right filter:
| Filter Type | Best For | Benefits |
|---|---|---|
| Light Pollution Filter | Urban areas | Reduces light pollution |
| Narrowband Filter | Deep-sky objects | Enhances specific wavelengths |
| UV/IR Cut Filter | General astrophotography | Increases sharpness |
For those eager to delve deeper into the world of filters, this comprehensive guide on filters can provide you with more insights.
Frequently Asked Questions
1. What software is best for sharpening and detailing your astrophotography images?
You can use Adobe Photoshop for powerful editing tools. PixInsight and Lightroom also work great.
2. How do you reduce noise while sharpening your astrophotography images?
Use noise reduction filters first. Then, apply the sharpening tool carefully.
3. Can you sharpen images without making them look grainy?
Yes, use selective sharpening on certain areas. Avoid over-sharpening the entire image.
4. What camera settings help in sharpening and detailing your astrophotography images?
Use a low ISO setting to reduce noise. A high f-stop can help with clarity.
5. Is it necessary to stack images for better detail?
Yes, stacking multiple images can help enhance details and reduce noise.

