Photographing Meteor Showers: Best Practices and Tips can be an awe-inspiring experience, but it requires the right know-how. Whether you’re a novice or a seasoned photographer, understanding the essential equipment and methods can make all the difference. From choosing the perfect camera and lenses to finding the ideal dark sky locations, this guide will walk you through capturing the mesmerizing beauty of meteor showers. Get ready to dive into settings, composition tips, and even post-processing techniques that will ensure your shots stand out. Plus, well share how to stay safe and cozy during those late-night shoots. Let’s get started on your journey to capturing the night sky’s dazzling performances!
Key Takeaways
- Set your camera to a long exposure.
- Use a tripod for stability.
- Find a location with little light pollution.
- Bring extra batteries and memory cards.
- Pack warm clothes and snacks.
Essential Equipment for Meteor Shower Photography
Capturing the fleeting beauty of a meteor shower is an exhilarating experience. But to nail those stunning shots, you need the right gear. Lets dive into the essentials.
Choosing the Right Camera
When it comes to photographing meteor showers, your camera is your best friend. You need a camera that can handle low light and long exposures. DSLRs and Mirrorless cameras are top choices for most astrophotographers. They offer excellent control over exposure settings and have larger sensors that perform better in low light.
| Camera Type | Pros | Cons |
|---|---|---|
| DSLR | Great image quality, interchangeable lenses, robust build | Heavier, bulkier |
| Mirrorless | Compact, lightweight, silent shooting | Shorter battery life, fewer lens options |
For a more in-depth comparison, you might want to explore this comparison of DSLRs and Mirrorless cameras for astrophotography.
Best Lenses for Night Sky
Your lens choice can make or break your meteor shower photos. Wide-angle lenses are your go-to here. They allow you to capture a larger portion of the sky, increasing your chances of catching those elusive meteors.
| Lens Type | Ideal Focal Length | Aperture |
|---|---|---|
| Wide-Angle | 14mm – 24mm | f/2.8 or lower |
| Standard Zoom | 24mm – 70mm | f/2.8 or lower |
A lens with a wide aperture (small f-number) is crucial because it lets in more light, which is essential for night photography. For more details, check out this guide on essential lenses for capturing the night sky.
Ideal Locations for Capturing Meteor Showers
Finding Dark Skies
When youre on the hunt for the perfect place to capture meteor showers, dark skies are your best friend. Light pollution can ruin your shots, making those meteors look like faint whispers in the night instead of the dazzling trails they are. So, where do you find these elusive dark skies?
National Parks and Reserves
National parks and reserves often have some of the darkest skies around. These places are usually far from city lights and offer vast open spaces, making them ideal for setting up your gear. Think of places like Yellowstone or Joshua Tree—theyre not just great for camping but also for some stellar astrophotography.
Remote Countryside
If a national park is too far, consider heading to the remote countryside. Small towns or rural areas often have less light pollution. A quick drive out of the city can make a world of difference.
Dark Sky Parks
There are also designated Dark Sky Parks specifically set aside for stargazing and astrophotography. These parks have strict regulations against light pollution, making them perfect for capturing those fleeting meteor showers. Check out the International Dark-Sky Association for a list of these parks.
Avoiding Light Pollution
Light pollution is the enemy of astrophotography. Even a small amount of ambient light can wash out the night sky, making it difficult to capture meteors. Heres how to avoid it:
Use Light Pollution Maps
There are various light pollution maps available online that can help you find the darkest skies near you. Websites like Light Pollution Map and apps like Dark Sky Finder are invaluable tools.
| Tool | Description |
|---|---|
| Light Pollution Map | Online map showing light pollution levels |
| Dark Sky Finder | App for locating dark skies |
| Clear Outside | Weather and light pollution forecast |
Shielding Your Gear
Sometimes, you cant avoid light pollution altogether. In such cases, use shielding techniques. Set up barriers or use a lens hood to block stray light from entering your camera. This can help reduce the impact of nearby light sources.
Timing Your Shots
Another effective way to combat light pollution is to time your shots. Shoot during the darkest hours of the night, typically between midnight and 4 AM. This is when most people have their lights off, and the sky is at its darkest.
Best Times to Shoot
Timing is everything in astrophotography, especially when capturing meteor showers. Knowing the best times to shoot can make or break your session.
Meteor Shower Peaks
Meteor showers have peak times when the number of visible meteors is at its highest. For example, the Perseids peak around August 12th, and the Geminids peak around December 13th. Mark these dates on your calendar and plan your sessions accordingly.
Moon Phases
The phase of the moon can significantly impact your shots. A new moon is ideal because the sky is darkest. A full moon, on the other hand, can wash out the meteors. Use a moon phase calendar to plan your shoots around the new moon.
Weather Conditions
Clear skies are a must for meteor shower photography. Check the weather forecast in advance and be prepared to reschedule if clouds are expected. Apps like Clear Outside can provide detailed weather forecasts tailored for stargazing.
| Factor | Ideal Condition |
|---|---|
| Moon Phase | New Moon |
| Weather | Clear Skies |
| Peak Times | Specific to each meteor shower (e.g., Perseids) |
Camera Settings for Meteor Shower Photography
Photographing meteor showers is like trying to capture lightning in a bottle. You need to be ready, quick, and precise. Let’s dive into the nitty-gritty of camera settings that will help you capture these fleeting moments in all their glory.
Adjusting ISO and Aperture
When photographing meteor showers, you must balance sensitivity and clarity. This is where ISO and aperture come into play.
ISO Settings
ISO controls your cameras sensitivity to light. For meteor showers, you want your camera to be sensitive enough to capture the faint light of meteors but not so sensitive that you introduce too much noise. Here’s a quick guide:
| ISO Setting | Conditions | Notes |
|---|---|---|
| 800-1600 | Dark skies with minimal light pollution | Best for clear skies, reduces noise. |
| 1600-3200 | Moderate light pollution or faint meteors | Balances sensitivity and noise. |
| 3200-6400 | Bright skies or very faint meteors | High sensitivity but introduces more noise. |
Aperture Settings
Aperture controls the amount of light entering your camera. A wider aperture (lower f-stop number) allows more light but reduces the depth of field.
| Aperture (f-stop) | Conditions | Notes |
|---|---|---|
| f/2.8 – f/4 | Dark skies with minimal light pollution | Wide aperture captures more light. |
| f/4 – f/5.6 | Moderate light pollution | Balances light capture and depth of field. |
| f/5.6 – f/8 | Bright skies or very faint meteors | Narrow aperture, less light but greater depth of field. |
Setting the Shutter Speed
Shutter speed is crucial when capturing meteors. Too fast, and you might miss the meteor; too slow, and you risk star trails. The sweet spot is finding a balance that captures the meteor’s movement without blurring the stars.
Shutter Speed Guide
Use this table to find the best shutter speed for your conditions:
| Shutter Speed | Conditions | Notes |
|---|---|---|
| 10-15 seconds | Dark skies with minimal light pollution | Captures meteors without star trails. |
| 15-25 seconds | Moderate light pollution | Longer exposure for faint meteors. |
| 25-30 seconds | Bright skies or very faint meteors | Maximum exposure before star trails. |
Composition Tips for Stunning Meteor Shots
Framing the Sky
When youre out under the night sky, ready to capture those fleeting meteor showers, framing the sky becomes your first crucial step. It’s like setting the stage for a grand performance. You want to give those meteors a vast, open canvas to streak across. Start by choosing a wide-angle lens, which allows you to capture more of the sky in a single shot. This way, you increase your chances of catching multiple meteors in one frame.
Imagine yourself standing in the middle of a dark field with no city lights to spoil the view. The sky is your canvas, and the meteors are your paint strokes. Position your camera to cover as much sky as possible. A lens with a focal length of 14mm to 24mm is ideal. This wide-angle perspective will help you frame the sky beautifully and give those meteors the space they need to shine.
Including Foreground Elements
While the meteors are the stars of the show, don’t forget about the supporting cast – the foreground elements. Including interesting foregrounds can add depth and context to your shots. Think of them as the stage props that enhance the overall scene.
Consider incorporating elements like trees, mountains, or even buildings into your composition. These elements can provide a sense of scale and make your photos more engaging. For example, a lone tree silhouetted against the starry sky can create a dramatic and captivating image. Just ensure that these elements don’t overshadow the meteors. They should complement, not compete with, the celestial spectacle.
Rule of Thirds in Night Photography
The Rule of Thirds is a fundamental principle in photography, and it works wonders in night photography too. Imagine dividing your frame into a grid of nine equal parts by drawing two equally spaced horizontal lines and two equally spaced vertical lines. The points where these lines intersect are your sweet spots.
When composing your meteor shots, try placing key elements, such as the horizon or a prominent meteor, along these lines or at their intersections. This creates a balanced and visually pleasing composition. For instance, you can position the horizon along the lower third of the frame, leaving the upper two-thirds for the sky and meteors. This technique adds structure to your shots and draws the viewer’s eye to the most important parts of the image.
Best Practices for Capturing Meteor Showers
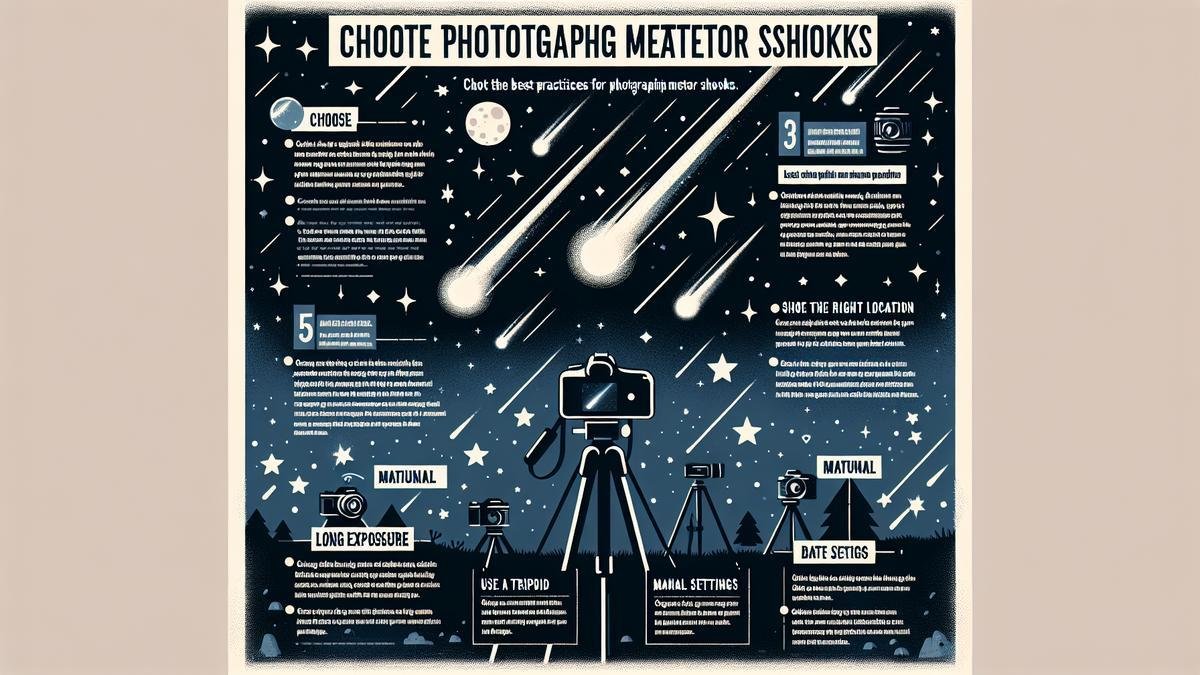
To capture the fleeting beauty of meteor showers, you need to be prepared and patient. Here are some best practices to help you get the most out of your astrophotography session:
Choose the Right Location
Finding the perfect location is key to successful meteor photography. Look for dark, remote areas away from city lights. Light pollution can wash out the meteors and make them less visible. National parks, rural areas, and designated dark sky reserves are excellent choices. Use apps or websites that provide information about light pollution levels to find the best spots.
Check the Weather and Moon Phase
Clear skies are a must for meteor photography. Check the weather forecast in advance to ensure there won’t be any clouds obstructing your view. Additionally, consider the moon phase. A bright moon can drown out the fainter meteors, so aim for nights with a new moon or when the moon is below the horizon.
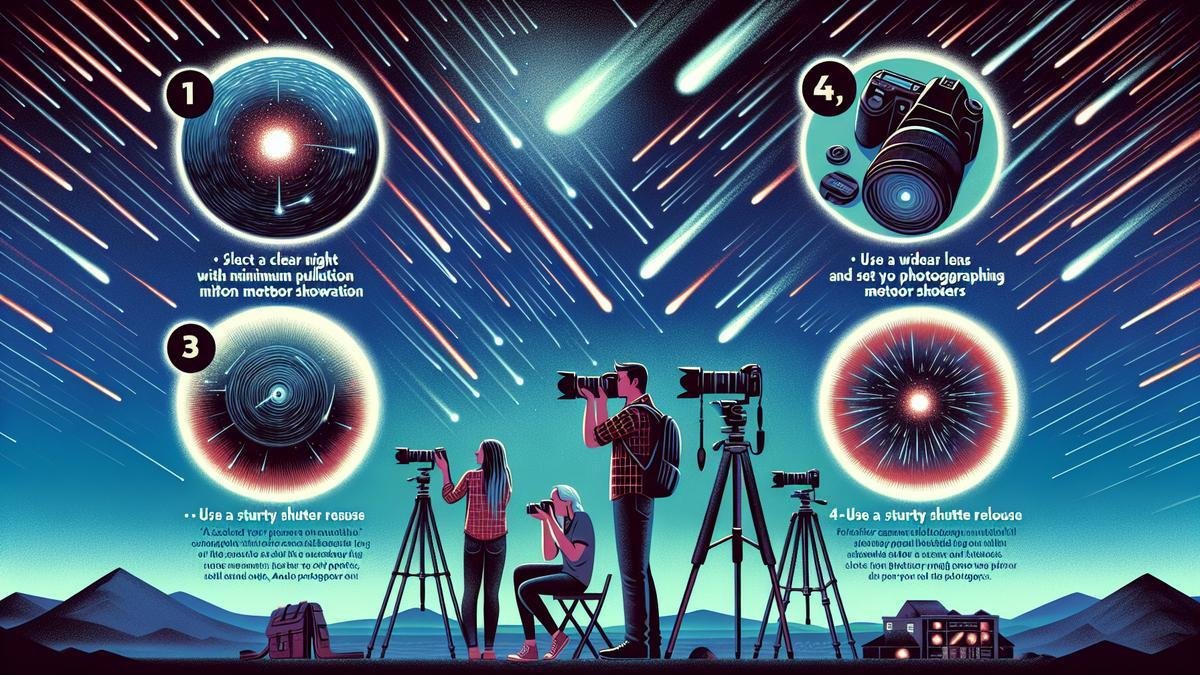
Use a Sturdy Tripod
A stable camera is essential for long-exposure shots. Invest in a sturdy tripod to keep your camera steady throughout the night. Any movement can result in blurry images, so make sure your tripod is reliable and well-secured.
Set Up Your Camera
Proper camera settings are crucial for capturing meteors. Heres a quick reference table for optimal settings:
| Setting | Recommendation |
|---|---|
| Aperture | Wide open (f/2.8 or lower) |
| ISO | 1600 to 3200 |
| Shutter Speed | 20-30 seconds |
| Focus | Manual focus, set to infinity |
| White Balance | Auto or set to daylight |
Experiment with these settings to find what works best for your camera and location. Remember, it’s all about finding the right balance between exposure and noise.
Use a Remote Shutter Release
A remote shutter release or intervalometer is a valuable tool for meteor photography. It allows you to take long exposures without touching the camera, reducing the risk of camera shake. Set it to take continuous shots, so you don’t miss any meteors while adjusting your settings.
Be Patient and Persistent
Meteor photography requires patience and persistence. Meteors can be unpredictable, and you may need to wait for hours to capture the perfect shot. Bring along some snacks, a comfortable chair, and warm clothing to make your night under the stars more enjoyable.
Post-Processing
After your night of shooting, it’s time to bring out the best in your photos through post-processing. Use software like Adobe Lightroom or Photoshop to enhance your images. Adjust the exposure, contrast, and color balance to make the meteors stand out. Be careful not to overdo it, as natural-looking photos are often the most captivating.
Equipment Recommendations
Having the right gear can make a significant difference in your meteor photography. Here are some essential equipment recommendations:
Cameras
When choosing a camera for astrophotography, consider models that perform well in low-light conditions. Full-frame DSLRs and mirrorless cameras are excellent choices due to their larger sensors and better noise performance. Check out this guide to the top cameras for astrophotography in 2024 for some great options.
Lenses
Wide-angle lenses with a fast aperture (f/2.8 or lower) are ideal for capturing meteors. These lenses allow more light to reach the sensor, resulting in brighter and clearer images. For more information on essential lenses for astrophotography, visit this comprehensive guide.
Tripods
A sturdy tripod is a must-have for long-exposure photography. Look for tripods that are stable, lightweight, and easy to set up. Carbon fiber tripods are a popular choice due to their durability and portability. For a detailed review of tripods for astrophotography, check out this article.
Filters
Filters can enhance your astrophotography by reducing light pollution and improving contrast. Consider using a light pollution filter to minimize the impact of artificial lights on your images. For more information on the best filters for astrophotography, visit this guide.
Additional Accessories
There are several other accessories that can enhance your meteor photography experience. Red LED headlamps, portable power solutions, and star trackers are just a few examples. For a comprehensive list of must-have accessories, check out this article.
Advanced Techniques
Once you’ve mastered the basics, you can explore advanced techniques to take your meteor photography to the next level.
Combining Multiple Exposures
Combining multiple exposures is a powerful technique that allows you to capture more meteors in a single image. By stacking several long-exposure shots, you can create a composite image that showcases the beauty of a meteor shower. For a step-by-step guide on combining and stacking images, visit this resource.
Using Star Trackers
Star trackers are devices that compensate for the Earth’s rotation, allowing you to take longer exposures without star trails. This technique can be especially useful for capturing faint meteors and other celestial objects. To learn more about using star trackers, check out this guide.
Post-Processing Tips
Post-processing is an essential part of astrophotography. Use software like Adobe Lightroom or Photoshop to enhance your images. Adjust the exposure, contrast, and color balance to make the meteors stand out. For more advanced post-processing techniques, visit this resource.
Troubleshooting Common Issues
Even with the best preparation, you may encounter some challenges while photographing meteors. Here are some common issues and how to address them:
Blurry Images
Blurry images can result from camera shake or inaccurate focus. To avoid this, use a sturdy tripod and a remote shutter release. Make sure your lens is set to manual focus and focus on a distant star or the moon to achieve sharpness.
Noise in Images
High ISO settings can introduce noise into your images. While it’s necessary to use higher ISO settings for night photography, you can reduce noise through post-processing. Use noise reduction software or techniques to clean up your images. For more tips on reducing noise, check out this guide.
Light Pollution
Light pollution can wash out the meteors and make them less visible. To minimize its impact, choose a dark location away from city lights. Additionally, consider using a light pollution filter to improve contrast. For more information on dealing with light pollution, visit this resource.
Post-Processing Your Meteor Shower Photos
Basic Editing Techniques
Once you’ve captured those breathtaking meteor shower shots, it’s time to give them that extra sparkle through post-processing. This is where you can elevate your photos from great to jaw-droppingly stunning. Let’s dive into some basic editing techniques that will help you achieve this.
Adjusting Exposure and Contrast
The first step in post-processing is to adjust the exposure and contrast. Meteor showers often happen in dark skies, so you might need to brighten your image a bit. Use the exposure slider in your editing software to find the right balance. Be cautious not to overexpose, as you want to keep the night sky’s natural darkness.
Balancing Colors and White Balance
Proper color balance is crucial. The night sky can sometimes appear too warm or too cool. Adjust the white balance to make sure the stars and meteors look natural. A slight tweak can make a world of difference.
Sharpening and Reducing Noise
Nighttime photos can often be a bit noisy, especially if you’ve used a high ISO setting. Use noise reduction tools to smooth out the grainy parts without losing too much detail. After that, apply some sharpening to bring out the stars and meteors more clearly.
Enhancing Star Trails
Star trails can add a magical touch to your meteor shower photos. Here’s how you can enhance them during post-processing.
Stacking Images
To create those mesmerizing star trails, you’ll need to stack multiple images. This technique involves combining several long-exposure shots to show the movement of stars over time. Software like StarStaX or DeepSkyStacker can help you achieve this effect effortlessly.
| Software | Description |
|---|---|
| StarStaX | Free software for stacking star trail images. |
| DeepSkyStacker | Popular among astrophotographers for stacking and post-processing. |
Adjusting Trail Brightness
Once you’ve stacked your images, you may need to adjust the brightness of the star trails. Use the curves or levels tool in your editing software to make the trails stand out more against the night sky.
Blending Techniques
Sometimes, blending different exposures can yield the best results. You can blend a long-exposure shot of the star trails with a shorter exposure of the meteor shower to get the best of both worlds.
Software Recommendations
Choosing the right software can make a significant difference in your post-processing workflow. Here are some top recommendations to consider.
Adobe Lightroom and Photoshop
Adobe Lightroom is excellent for basic adjustments like exposure, contrast, and color balance. For more advanced editing, Photoshop offers a range of tools for noise reduction, sharpening, and blending.
Affinity Photo
Affinity Photo is a cost-effective alternative to Photoshop. It offers similar capabilities, including stacking and advanced editing tools, making it a great choice for astrophotographers.
Safety and Comfort During Night Shoots
Dressing for the Weather
When you’re out in the middle of the night, chasing the perfect shot of a meteor shower, dressing appropriately is not just a matter of comfort—it’s a matter of survival. You might think, “It’s just a few hours outside,” but those hours can feel like an eternity if you’re not properly prepared.
First and foremost, layering is your best friend. The temperature can drop significantly at night, especially in remote areas. Start with a moisture-wicking base layer to keep sweat off your skin. Add an insulating middle layer, like a fleece or down jacket, to trap heat. Finally, top it off with a waterproof and windproof outer layer. This way, you can adjust your clothing as the temperature changes.
Don’t forget about your extremities. A warm hat, gloves, and thick socks are essential. Cold fingers make it difficult to operate your camera, and frozen toes can make standing unbearable. Hand warmers can be a lifesaver, too. Slip them into your gloves or pockets for an extra burst of warmth.
Here’s a quick checklist for dressing for the weather:
| Clothing Item | Purpose |
|---|---|
| Moisture-wicking base layer | Keeps sweat off your skin |
| Insulating middle layer | Traps heat |
| Waterproof outer layer | Protects against wind and rain |
| Warm hat | Keeps your head warm |
| Gloves | Keeps your hands warm and functional |
| Thick socks | Keeps your feet warm |
| Hand warmers | Provides extra warmth |
Staying Safe in Remote Areas
Venturing into remote areas for that perfect meteor shower shot can be thrilling, but it also comes with its own set of risks. Safety should always be a top priority.
First, always let someone know where you’re going and when you expect to return. Share your location and plans with a friend or family member. This way, if anything goes wrong, someone will know where to find you.
Bring a fully charged phone and, if possible, a portable power bank. In some remote areas, cell service might be spotty or nonexistent, so consider carrying a satellite phone or a personal locator beacon for emergencies.
It’s also wise to familiarize yourself with the local wildlife. In some areas, you might encounter animals like bears or snakes. Carrying bear spray or a whistle can be helpful. Additionally, be aware of the terrain. Uneven ground, loose rocks, and other hazards can pose a risk, especially in the dark.
Here’s a quick safety checklist for remote areas:
| Safety Item | Purpose |
|---|---|
| Share your location and plans | Ensures someone knows where you are |
| Fully charged phone | Allows for communication in emergencies |
| Portable power bank | Provides extra battery life |
| Satellite phone/locator beacon | Offers communication in remote areas |
| Bear spray/whistle | Deters wildlife |
| Familiarize with local wildlife | Prepares for potential encounters |
| Be aware of terrain | Reduces risk of injury |
Frequently Asked Questions
How do you find the best location for photographing meteor showers?
– Get away from city lights.
– Head to a dark, open area.
– Check a light pollution map.
What camera settings work best for capturing meteors?
– Use a wide-angle lens.
– Set your ISO between 800 and 1600.
– Use a long exposure of 20-30 seconds.
When is the best time to photograph a meteor shower?
– During peak activity times.
– After midnight for more meteors.
– On a clear, moonless night.
Do you need special equipment for photographing meteor showers?
– A digital camera with manual settings.
– A sturdy tripod.
– An intervalometer for continuous shots.
How can you enhance your meteor shower photos?
– Shoot in RAW format for editing.
– Use a remote shutter release to avoid shaking.
– Experiment with different compositions.

