Advanced Image Processing Techniques for Astrophotographers are essential for turning your good shots into stunning masterpieces. In this article, you’ll dive into a treasure trove of methods like Deconvolution, Star Masking, and Noise Reduction to sharpen and enhance your stars. Youll also discover how to balance color, and correct lens issues, making sure your astro images pop with natural, vivid colors. Got multiple exposures? Learn to stack and blend them for incredible clarity and dynamic range. Get ready to reveal hidden details in nebulae and galaxies, elevating your astrophotography to the next level!
Key Points
- Choose the right filters
- Use stacking software
- Adjust your exposure settings
- Enhance details with sharpening tools
- Remove noise with specialized software
Enhancing Star Details
Using Deconvolution
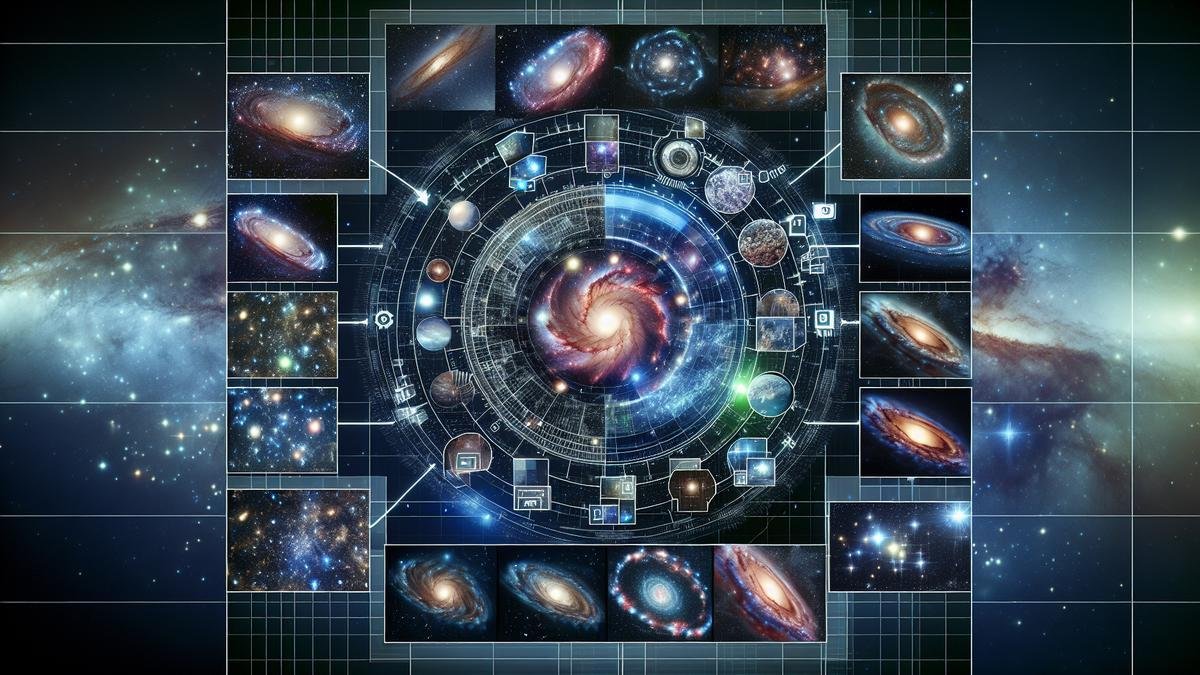
In astrophotography, deconvolution is a powerful technique to sharpen your star images. Think of it as a way to reverse the blurring effects caused by your equipment or atmospheric conditions. You can achieve this through specialized software like PixInsight or AstroPixelProcessor. These tools use algorithms to enhance the clarity of your celestial objects.
Imagine you’re trying to focus a telescope, but the image remains slightly fuzzy. Deconvolution acts like a fine-tuning mechanism, bringing those celestial wonders into sharper focus. Here’s a simplified table to give you an idea of how different software options stack up for deconvolution:
| Software | Ease of Use | Effectiveness | Price Range |
|---|---|---|---|
| PixInsight | Moderate | High | $$$ |
| AstroPixelProcessor | Easy | Moderate | $$ |
| Maxim DL | Difficult | Very High | $$$$ |
When applying deconvolution, start with a small amount and gradually increase it. Too much can introduce artifacts, making your stars look unnatural. Balance is key.
Moreover, deconvolution isn’t just for stars. It can also bring out details in nebulae and galaxies. You can read more about how to photograph nebulae and galaxies to understand the broader applications of this technique.
Star Masking Techniques
Star masking is another essential technique to enhance your astrophotography. It allows you to isolate stars from the background, making it easier to apply specific adjustments without affecting the entire image. Software like Adobe Photoshop and GIMP are excellent for this purpose.
Creating a star mask involves selecting the stars in your image and then creating a mask layer. This layer can be used to apply adjustments like brightness, contrast, and saturation specifically to the stars. Here’s a quick step-by-step guide:
- Open your image in Photoshop.
- Duplicate the background layer.
- Use the Select Color Range tool to select the stars.
- Create a new layer mask from this selection.
- Adjust the stars using the mask layer.
This technique shines when you want to tweak star colors or enhance their brightness without altering the background. Its like having a magic wand that lets you make precise adjustments.
Reducing Noise in Your Images
When you’re diving deep into astrophotography, noise reduction is a crucial aspect of post-processing. Noise can obscure the stunning details of galaxies, nebulae, and star clusters. Let’s explore the advanced techniques to reduce noise and bring out the best in your celestial captures.
Noise Reduction Software
Using the right software can significantly enhance your images by reducing noise. Here are some top-notch noise reduction tools that can help you achieve cleaner shots:
| Software | Features | Pros | Cons |
|---|---|---|---|
| Topaz DeNoise AI | AI-powered noise reduction | Excellent detail preservation | Requires a powerful computer |
| Adobe Lightroom | Comprehensive editing suite | Integrated with other Adobe tools | Subscription-based |
| Noise Ninja | Advanced noise profiling | Customizable noise reduction | Older interface |
| Astro Pixel Processor | Tailored for astrophotography | Multi-band blending | Steeper learning curve |
Each of these tools offers unique capabilities to help you tackle noise. For instance, Topaz DeNoise AI uses artificial intelligence to distinguish between noise and fine details, ensuring that your star fields remain sharp. On the other hand, Adobe Lightroom provides a more holistic approach, allowing you to fine-tune various aspects of your image.
Manual Noise Reduction Techniques
While software can do wonders, sometimes manual techniques can give you that extra edge. Here are some methods you can employ:
Stacking Multiple Exposures
Stacking multiple exposures is a powerful technique to reduce noise. By combining several images of the same scene, you can average out the noise and enhance the signal. This method is particularly effective for capturing faint celestial objects.
Using Dark Frames
Dark frames are images taken with the same exposure settings as your light frames but with the lens cap on. These frames capture the noise generated by your camera sensor. Subtracting dark frames from your light frames can help eliminate sensor noise.
Applying Gaussian Blur
A subtle Gaussian blur can reduce noise in the background of your images without affecting the sharpness of your stars. This technique works well for wide-field shots where the noise is more prominent in the dark areas.
Adjusting ISO Sensitivity
High ISO settings can introduce significant noise. While shooting at lower ISO settings can reduce noise, it also requires longer exposures. Finding the right balance between ISO and exposure time is key to minimizing noise while capturing enough light.
Balancing Noise and Detail
Reducing noise is essential, but it’s equally important to preserve the intricate details of your celestial subjects. Here are some tips to strike the right balance:
Use Layer Masks
Layer masks in Photoshop or GIMP allow you to apply noise reduction selectively. By masking out areas where you want to preserve detail, you can reduce noise in the background while keeping your stars sharp.
Focus on High-Frequency Noise
High-frequency noise appears as fine grain and can be more distracting than low-frequency noise. Using high-pass filters or specific noise reduction tools can help target and reduce high-frequency noise without affecting the overall sharpness.
Blending Modes
Blending modes in Photoshop can be used to combine different layers while preserving detail. For instance, using the “Overlay” or “Soft Light” blending modes can help enhance contrast and detail without introducing additional noise.
Improving Color Balance
Adjusting White Balance
Adjusting the white balance in astrophotography is like fine-tuning a musical instrument. Its all about hitting the right notes to bring out the true colors of the night sky. When youre capturing the cosmos, the color balance can often be skewed due to various factors like light pollution and atmospheric conditions.
To get started, you should consider shooting in RAW format. This gives you greater flexibility in post-processing, allowing you to adjust the white balance without losing image quality.
Steps for Adjusting White Balance:
- Identify a Neutral Reference Point: Look for a part of the image that should be neutral gray or white. This could be a star or a part of the sky with no apparent color tint.
- Use Software Tools: Programs like Adobe Lightroom or Photoshop have tools that let you click on a neutral area to automatically adjust the white balance.
- Manual Adjustments: Sometimes, automatic adjustments arent perfect. You might need to fine-tune the temperature and tint sliders manually to get the desired effect.
Color Calibration Tools
Color calibration tools are indispensable for achieving accurate colors in your astrophotography. These tools help you correct the color balance and ensure that your images reflect the true beauty of the night sky.
Popular Color Calibration Tools:
| Tool | Description |
|---|---|
| X-Rite ColorChecker | A color calibration target that helps in achieving consistent color reproduction. |
| SpyderX Pro | A monitor calibration tool that ensures your display shows accurate colors. |
| PixInsight | Advanced software for astrophotography that includes powerful color calibration features. |
Using these tools, you can calibrate your monitor and your images to ensure consistent and accurate color representation.
Combining Multiple Exposures
Youve captured some breathtaking shots of the night sky. Now, its time to take those images to the next level by combining multiple exposures. This technique can help you achieve clarity and detail that a single shot could never provide.
Stacking Images for Clarity
Stacking images is one of the most effective methods to enhance your astrophotography. Imagine youre piecing together a puzzle; each image you stack is like adding another piece, bringing the complete picture into sharper focus.
Why Stack Images?
- Reduced Noise: By stacking multiple exposures, you can significantly reduce noise, making your final image cleaner and more detailed.
- Increased Signal: Combining several shots increases the signal strength, allowing faint celestial objects to become more visible.
Here’s a simplified table to illustrate the benefits:
| Number of Images | Noise Reduction | Signal Increase |
|---|---|---|
| 1 | Low | Low |
| 5 | Moderate | Moderate |
| 10 | High | High |
How to Stack Images
- Capture Multiple Shots: Take several exposures of the same scene. Aim for at least 10 to 20 images for best results.
- Align Images: Use software like DeepSkyStacker or Sequator to align your images. This step ensures that the stars and celestial objects line up perfectly.
- Stack and Combine: The software will stack the images, averaging out the noise and enhancing the signal.
For more on capturing those initial shots, check out our guide on essential lenses for capturing the night sky.
Blending Techniques
Blending techniques can further refine your astrophotography, adding depth and richness to your images. Think of it as painting; blending allows you to layer different elements seamlessly.
Types of Blending Techniques
- Layer Masks: Use layer masks in Photoshop to blend different exposures. This technique is excellent for combining images with varying exposure times.
- Gradient Blending: Apply gradient masks to smoothly transition between different exposures. This method works well for blending the sky and foreground.
Steps for Blending with Layer Masks
- Open Images in Photoshop: Load your images as layers in a single Photoshop file.
- Add Layer Masks: Apply a layer mask to each layer. Use a soft brush to paint on the mask, revealing or hiding parts of the layer.
- Blend Gradually: Gradually blend the layers by adjusting the opacity and brush settings.
For more advanced techniques, our article on advanced Photoshop techniques for astrophotography is a must-read.
Correcting Lens Distortion
Using Lens Correction Software
When you’re capturing the night sky, lens distortion can be a real thorn in your side. Stars that should be pinpoints of light can appear stretched or warped, especially at the edges of your images. Fortunately, you have tools at your disposal to correct these issues.
Lens correction software is your first line of defense. Programs like Adobe Lightroom and Photoshop have built-in lens profiles that can automatically correct common distortions. These profiles are created by analyzing the characteristics of various lenses and applying adjustments to counteract their specific flaws.
Heres a quick comparison of some popular lens correction software:
| Software | Key Features | Price Range |
|---|---|---|
| Adobe Lightroom | Automatic lens profile corrections, user-friendly interface | $9.99/month |
| DxO PhotoLab | Advanced optical corrections, PRIME noise reduction | $129 – $199 |
| Capture One | High-quality RAW processing, customizable profiles | $20/month |
Using these tools, you can correct barrel distortion, pincushion distortion, and chromatic aberration with just a few clicks.
Pro Tip: Always shoot in RAW format. RAW files retain more image data than JPEGs, making them easier to correct without losing quality.
Manual Distortion Fixes
Sometimes, automatic corrections aren’t enough. You might need to roll up your sleeves and get hands-on with manual adjustments. This is where your keen eye for detail and patience come into play.
- Straighten Lines: Use the straightening tool to align the horizon or any other straight lines in your image. This can help reduce the appearance of distortion.
- Warp Tool: In Photoshop, the Warp tool allows you to manually adjust specific areas of your image. You can push and pull sections of the photo to correct distortion without affecting the rest of the image.
- Perspective Correction: If you’re dealing with perspective distortion, use the perspective correction tool to align vertical and horizontal lines.
Enhancing Nebulae and Galaxies
Astrophotography isn’t just about capturing stars; it’s about revealing the intricate beauty of nebulae and galaxies. Advanced image processing techniques can transform your raw images into breathtaking works of art. Let’s dive into some sophisticated methods to elevate your astrophotography.
Highlighting Faint Details
When you’re working with faint celestial objects, bringing out the subtle details can be quite a challenge. But with the right techniques, you can make those elusive elements pop.
Noise Reduction
Noise can obscure faint details. Using advanced noise reduction techniques can help. Software like Top 10 Cameras for Astrophotography in 2024 or Best Software for Editing Astrophotography Images can be invaluable.
| Technique | Description |
|---|---|
| Median Filtering | Reduces noise by replacing each pixel’s value with the median of neighboring pixels. |
| Gaussian Smoothing | Blurs the image slightly to reduce noise while preserving edges. |
| Wavelet Transform | Separates the image into different frequency components to isolate and reduce noise. |
Deconvolution
Deconvolution is a process that helps sharpen blurry images, making faint details more visible. This technique works by reversing the effects of distortion caused by your imaging system.
| Software | Description |
|---|---|
| PixInsight | Offers robust deconvolution tools tailored for astrophotography. |
| Photoshop | With plugins like AstroTools, you can perform deconvolution effectively. |
| MaxIm DL | A comprehensive software suite that includes deconvolution features. |
Contrast Adjustment Techniques
Contrast is key to making your images stand out. Proper contrast adjustments can turn a flat image into a vibrant masterpiece.
Curves Adjustment
Curves adjustment allows you to manipulate the tonal range of your image, enhancing contrast and bringing out hidden details.
| Step | Action |
|---|---|
| Select Curves Tool | Open the curves tool in your image editing software. |
| Adjust Midtones | Drag the curve to adjust midtones and enhance contrast. |
| Fine-Tune Shadows and Highlights | Make subtle adjustments to shadows and highlights for a balanced look. |
Histogram Equalization
Histogram equalization is a technique that adjusts the contrast of your image by redistributing pixel intensities.
| Technique | Description |
|---|---|
| Global Histogram Equalization | Adjusts the entire image’s contrast uniformly. |
| Adaptive Histogram Equalization | Enhances contrast in small regions of the image for more detailed adjustments. |
Bringing Out Hidden Structures
Nebulae and galaxies often contain complex structures that are not immediately visible. Advanced processing techniques can help reveal these hidden gems.
Masking Techniques
Masking allows you to apply adjustments selectively, enhancing specific areas without affecting the entire image.
| Type | Description |
|---|---|
| Luminance Masking | Uses the brightness of the image to create a mask, targeting specific tonal ranges. |
| Color Masking | Isolates specific colors for targeted adjustments. |
Frequently Asked Questions
What are the best advanced image processing techniques for astrophotographers?
Advanced Image Processing Techniques for Astrophotographers include stacking, noise reduction, and gradient removal. Use software like DeepSkyStacker and Photoshop.
How can I reduce noise in my astrophotography images?
Use multiple exposures and stack them. Apply noise reduction algorithms in editing software. Shoot at a lower ISO if possible.
What’s the best way to bring out details in galaxy photos?
Use advanced sharpening techniques. Focus on enhancing contrast. Use software tools like deconvolution to bring out fine details.
How do I correct color balance in my astrophotography shots?
Use color calibration tools within your editing software. Reference to a known star’s color. Adjust the white balance manually.
Can advanced image processing enhance my star colors?
Yes, it can! Use selective color adjustment. Enhance saturation and contrast. Use software to differentiate and boost star color contrast.

