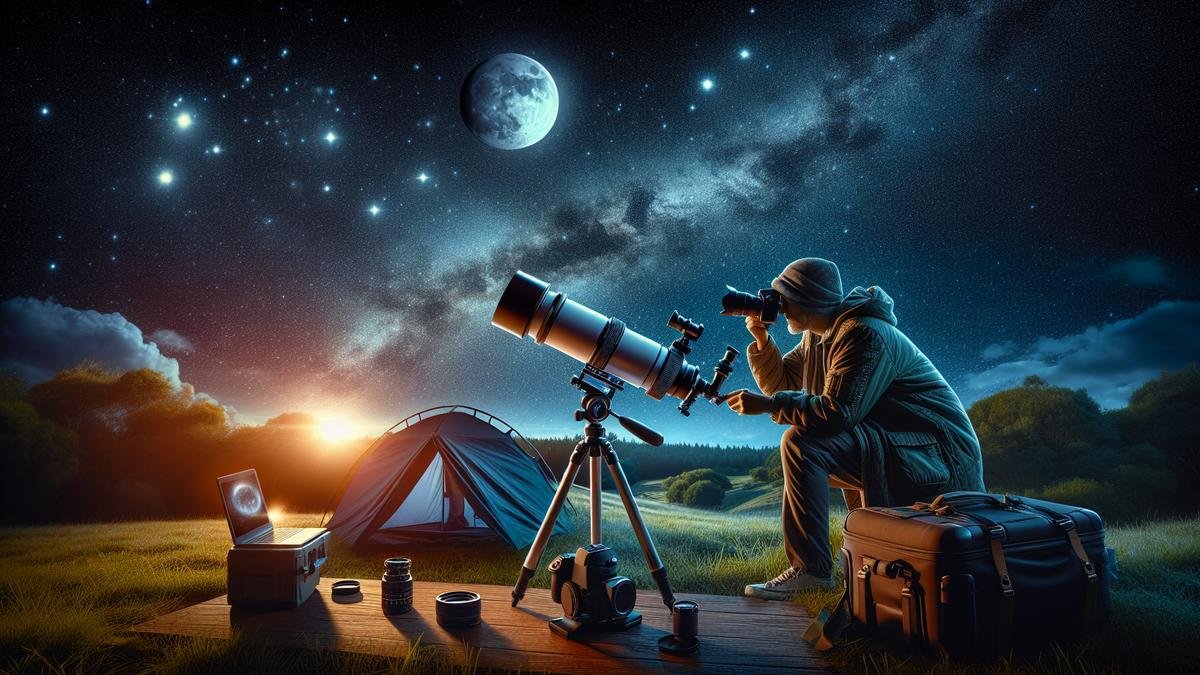
Are you fascinated by the night sky but often on the move? Astrophotography on the Go: Portable Equipment for Traveling Stargazers has got you covered. This article dives into choosing the right portable telescope, lightweight and compact designs, and best options for beginners. You’ll also find essential camera gear tips, from must-have lenses to portable tripods and mounts for stable shots. Plus, discover power solutions and apps to edit your photos on the road. Dive in to learn how to organize and protect your equipment efficiently for travel-friendly stargazing adventures. Get ready to capture the cosmos wherever you go!
Key Takeaways
- Lightweight gear is easy to carry anywhere.
- Portable telescopes are great for travel.
- Compact tripods fit in your bag easily.
- Power banks keep devices charged on the go.
- Star trackers help capture clear night sky photos.
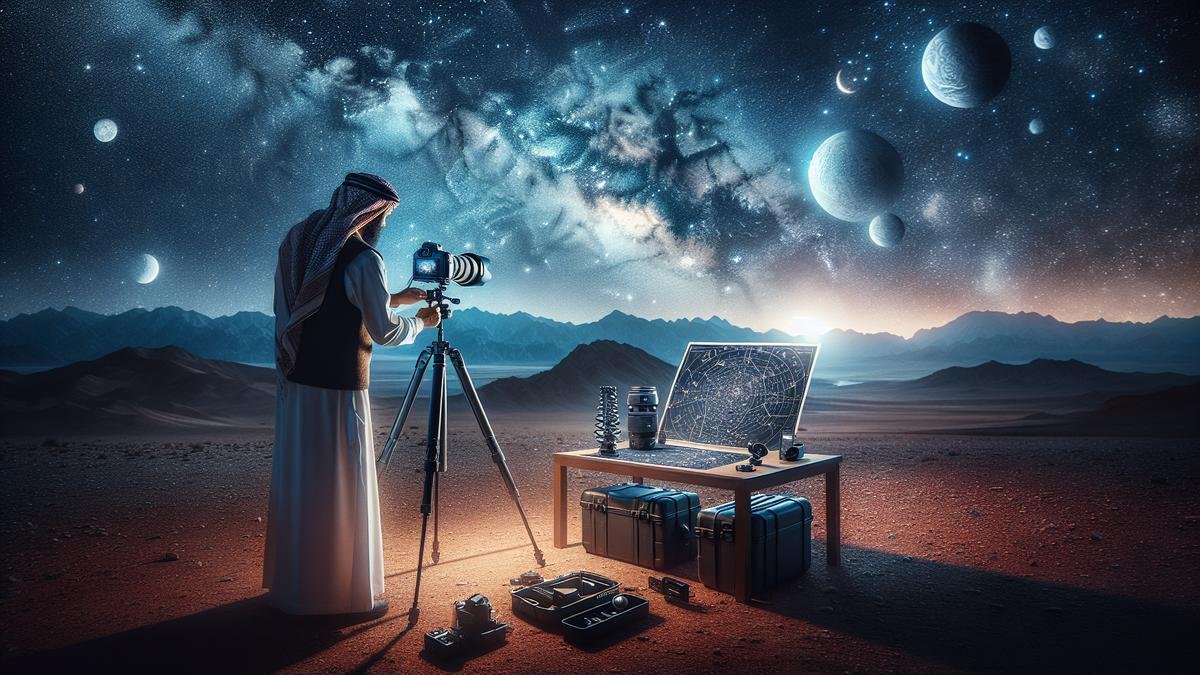
Choosing the Right Portable Telescope
Embarking on your astrophotography journey with a portable telescope is like stepping into a new world. The right equipment can make a night under the stars unforgettable. Let’s dive into the essential details of choosing a portable telescope.
Lightweight Options for Easy Travel
When you’re hitting the road, weight is a crucial factor. You don’t want to lug around heavy equipment. Lightweight telescopes are a game-changer for travelers. They offer the perfect balance of portability and functionality.
Table: Lightweight Telescopes for Travel
| Telescope Model | Weight (lbs) | Aperture (inches) | Price Range |
|---|---|---|---|
| Celestron Travel Scope | 3.3 | 2.76 | $80-$100 |
| Orion GoScope III | 2.2 | 2.36 | $60-$80 |
| Meade Infinity 70mm | 5.0 | 2.76 | $100-$120 |
Celestron Travel Scope is a favorite among stargazers for its compact design and ease of use. The Orion GoScope III is even lighter, making it ideal for those long hikes to remote stargazing spots. For those who want a bit more aperture without breaking the bank, the Meade Infinity 70mm is a solid choice.
Compact Designs for Quick Setup
Time is of the essence when you’re out in the field. You want to spend more time observing and less time setting up. Compact designs are your best friend here. They offer quick setup without compromising on performance.
Table: Compact Telescopes with Quick Setup
| Telescope Model | Setup Time (minutes) | Aperture (inches) | Price Range |
|---|---|---|---|
| Sky-Watcher Heritage 100P | 5 | 3.94 | $120-$150 |
| Celestron NexStar 4SE | 10 | 4.0 | $500-$600 |
| Orion StarBlast 4.5 Astro Reflector | 7 | 4.5 | $200-$250 |
The Sky-Watcher Heritage 100P is perfect for those who want to get started quickly. The Celestron NexStar 4SE offers more advanced features but still keeps setup time to a minimum. If you’re looking for a reflector, the Orion StarBlast 4.5 Astro Reflector is both compact and powerful.
Best Telescopes for Beginners
Starting your astrophotography adventure can be overwhelming. But don’t worry, there are telescopes tailored specifically for beginners. These models are user-friendly and come with essential features to get you started.
Table: Beginner-Friendly Telescopes
| Telescope Model | Ease of Use | Aperture (inches) | Price Range |
|---|---|---|---|
| Celestron AstroMaster 130EQ | High | 5.12 | $250-$300 |
| Orion SkyQuest XT6 | Medium | 6.0 | $300-$350 |
| Meade Polaris 90mm | High | 3.54 | $150-$200 |
The Celestron AstroMaster 130EQ is highly recommended for its ease of use and excellent optics. The Orion SkyQuest XT6 offers a larger aperture for those who want to see more detail. The Meade Polaris 90mm is another great option for beginners, offering a balance of performance and affordability.
Essential Accessories for Astrophotography
No telescope is complete without the right accessories. These tools enhance your stargazing experience and help you capture stunning images.
Table: Must-Have Accessories for Astrophotographers
| Accessory | Function | Price Range |
|---|---|---|
| Barlow Lens | Increases magnification | $30-$50 |
| Star Diagonal | Improves viewing comfort | $40-$60 |
| Camera Adapter | Connects camera to telescope | $20-$40 |
A Barlow Lens is a must-have for increasing your telescope’s magnification. A Star Diagonal can make viewing more comfortable, especially when the telescope is pointed high in the sky. And if you’re planning to capture images, a Camera Adapter is essential.
Tripods and Mounts
A stable tripod or mount is crucial for clear, shake-free images. Here are some top picks for portable tripods and mounts.
Table: Top Tripods and Mounts for Astrophotography
| Model | Stability | Portability | Price Range |
|---|---|---|---|
| Manfrotto Befree Advanced | High | High | $150-$200 |
| Zomei Z818 | Medium | High | $100-$150 |
| Orion Tritech II Field Tripod | High | Medium | $70-$100 |
The Manfrotto Befree Advanced offers excellent stability and portability, making it a top choice for serious astrophotographers. The Zomei Z818 is a more budget-friendly option that still provides good stability. For those who want a lightweight tripod, the Orion Tritech II Field Tripod is a great option.
Filters for Enhanced Images
Filters can significantly improve the quality of your astrophotography. They help reduce light pollution and bring out more details in your images.
Table: Best Filters for Astrophotography
| Filter Type | Function | Price Range |
|---|---|---|
| Light Pollution Filter | Reduces light pollution | $50-$100 |
| Moon Filter | Reduces glare from the moon | $20-$40 |
| Nebula Filter | Enhances nebulae visibility | $60-$120 |
A Light Pollution Filter is essential if you’re shooting from urban areas. A Moon Filter can reduce the glare from the moon, making it easier to capture detailed images. If you’re interested in photographing nebulae, a Nebula Filter is a great investment.
Portable Power Solutions
When you’re out in the field, reliable power is crucial. Portable power solutions can keep your equipment running all night.
Table: Portable Power Solutions for Astrophotography
| Power Solution | Capacity (mAh) | Price Range |
|---|---|---|
| Jackery Explorer 240 | 240Wh | $200-$250 |
| Goal Zero Yeti 200X | 187Wh | $300-$350 |
| Anker Powerhouse 200 | 213Wh | $250-$300 |
The Jackery Explorer 240 is a popular choice for its balance of capacity and price. The Goal Zero Yeti 200X offers slightly less capacity but is known for its durability. The Anker Powerhouse 200 is another great option, providing reliable power in a compact package.
Cameras for Astrophotography
Choosing the right camera is crucial for capturing stunning night sky images. Here are some top picks for astrophotography cameras.
Table: Best Cameras for Astrophotography
| Camera Model | Sensor Type | Price Range |
|---|---|---|
| Canon EOS Ra | Full-Frame | $2,500-$3,000 |
| Nikon D850 | Full-Frame | $3,000-$3,500 |
| Sony A7S III | Full-Frame | $3,500-$4,000 |
The Canon EOS Ra is specifically designed for astrophotography, offering excellent low-light performance. The Nikon D850 is another top choice, known for its high resolution and dynamic range. The Sony A7S III is favored for its incredible low-light capabilities.
Lenses for Astrophotography
The right lens can make a significant difference in your astrophotography. Here are some essential lenses to consider.
Table: Essential Lenses for Astrophotography
| Lens Model | Focal Length (mm) | Price Range |
|---|---|---|
| Rokinon 14mm f/2.8 | 14 | $300-$400 |
| Canon EF 24mm f/1.4L II | 24 | $1,500-$1,600 |
| Sigma 35mm f/1.4 Art | 35 | $800-$900 |
The Rokinon 14mm f/2.8 is a budget-friendly option that offers excellent wide-angle performance. The Canon EF 24mm f/1.4L II is a high-end lens that provides stunning image quality. The Sigma 35mm f/1.4 Art is another great choice, known for its sharpness and build quality.
Software for Astrophotography
Post-processing is a crucial part of astrophotography. The right software can help you bring out the best in your images.
Table: Best Software for Astrophotography
| Software | Function | Price Range |
|---|---|---|
| Adobe Photoshop | Image Editing | $20/month |
| DeepSkyStacker | Image Stacking | Free |
| PixInsight | Advanced Processing | $260 one-time |
Adobe Photoshop is the industry standard for image editing. DeepSkyStacker is a free tool that helps you stack multiple images to reduce noise. PixInsight is a powerful tool for advanced image processing, offering a wide range of features for serious astrophotographers.
Tips for Long-Exposure Astrophotography
Long-exposure photography is essential for capturing detailed images of the night sky. Here are some tips to help you get started.
- Use a Stable Tripod: A stable tripod is crucial for long exposures. Check out our guide on tripods for astrophotography.
- Set a Low ISO: A lower ISO reduces noise in your images. Learn more about high ISO tips and tricks.
- Use a Remote Shutter Release: This helps prevent camera shake. Discover more must-have accessories.
Star Trackers for Perfect Astrophotography
A star tracker can help you capture sharp, detailed images by compensating for the Earth’s rotation. Here are some top picks.
Table: Best Star Trackers for Astrophotography
| Star Tracker | Tracking Accuracy | Price Range |
|---|---|---|
| Sky-Watcher Star Adventurer | High | $300-$350 |
| iOptron SkyTracker Pro | Medium | $250-$300 |
| Vixen Polarie | High | $400-$450 |
The Sky-Watcher Star Adventurer is a favorite among astrophotographers for its accuracy and ease of use. The iOptron SkyTracker Pro offers good performance at a slightly lower price. The Vixen Polarie is another great option, known for its high tracking accuracy.
Photographing Nebulae and Galaxies
Capturing images of nebulae and galaxies can be challenging but rewarding. Here are some tips to help you get started.
- Use a Nebula Filter: This can help bring out more details in your images. Check out our guide on the best filters for astrophotography.
- Take Long Exposures: Longer exposures capture more light and reveal more details. Learn more about mastering long-exposure astrophotography.
- Stack Multiple Images: Stacking can help reduce noise and improve image quality. Discover more about combining and stacking images.
Capturing the Northern Lights
Photographing the Northern Lights is a magical experience. Here are some tips to help you capture this stunning natural phenomenon.
- Use a Wide-Angle Lens: A wide-angle lens can help you capture the entire scene. Check out our guide on essential lenses for astrophotography.
- Set a High ISO: A higher ISO can help you capture more light. Learn more about high ISO tips and tricks.
- Use a Tripod: A stable tripod is crucial for long exposures. Check out our guide on tripods for astrophotography.
Advanced Post-Processing Techniques
Post-processing is an essential part of astrophotography. Here are some advanced techniques to help you bring out the best in your images.
- Use Stacking Software: Stacking multiple images can help reduce noise and improve image quality. Learn more about combining and stacking images.
- Adjust Levels and Curves: This can help bring out more details in your images. Check out our guide on advanced Photoshop techniques.
- Use Noise Reduction Software: Reducing noise can significantly improve your image quality. Learn more about how to reduce noise in astrophotography photos.
Printing Your Astrophotography Images
Printing your astrophotography images can be a rewarding experience. Here are some tips to help you get the best results.
- Use High-Quality Paper: High-quality paper can make a significant difference in your prints. Check out our guide on tips for printing your astrophotography images.
- Calibrate Your Monitor: Calibrating your monitor ensures that your prints match what you see on your screen. Learn more about using software for advanced astrophotography planning.
- Adjust Color Profiles: Adjusting color profiles can help you get the best results. Discover more about techniques for enhancing star colors.
Essential Camera Gear for Astrophotography
Choosing a Travel-Friendly Camera
When you’re venturing into the great outdoors, you need a camera that’s not just powerful, but also portable. Weight and size are crucial factors. You don’t want to lug around a heavy DSLR when you’re hiking up a mountain or trekking through a forest. Instead, look for a compact mirrorless camera. These cameras offer high-quality images while being lightweight and easy to carry.
Key Features to Look For:
| Feature | Importance |
|---|---|
| Weight | Lightweight cameras are easier to carry on long hikes. |
| Sensor Size | Larger sensors (like APS-C or full-frame) capture more light, crucial for night shots. |
| Battery Life | Extended battery life ensures you won’t miss any shots. |
| Weather Sealing | Protects your gear from the elements, especially in unpredictable weather. |
Consider models like the Sony Alpha a7 III or the Fujifilm X-T4. They are both known for their stellar performance in low-light conditions and are relatively lightweight. For more options, check out the top 10 cameras for astrophotography in 2024.
Must-Have Lenses for Stargazing
Your lens choice can make or break your astrophotography experience. You’ll want lenses that are bright and wide, allowing you to capture as much of the sky as possible.
Recommended Lenses:
| Lens Type | Description |
|---|---|
| Wide-Angle Lens | Great for capturing expansive night skies and Milky Way shots. |
| Prime Lens | Offers better sharpness and lower distortion, essential for crisp star images. |
| Telephoto Lens | Ideal for zooming in on specific celestial objects like the moon. |
A lens like the Rokinon 14mm f/2.8 is a fantastic choice for wide-angle shots. For more detailed views of celestial objects, consider a Canon EF 70-200mm f/2.8L IS III USM. For a comprehensive guide, visit essential lenses for capturing the night sky.
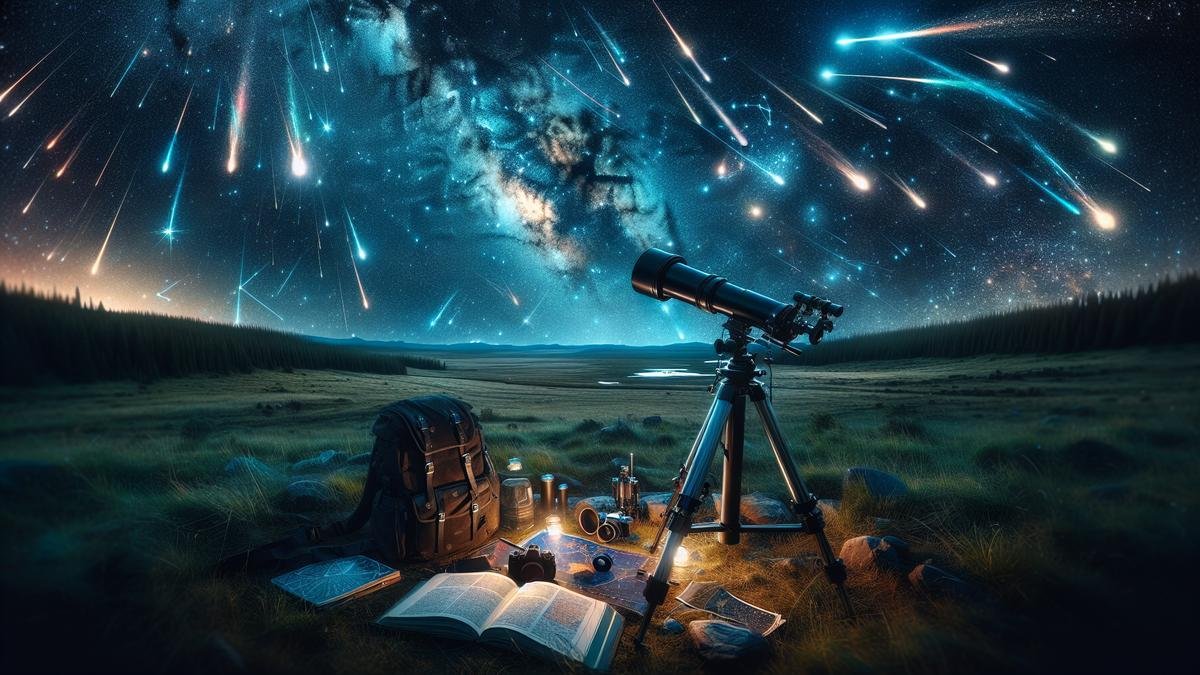
Tripods and Mounts for Stability
When you’re out in the wilderness, capturing the night sky can be a mesmerizing experience. But to get those perfect shots, stability is key. Let’s dive into some portable and lightweight options that won’t weigh you down.
Portable Tripod Options
A good tripod is like the backbone of your astrophotography setup. You need something sturdy yet lightweight. Here are a few options that are perfect for travelers:
| Tripod Model | Weight | Max Height | Features |
|---|---|---|---|
| Manfrotto Befree | 2.4 lbs | 59.1 inches | Compact, easy to set up |
| Gitzo Traveler | 3.1 lbs | 64.4 inches | Carbon fiber, very stable |
| Vanguard VEO 2 | 3.3 lbs | 59 inches | Quick setup, lightweight |
| Sirui T-025X | 2 lbs | 54.5 inches | Ultra-light, compact |
| Peak Design Travel | 2.8 lbs | 60 inches | Versatile, packs small |
Each of these tripods offers a blend of portability and stability, making them excellent choices for your stargazing adventures.
Mounts That Fit in Your Backpack
Mounts are another crucial piece of equipment. They help you track celestial objects with precision. Here are some that are easy to carry:
| Mount Model | Weight | Features |
|---|---|---|
| Sky-Watcher Star Adventurer | 2.4 lbs | Easy to use, versatile |
| iOptron SkyTracker Pro | 2.6 lbs | Accurate, portable |
| Vixen Polarie Star Tracker | 1.5 lbs | Lightweight, simple to set up |
| AstroTrac TT320X-AG | 3.5 lbs | High precision, compact |
| Fornax Mounts LighTrack II | 3.2 lbs | Extremely accurate, portable |
These mounts are designed to be compact and lightweight, fitting snugly into your backpack without taking up much space.
Power Solutions for Remote Locations
Portable Battery Packs
When you’re out in the wilderness, miles away from the nearest power outlet, portable battery packs are your best friends. These compact powerhouses keep your gear running smoothly all night long. Imagine you’re in the middle of nowhere, under a blanket of stars, capturing the Milky Way. You don’t want your camera to die just when the perfect shot appears.
Portable battery packs come in various sizes and capacities. The key is to choose one that’s lightweight yet powerful enough to meet your needs. Heres a quick comparison of some popular options:
| Brand | Capacity (mAh) | Weight (grams) | Output Ports | Price Range |
|---|---|---|---|---|
| Anker PowerCore | 20,000 | 356 | 2 USB-A, 1 USB-C | $50 – $70 |
| RAVPower | 26,800 | 458 | 3 USB-A | $60 – $80 |
| Goal Zero Sherpa | 25,600 | 635 | 2 USB-C, 2 USB-A | $200 – $250 |
Anker PowerCore is known for its reliability and compact design, making it a favorite among travelers. RAVPower offers a higher capacity, perfect for extended trips. If you’re looking for something more robust, Goal Zero Sherpa provides multiple output options, including USB-C, which is excellent for charging laptops and other high-power devices.
Solar Chargers for Extended Trips
For those extended trips where you might be off the grid for days, solar chargers are a game-changer. They harness the power of the sun to keep your gear charged. Picture yourself at a remote campsite, setting up your equipment while your solar charger soaks up the sun’s rays, ensuring you have enough juice for a night of stargazing.
Solar chargers come in different forms, from foldable panels to small, portable units. Heres a look at some top choices:
| Brand | Power Output (Watts) | Weight (grams) | Foldable | Price Range |
|---|---|---|---|---|
| BigBlue 28W | 28 | 590 | Yes | $60 – $80 |
| Goal Zero Nomad | 20 | 510 | Yes | $150 – $200 |
| Anker 21W | 21 | 417 | Yes | $50 – $70 |
BigBlue 28W is a solid choice for its balance of power output and portability. Goal Zero Nomad is slightly heavier but offers exceptional durability, perfect for rugged environments. Anker 21W is the lightest of the bunch, making it ideal for backpackers.
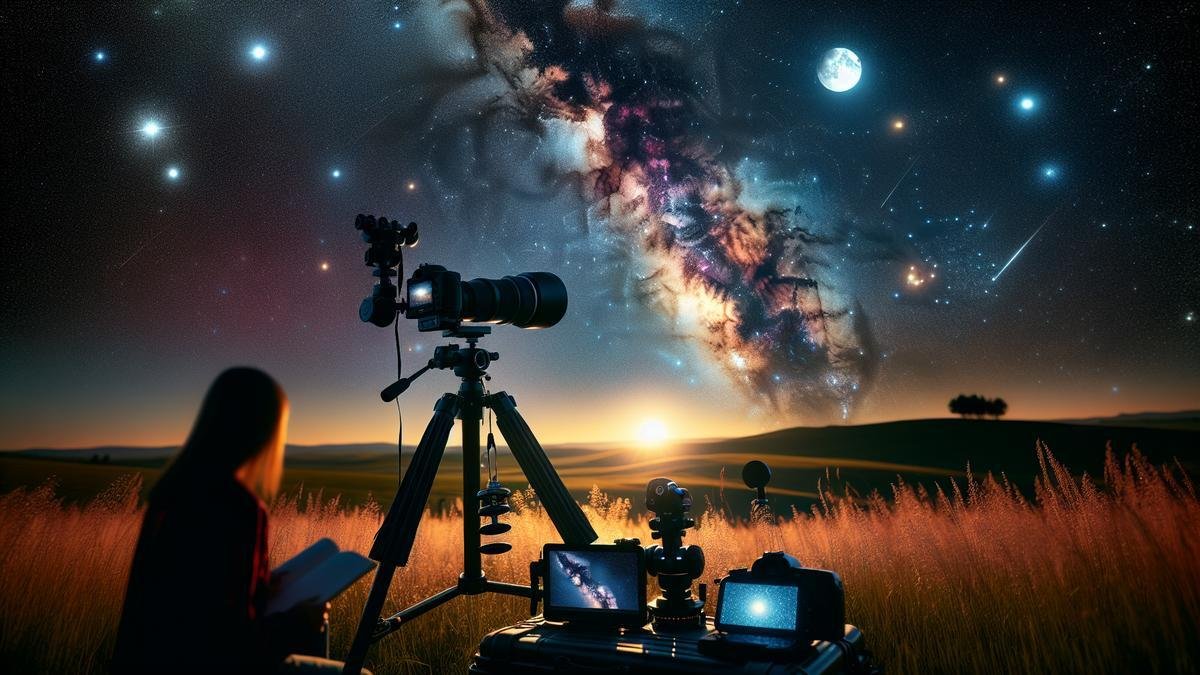
Apps and Software for On-the-Go Editing
Best Apps for Astrophotography
When you’re out under the starry sky, capturing the cosmos, having the right apps on your phone can make all the difference. These apps are not just tools; they are your digital companions, helping you navigate the night sky and enhance your photos right on the spot.
Star Walk 2
Star Walk 2 is like having a personal stargazing guide in your pocket. With augmented reality, you can point your phone at the sky and instantly identify stars, planets, and constellations. Its perfect for planning your shots and ensuring you’re capturing the right celestial objects.
PhotoPills
PhotoPills is a powerful app that helps you plan your astrophotography sessions. It includes tools for calculating exposure times, depth of field, and even the best times for capturing the Milky Way. Its a must-have for any serious astrophotographer.
SkySafari
SkySafari offers a detailed star map and a vast database of celestial objects. It can control your telescope, making it easier to track and photograph specific stars or planets. Its like having a mini observatory in your hand.
Software for Quick Edits
Once youve captured your stunning night sky photos, youll want to make some quick edits to bring out the best in your images. Here are some lightweight software options that you can use on the go.
Adobe Lightroom Mobile
Adobe Lightroom Mobile is a powerful editing tool that fits right in your pocket. It offers a range of features, from basic adjustments like exposure and contrast to more advanced tools like selective editing and presets. Plus, it syncs with your desktop version of Lightroom, so you can continue editing when you get back home.
Snapseed
Snapseed, developed by Google, is a free and incredibly versatile photo editing app. It offers a range of tools and filters to enhance your astrophotography shots. The apps intuitive interface makes it easy to adjust settings and see real-time changes.
VSCO
VSCO is another popular photo editing app that offers a wide range of filters and editing tools. While its known for its filters, it also has powerful editing tools that can help you fine-tune your astrophotography images.
Enhancing Your Photos on the Road
Editing your astrophotography photos on the go doesnt have to be a daunting task. With the right tools and a bit of know-how, you can enhance your images and make them truly shine.
Adjusting Exposure and Contrast
One of the first things youll want to do is adjust the exposure and contrast of your photos. This can help bring out the details in the stars and the Milky Way. Most editing apps offer easy-to-use sliders for these adjustments.
Reducing Noise
Noise can be a significant issue in astrophotography, especially when shooting at high ISO settings. Look for noise reduction tools in your editing app to clean up your images and make the stars pop.
Enhancing Colors
The colors in the night sky can be subtle, but with the right adjustments, you can make them stand out. Use color adjustment tools to enhance the blues and purples in the sky, and bring out the warm tones of the stars.
Cropping and Straightening
Sometimes, a simple crop or straightening can make a big difference in your photos composition. Use the cropping and straightening tools in your editing app to frame your shot perfectly.
Adding Filters
While you dont want to overdo it, adding a filter can give your astrophotography shots a unique look. Experiment with different filters to see what works best for your image.
Portable Equipment for Traveling Stargazers
When youre on the move, having lightweight and portable equipment is crucial. Heres a look at some essential gear for traveling astrophotographers.
Compact Cameras
A compact camera with excellent low-light performance is a must for astrophotography on the go. Mirrorless cameras are a great choice because they offer high image quality in a smaller, lighter package.
Travel Tripods
A sturdy yet lightweight tripod is essential for long exposure shots. Look for tripods made from carbon fiber, which offer stability without adding too much weight to your gear.
Portable Star Trackers
Star trackers help you capture sharp, detailed images of the night sky by compensating for the Earths rotation. Portable models are perfect for travelers and can be easily attached to your tripod.
Lightweight Lenses
Prime lenses with wide apertures are ideal for astrophotography. They let in more light, allowing you to capture stunning images of the stars and Milky Way. Look for lenses that are compact and easy to carry.
Portable Power Solutions
Keeping your equipment powered on the go is essential. Portable power banks and solar chargers can keep your camera and other devices running all night long.
Essential Accessories
Besides the main gear, there are a few accessories that can make your astrophotography sessions more successful.
Remote Shutter Release
A remote shutter release helps you take long exposure shots without touching the camera, reducing the risk of camera shake.
Lens Warmers
Lens warmers prevent your lens from fogging up in cold conditions, ensuring you get clear, sharp images.
Headlamps with Red Light
A headlamp with a red light setting helps you see in the dark without ruining your night vision. Its a small but invaluable tool for any nighttime photographer.
Planning Your Astrophotography Trip
Planning is key to a successful astrophotography session. Here are some tips to help you get the most out of your trip.
Check the Weather
Clear skies are a must for astrophotography. Use weather apps to check the forecast and plan your trip for nights with minimal cloud cover.
Find Dark Sky Locations
Light pollution can ruin your astrophotography shots. Look for dark sky locations away from city lights. Websites and apps like Dark Site Finder can help you find the best spots.
Plan Your Shots
Use apps like PhotoPills to plan your shots in advance. Knowing when and where the Milky Way will be can help you position yourself for the best photos.
Pack Smart
When youre traveling, packing light is essential. Make a checklist of all your gear and pack only what you need. Dont forget essentials like extra batteries and memory cards.
Capturing Stunning Night Sky Photos
With the right gear and planning, youre ready to capture stunning images of the night sky. Here are some tips to help you get the best shots.
Use Manual Mode
For astrophotography, manual mode is a must. It gives you full control over your camera settings, allowing you to fine-tune your exposure, aperture, and ISO.
Experiment with Exposure Times
Long exposure times are key to capturing the night sky. Start with a 20-30 second exposure and adjust as needed. Too long, and youll get star trails; too short, and you wont capture enough light.
Focus on Infinity
Focusing in the dark can be tricky. Set your lens to manual focus and focus on a distant light or star. Many lenses have an infinity mark that can help you get close to the right focus.
Use a Low ISO
While its tempting to crank up the ISO to capture more light, this can introduce noise into your photos. Start with a lower ISO (around 800-1600) and adjust as needed.
Take Test Shots
Before you start your long exposure shots, take a few test shots to check your composition and focus. This can save you time and frustration later.
Post-Processing Your Photos
Once youve captured your images, post-processing can help you bring out the best in your photos. Here are some tips for editing your astrophotography shots.
Stacking Images
Stacking multiple images can help reduce noise and bring out more detail in your photos. Software like DeepSkyStacker makes this process easier.
Adjusting Levels and Curves
Adjusting the levels and curves in your photo can help bring out the details in the stars and Milky Way. Most editing software offers these tools.
Enhancing Star Colors
Enhancing the colors of the stars can add a beautiful touch to your photos. Use color adjustment tools to bring out the blues, reds, and yellows in the stars.
Removing Light Pollution
If youre shooting near a city, light pollution can be a problem. Use gradient filters and other tools to reduce the impact of light pollution on your photos.
Packing Tips for Traveling Stargazers
When you’re a stargazer on the move, having the right gear is crucial. But equally important is knowing how to pack it efficiently. Here’s how you can make sure your astrophotography adventure goes off without a hitch.
Organizing Your Gear Efficiently
First things first, organizing your gear is essential. You don’t want to be fumbling in the dark for that vital piece of equipment. Here’s a quick guide on how to keep everything in order.
- Categorize Your Gear: Separate your equipment into categories such as cameras, lenses, tripods, and accessories. This will make it easier to find what you need quickly.
- Use a Checklist: A checklist can save you a lot of headaches. Make sure you have everything you need, from your camera to extra batteries.
- Label Everything: Labeling your gear can be a lifesaver, especially if you have multiple items that look similar. Use tags or stickers to quickly identify each piece.
- Compact Storage: Invest in compact storage solutions like padded bags or cases. This not only saves space but also protects your gear.
Here’s a simple table to help you categorize and organize your gear:
| Category | Items Included |
|---|---|
| Cameras | DSLR, Mirrorless, Lenses |
| Tripods | Lightweight Tripod, Mini Tripod |
| Accessories | Batteries, Memory Cards, Filters, Remote Shutter |
| Protective Gear | Lens Caps, Camera Covers, Cleaning Kit |
Protecting Your Equipment
Your gear is an investment, and protecting it should be a priority. Here are some tips to keep your equipment safe while traveling.
- Padded Bags: Use padded bags or cases for your cameras and lenses. These provide extra cushioning and protect against bumps and drops.
- Weatherproof Covers: Weather can be unpredictable. Keep weatherproof covers handy to shield your gear from rain, dust, and extreme temperatures.
- Silica Gel Packs: Moisture can be a real enemy. Silica gel packs can help absorb moisture and keep your equipment dry.
- Secure Fastenings: Make sure all zippers, straps, and fastenings are secure. Loose equipment can easily get damaged or lost.
Here’s a table to help you choose the right protective gear:
| Protection Type | Recommended Gear |
|---|---|
| Padded Bags | Camera Bags with Padding, Hard Cases |
| Weatherproof Covers | Rain Covers, Dust Covers |
| Moisture Control | Silica Gel Packs, Dehumidifying Inserts |
| Secure Fastenings | Zipper Locks, Velcro Straps, Buckle Straps |
Travel-Friendly Storage Solutions
When you’re on the go, you need storage solutions that are both practical and portable. Here are some ideas to consider.
Camera Bags and Backpacks
A good camera bag or backpack is a must. Look for one that’s lightweight but offers plenty of storage.
- Padded Dividers: These help keep your gear organized and protected.
- Multiple Compartments: Multiple compartments allow you to separate your gear and access it easily.
Hard Cases
For those who need extra protection, hard cases are a great option.
- Shockproof: These cases are designed to withstand rough handling.
- Waterproof: Waterproof cases provide an extra layer of protection against the elements.
Frequently Asked Questions
What is the best portable telescope for astrophotography on the go?
For traveling stargazers, a popular choice is the Sky-Watcher Star Adventurer. It’s compact, lightweight, and great for shooting the stars without heavy equipment.
Do I need a tripod for portable astrophotography?
Yes! A sturdy but lightweight tripod is essential. It keeps your camera steady for those long-exposure shots. Look for carbon fiber options.
Can I use my smartphone for astrophotography on the go?
Absolutely! With tools like the iOptron SkyTracker, you can mount your phone and capture impressive night skies without much gear.
How should I pack my astrophotography equipment for travel?
Use padded bags or cases to protect your gear. Wrap delicate items in clothing. This ensures your valuable equipment stays safe on the go.
What camera settings are best for traveling stargazers?
For the best results, set your camera to a high ISO, a wide aperture, and a long-exposure time. Play around with settings until you find the perfect shot!

