Welcome to our Guide to Astrophotography Mounts and Tracking Systems! In this article, you’ll explore every aspect of choosing the right mount for your needs. We’ll dive deep into the types of mounts, the factors you should consider, and even find budget-friendly options. Get ready to uncover the magic of tracking systems, their benefits, and how they work, alongside popular brands. We’ll also walk you through setting up your gear, avoiding common mistakes, and enhancing your skills, whether you’re a beginner or pro. Plus, youll learn how to maintain your equipment, troubleshoot issues, and capture those breathtaking shots of the night sky. Let’s embark on this starry adventure together!
Key Takeaways
- Good mounts and tracking make your photos clearer.
- Equatorial mounts follow the stars better.
- Balance your gear to avoid shaking.
- Use autoguiders for more accuracy.
- Practice makes your shots perfect.
Choosing the Right Mount for Your Needs
Types of Mounts Available
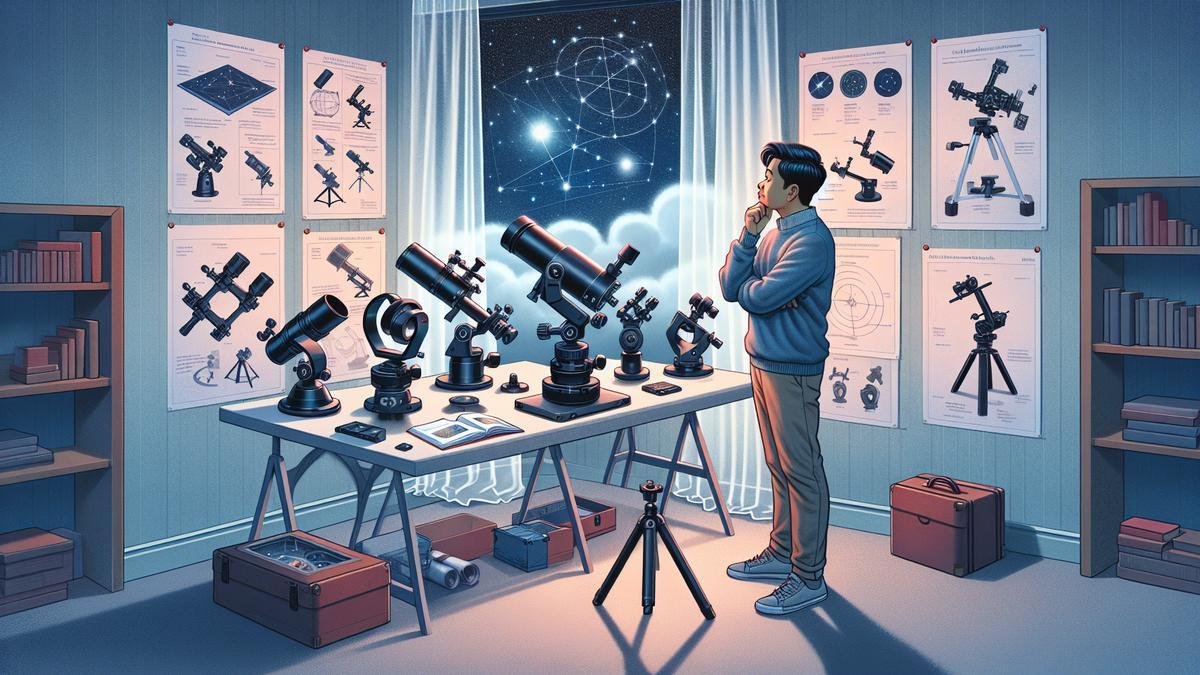
When diving into astrophotography, one of the first and most crucial choices you’ll make is selecting the right mount. The mount is the backbone of your setup, holding your camera and telescope steady while tracking the stars. Let’s break down the main types of mounts you’ll encounter:
Alt-Azimuth Mounts (Alt-Az)
Alt-Az mounts move in two directions: up and down (altitude) and left to right (azimuth). They are user-friendly and great for beginners. However, they aren’t the best for long-exposure astrophotography because they don’t track the stars’ motion as the Earth rotates.
Equatorial Mounts (EQ)
Equatorial mounts are designed to follow the rotation of the Earth, making them perfect for long-exposure shots. They come in two flavors:
- German Equatorial Mounts (GEMs): These are the most common and versatile, suitable for both visual observing and astrophotography.
- Fork Mounts: Often found on larger telescopes, these are stable and easy to use but can be bulky.
Dobsonian Mounts
Dobsonian mounts are a type of Alt-Az mount, typically used with large Newtonian telescopes. They are simple and cost-effective, making them popular among amateur astronomers.
Motorized and GoTo Mounts
Motorized mounts have motors that automatically track celestial objects. GoTo mounts take it a step further by allowing you to input coordinates or select objects from a database, and the mount will point to them automatically. These are fantastic for astrophotography as they simplify the tracking process.
Factors to Consider When Choosing a Mount
Choosing the right mount isn’t just about picking a type; you need to weigh several factors to find the perfect match for your needs. Here are some key points to consider:
Payload Capacity
Your mount needs to support the weight of your telescope, camera, and any accessories. A good rule of thumb is to choose a mount with a payload capacity at least 1.5 times the total weight of your gear. This ensures stability and smooth tracking.
Portability
If you plan to travel to dark sky sites, portability is crucial. Some mounts are lightweight and easy to transport, while others are more robust and better suited for a permanent setup.
Tracking Accuracy
For astrophotography, precise tracking is essential. Look for mounts with high-quality motors and gears. Some mounts also offer periodic error correction (PEC) to improve tracking accuracy over long exposures.
Ease of Use
Consider how easy the mount is to set up and operate. Some mounts come with intuitive software and user-friendly interfaces, making them easier to handle, especially for beginners.
Budget
Mounts can range from affordable to quite expensive. It’s essential to find a balance between cost and functionality. Let’s explore some budget-friendly options.
Budget-Friendly Options
Astrophotography can be an expensive hobby, but there are budget-friendly mounts that offer great value without breaking the bank. Here are a few options to consider:
Sky-Watcher Star Adventurer Pro
| Feature | Description |
|---|---|
| Type | Motorized EQ Mount |
| Payload Capacity | 11 lbs (5 kg) |
| Portability | Highly portable, perfect for travel |
| Price | Around $400 |
The Sky-Watcher Star Adventurer Pro is a compact and portable EQ mount ideal for beginners and those on a budget. It’s easy to set up and offers excellent tracking accuracy for its price range.
Orion AstroView EQ Mount
| Feature | Description |
|---|---|
| Type | Manual EQ Mount |
| Payload Capacity | 12 lbs (5.4 kg) |
| Portability | Moderate portability, suitable for occasional travel |
| Price | Around $250 |
The Orion AstroView EQ Mount is a solid manual EQ mount that provides good stability and tracking for a reasonable price. It’s a great option for those looking to get started without investing too much initially.
Celestron NexStar SE
| Feature | Description |
|---|---|
| Type | GoTo Alt-Az Mount |
| Payload Capacity | 12 lbs (5.4 kg) |
| Portability | Portable, easy to transport |
| Price | Around $500 |
The Celestron NexStar SE series offers GoTo functionality, making it easy to locate and track celestial objects. While it’s an Alt-Az mount, it’s still a good entry-level option for those who want the convenience of automated tracking.
Understanding Tracking Systems
How Tracking Systems Work
Alright, let’s dive right in. If you’re serious about astrophotography, you need to know about tracking systems. These gadgets make sure your camera follows the stars as they move across the sky. Pretty cool, right? But how do they work?
Tracking systems use motors to move your camera. They match the Earth’s rotation. So, instead of seeing blurry stars, you get sharp, clear images. Think of it like this: the Earth spins, and so do the stars. If your camera stays still, the stars will look like streaks. But with a tracking system, your camera moves with the stars. This keeps them looking like tiny dots of light.
Heres a quick breakdown:
| Component | Function |
|---|---|
| Motors | Move the camera to match the Earth’s rotation. |
| Mount | Holds the camera steady. |
| Controller | Tells the motors how fast to move. |
| Power Source | Keeps the system running. |
Benefits of Using a Tracking System
Why should you bother with a tracking system? Good question. Here are some benefits you can count on:
- Sharp Images: No more blurry stars. Your photos will be crystal clear.
- Long Exposures: Capture more light, which means more detail in your photos.
- Ease of Use: Once set up, they do the hard work for you.
- Versatility: Great for both beginners and pros.
Popular Tracking System Brands
When it comes to picking a tracking system, you have a few options. Here are some brands that are popular among astrophotographers:
| Brand | Key Features |
|---|---|
| Sky-Watcher | Reliable and user-friendly. |
| Celestron | High-quality and durable. |
| iOptron | Advanced features for serious photographers. |
| Orion | Affordable and easy to set up. |
Setting Up Your Astrophotography Equipment
Step-by-Step Setup Guide
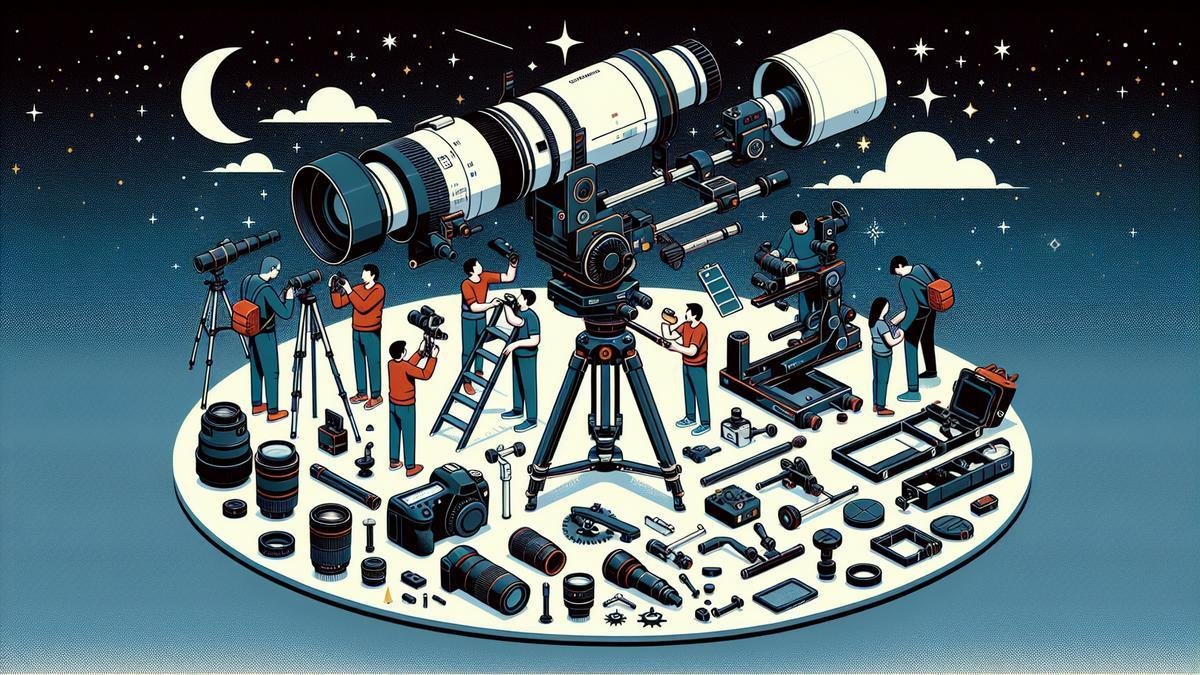
Ready to dive into the mesmerizing world of astrophotography? Let’s get your gear set up! Here’s a step-by-step guide to make sure you’re on the right track.
- Find the Right Spot: Choose a dark location away from city lights. Light pollution can ruin your shots.
- Set Up Your Tripod: A sturdy tripod is your best friend. Make sure its stable and level.
- Mount Your Camera: Attach your camera to the tripod securely. You dont want it wobbling.
- Attach the Lens: Use a wide-angle lens for capturing expansive night skies. For detailed shots of celestial objects, a telephoto lens is better.
- Connect the Intervalometer: This handy tool helps you take long exposures without touching the camera.
- Align Your Telescope (If Using One): If you’re using a telescope, align it with Polaris (the North Star) for accurate tracking.
- Calibrate the Tracking System: If you have a motorized mount, make sure its calibrated to follow the stars movement.
- Adjust Camera Settings:
- ISO: Start with ISO 1600.
- Aperture: Set it to the widest setting (e.g., f/2.8).
- Shutter Speed: Start with 20-30 seconds.
- Test Shots: Take a few test shots to check focus and exposure. Adjust as needed.
- Start Shooting: Once everything looks good, start your session. Be patient and enjoy the process!
Common Setup Mistakes to Avoid
Even seasoned photographers can slip up. Here are some common pitfalls and how to avoid them:
- Unstable Tripod: An unstable tripod can ruin your shots. Make sure its firmly planted.
- Wrong Focus: Always double-check your focus. Use live view and zoom in to ensure sharpness.
- Incorrect ISO: Too high an ISO can result in noisy images. Start with ISO 1600 and adjust as needed.
- Ignoring Weather Conditions: Cloudy skies can be a bummer. Always check the weather forecast before heading out.
- Battery Life: Long exposures drain batteries quickly. Bring spares!
Essential Tools and Accessories
Heres a quick rundown of the must-have tools and accessories for astrophotography:
| Tool/Accessory | Purpose |
|---|---|
| Tripod | Stabilizes your camera. |
| Wide-Angle Lens | Captures expansive night skies. |
| Telephoto Lens | Zooms in on celestial objects. |
| Intervalometer | Controls long exposures. |
| Telescope | Provides detailed views of celestial objects. |
| Star Tracker | Tracks the movement of stars. |
| Extra Batteries | Keeps your gear running longer. |
| Red Flashlight | Preserves night vision. |
| Lens Heater | Prevents dew from forming on your lens. |
Enhancing Your Astrophotography Skills
Tips for Beginners
So, youve decided to dive into the mesmerizing world of astrophotography. Great choice! Here are some tips to get you started on the right foot.
1. Start with the Right Gear:
- Camera: A DSLR or mirrorless camera works best.
- Lens: A wide-angle lens with a low f-stop (f/2.8 or lower) is ideal.
- Tripod: A sturdy tripod is essential to avoid any shake.
- Remote Shutter Release: This helps prevent camera shake when taking long exposures.
2. Learn the Basics of Exposure:
- Aperture: Use the widest aperture your lens allows.
- Shutter Speed: Start with a 20-30 second exposure. Adjust as needed.
- ISO: Start with ISO 1600 and adjust based on your cameras noise performance.
3. Focus Manually:
- Autofocus often struggles in low light. Switch to manual focus and use live view to zoom in on a bright star or distant light to get sharp focus.
4. Use the Rule of 500:
- To avoid star trails, use the Rule of 500. Divide 500 by your lenss focal length to get the maximum exposure time in seconds.
5. Post-Processing:
- Software like Adobe Lightroom or Photoshop can help you bring out the details in your images. Adjust the exposure, contrast, and clarity to make your stars pop.
Advanced Techniques to Try
Once youve got the basics down, its time to take your skills to the next level.
1. Stacking Images:
- Why: Reduces noise and enhances detail.
- How: Take multiple exposures of the same scene and use software like DeepSkyStacker to combine them.
2. Tracking Mounts:
- Purpose: Allows for longer exposures without star trails.
- Types:
- Alt-Azimuth Mounts: Easier to set up but less accurate for long exposures.
- Equatorial Mounts: More complex but better for tracking stars accurately.
| Mount Type | Pros | Cons |
|---|---|---|
| Alt-Azimuth Mounts | Easy setup, good for beginners | Less accurate for long exposures |
| Equatorial Mounts | Accurate tracking for long shots | Complex setup, more expensive |
3. Polar Alignment:
- What: Aligning your mount with the Earths rotational axis.
- How: Use a polar scope or software-assisted alignment tools.
4. Using Filters:
- Light Pollution Filters: Helps reduce the impact of city lights.
- H-alpha Filters: Enhances details in nebulae and other deep-sky objects.
5. Experiment with Different Objects:
- Planets: Use a higher focal length lens or telescope.
- Galaxies: Requires longer exposures and stacking.
- Nebulae: Use narrowband filters to capture specific wavelengths of light.
Learning from Your Mistakes
Astrophotography is a journey. Mistakes are part of the learning process. Heres how to turn them into stepping stones.
1. Overexposed Images:
- Issue: Stars appear as blobs.
- Solution: Reduce your exposure time or ISO.
2. Star Trails:
- Issue: Stars appear as streaks.
- Solution: Use the Rule of 500 or invest in a tracking mount.
3. Blurry Images:
- Issue: Stars arent sharp.
- Solution: Double-check your focus and ensure your tripod is stable.
4. Noise:
- Issue: Grainy images.
- Solution: Stack multiple exposures to reduce noise.
5. Light Pollution:
- Issue: Washed-out skies.
- Solution: Use light pollution filters or travel to darker locations.
Maintaining Your Astrophotography Gear
Regular Maintenance Tips
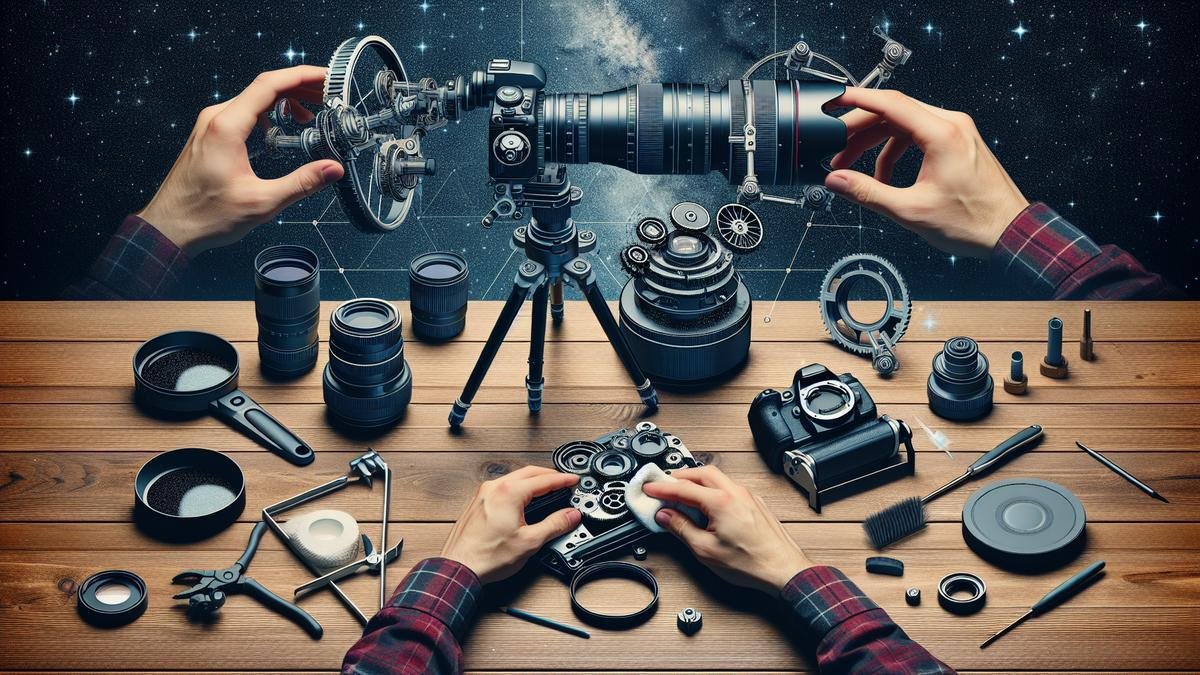
Taking care of your astrophotography gear is like tending to a garden. You need to give it attention and care to keep it in top shape. Here are some regular maintenance tips to keep your equipment in the best condition:
- Clean Your Lenses and Mirrors: Dust and smudges can ruin your shots. Use a blower to remove dust and a microfiber cloth for smudges.
- Check for Loose Screws: Over time, screws can loosen. Regularly check and tighten them.
- Inspect Cables and Connections: Make sure all cables are secure and free from damage. Faulty cables can cause connectivity issues.
- Update Software and Firmware: Keep your camera and tracking system software up to date to avoid glitches.
- Battery Care: Charge your batteries fully before storage and avoid letting them drain completely.
Troubleshooting Common Issues
Even with the best care, sometimes things go wrong. Heres a quick guide to troubleshooting common issues you might face:
| Issue | Possible Cause | Solution |
|---|---|---|
| Blurry Images | Misaligned optics or focus | Re-align optics and refocus |
| Tracking Errors | Poor calibration or setup | Recalibrate and check setup |
| Power Loss | Battery issues or loose connections | Check battery and connections |
| Software Glitches | Outdated software | Update software and firmware |
| Image Artifacts | Dirty lenses or sensor | Clean lenses and sensor |
Storing Your Equipment Properly
Proper storage is crucial to keeping your gear in good condition. Here are some tips for storing your equipment properly:
- Dry and Cool Environment: Moisture can damage your equipment. Store it in a dry, cool place.
- Use Protective Cases: Invest in good quality cases to protect your gear from dust and impact.
- Avoid Direct Sunlight: Prolonged exposure to sunlight can damage your equipment.
- Remove Batteries: If storing for a long period, remove the batteries to prevent leakage.
- Silica Gel Packs: Place these in your storage case to absorb moisture.
Capturing Stunning Astrophotography Images
So, you’re ready to dive into the mesmerizing world of astrophotography? Awesome! It’s like painting with light on the canvas of the night sky. Lets get down to the nitty-gritty of capturing those jaw-dropping celestial shots.
Best Practices for Clear Shots
First things first, you need to set the stage for your cosmic masterpiece. Here’s a rundown of best practices to help you snap crystal-clear shots:
- Choose the Right Location: Head out to a spot far from city lights. Light pollution can ruin your photos. National parks or rural areas are great choices.
- Check the Weather: Clear skies are a must. Cloudy nights are a no-go for astrophotography.
- Use a Sturdy Tripod: Stability is key. A shaky camera can blur your photos.
- Manual Mode: Switch your camera to manual mode. This gives you full control over settings like ISO, shutter speed, and aperture.
- Focus Manually: Autofocus struggles in the dark. Use live view and zoom in to focus on a bright star.
- Shutter Speed: Keep it between 15-30 seconds to avoid star trails unless that’s the effect you’re after.
- ISO Setting: Start with ISO 1600 and adjust as needed. Higher ISO captures more light but can add noise.
- Aperture: Use the widest aperture (smallest f-number) your lens allows.
Heres a quick reference table for your camera settings:
| Setting | Recommended Value |
|---|---|
| Shutter Speed | 15-30 seconds |
| ISO | 1600 |
| Aperture | f/2.8 or lower |
Editing Your Photos
Once you’ve captured your shots, it’s time to polish them up. Editing can make a world of difference.
- Software: Use programs like Adobe Lightroom or Photoshop. They offer powerful tools for enhancing your images.
- Noise Reduction: High ISO can introduce noise. Use noise reduction tools to clean up your photo.
- Adjust Exposure: Tweak the exposure to bring out details in the stars and Milky Way.
- Color Correction: Adjust the white balance to get natural-looking colors. Sometimes, the sky can appear too blue or orange.
- Contrast and Clarity: Boost the contrast and clarity to make the stars pop.
- Crop and Straighten: Crop out unwanted elements and straighten the horizon.
Heres a table to summarize key editing adjustments:
| Adjustment | Tool/Software |
|---|---|
| Noise Reduction | Lightroom, Photoshop |
| Exposure | Lightroom, Photoshop |
| Color Correction | Lightroom, Photoshop |
| Contrast/Clarity | Lightroom, Photoshop |
| Crop/Straighten | Lightroom, Photoshop |
Sharing Your Work Online
Youve got your stunning shots, now its time to show them off!
- Social Media: Share your photos on platforms like Instagram, Facebook, and Twitter. Use relevant hashtags like #astrophotography, #nightphotography, or #milkyway.
- Photography Forums: Join communities like Reddits r/astrophotography or specialized forums. Its a great way to get feedback and tips.
- Personal Website or Blog: Create a portfolio to showcase your work. Its a more professional way to present your photos.
- Competitions: Enter your photos in astrophotography contests. Its a fantastic way to gain recognition and possibly win prizes.
Guide to Astrophotography Mounts and Tracking Systems
Now, lets talk about the gear that will take your astrophotography to the next level. Mounts and tracking systems are essential for capturing sharp, long-exposure shots.
Types of Mounts
There are a few different types of mounts you might consider:
- Alt-Azimuth Mounts: These are simple and easy to use. They move up-down and left-right. However, they arent great for long exposures because they cant track stars accurately.
- Equatorial Mounts: These mounts are designed for astrophotography. They align with Earths axis, allowing for precise tracking of celestial objects.
- Motorized Mounts: These come with built-in motors to automatically track stars. Theyre a bit pricier but worth it for serious astrophotographers.
Heres a comparison table to help you choose:
| Mount Type | Pros | Cons |
|---|---|---|
| Alt-Azimuth | Easy to use, Affordable | Poor tracking for long exposures |
| Equatorial | Accurate tracking | Steeper learning curve |
| Motorized | Automatic tracking, Precise | Expensive |
Tracking Systems
Tracking systems are like the secret sauce for astrophotography. They keep your camera aligned with the stars, allowing for longer exposure times without star trails.
- Star Trackers: These are compact and portable. They attach to your tripod and move your camera to match the rotation of the Earth.
- Guiding Scopes: These are used with equatorial mounts. They use a secondary camera to make tiny adjustments to the mounts position, ensuring pinpoint accuracy.
Heres what you need to know about tracking systems:
| System Type | Description | Best For |
|---|---|---|
| Star Trackers | Portable, attaches to tripod | Beginners, Travel |
| Guiding Scopes | Secondary camera for adjustments | Advanced, Deep-sky photography |
Frequently Asked Questions
What is an astrophotography mount?
An astrophotography mount holds your camera steady. It tracks celestial objects.
Why do you need tracking systems?
They reduce star trails. Your photos stay sharp and focused.
Are there different types of mounts?
Yes. Alt-azimuth and equatorial mounts are common. Each serves a unique purpose.
How do you choose the right mount?
Think about your budget and needs. Portability or stability? Your choice matters.
Can you use a regular camera tripod?
You can, but it’s tricky. Not ideal for long exposures. Avoid star trails with a proper Guide to Astrophotography Mounts and Tracking Systems.

